Houston, we have a problem. Our little problem comes packed in a 15 pound tiny terror of a dog named Oliver. Friend, I am gonna tell you how to build an easy stairway gate in case you struggle with the same pet problem as me. This crazy pint sized pee pup is ruining our upstairs carpet! Big thanks to Wagner for sponsoring this post, all ideas and opinions are my own.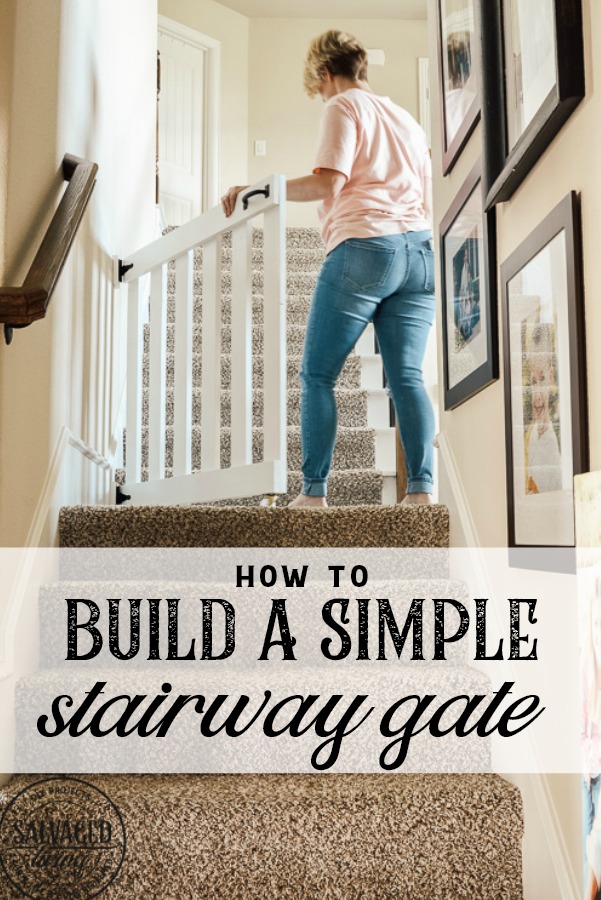
We got this precious pup last September, just a few months after we moved into our brand new house. I knew we would have some puppy issues but I didn’t know my boys would turn a blind eye and not tell me when he had accidents upstairs! Smells started stirring and I was not happy. I patiently waited for the puppy potty training to pass and had the carpets cleaned. I thought we were out of the woods, but no. This precious pooch was still tee teeing in his favorite spot upstairs and I was about to loose my cool. I didn’t want to replace the BRAND NEW carpet, what a waste of money, but I couldn’t let this continue. Luckily we have all hard floors downstairs and I knew if I could keep him away from the upstairs we would be ok. A stairway gate was in order! 
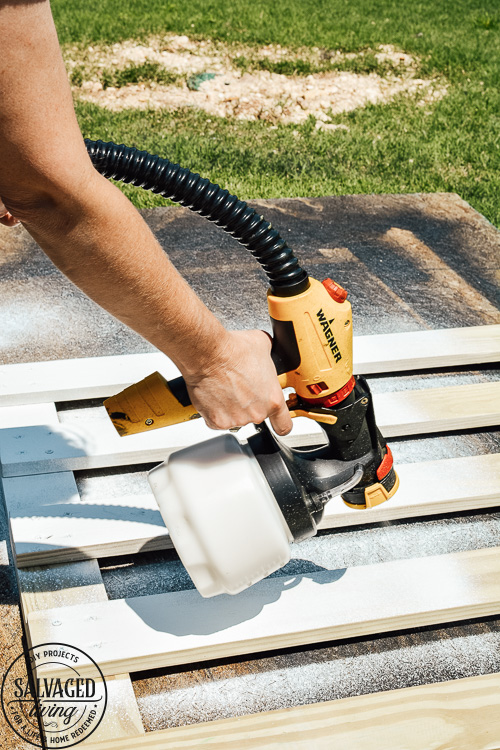
I found a cute example online, copied and adjusted it to fit my needs. You can see the tutorial below. Once I finished building the gate I went after it with my Wagner FLEXiO 5000 paint sprayer for a perfect finish. The paint sprayer was perfect for a job like this with all the slats and corners, it really looks like it was built and painted at the same time as the house, which was my goal. I didn’t want the gate to look like a totally afterthought, I wanted it to blend seamlessly into the house. If you want to see how to paint something like this inside the house without making a mess then please see how my friend Amy painted a whole bed INSIDE, she has great tips for you! 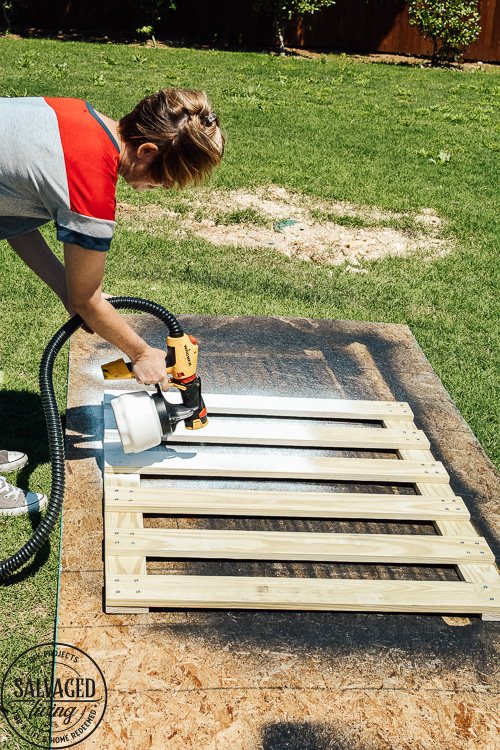
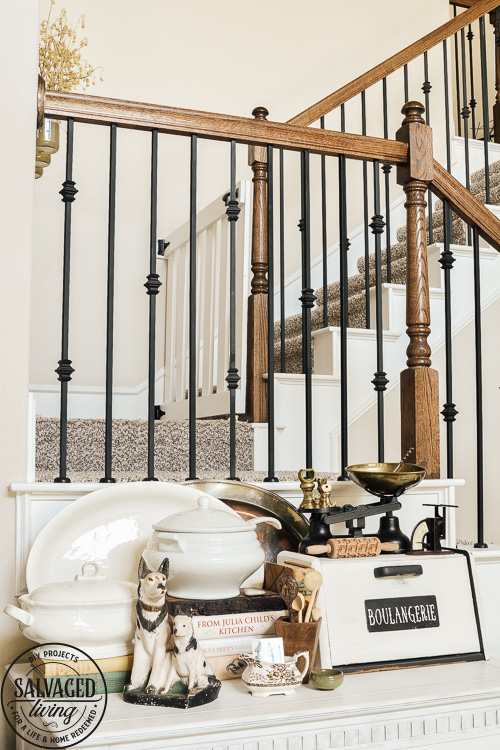
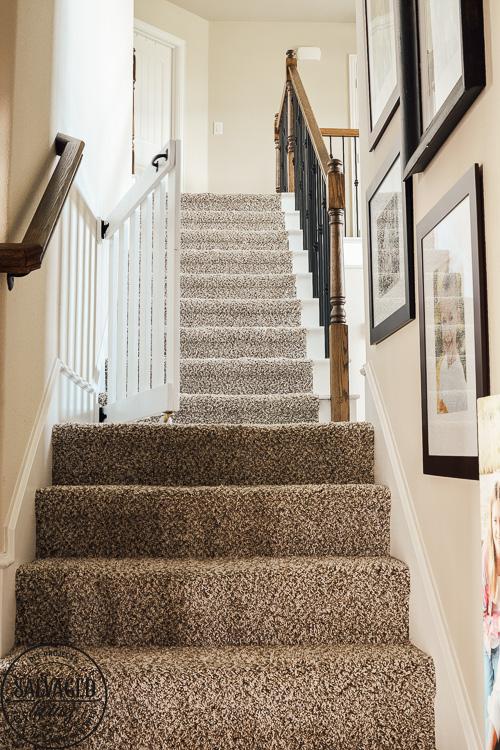
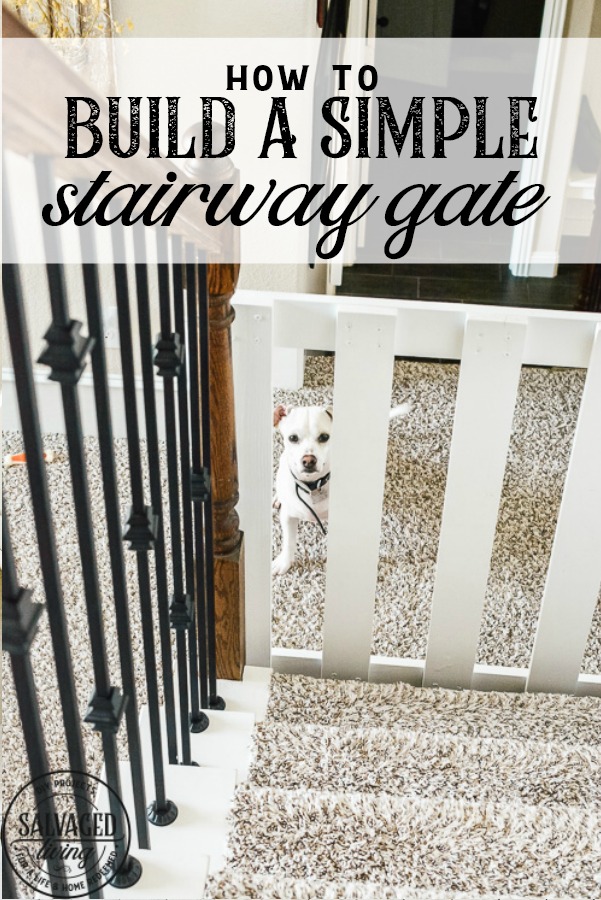
We have a unique double staircase that allowed me to just block off the top portion of the stairs so that helped with the look as well. This simple stairway gate would be perfect for animals or small children and looks soooo much better than the store bought options, plus it was a ton cheaper and fits my spot exactly. 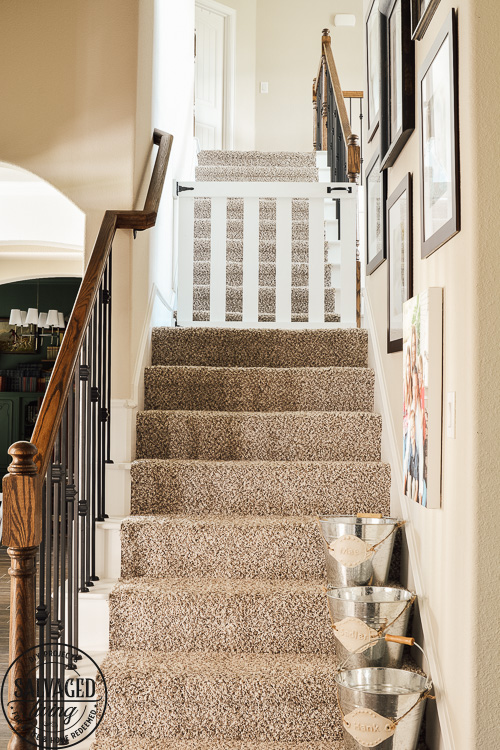 I had the carpets cleaned yet again, but this was still a TON cheaper than replacing the carpet and now our little Oliver can’t reach the upstairs unsupervised. Let me tell you – he is none to happy about the gate and howls at me when I’m upstairs without him, but this mama is MUCH happier and everyone knows what happens if mama ain’t happy.
DIY Stairway Gate Supplies
1 X 4 wood. I used pine, but you might wanted a lighter weight wood option.
Wood screws
Wood Glue
Drill
Chop Saw
Interior Semi-Gloss Paint
2 – Gate Hinges
1 – Gate Handle (or you could use old decorative hardware)
2 – 1.5 inch Casters and screws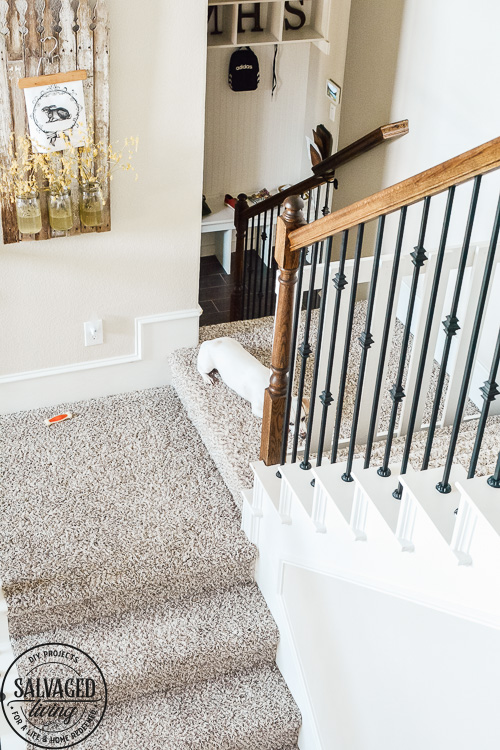
DIY Stairway Gate Tutorial
- Measure your stairway opening.
- Cut wood pieces to fit your opening. I needed (2) 41 inch boards and (6) 36 inch boards for my gate.
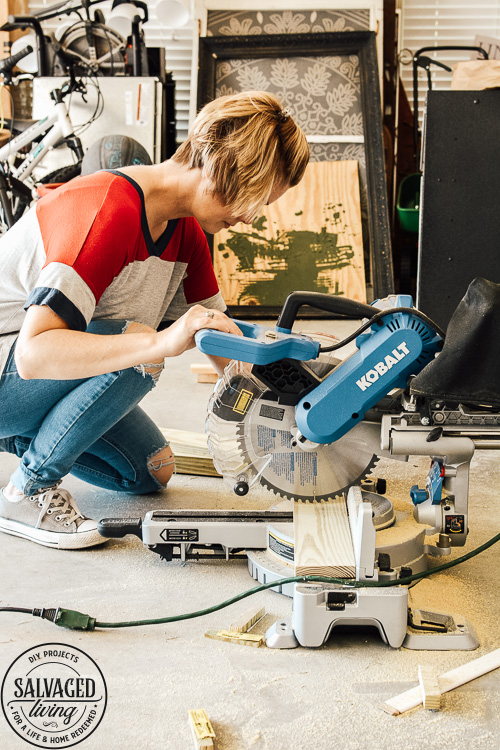
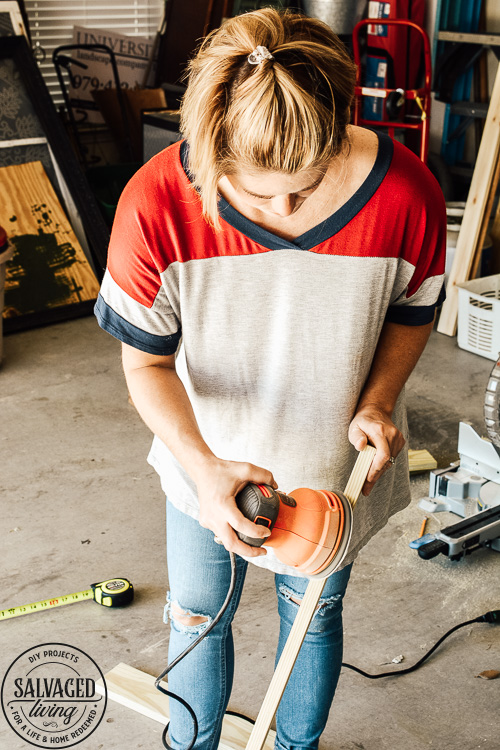
- Sand your wood for a smooth finish!
- Start by building the frame. You will want to make sure you have your corners square or the whole gate will be off.
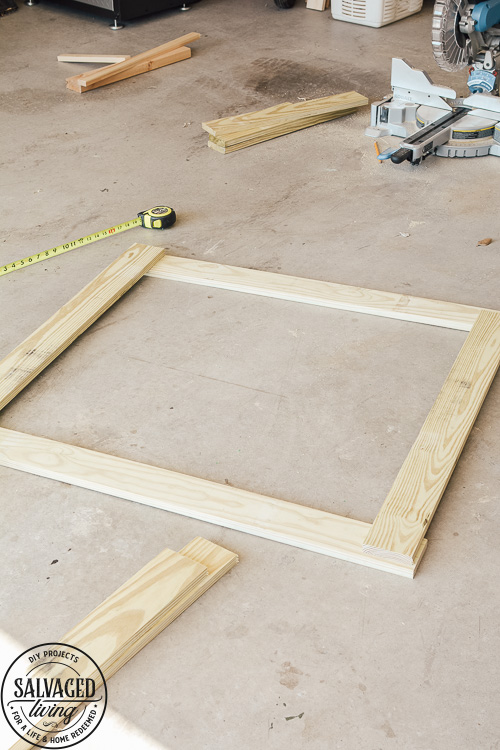
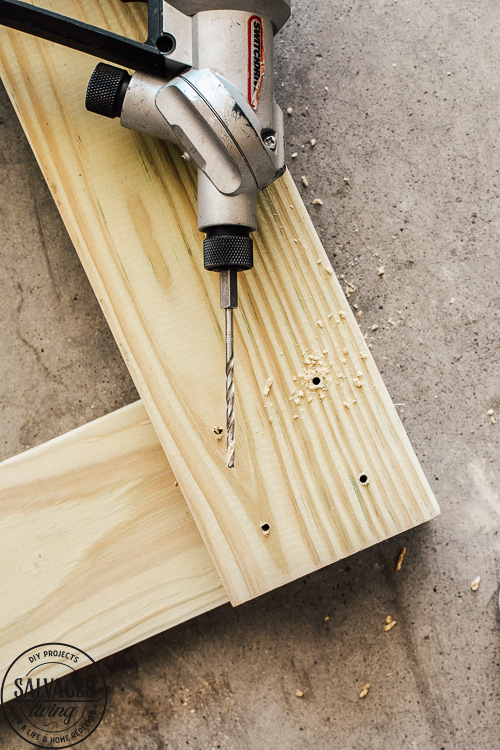
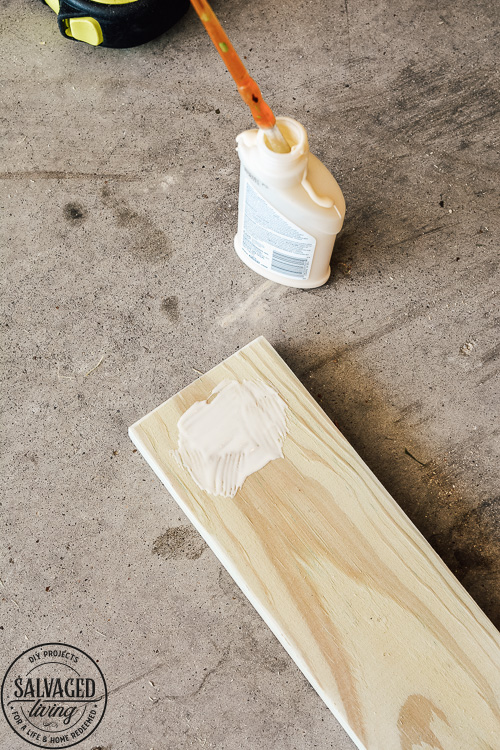
- I pre-drilled all my screw holes, used wood glue, and screwed my gate slats together for added stability, especially since I knew my boys would be opening and closing this gate multiple times a day.
- Measure the inside distance of the frame and determine how many slats you need. Take the distance and subtract the width of the wood slates then divide by how many space you will have. Lay the whole thing out to make sure it is correct.
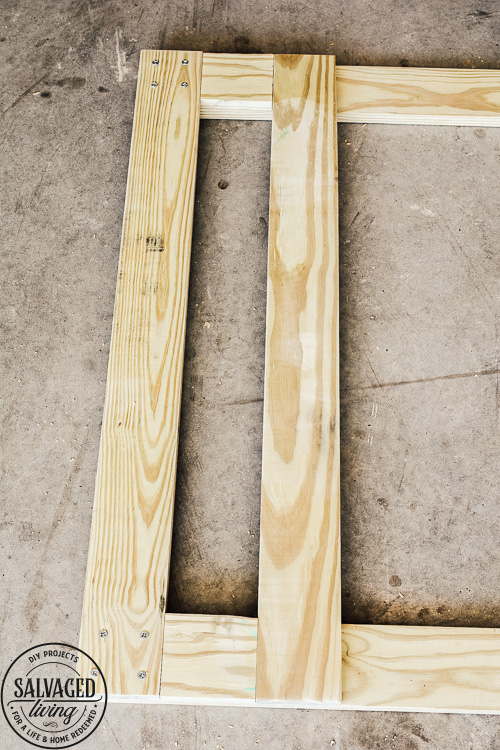
- Cut 2 dummy blocks the distance you want your slates apart and use that as you go to correctly space your gate slats.
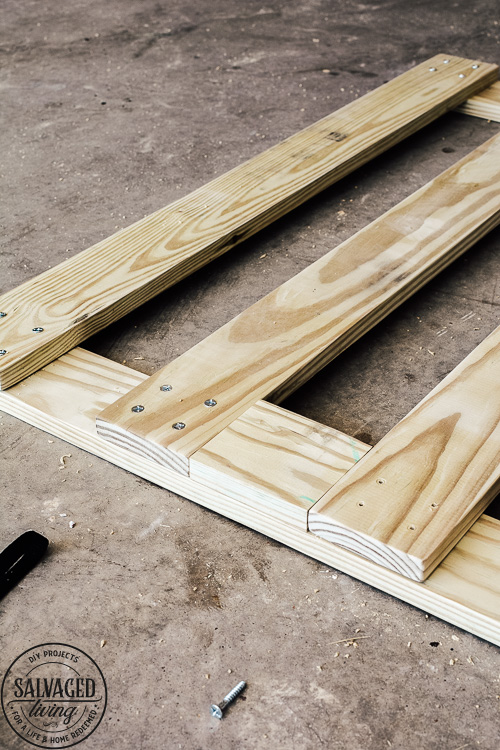
- Glue and screw (pre-drill holes to avoid the wood splitting and for ease) the slats one at a time as you go.
- Use a Wagner FLEXiO paint sprayer paint your gate frame with indoor semi-gloss or satin paint to match your trim.
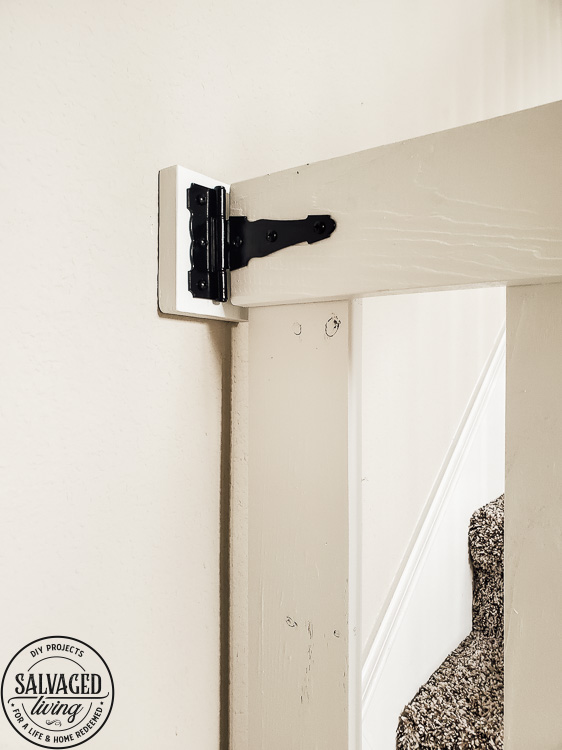
- Attach the hinges to the top and bottom rail of the gate.
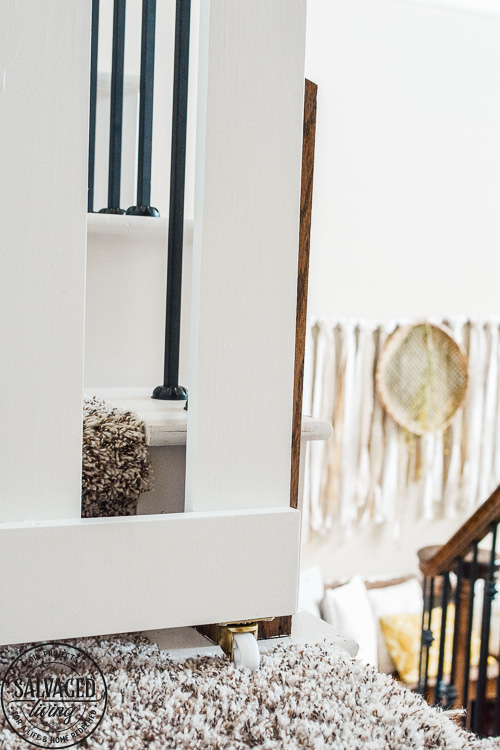
- Flip gate and attach casters to the bottom of the gate. I uses casters to help hold the weight of the gate and not pull on the wall so much. It has made the gate super easy and smooth to open and close.
- Rest the gate lightly on the floor mark where the hinges go.
- I used wood blocks secured to the wall with sheet rock screws because I needed to jut out the gate a little to not hit our trim. You might be able to attach directly to the wall, however, the blocks are a very sturdy way to go.
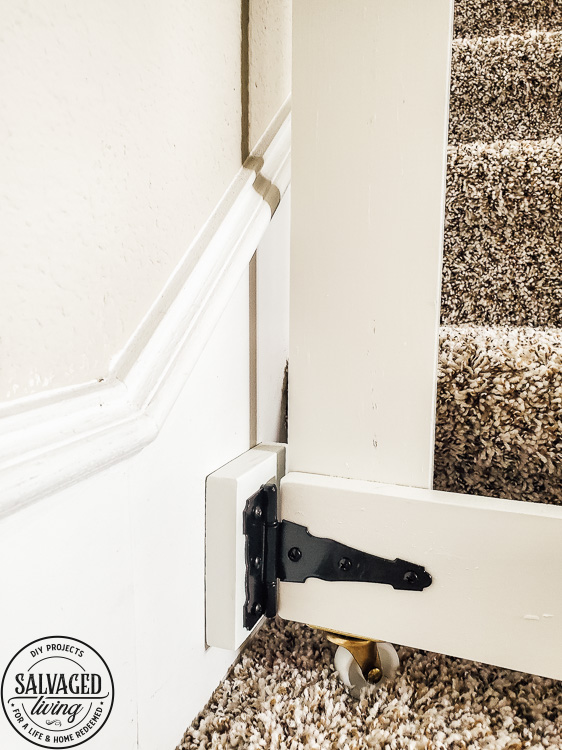
- Attach the hinges to the wood blocks or wall.
- Smile ’cause mama is happy that her carpets are staying clean. Keep smiling even when your little friend gives you a sad face from doggie jail.


Your gate looks great! I’ve been in a house with a stairway like that…it’s a fabulous design.
It is a really fun layout for sure!
How good of you to help the little guy be good. The gate looks great. You are a great pet mom.
lol – he is so cute I can’t help myself!
It’s great that “Puppy Oliver” (he’s SO CUTE!) hasn’t just chosen a new spot on the carpeted stairs he can still access! We had a kitty that ruined our carpet in so many spots we decided to remove it and have the concrete floor beneath stained! More costly, but sure foiled our “carpet culprit!” I would have preferred wood floors, but they would have been susceptible to ruin as well. All in all, this Mama is happier now, too! Great DIY!
thanks Kathleen, I would love to replace the carpet but not really in the budget or care to tackle project list at the moment!
Guess that’ll show that little stinker! Wink
lol, he just howls at the gate when we leave him out and go up with out him. I just smile
What are your thoughts regarding the caster with wooden stairs? I like the support the caster gives the gate which leads to less pull on the hinges, but I worry about the caster scratching the wood floor.
mine is sitting on carpet, but I think it is fabulous, I don’t worry about my boys ripping it off the wall lol! You can always order rubber wheeled casters online if you are nervous about the wood floors!