Laser engraving and cutting is taking the craft world by storm and I didn’t want to be left in the dust. When xTool reached out about their M1Laser Engraver and Vinyl Cutter I quickly said PLEASE let me try it and I am so happy I did! Today I want to get you up to speed on what the xTool M1 machine is, what it can do and how to get started quickly.
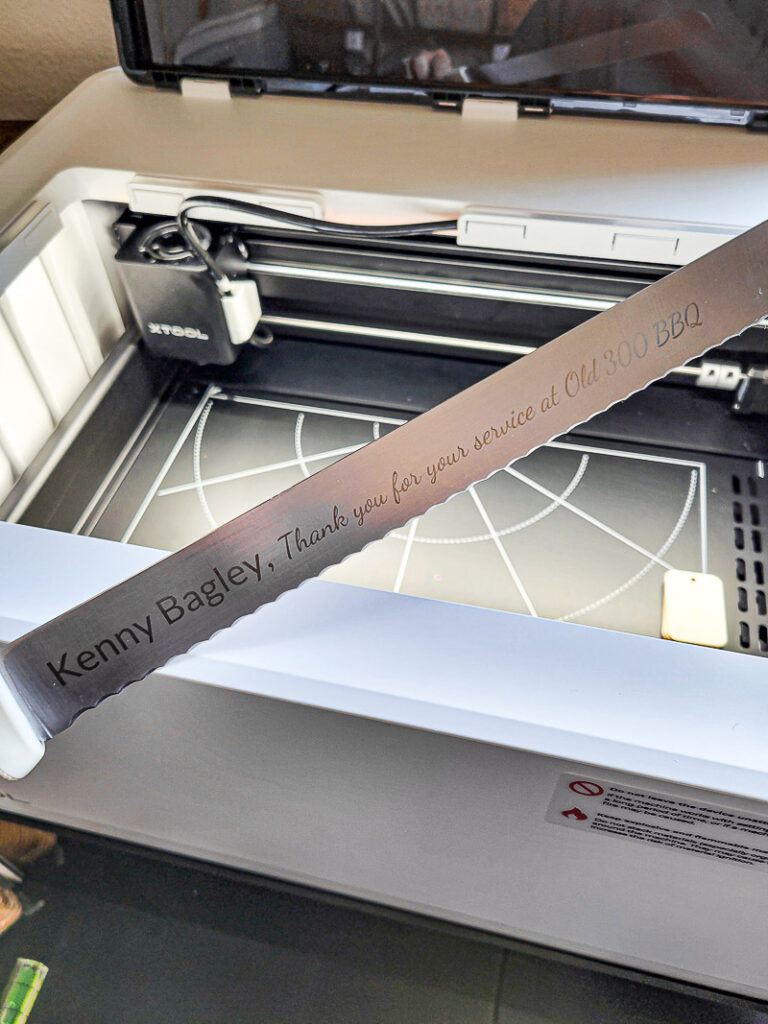
When I first opened all the boxes that came with the xTool M1 engraver and the parts I ordered with it I felt a little overwhelmed, quickly I learned there was no need to feel that way. I’m hoping to help you feel cool, calm, and collected to get your laser crafts up and running quickly! If you want to skip the beginner tips for your laser engraver, here is a beginner engraving project I did, engraving a knife blade for a personalized gift idea! If you are wondering if the xTool products are for beginners, I would say yes! for sure!!!
The directions are easy to follow, picture by picture and there is not a lot to put together, even though it may feel like it at first! I started with all the bells and whistles, here are the items I ordered:
- xTool M1 Laser Engraver and Vinyl Cutter (the machine itself)
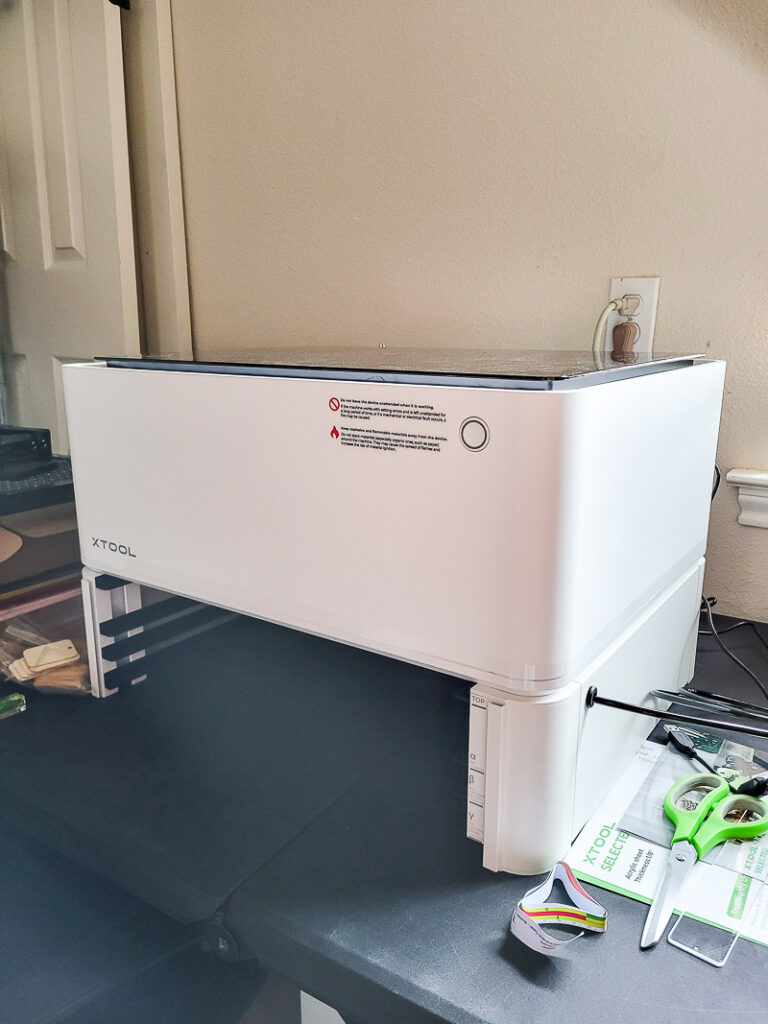
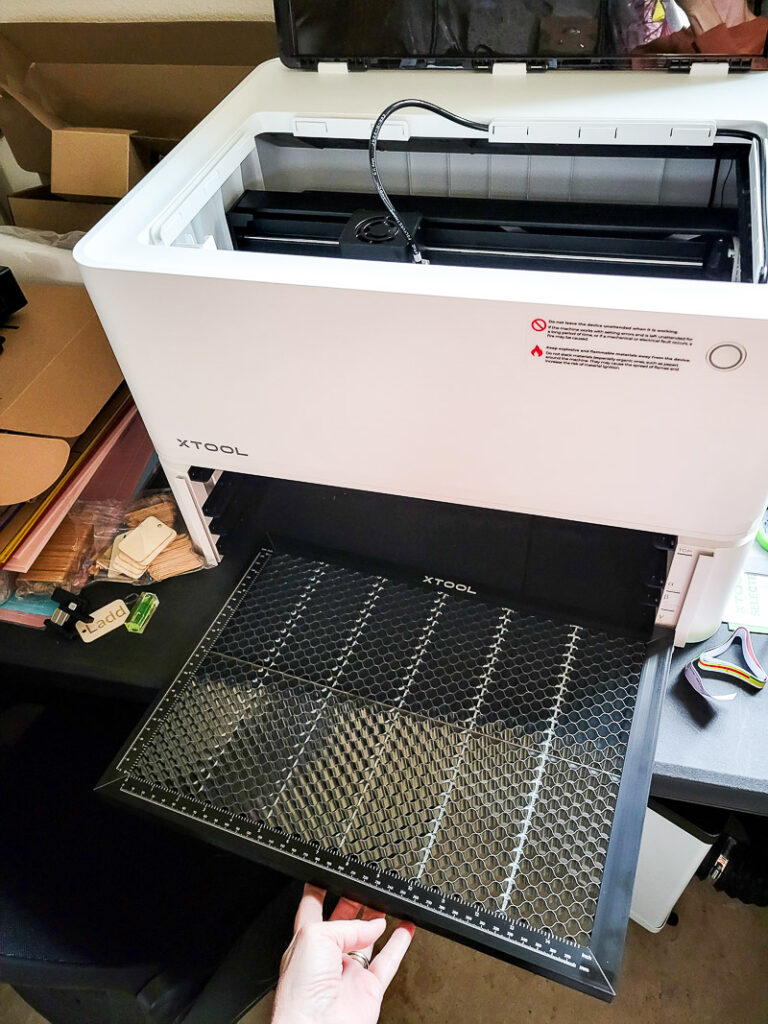
- xTool M1 Riser Base with Honeycomb Panel (to use with taller/thicker projects like tumblers)
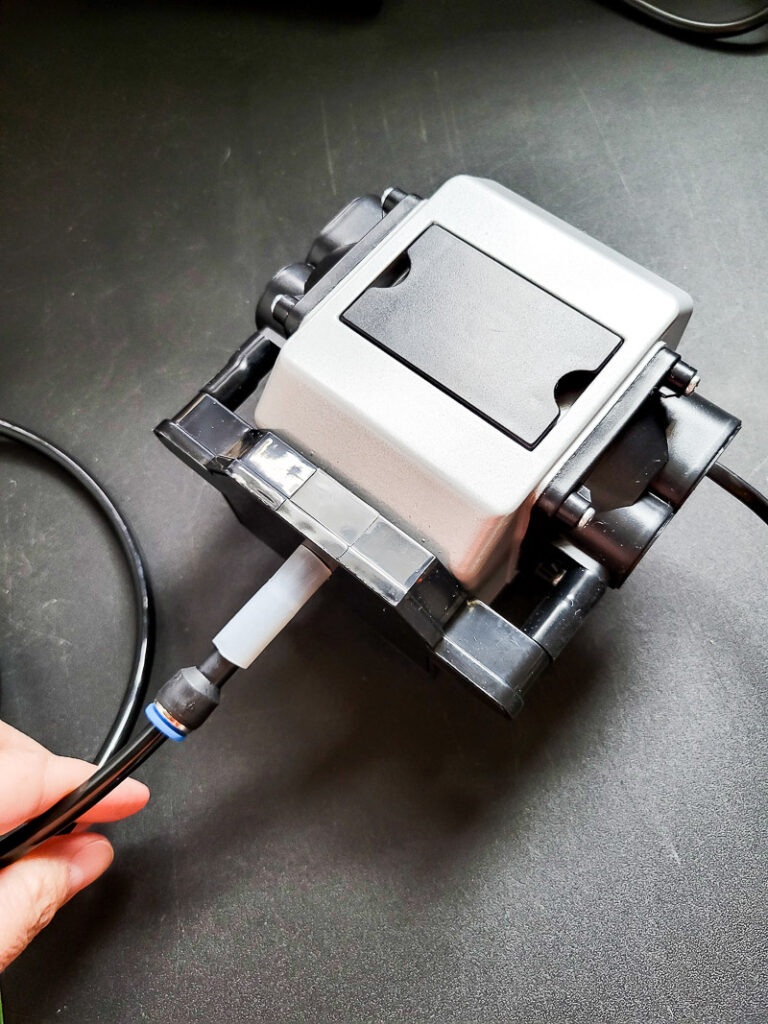
- xTool M1 Air Assist (to help with keeping engraving cool while cutting/engraving)
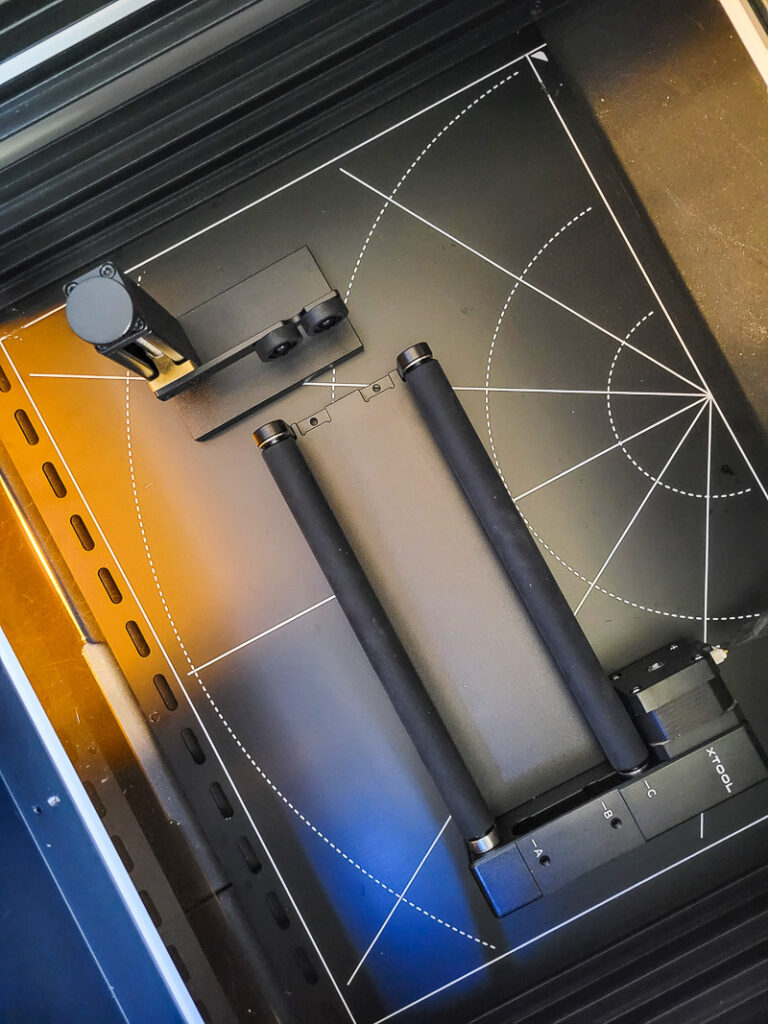
- xTool RA2 Pro for M1 (This was a must for me, you use it to engrave round and odd shape items)
- xTool Smoke Purifier (Air purifier to reduce smoke and odor while working)
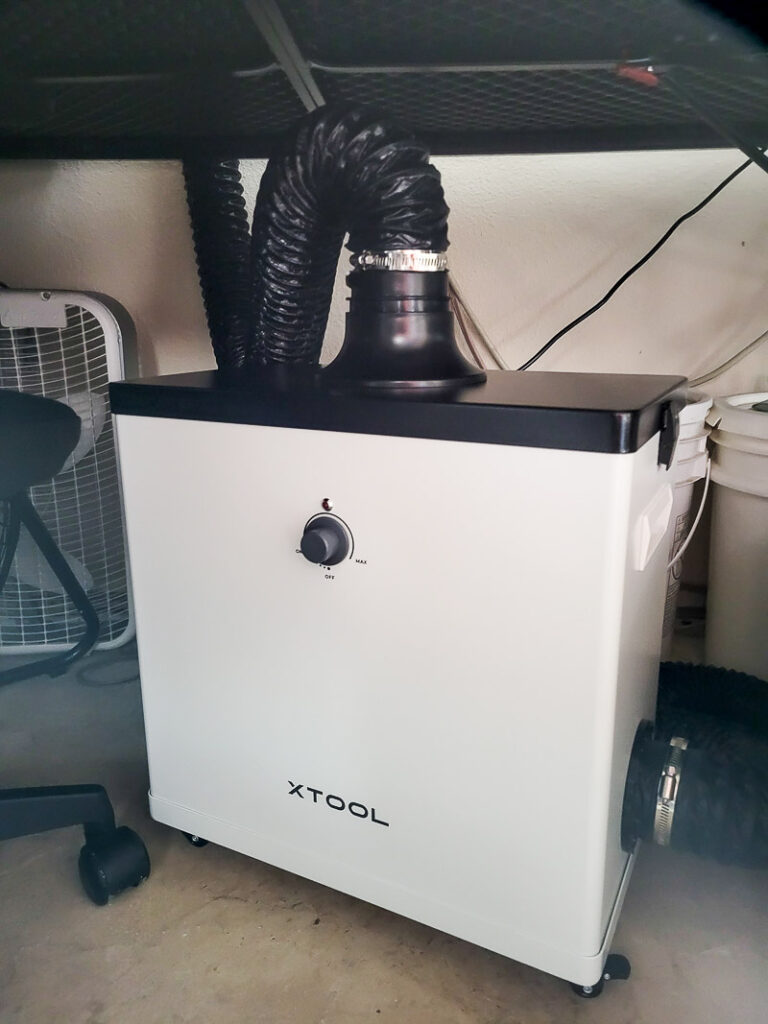
After I put all the parts and pieces together I played around and watched a few YouTube videos to get up to speed. Here are the nuts and bolts I think you need to know and understand to confidently start your first engraving project with the xTool M1 engraver. These are little nuggets of information I found helpful and learned by trial and error or watching a bunch of videos! Some of these tips won’t make sense until you start playing around with your machine.
- The metal base in the machine screws in, I took the screws out because with the riser base I found myself going back and forth on project types and it was cumbersome. The metal base plate fits nicely into the base of the machine and so far stays steady without the screws. This makes it easier to remove when I want to use the riser for larger projects.
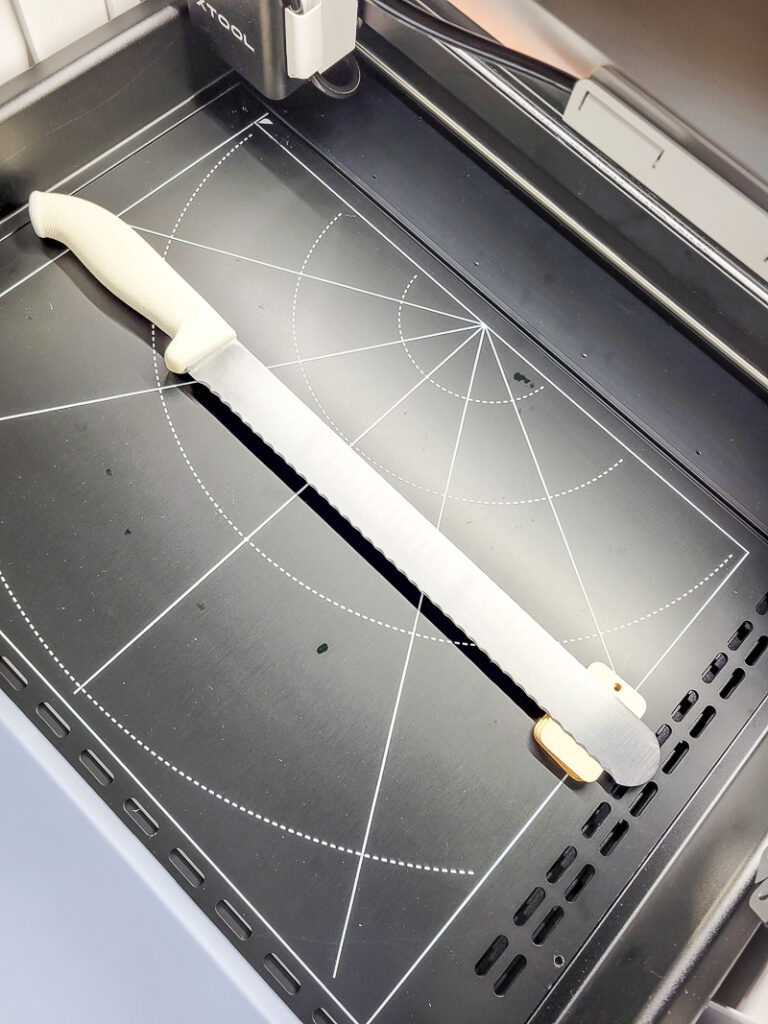
- When you turn your machine on you will see a small red laser dot shining on the center of the base (it looks kind of white in my picture below). This is where you want to place the material you are working on and make sure the dot is on the highest point of the material. The is how the machine measures the thickness of the material and the distance of the laser to the material. I found if you get an error on the auto-measure distance it might be because your project surface is too far from the laser.
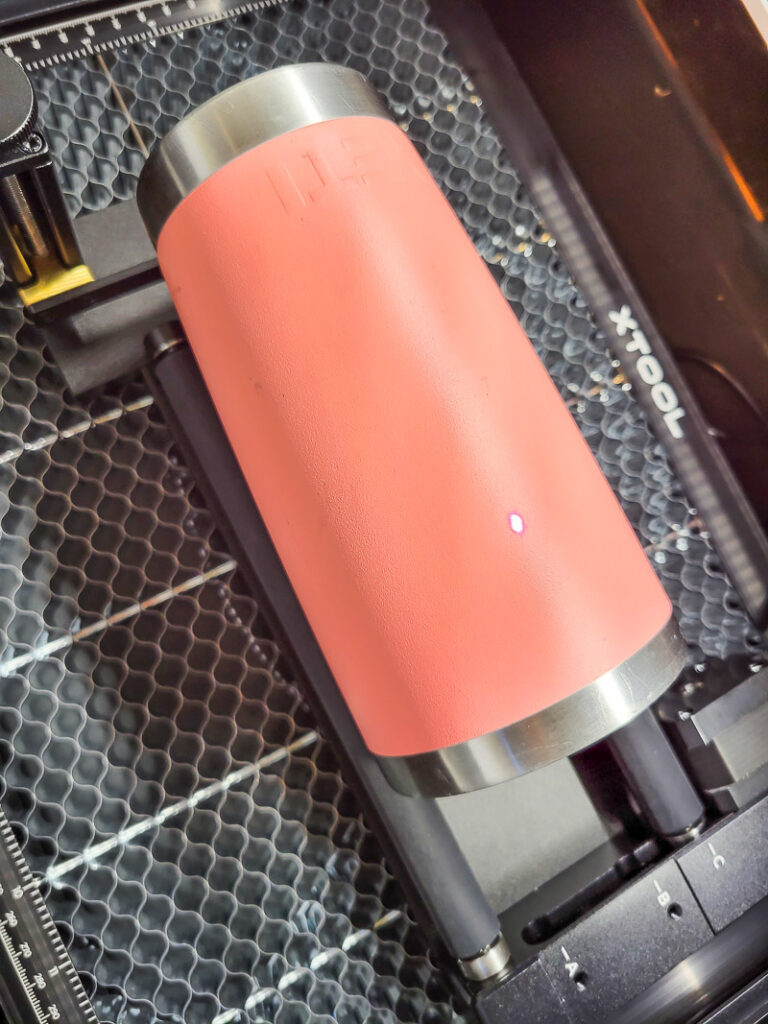
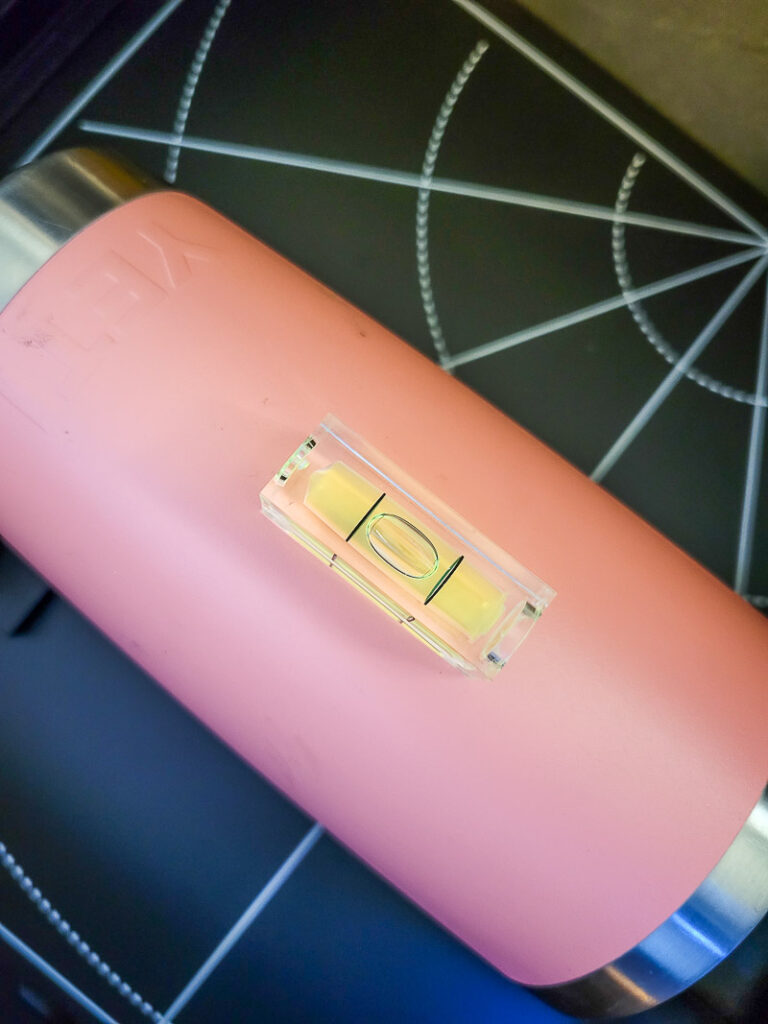
- Make sure the surface you wish to engrave or cut is flat. You will be given a small level with the materials and it is super handy! Place the level on the are you want to engrave and make that section level. You can use the RA2 Pro for odd shape and round object, but if it is a flat object you may need to get creative and wedge some wood shims under one side!
- Framing – It took me a while to figure out what this was! After you set up your project in the xTool Creative Space hit Framing then watch the laser arm. It will show you an outline if where the machine is set to work. This helps you know you set the project up correctly and are lasering on the right spot of your surface!
- When you use the RA1 Pro on a surface such as a tumbler, the yellow line you see in the xTool Creative Space needs to be set to the highest point of your project. This will be the edge of the engraving and placing it at the high center helps reduce any distortion in your design. It also helps you line up the design. Place the edge of the design on this line, if you go over into the dark portion of the screen you will get an error. NOTE: the design starts engrave at this line, it is not the center point of the design, but the left hand of it.
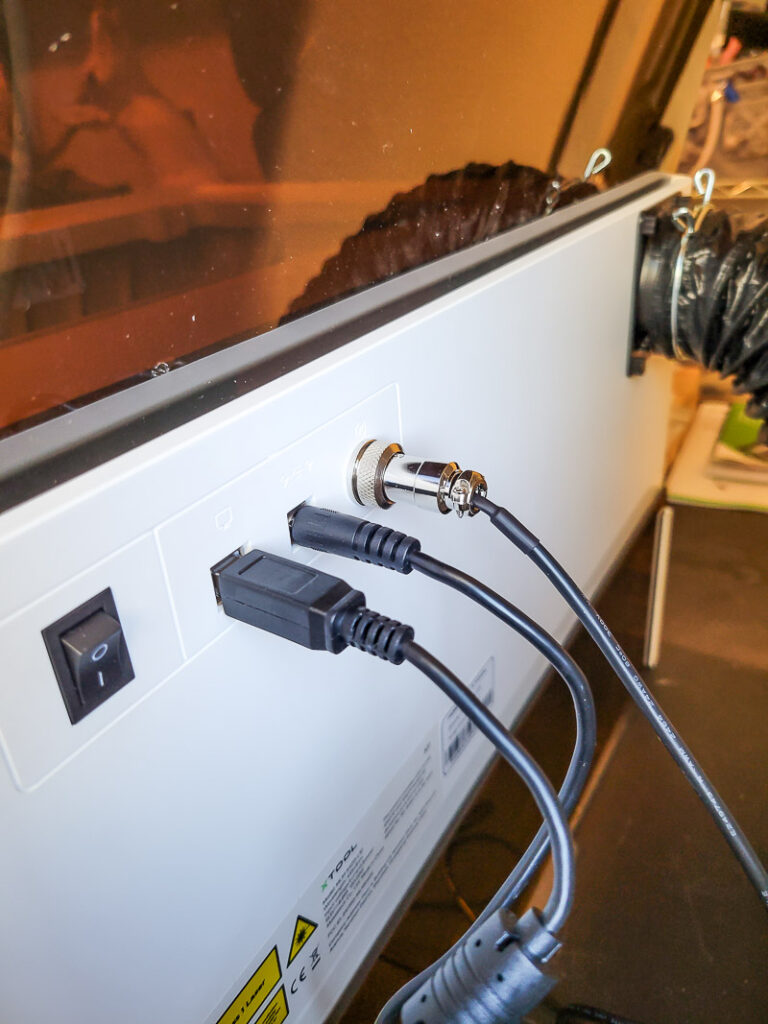
- I leave my RA1 Pro plugged into the back of machine at all times and let the cord just lay in the back for when I need it for the rotary tool – instead of unhooking and re-hooking it up each time.
- There is a great chart on the xTool website that tells you what the xTool M1 Laser Engraver can and can not cut and engrave. This will be helpful as you brainstorm projects and materials. Find the list HERE.
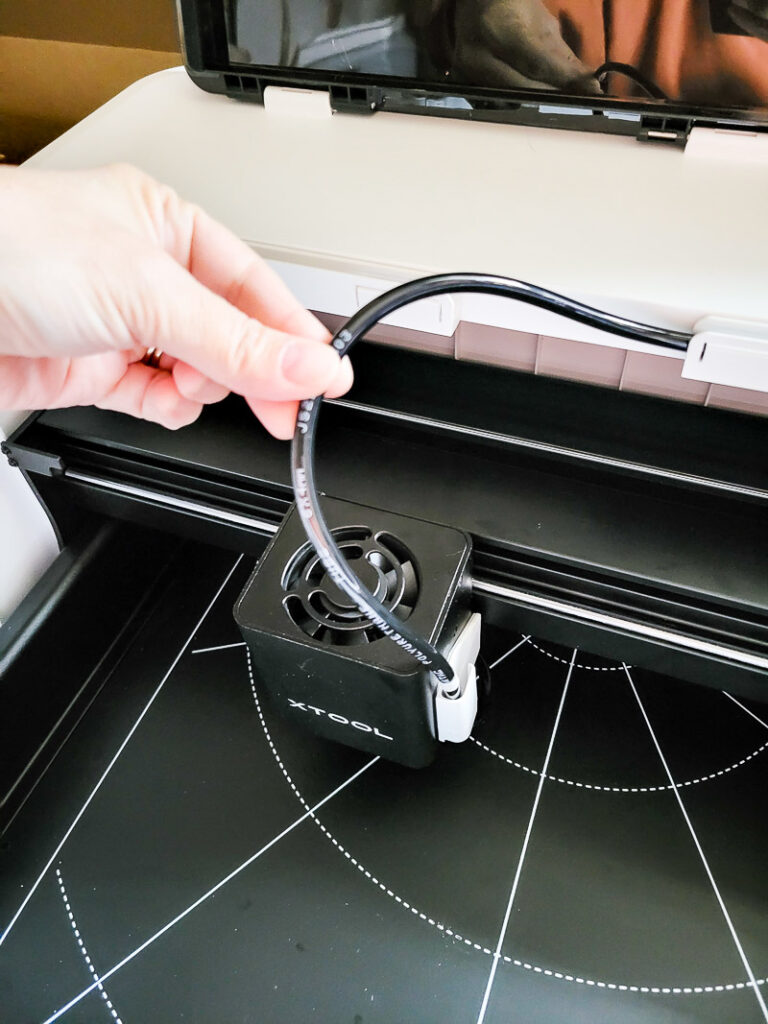
- If you use the Air Assist in your machine the hose might get caught in the moving parts of the laser housing arm. It will make an awful noise if so, but don’t worry! Turn the machine off and you can manually move the laser arm around to get the hose un-trapped. Be sure to adjust the air hose length to prevent this from happening continually. The direction on set up or the Air Assist are great, this is just one thing I ran into a few times. NOTE: the laser arm only moves freely by hand when the machine is turned off.
I will continue to add tips as I come across them! If you are wondering if xTool is a good brand, my answer is most definitely! Overall I am extremely pleased with how user friendly and capable the xTool Laser Engraving Machine is. If you just want to make a ton of amazing craft projects, gift ideas and personalized items it is perfect for the home craft room. However, I can see how this machine would be an amazing tool for a small business to make and sell a large variety of creative items. If you want a side hustle or run an Etsy shop, I would look to the xTool M1 for product ideas!!! If you would like to see how to engrave a knife blade here is the tutorial for you!


Leave a Reply