How I used my heat gun for DIY 3D wall art
I’ve said it before but using power tools is so fun. You just feel so capable when you figure out what you’re doing, at least I do lol! I’ve been a fan of Wagner paint sprayers for a while now and was chomping to get my hands on their heat gun. Big thanks to Wagner for sponsoring this post and letting me run wild with my crazy heat gun idea! You may wonder what you need a heat gun for or maybe you are thinking what can I do with a heat gun? Well my friends and I all did a different project with our Wagner Furno 500 heat guns and are joining forces to give you a few awesome heat gun project ideas!
Let’s start with them, go see how great all these projects turned out and then come back and see how I bent sheet acrylic for a cool 3D wall art project in my son’s room! Please know this post was sponsored by Wagner, all ideas and opinions are may own and it may also contain affiliate links, which just means should you make a purchase I might receive a commission, your price stays the same.
These awesome heat gun projects will give you tons of home decor ideas:
See how Seeking Lavender Lane weathered wood with her heat gun for a gorgeous furniture finish.
Robb Restyle made her heat gun the boss of a retro vinyl makeover.
This tutorial from Atta Girl Says will show you how to master removing wood veneer with a heat gun.
Didn’t you love those ideas? A heat gun is great for these ideas and more, you can emboss with it, dry paint projects faster, decorate candles or make unique wall art like I did here (see a complete supply list and a few more ideas at the bottom of this post)…
I started by getting a 2X4 foot piece of acrylic plexiglass at my local hardware store. You can buy plexiglass in a variety of sizes, so there are tons of fun projects you could dream up using this medium. Remove the protective covering before starting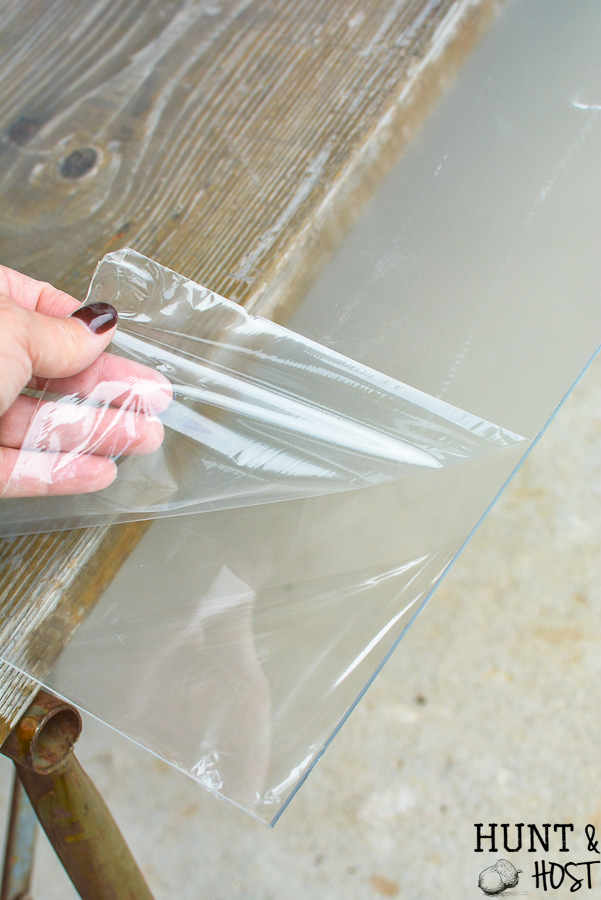 I figured a few tips to bending plexiglass along the way and I will share them with y’all. I started by laying the plexiglass on a flat surface, allowing the part I wanted to bend to hang off the edge. Use a tape measure and dry eraser marker to help you with measurements!
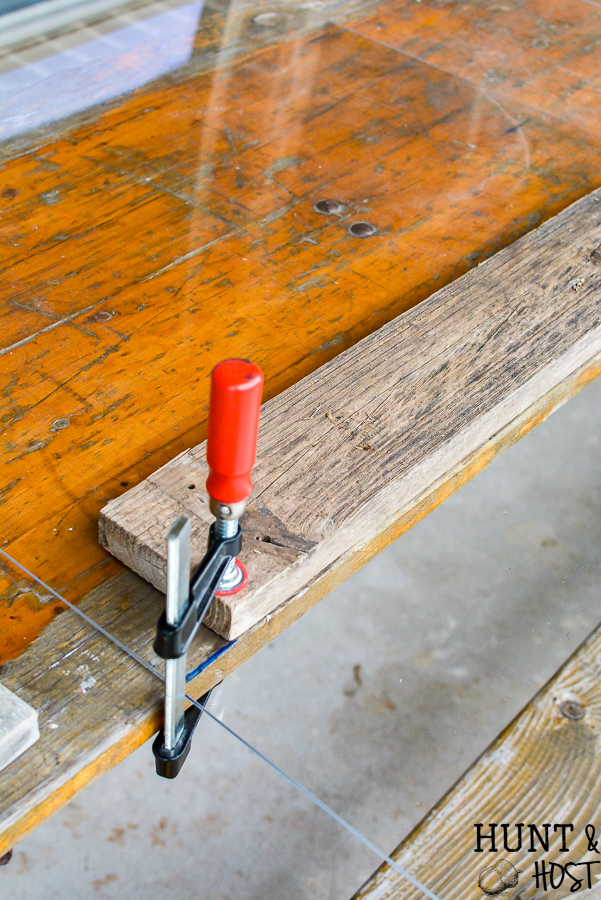
Secure the plexi so it stays still in the bending process, I used vice grips and a long piece of wood to hold the plexiglass straight and tight along the bending seam.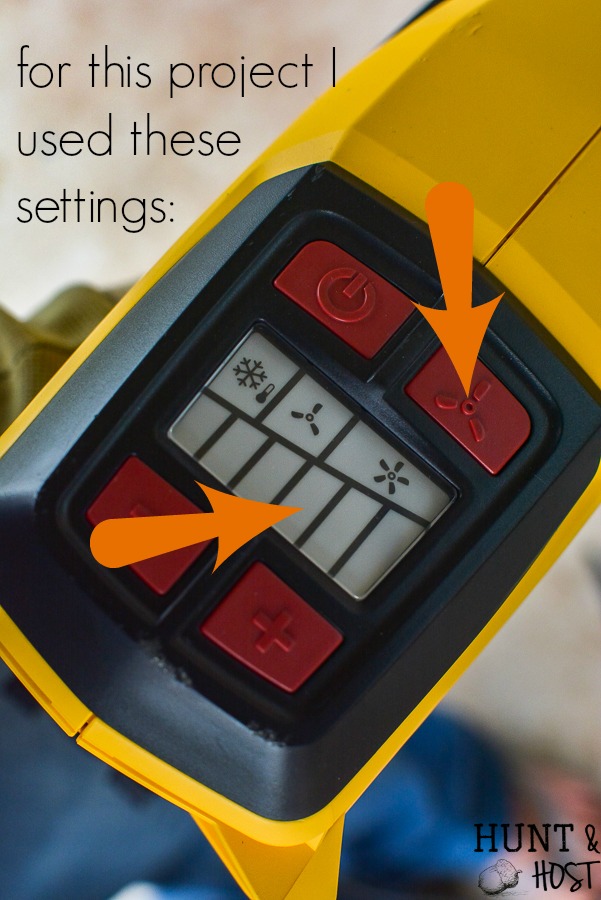
There is a instruction guide that comes with your Wagner Furno 500 heat gun and gives great suggestions on temperature use for various projects. You might want to buy a small piece of plexi to play around with before you tackle a big piece – I did! This heat gun is comfy to hold but packs a ton of possibility, it has 12 heat setting options and comes with a flare nozzle and glass protection nozzle. Here is what I learned…watch your temperature, if you get it too high and hold the gun to close for too long you will burn the acrylic. It will bubble and dis-form. Once that happens there is no going back. Once you get an acceptable heat, take it slow. 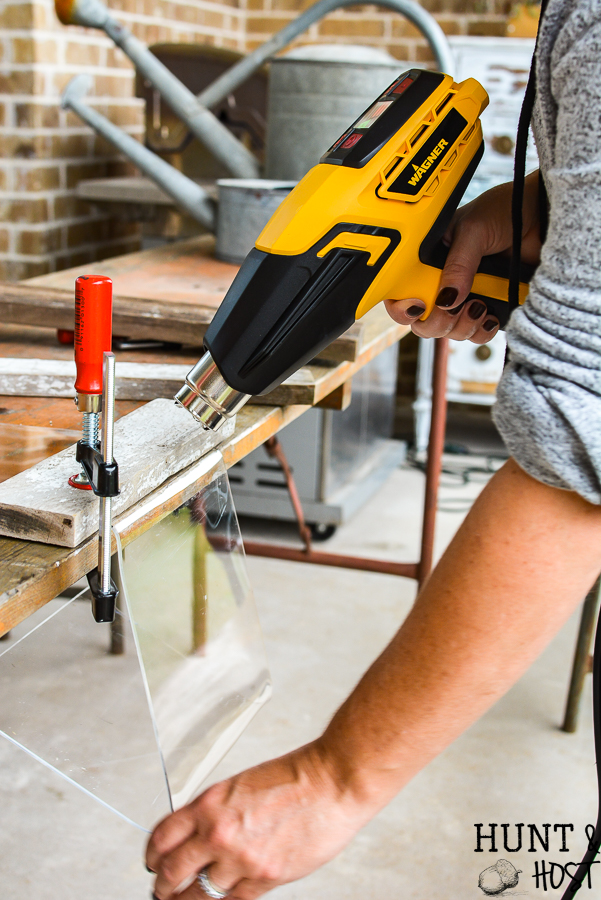 Medium-hi with the high fan setting worked best for me. You will want to move the heat gun back and forth along the area you wish to bend then let the weight of the plastic bend itself. Read that again…let the weight of the plastic bend itself, do not force the bend, gravity will do the work! You will break the plastic if you force it, trust me on this!
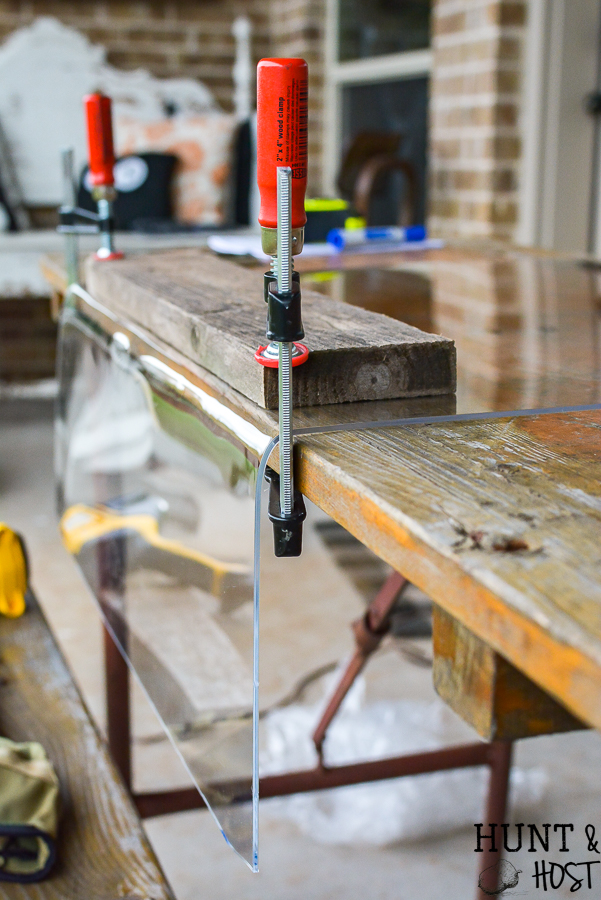
Once the plastic is bent and super heated you are able to manipulate it a little, I used a piece of wood to straighten some parts a bit, just use caution!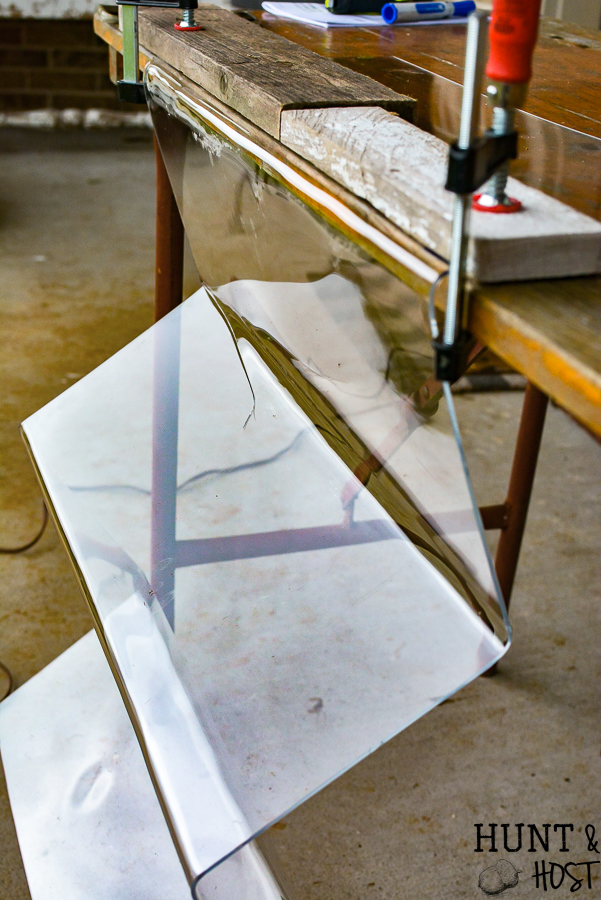
To make this 3D wall art piece I repeatedly flipped the plastic and bent it to a 90 degree angle like an accordion with 6 inch wide pieces the whole length of the acrylic piece.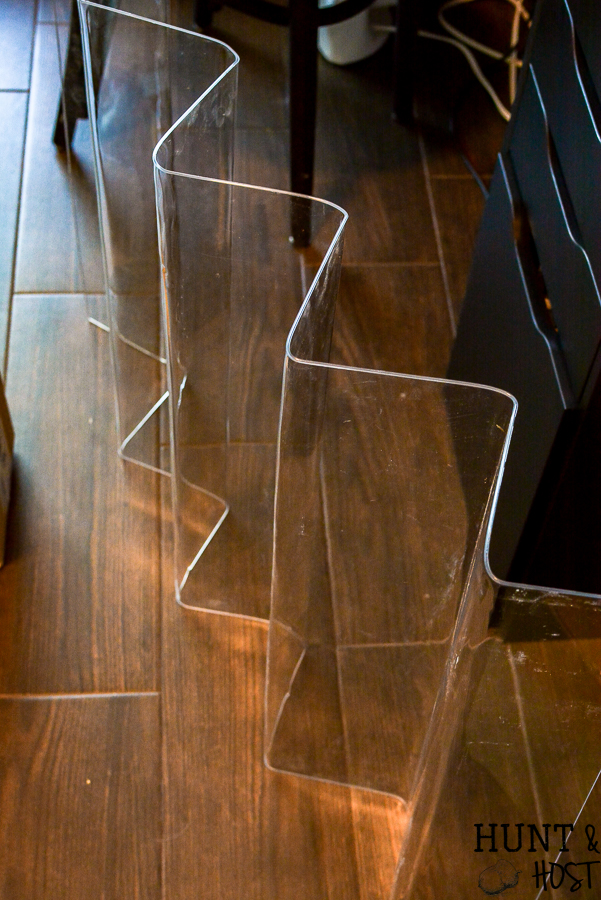
Once my plexiglass was bent the way I wanted I went to decorating it! This zigzag plastic has a purpose, when you look from one angle you see one picture and when you look from the other direction you see another. I started with the map side by using a poster map I got for $5 at Walmart. I lined up the first panel and with an exacto knife I cut the poster down to fit the first fold in the plastic. My bends were not 100% exact, so I can’t pre-cut all the map pieces, I cut them as I worked my way across the piece to insure each wedge was cut to fit.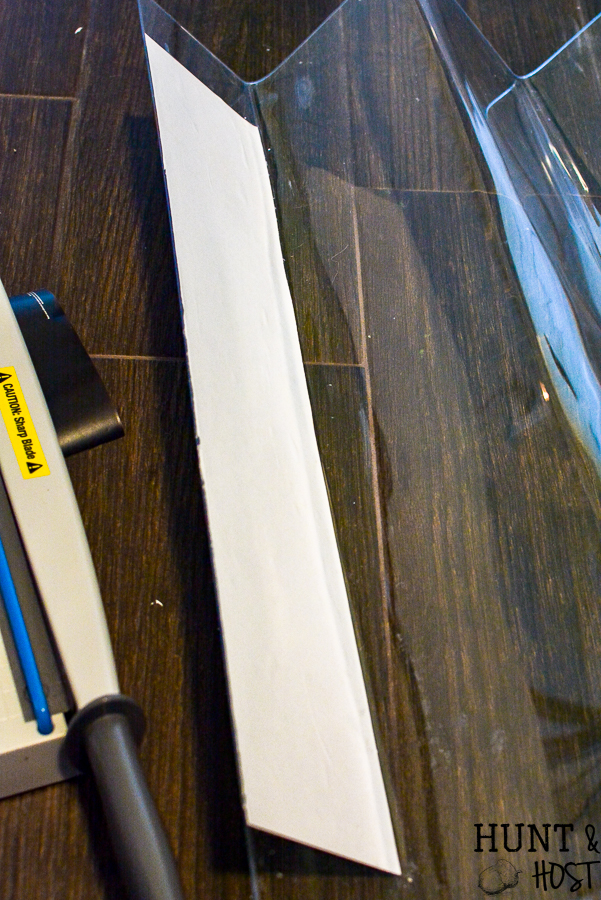
Use Mod Podge and a sponge brush to paint the piece of plastic you are covering, only do one section at a time, the glue dries quickly! Gently place the map or poster of your choice on the glue and quickly position it before pressing it all the way down. Use a flat edge spreader, like a credit card and smooth out any wrinkles or bubbles in the poster. Continue across the plastic until all the slices are done!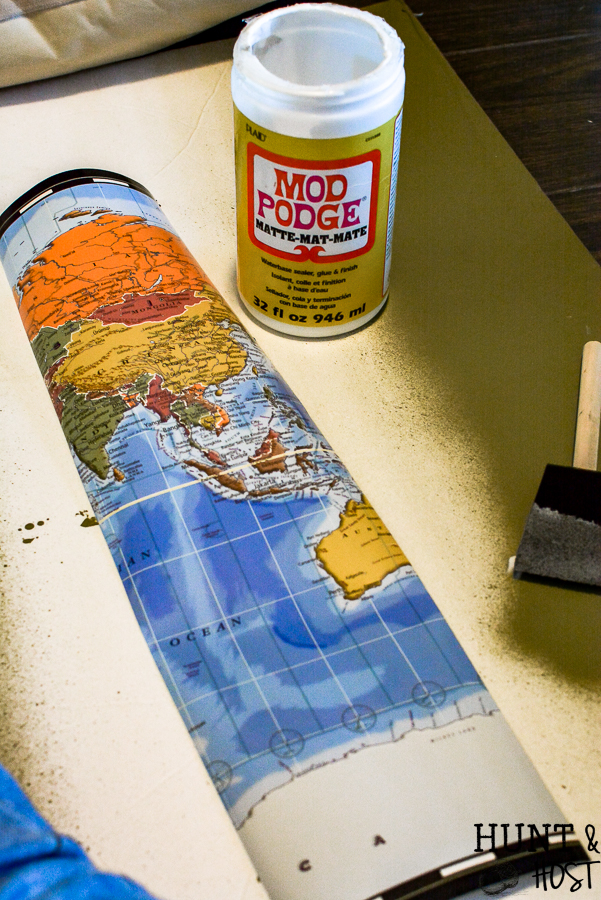
Next you will go back with your second picture scene. I chose to use fabric and was able to cover the entire back of the piece with this fabric. Once again use Mod Podge and paint the glue on one section at a time, gently applying the fabric and smoothing with a flat scraper. Allow the glue to dry. I laid my fabric down with excess hanging over the edges so I was sure to get a perfect fit. Once the glue dries use an exacto knife to slice along the edge of the plastic and remove any excess paper or fabric for a smooth clean edge.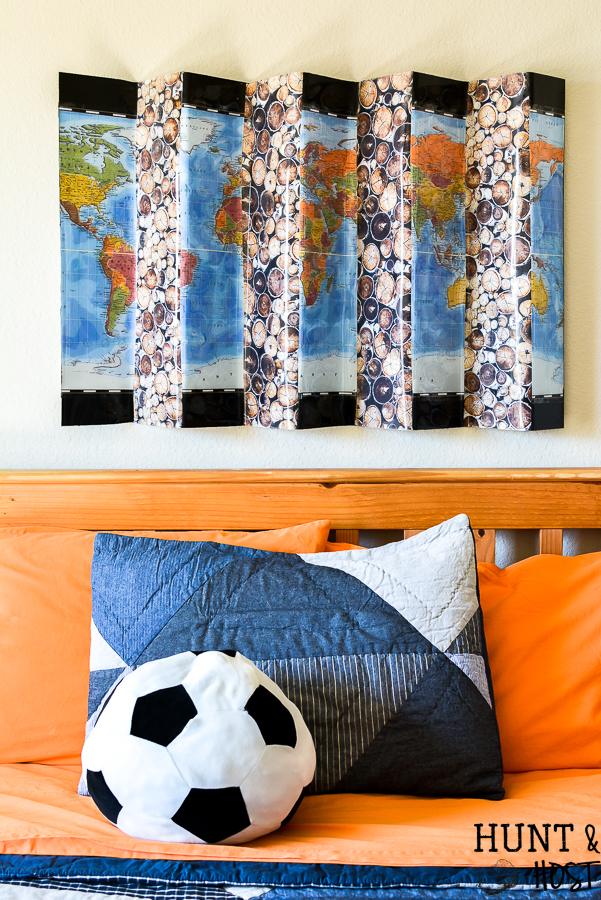
To hang you need to pre-drill holes large enough for your screws in the bottom groove of a few bends in the acrylic. Hold on the wall and attach to the wall with screws, using sheetrock anchors if necessary.
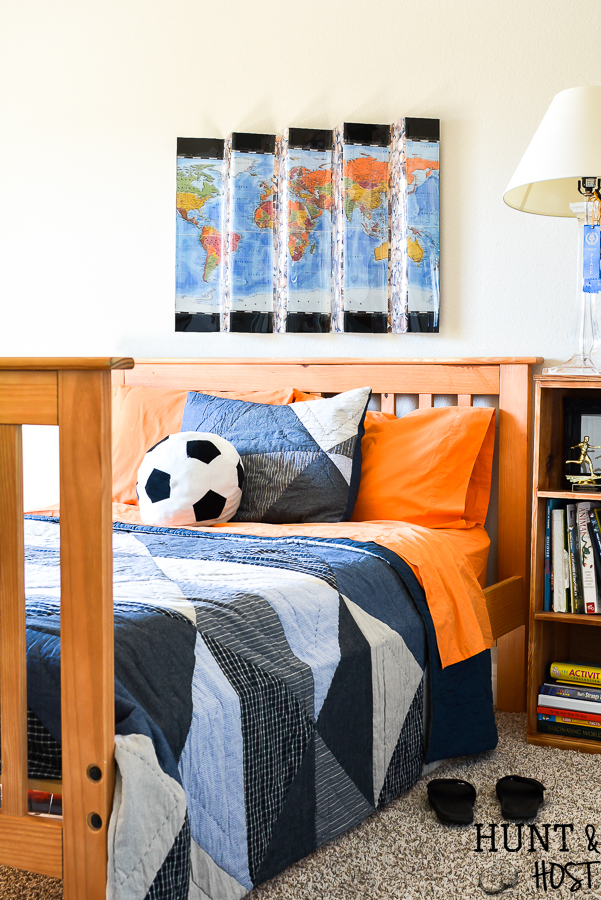
Now you have a cool two way 3D wall art made with your Wagner heat gun and a little creativity! There are so many possibilities with a heat gun and I hope the few projects we shared today will get you excited to try it for yourself! In case you needed even more ways to use a heat gun here are a few additional ideas and a handy supply list for this inexpensive must have tool: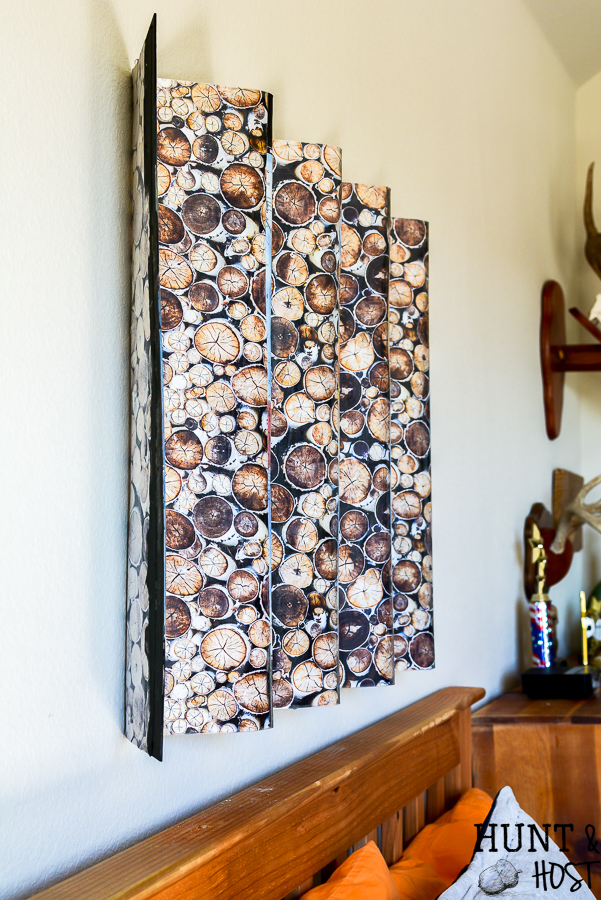
- Home improvement projects, such as removing old paint or floor coverings, defrosting frozen pipes, bending plastic pipes, and drying filler
- Automotive applications like window tinting, removal of stickers and emblems, dent removal and the restoration of plastic trim
- Art and craft projects, such as candle making, shrink wrapping and embossing
- Sports equipment maintenance, like waxing skis and snowboards
- Electronic thermal repairs such as screen repair on smartphones and tablets, or re-soldering gaming consoles
3D Wall Art Project Supply List
Poster
Fabric
Dry Erase Marker
Tape Measure
Sponge Brush
Scrap wood
Drill
Screws
Screw Driver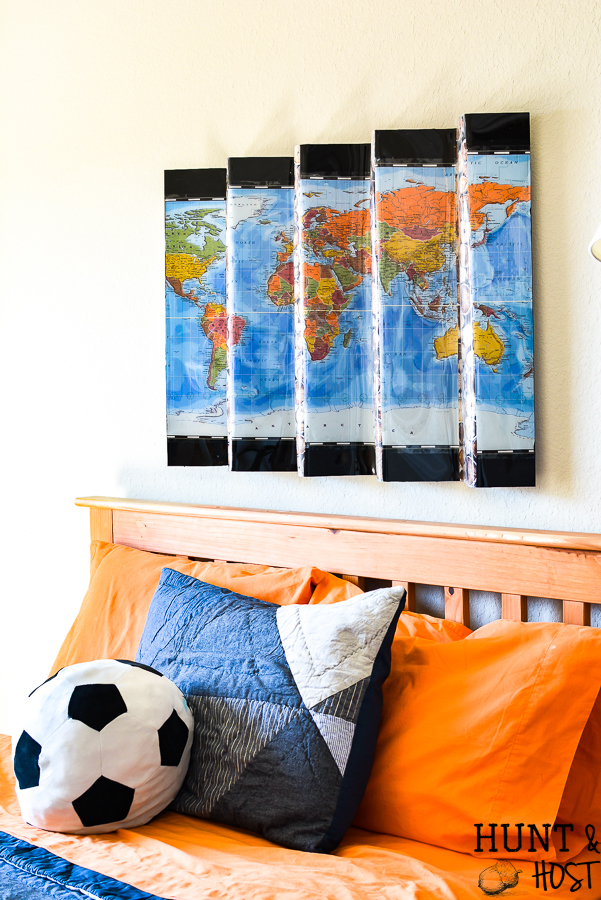 Thanks for stopping by, as always I loved having you over! Be a sweet friend and share this project if you loved it! Thanks!


Love it
thank you!
That is so neat!
thanks friend!
Very cool!
thank you, it looks great in his room! now I need to paint his walls 🙂
Super cool Kim!
thanks Sara!
This looks amazing!!! Awesome job!
thanks friend!
Kim I’m speechless! It’s awesome!
Such a cool art piece! I love how it changes depending on your view. I can’t wait to try a heat gun with plexi glass! ~Kristy
THAT is Awesome…and not just something for his walls NOW, but an art piece he can use for many years to come! (AND, his Mom made it!!)
This is fantastic, Kim!!