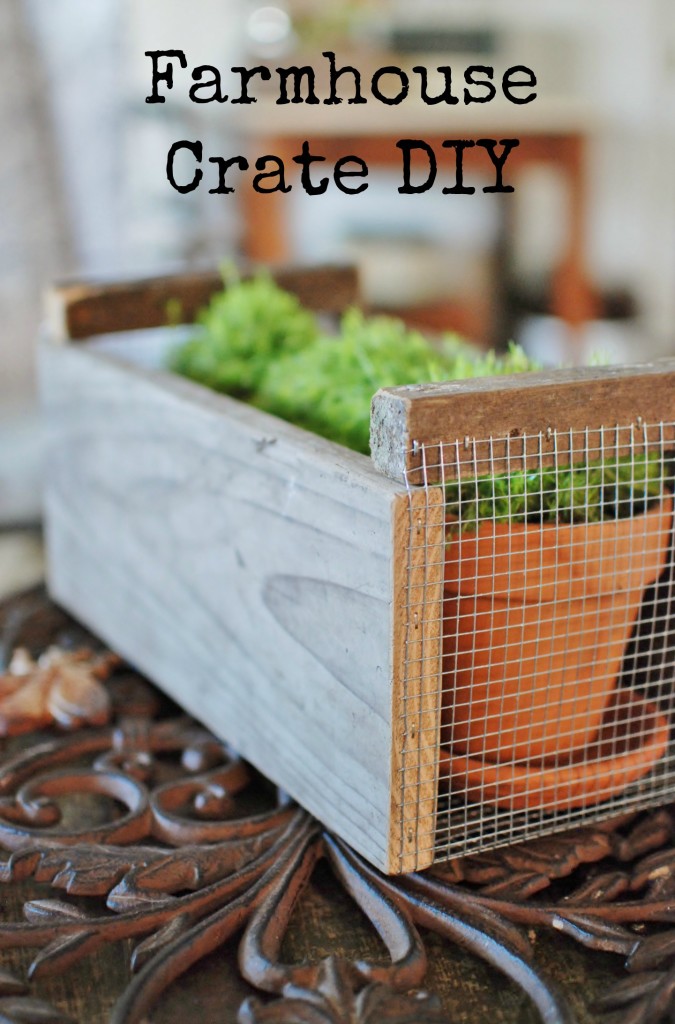
learn how to make a beautiful diy farmhouse crate inspired by magnolia market.
Thanks to my Magnolia Market visit I am in overdrive to incorporate farmhouse décor into my world. The good news is there are a million ways to do this on the cheap. This week I’m showing off a DIY farmhouse crate that costs next to nothing.
***this post contains affiliate links, that means if you make a purchase I may receive a small commisson, thanks for your support
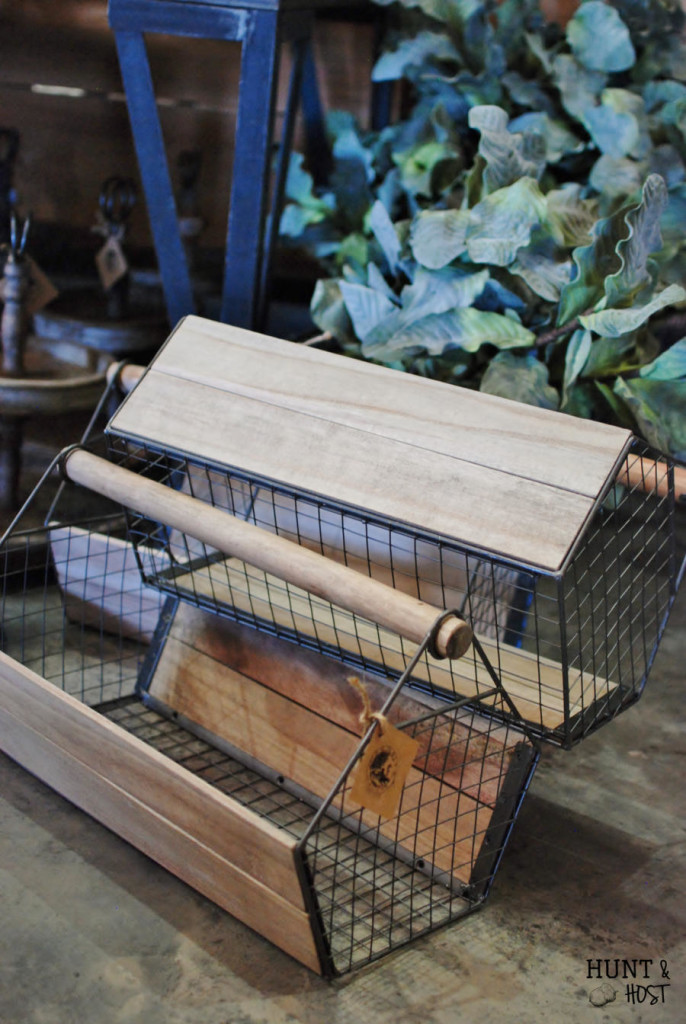
I was inspired by this mixed metal and wood tray I saw in Joanna’s store.
My interpretation is just that – my take on the project. If you like it, in just a few easy steps you can have one of your own.
I started with an old fence picket. You can find them free on the side of the road almost any given day if you just drive around and look enough. A small square stake serves as the top/handle part.
I always keep random pieces of wood for projects such as this.
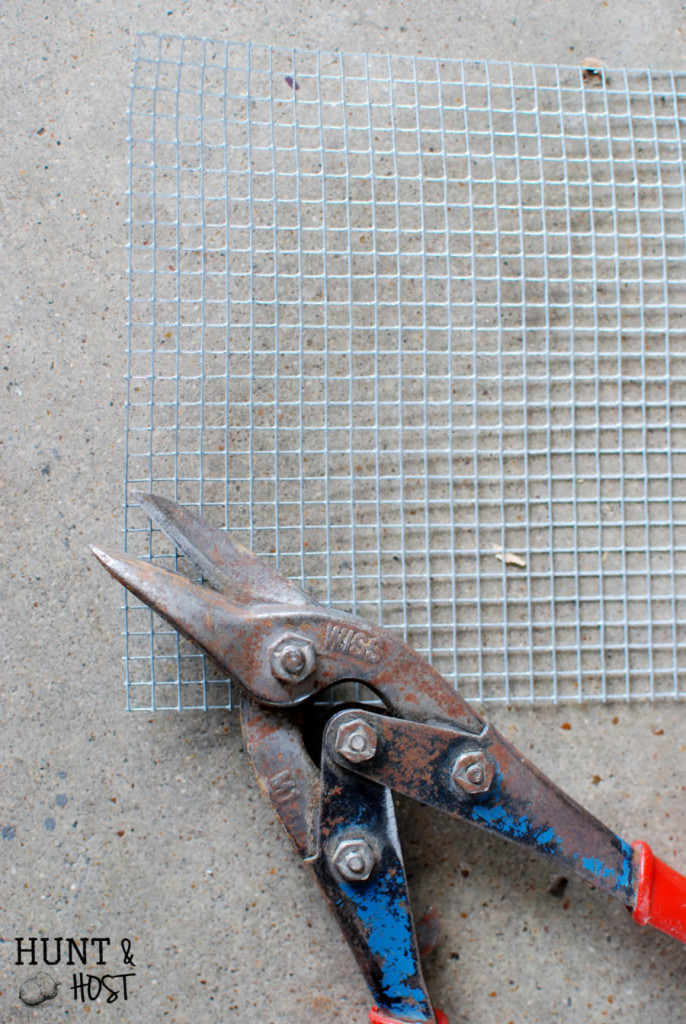
I did buy a roll of 1/4 Inch Mesh Hardware Cloth. It cost around $13 at my local home and garden center. You can find it in the outdoor fencing section. A whole roll will make a ton of these farmhouse crates! Since they would make great gifts I made a few extra as I went!
Start by cutting your fence board into two equal lengths – make them to suit the space you are decorating. The one in the pictures you see here is 14 inches long.
The width is 7 inches, so cut two square stakes in 7″ lengths to serve as the top/handle piece. Sand any rough edges or spots. You could paint and distress the wood if you wanted to add another dimension to the piece. Or even paint a logo or wording on the side.
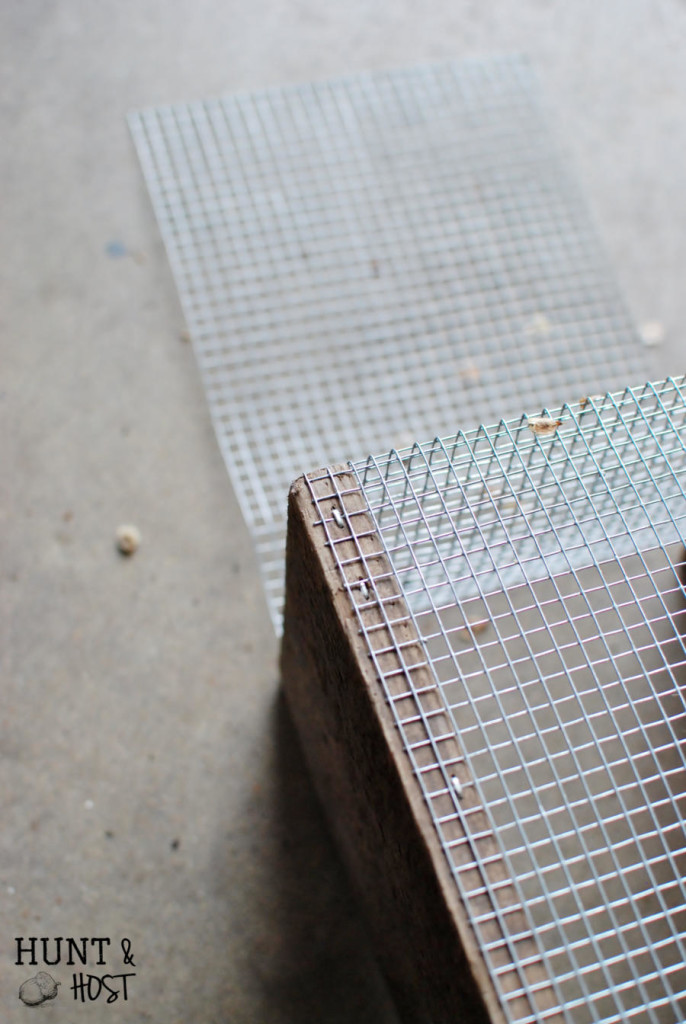
Using metal snips cut a rectangle piece of metal cloth the length of your board, plus side heights, plus square. For this exact project that is 26″ X 6 3/4″. Cut so there are no sharp points protruding out.
Start by centering your metal piece in the middle of the length of wood, line up the edges and begin stapling. I used a pneumatic staple gun, but you could hand hammer or use a handheld staple gun, whatever you have on hand will do the trick. Staple the entire length then add the other board to the opposite side. The grid pattern the metal provides makes it easy to line up.
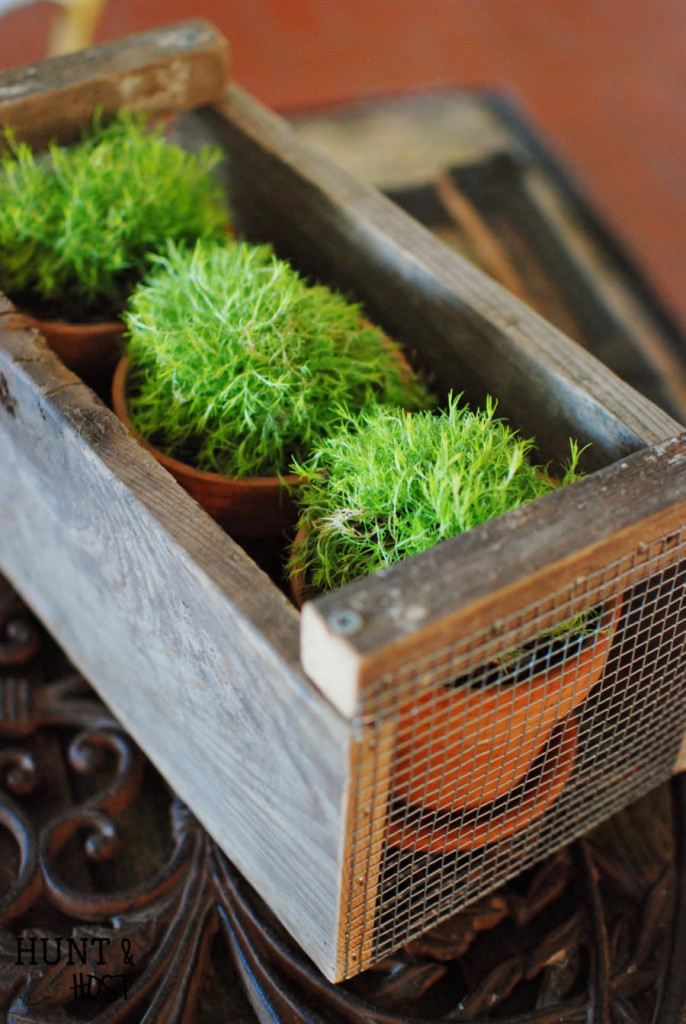
Next staple the end caps. Secure your square length of wood to the top with wood screws and then staple the mesh to the outside.
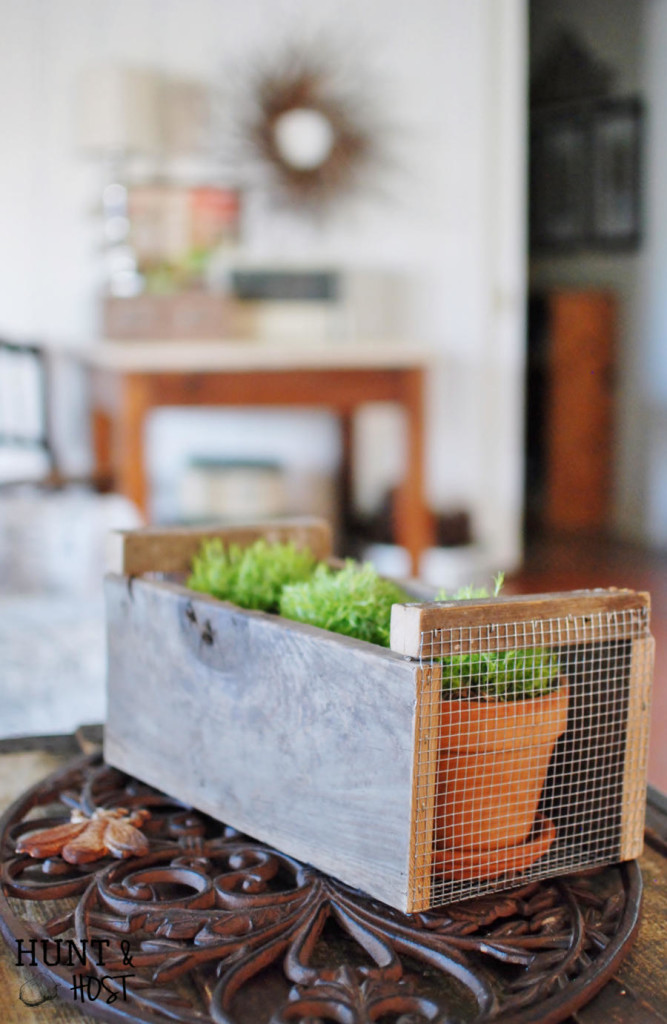
There are a ton of ways to style this cute farmhouse crate and you should decide the size you want to build based on the way you plan to use it. I wanted three simple clay pots in mine, so I built accordingly. I always prefer fresh plants and flowers over faux any time I can swing it!
These farmhouse crates are a cinch to make, inexpensive and so versatile. While you have all your supplies out make a few extra to fill as a holiday gift basket or fun birthday gift!
Here they are…adding to the Spring decor we have going on. What else can you think of to style in your farmhouse crate?
Please be sure to pin this idea for later!
You may also enjoy these DIY farmhouse ideas:
[mv_create title=”DIY Farmhouse Crate Inspired by Magnolia Market” key=”32″ thumbnail=”https://salvagedliving.com/wp-content/uploads/2016/03/farmhouse-crate-DIY-huntandhost.net4_.jpg” type=”diy”]





Hey Kim, I thought you’d like to know that none of your amazon links work in this post. I love this project, and want to try it!
thanks so much – I love when links work…then they don’t 🙁 #bloggerproblems
Love your site!
thank you!!!
Really neat project ❤
Thank you Janie!
I love this project and believe that my husband has all the materials in our barn!!! I know what I am doing tomorrow! Thanks, and many blessings!
Yay – It’s a pretty quick project and I made a few at once for gifts!
You can often tell a serious crafter/builder/artist by the tools! Your tin snips are well used. Love this project. So clever. They could be stenciled as well.
lol – so true!!! Yes, I think a stencil would be awesome. I am about to make a few crates for outside and plan on adding a little stencil or something to them.
Do you happen to know what plant you used here? I love the grass/moss like texture!
I am so sorry I don’t! I just grabbed it at the Garden center! so sorry!
This is really cute! I love your take on this idea! I could see some fresh tulip bulbs planted individually, or daffodils! Thanks for sharing!
great idea!!! I love that you can make them as deep or shallow as you like!