This DIY embossed leather look is an exciting way to change up your furniture and craft makeovers. It’s a new take on an old art that you can add to your DIY arsenal! I want to thank Modern Masters for sponsoring this makeover, all ideas and opinions are my own.
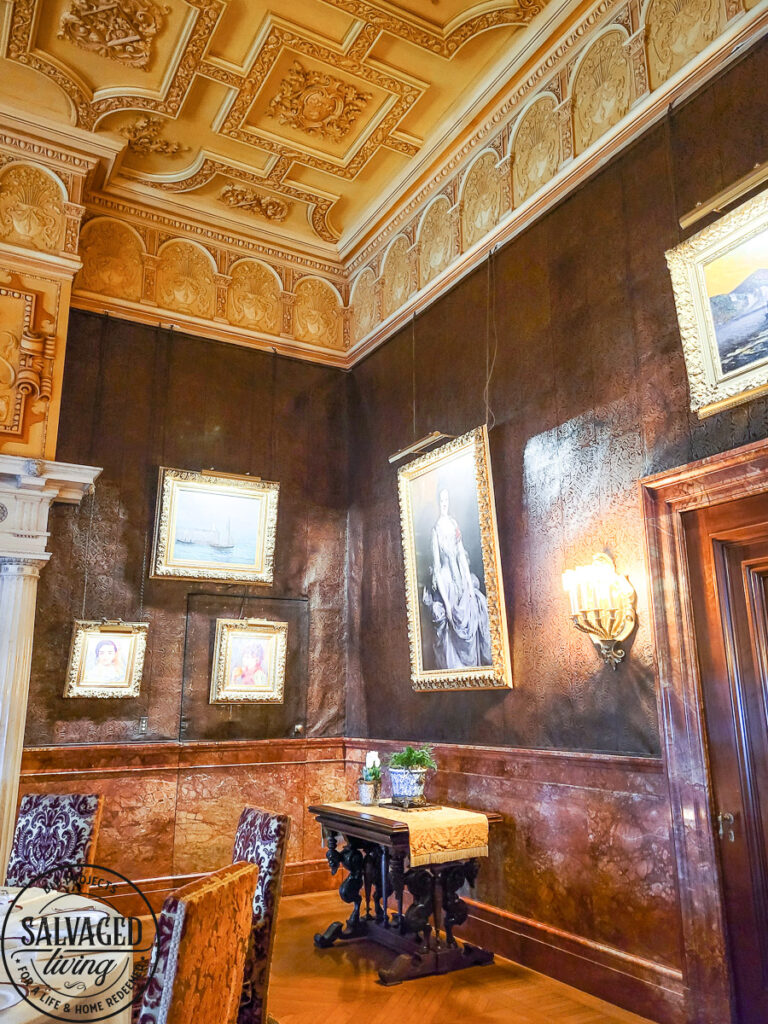
The whole embossed leather look snuck into my mind while I was on vacation at the Biltmore Estates ( BTW – such an amazing trip, you can read all about it HERE). I loved so many details and decor ideas of this amazing home, it had my decorating wheels churning at high speed. They had wallpapered an entire room with embossed leather and it was equally unique and stunning. I filed that little gem of an idea in my brain Rolodex and determined to use it when I got back home.
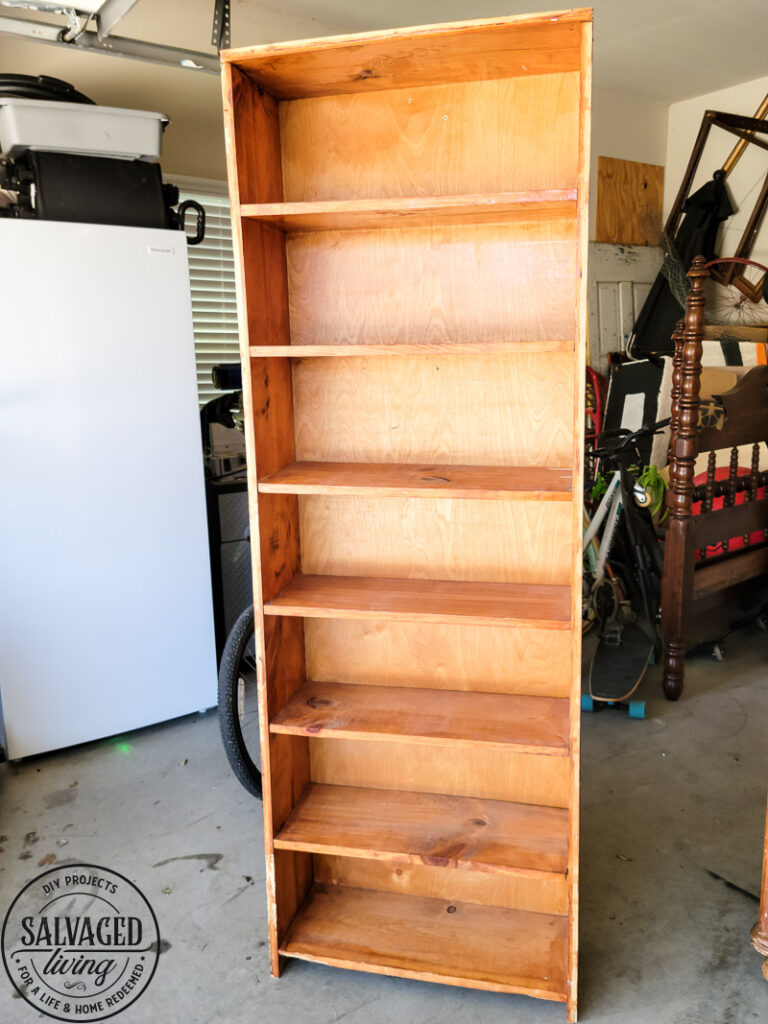
The feel of embossed leather is perfect for my youngest son’s room, we just did a rustic hunting makeover in his room to update it a bit. I scored a large bookshelf for $10 at a garage sale recently and wanted to jazz it up a bit with this leather technique.
I’ll give you the rundown on how I pulled off the embossed leather look, what I would have done differently, and the products I used. The results turned out great and gave me the confidence to try this idea in a bigger space, perhaps an entire accent wall instead of a furniture accent. I’d love to hear where you might try this idea!???
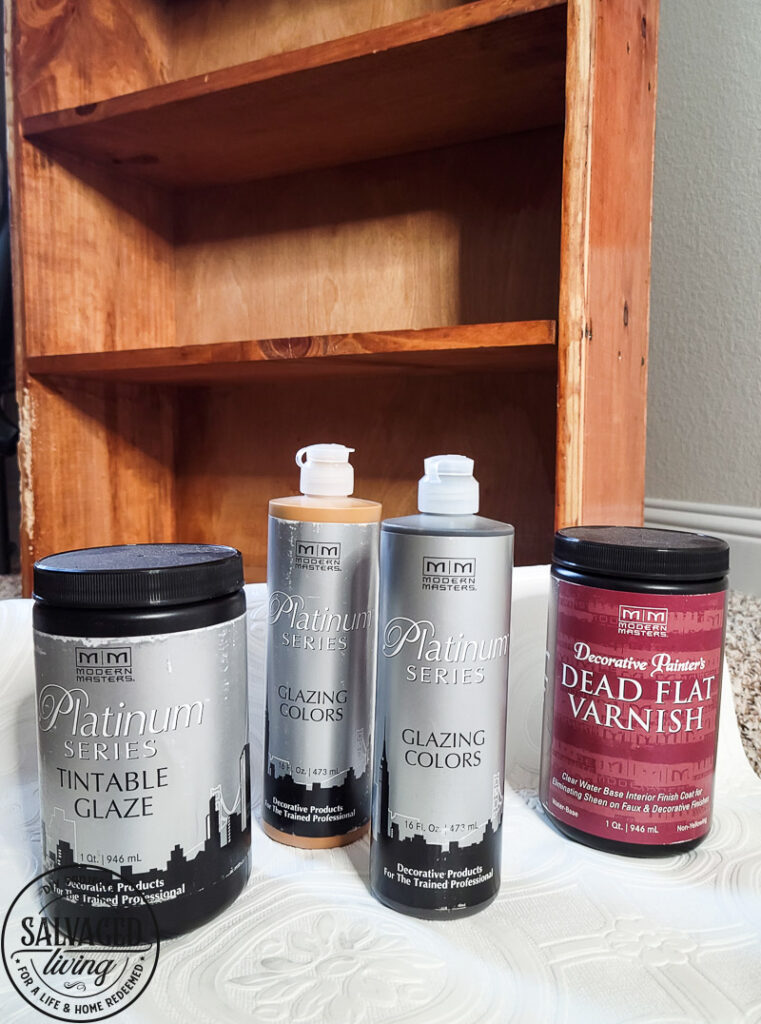
I reached out to the Modern Master folks and got their advice on the best products to use and they confirmed the tintable glazes were a good bet. This company has so many amazing, high-quality paints and products that allow you to create finishes and looks that would blow your mind. I recommend you spend a minute checking out their project gallery to see all the possibilities! Did you see my dining room ceiling makeover? It was a Modern Master project that I adore to this day!
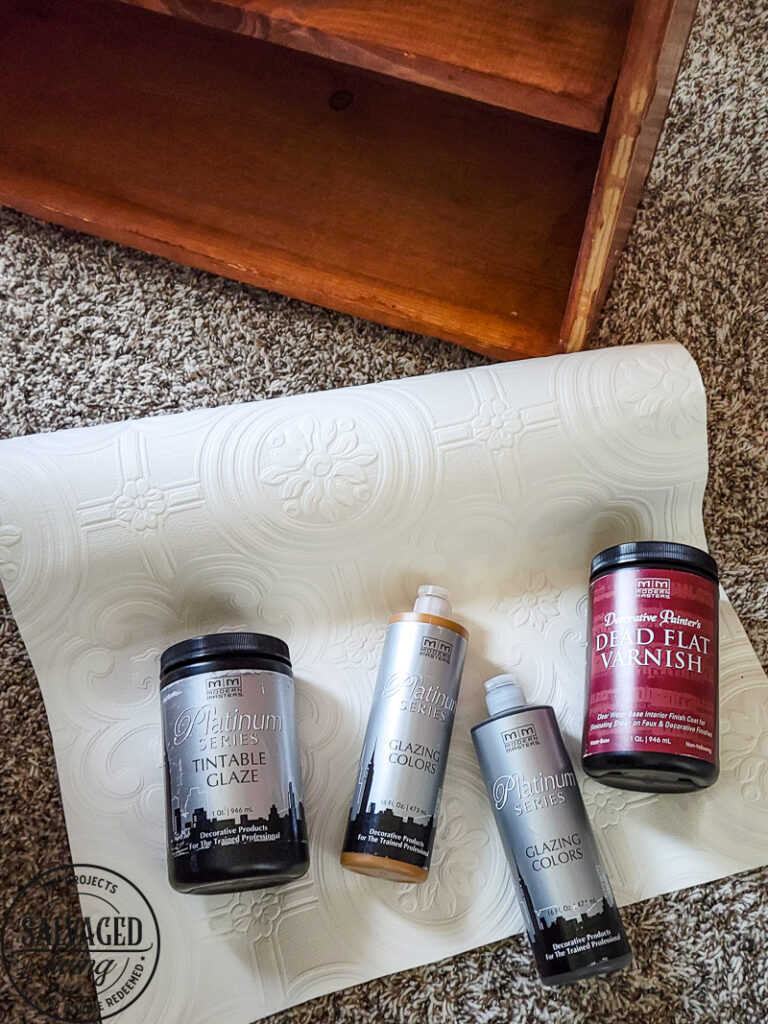
DIY Embossed Leather Supply List
Modern Masters Glaze Tint – Golden Sienna 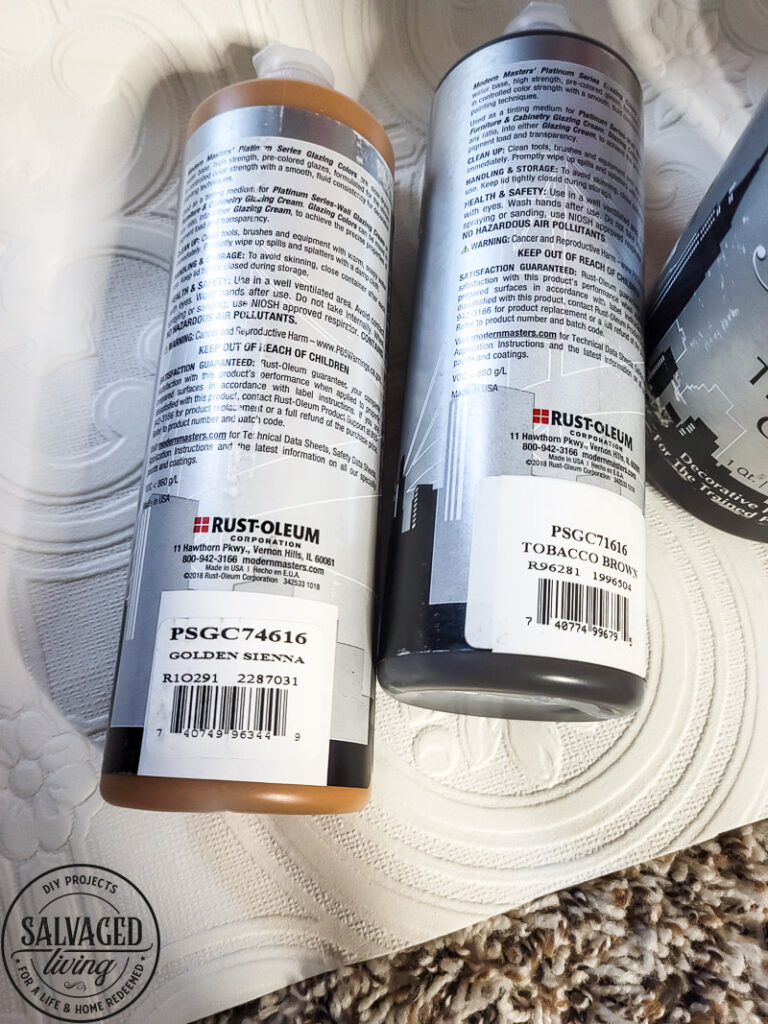
Modern Masters Glaze Tint – Tobacco Brown
Roller Brush
Paint Tray
Modern Masters Dead Flat Varnish
How To Achieve An Embossed Leather Look:
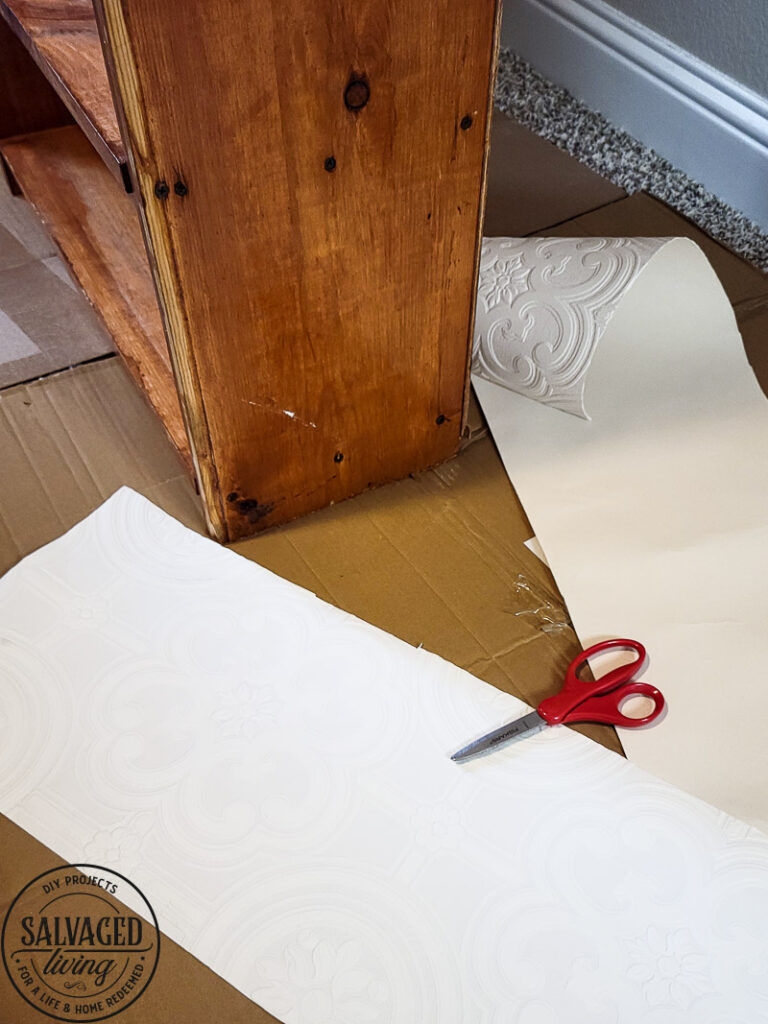
- Use textured wallpaper on your desired surface, which could be a wall, craft supply, or furniture. Apply the wallpaper per individual instructions on the specific wallpaper you purchase. Some are self-adhesive, and some need glue.
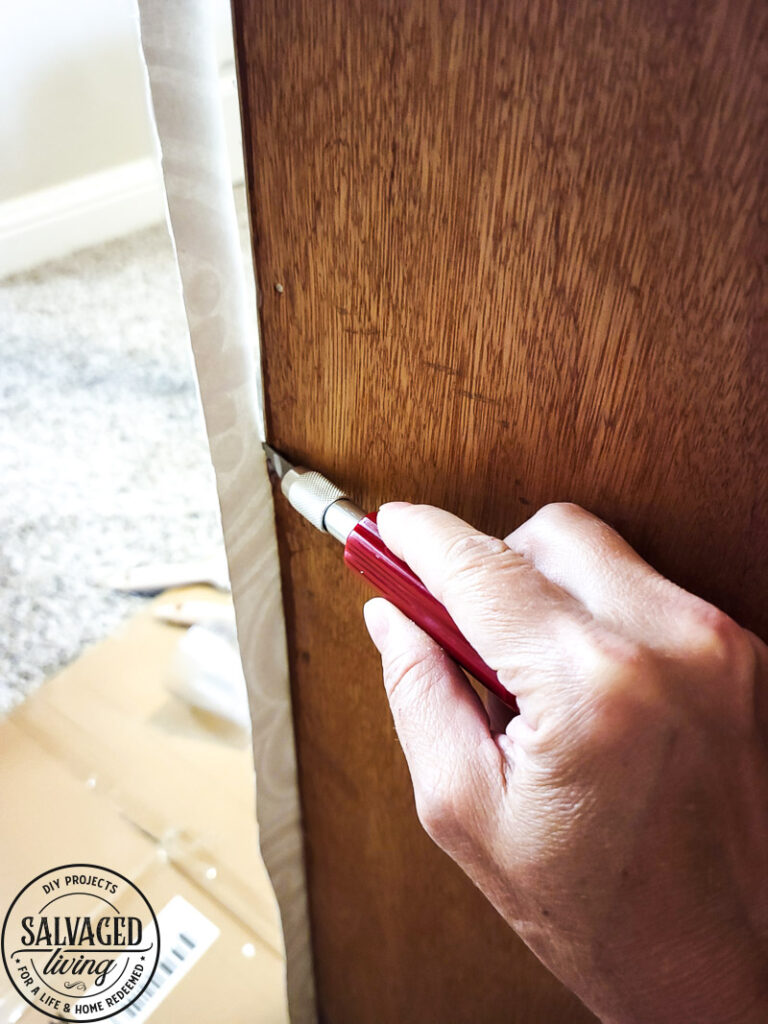
- Cut the wallpaper to fit the surface you are covering, I used an Exacto knife once the adhesive was dried and used the furniture as my cutting guide for an exact fit!
- What I would do differently – I applied the Modern Master Glaze directly to the textured wallpaper. I got the look to work the way I wanted, but I think I could have achieved the look a little faster if I would have painted the wallpaper a solid, leather-toned color first and then glazed over it. If I do this technique again I will try that approach for sure.
- I mixed the Modern Masters Tintable Glaze and the tint together in a small batch, a little goes a long way! I used a plastic cup as my mixing cup. Play around with ratios, I used a good amount of tint for strong color. Mix the colors, and use them individually or both for a variety of looks. The colors I chose were Tobacco Brown and Golden Sienna, the brown was the best choice!

- Roll or brush the glaze over the textured wallpaper. The amazing thing about this glaze is it stays workable for a long while, at least an hour. This means you can build on it, stretch it, add to it and mix it up for a while to achieve your desired outcome. I like layering the colored tints to give a more muddled, aged effect. If you allow the tinted glaze to get thick in the crevices of the texture it really makes the texture pop and looks like authentic embossed leather. Here is a single coat:
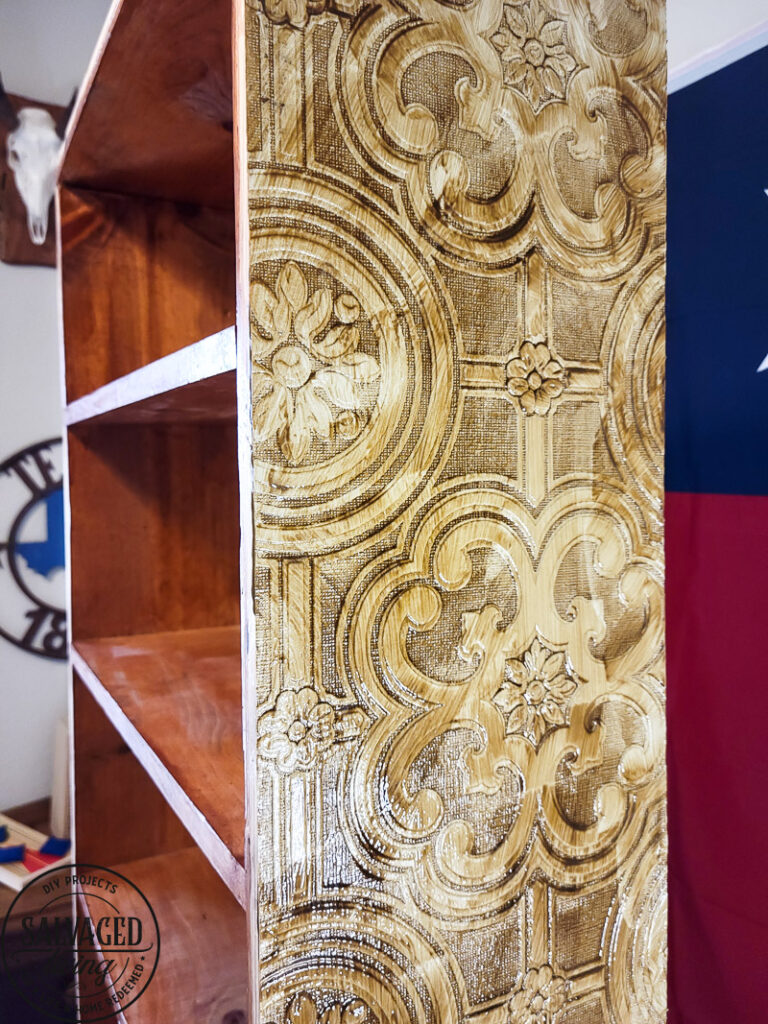
- Because this tint does take a while to dry this kind of project is best done over the course of a few days so the layers can dry in between if you want to work on a build-up of color and tint. This is why I would have started with a solid color base coat if I could do it again. I think it would eliminate a coat of glaze, after all, the glaze is not created to be full coverage, but to accentuate and add dimension. I should have thought of that from the get-go!
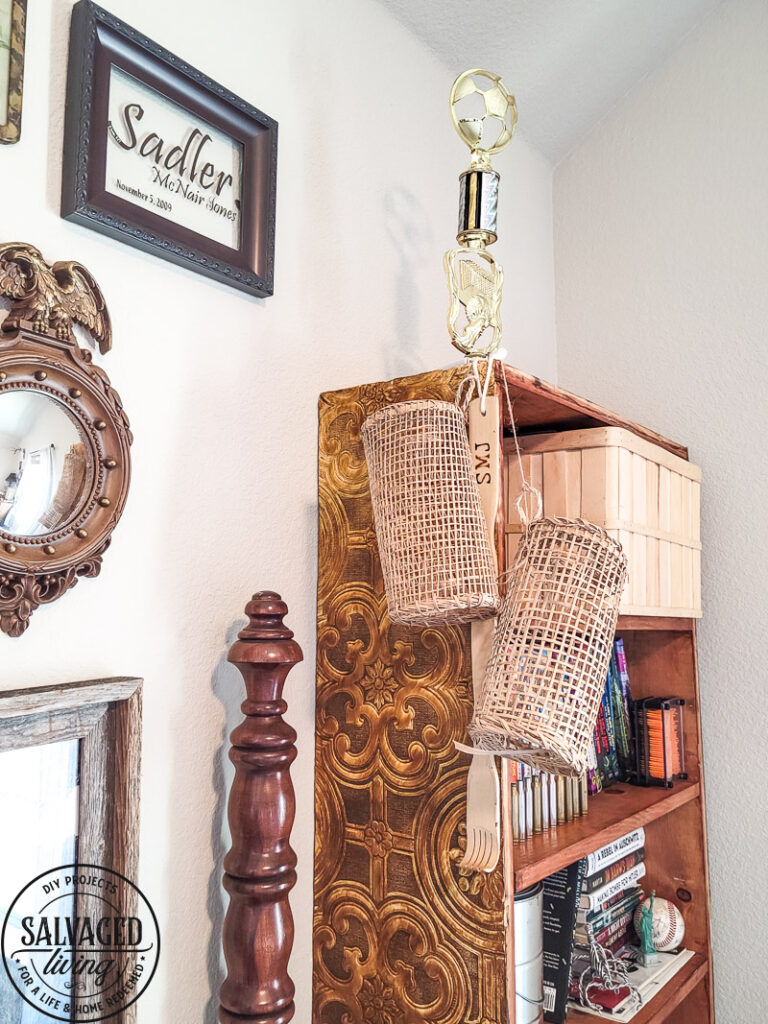
- Once the layers of paint and glaze are completely dry, finish off your project with a coat of Modern Masters Dead Flat Varnish. The glaze finish can have a varied sheen to it based on how much glaze and tint you get in different areas and this last coat evens things out for a finished, professional feel.
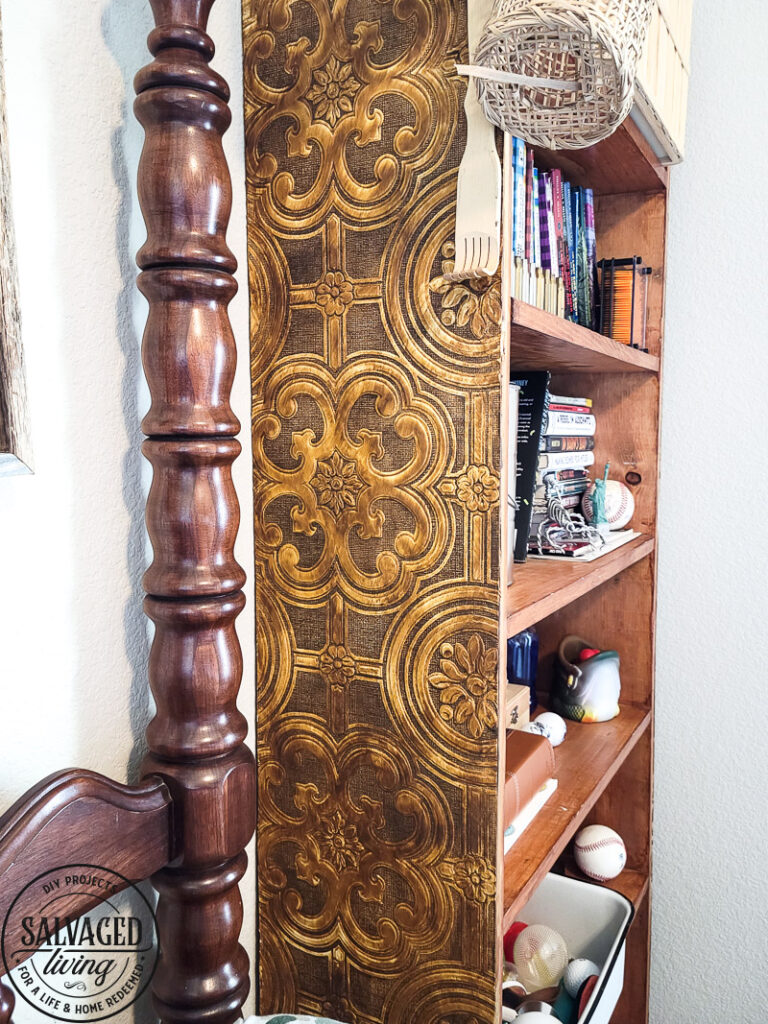
I can only imagine how beautiful an entire room or accent wall would be with this application! I hope you have a place to try it and will share your results with me. DIY is what makes your home YOURS, so go for it and enjoy.
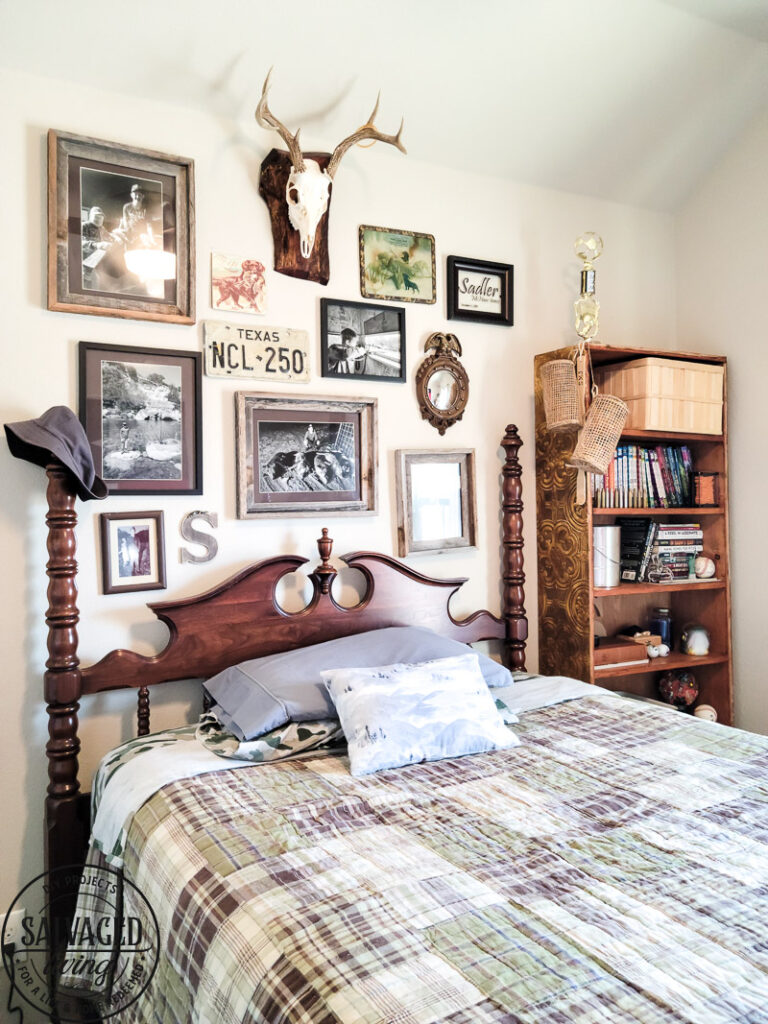
I think the Biltmore would be happy with the way this garage sale bookshelf makeover turned out, so much of the design there inspired this entire room, but especially this project!
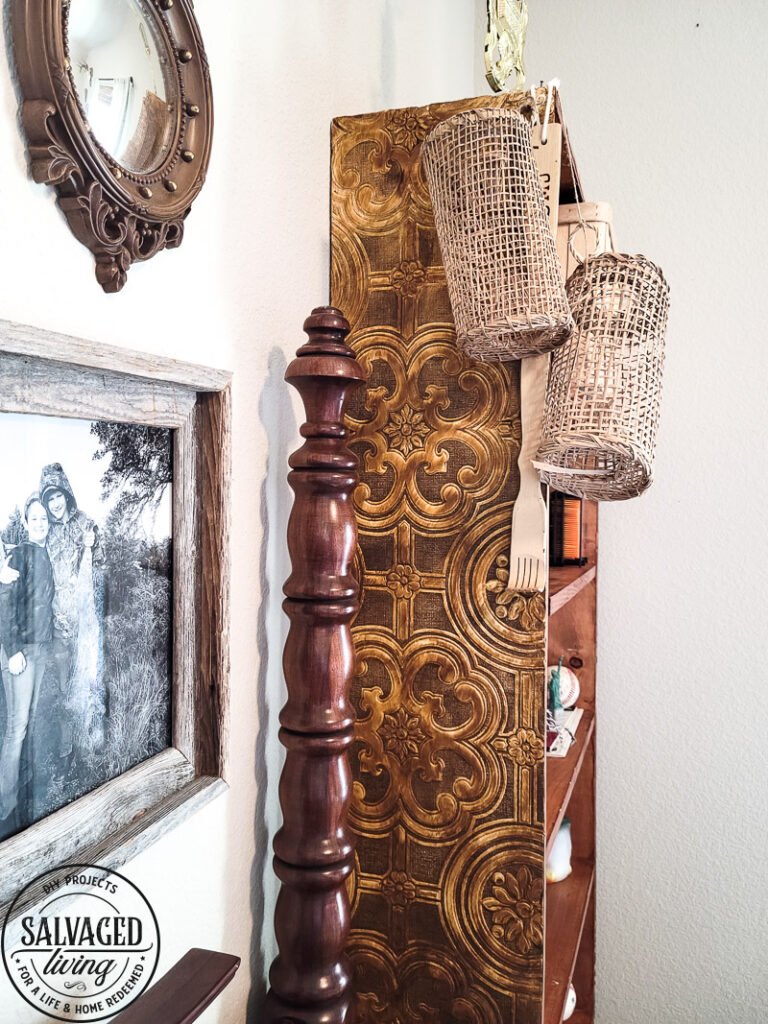
If you plan to dive into your own project like this one, the good news is you can grab the supplies from SO many places!
grab what you need
- From the Modern Masters Website
- From Ace Hardware
- From Mark’s Paint Store
- From Hardwareworld.com
- From The Paint Store
- From Amazon
…And let the fun begin!


That is amazing. It certainly achieved the tooled leather look, without being too much. You have made me rethink the project that I’ve been working through my mind. And I am a great fan Modern Masters, but don’t see on many people using it. Thanks for sharing your work.
they have so many great products don’t they!? Hope you have fun with your project!
This bookshelf is Awesome! The new look goes well with bed and gallery. Job well done!!!
Thank you Lori, it was a fun project and we are really happy with the results!
Absolutely a beautiful job. Congratulations
thank you Sue! I am loving it
Great look. The bookcase will be usable in so many rooms in its future.
Glad you enjoyed the Biltmore Estate. I lived in Asheville for 40 yrs. It was my annual Christmas visit and Spring visit.
Try to get there at either of those times, it’s wonderful.