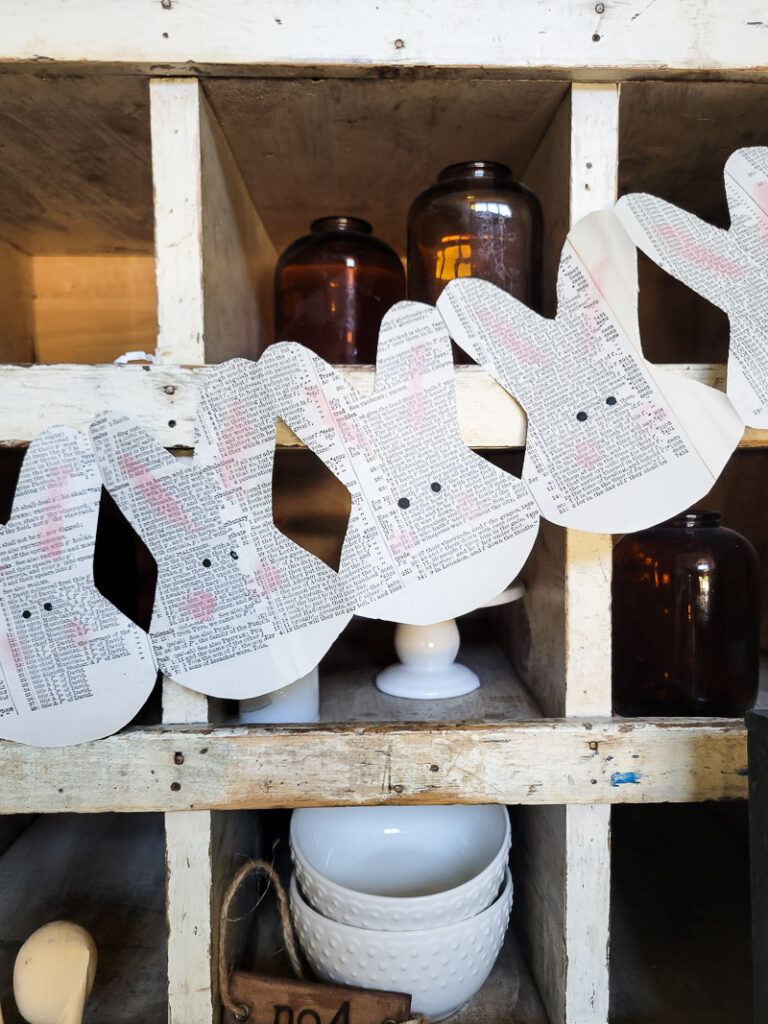
If you know me, you know I love a good paper craft! You can’t beat new decor that simply came from paper– It’s good on the wallet AND good for the planet, could you win more!? If you’re on the fence about paper as decor, just wait and see how cute this easy paper garland for Easter is going to be, you just might change your mind!
what you need
- paper (you can use copy paper, dictionary pages, Bible concordance pages, really ANYTHING)
- blush
- Q-tip
- black paint (or a marker)
- paint brush
- scissors
- glue (I used hot glue, but you don’t have to)
- bunny-shaped cookie cutter
- pencil or pen
how to make this easy paper garland
- Cut your paper in half. I guess this may not be a step depending on your paper and cookie cutter size, but you want your paper as close to the cookie cutter size as possible, so it’s easier later.
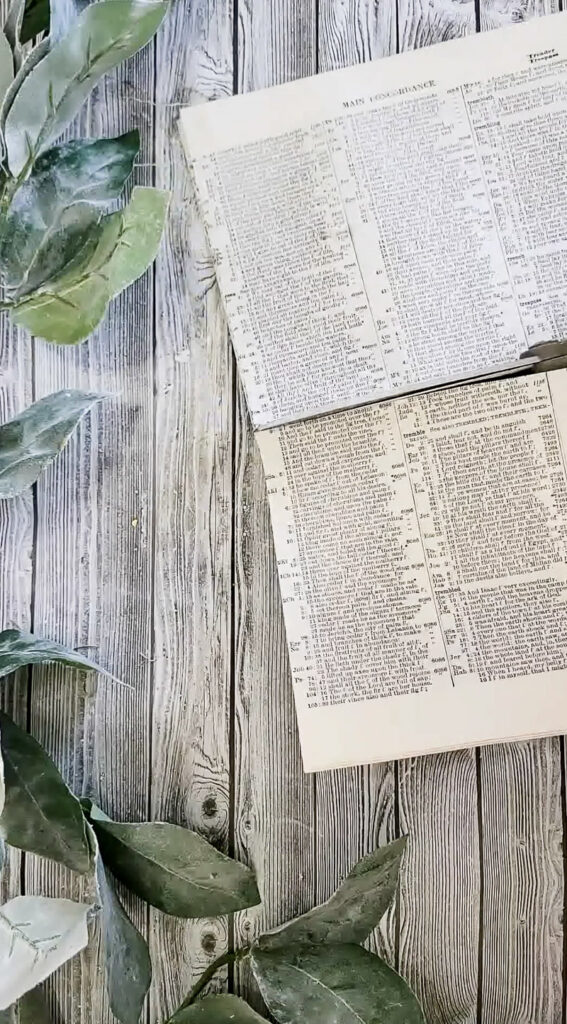
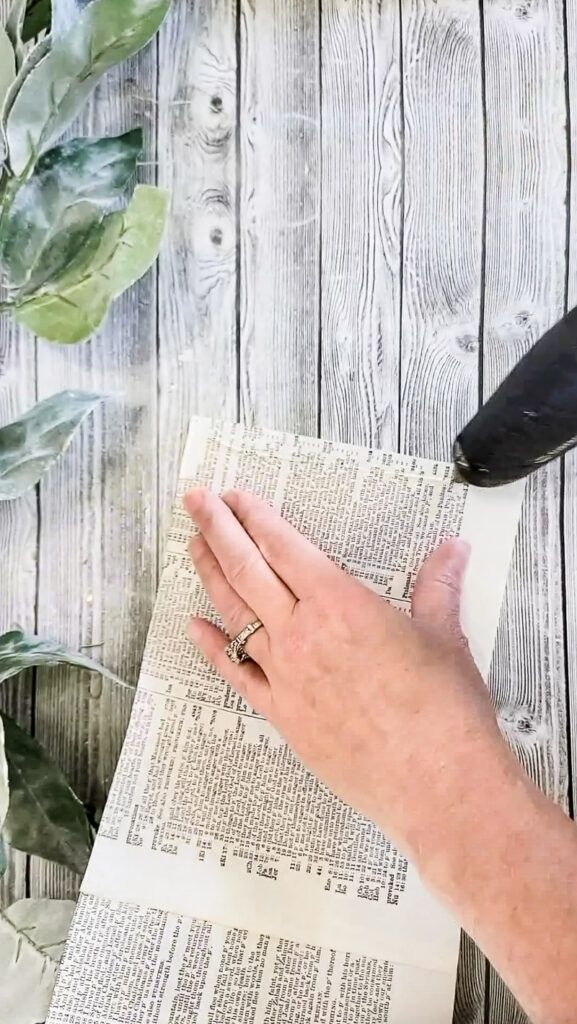
- Once you have a good amount of sheets cut out, you’ll hot glue them together, overlapping the sheets just enough so they appear seamless and are more secure.
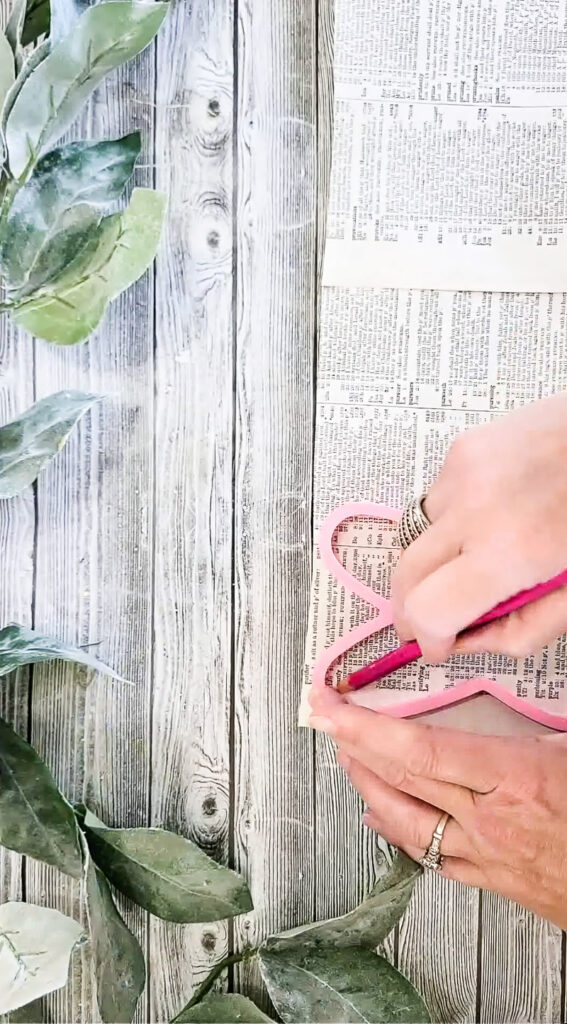
- Use the cookie cutter to trace the bunny head onto the first sheet.
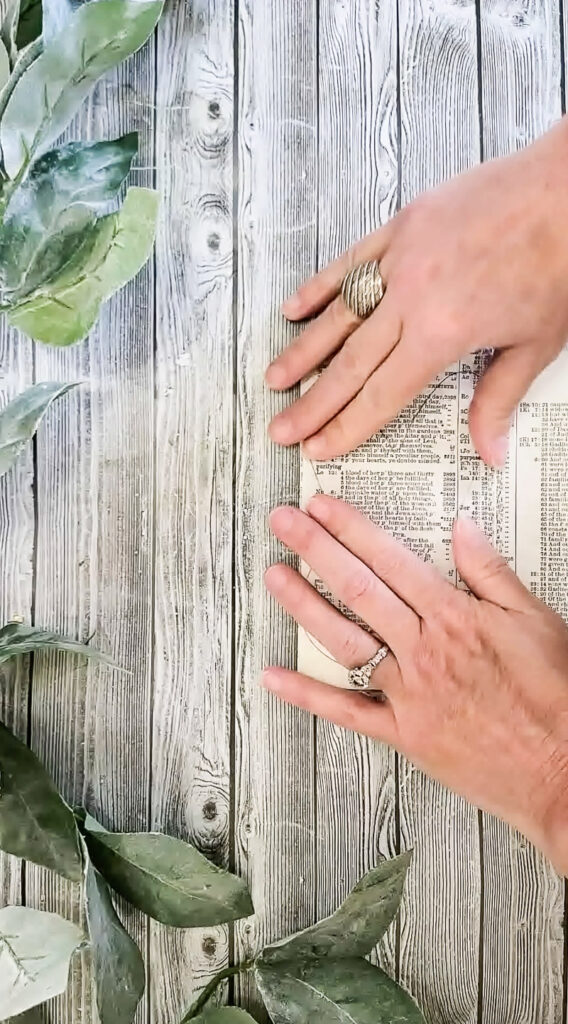
- Fold the sheets to the size of your trace, back, forth, back, forth– like an accordion.
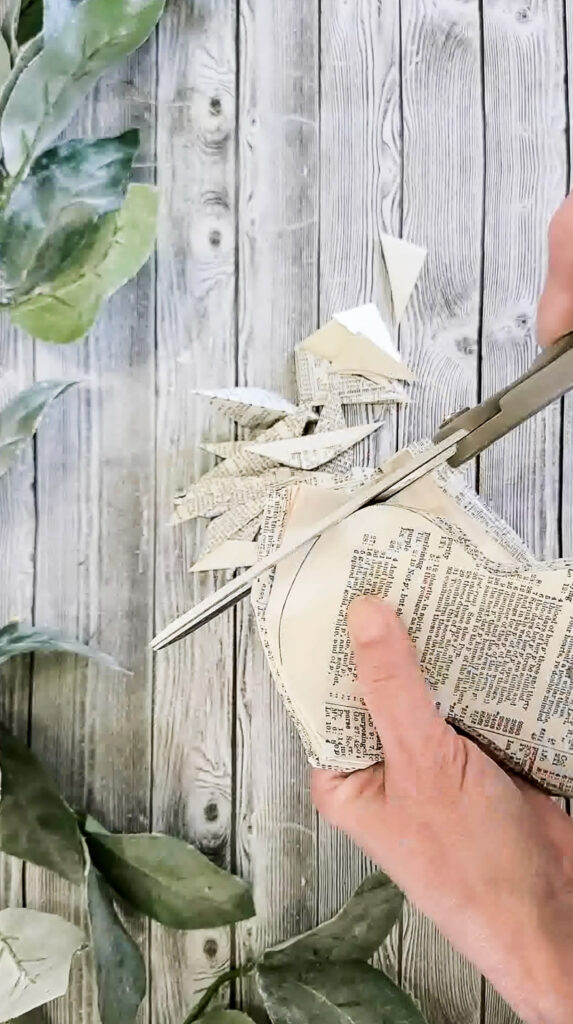
- Cut out your bunny head shape, making sure to leave the pieces where the paper is connected, alone. Once you open the bunnies up, it should be a garland!
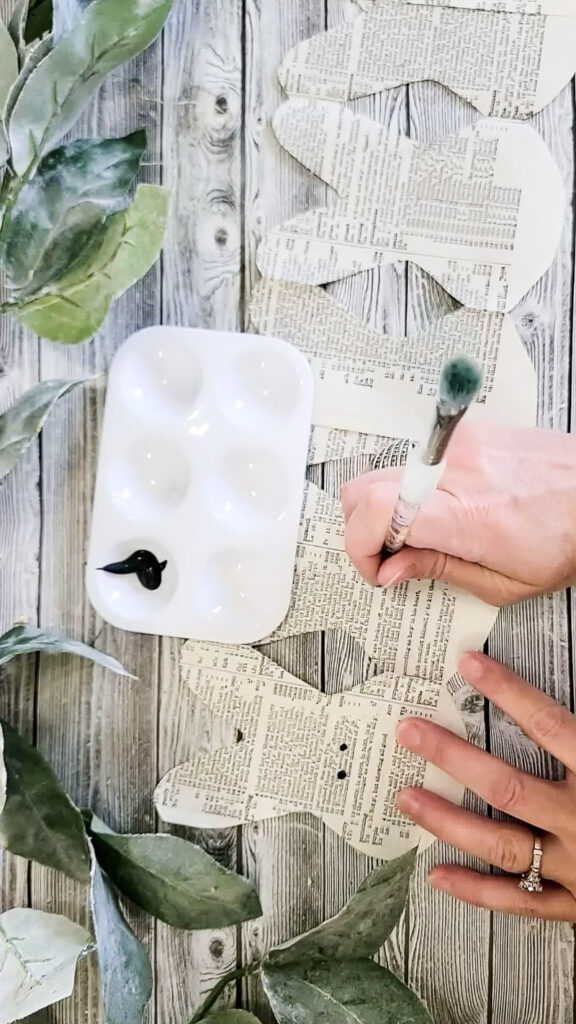
- To dress this cutie up, I used the end of a paint brush dipped in black paint to make little eyes. You can also use sharpie or colors here, whatever you have on hand.
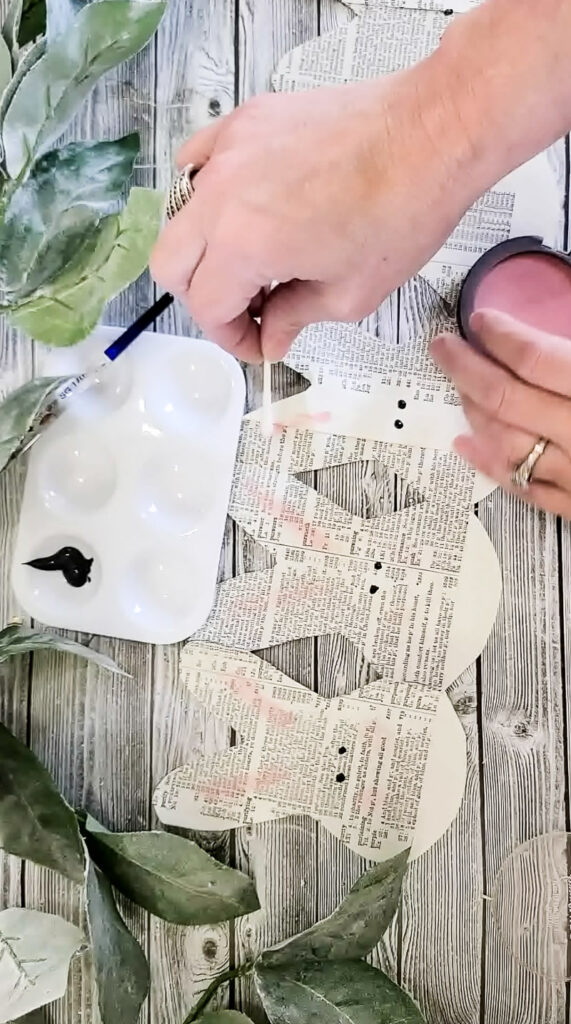
- Lastly, I used a Q-tip to add blush to the inner ears and cheeks! What’s a bunny without a little pink, right!?
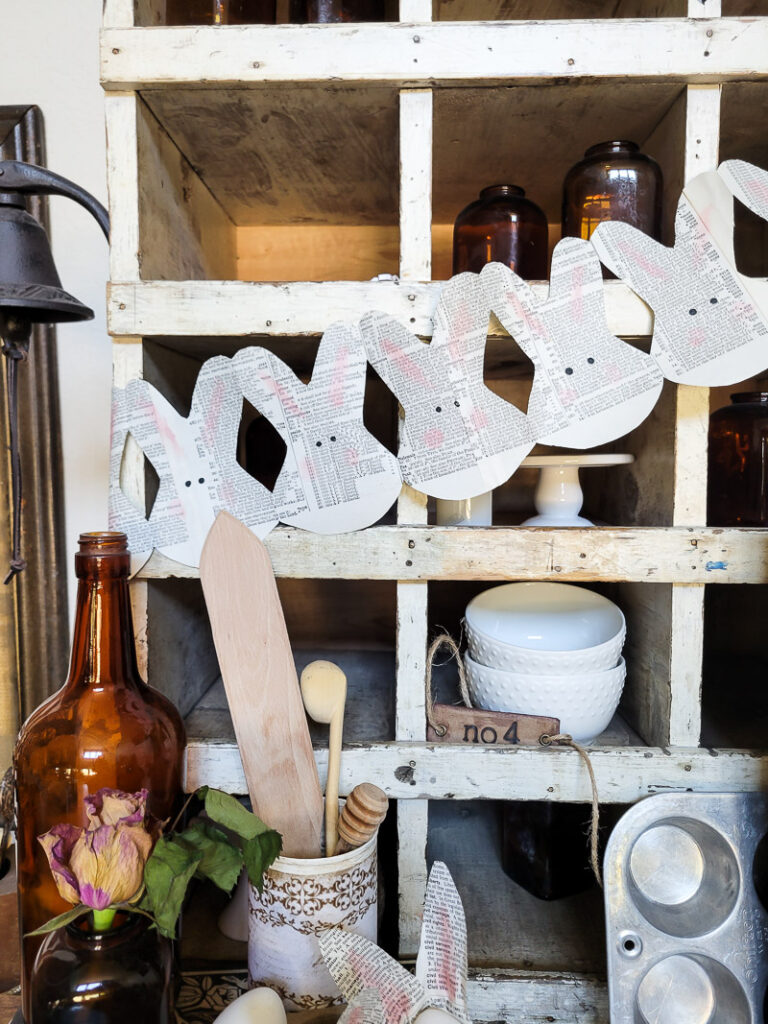
This little paper garland is SO easy to do, and oh so cute! It’s perfect for the kids, and for you!!! And if you mess up, just throw it away and start again, it’s that simple!!
If you liked this paper craft and want to see more, click HERE!
And if you’d like to read about my exclusive group where we make amazing decor out of paper and cardboard, click HERE!


Leave a Reply