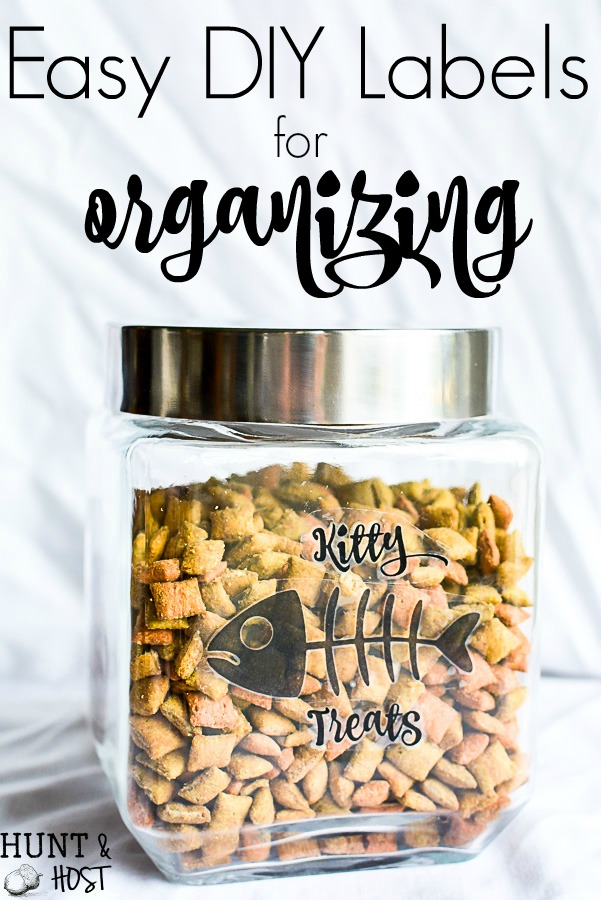
Declutter with these easy labels for organizing!
This time of year I am ALWAYS like a mad woman cleaning out closets, cabinets and drawers and this year is in full force. Massive purging is happenin’ over here friends. I really wish I had one of those dreamy Pinterest worthy pantries where everything was in cute clear containers, labeled like a professional all neat and tidy. But for real. I have kids and I’m lucky if a chip clip gets on a closed bag. (Usually they put the chip clip on but the bag isn’t even closed, true story.) Anyway, I do what I can and I’ve seen a SUPER easy technique floating around that I wanted to try, so here it is. 
Y’all know it’s like a small zoo around here and the animals are severely spoiled rotten. They even got Christmas goodies this year and bags of treats are rolling around my pantry floor, enticing fat animals to be under foot at any given moment. I had to wrangle that nonsense. A few dollar store glass jars and some packing tape to the rescue!
Start by designing your own personalized “label”. I’ve mentioned before, but I use Picmonkey for most projects of this nature, it’s extremely user friendly. For my animal treat jar labels I downloaded some free clip art I found on the internet and matched it with font that made me happy in Picmonkey. I do this by importing the clip art the same as I would a picture and editing it by adding text or changing colors, etc. Save the label file to your computer.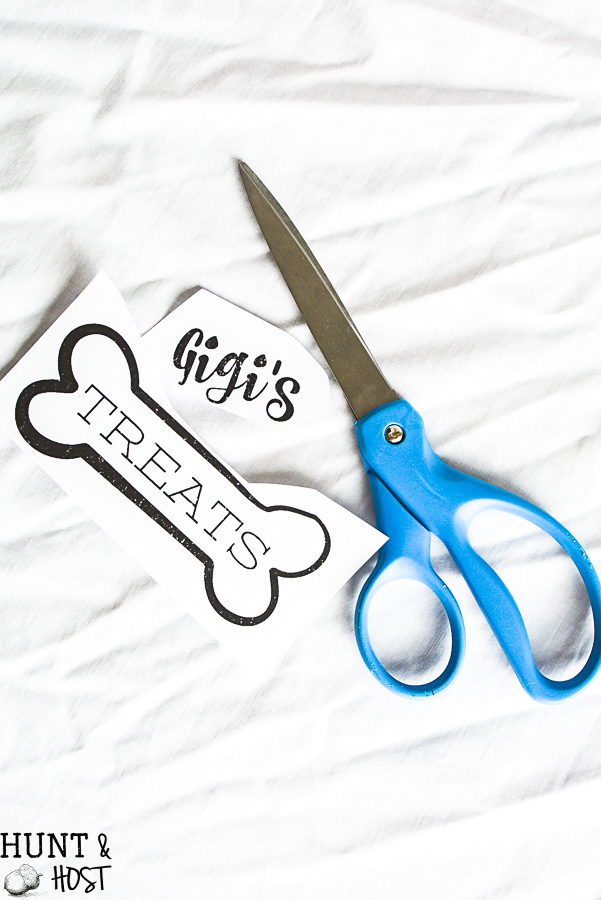
Next you are going to want to print your label with a Laser or Toner based printer. This is the lynch pin friends.When you go to print you want to make sure the design prints the size you’d like for your jar. Be mindful when designing that we will be using clear packing tape to transfer this design. Any given element of the design should be able to fit on one piece of packing tape. 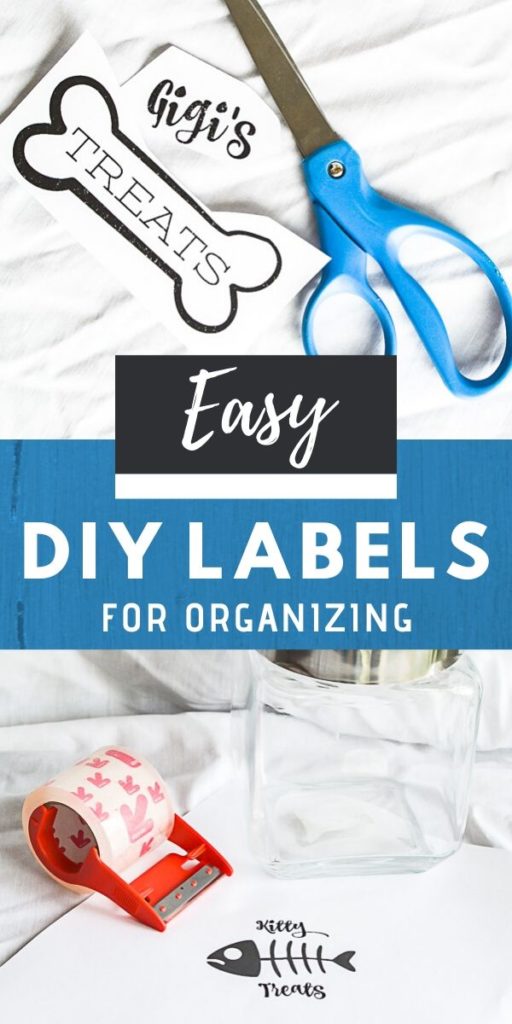 I cut my designs into multiple sections because the overall design was larger than a piece of tape. (You can buy wider tape, but they only make it so big!) Once you print and cut (if needed) your label then you cover it with clear packing tape, be sure to lay tape down smoothly with no creases or bubbles and adhere the paper well. Cut the combined tape and paper around the printed shape.
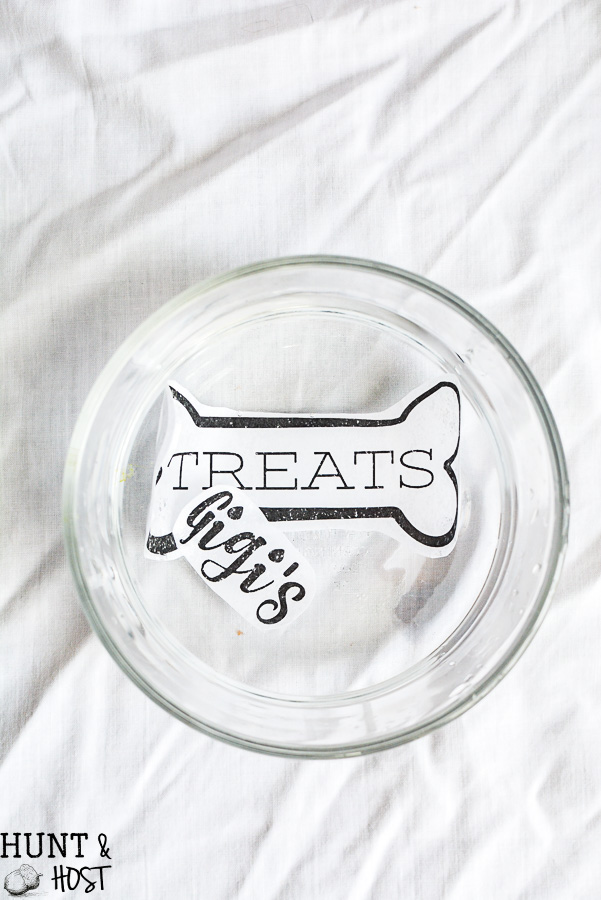 Soak in warm water for a few minutes. Take label out of water and rub the paper off the tape. Wipe away with wet fingers until all tape is gone. Blow on the tape to get the water off and once its back slightly tacky apply label to your jar! Smooth gently to remove any bubbles.
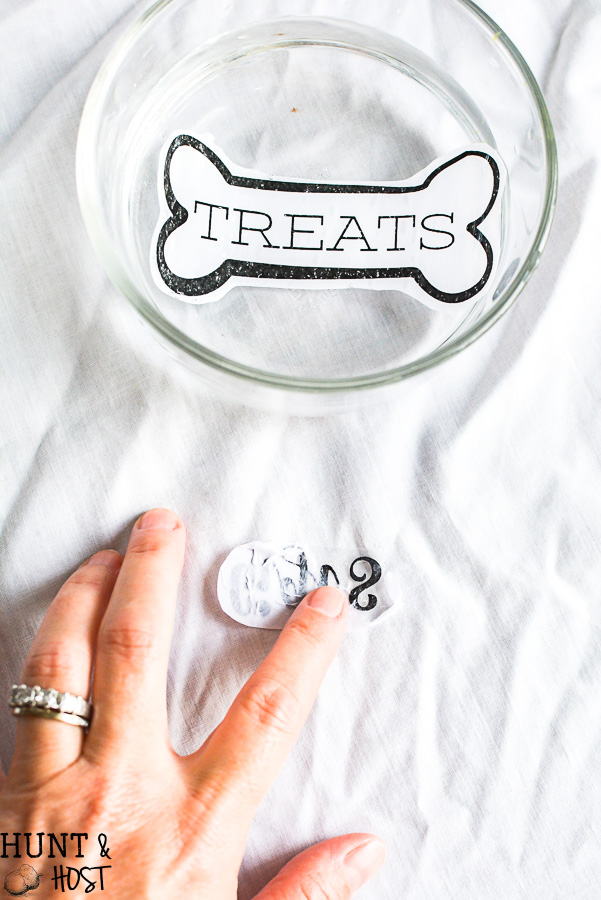 These are not permanent labels, which is great! They are really like making your own stickers. You can change them up any way you want and the possibilities are literally endless.
 These easy labels for organizing are the perfect way to get your craft room, pantry or makeup drawer into shape on a dime.
 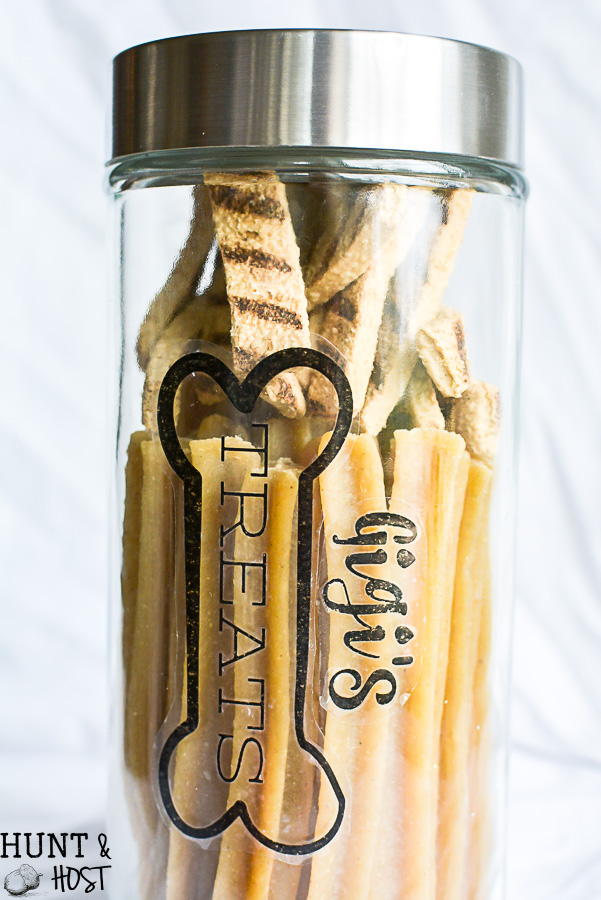 Save all the jars from your pantry and you are halfway there! Hope you like this easy DIY, you can see my furry friends were so excited. lol!
  Lazy bums. But man, when you open that lid and say “wanna treat” they come running!
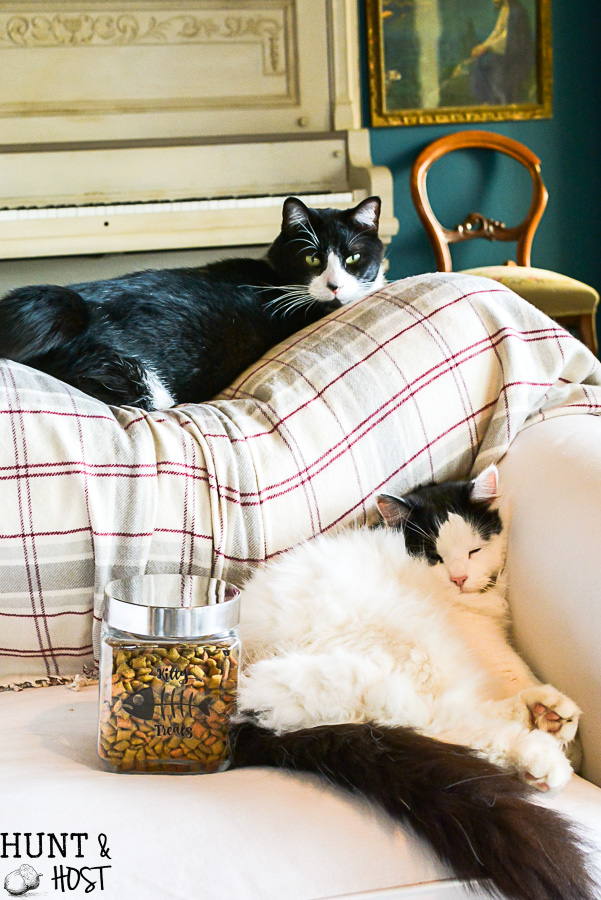 Be sure to save this project for later and let me know if you have any questions.


Very Cute.. especially the furbabies!!!! What’s the breed of your dog? Is she a dobby?
thanks! She is a greyhound…sweetest girl ever!