This easy holiday centerpiece idea will help you in a pinch!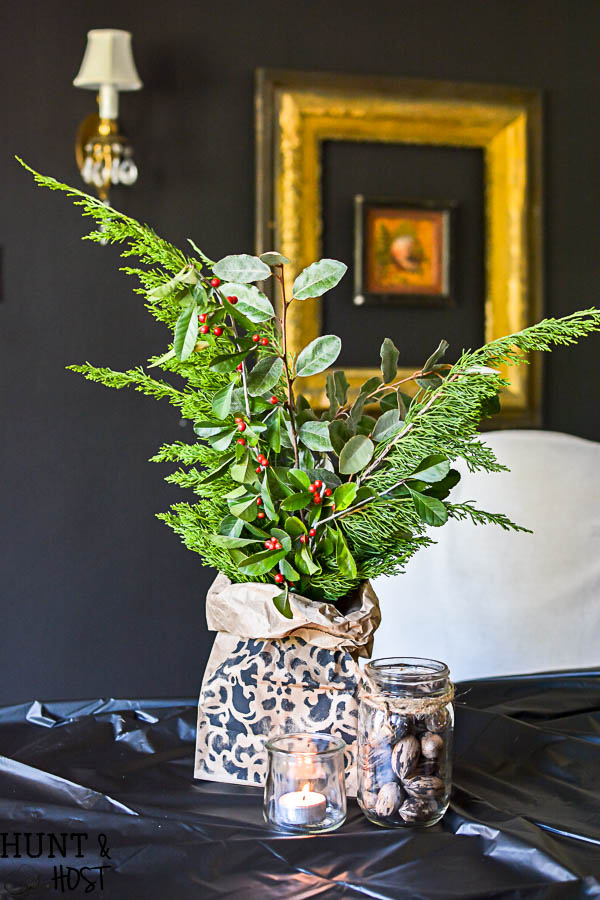
Hi friends, I have a last minute holiday centerpiece idea that anyone can do…and it’s an inexpensive centerpiece idea! Yay! I am part of a group that helps shop for Christmas gifts for the CASA kids in our community. For those of you unfamiliar with CASA, it stands for Court Appointed Special Advocate, these lovely volunteers are basically the liason between kids in foster care and the court system. They help advocate for kids in need to get them services and judgements in their best interest. While I can’t stand the fact that their are kids in foster care, this organization does amazing things for those poor dears. Every fall we do Christmas shopping for the foster kids and have a luncheon to turn the gifts in and give a little appreciation for the hard work of the CASA volunteers. I am in charge of table décor. I always want to come up with the least expensive yet pretty table decorations I can. Any money I save means more money we can spend on gifts for the kiddos!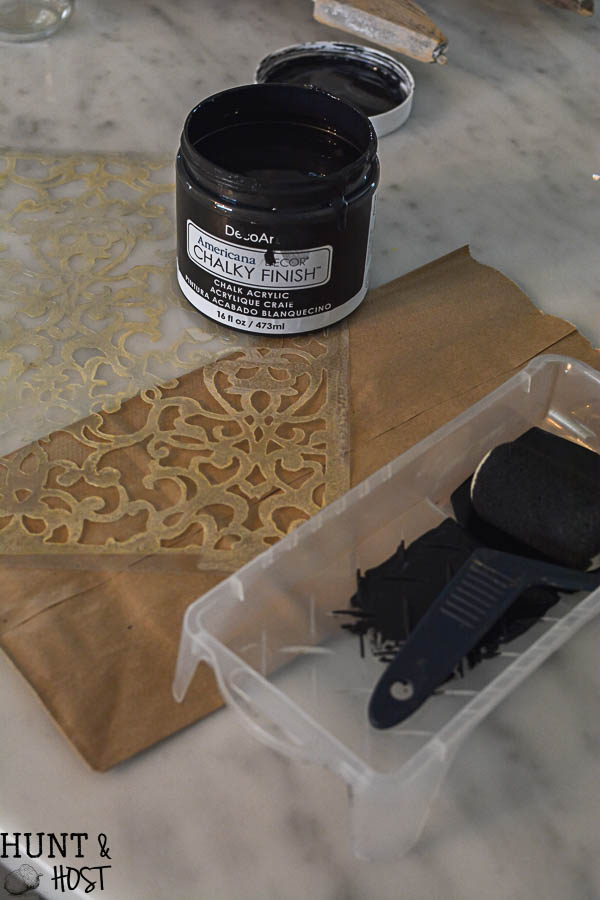
This year I made the easiest holiday centerpiece EVER! I literally cost me nothing because I had everything on hand and you likely have most of it too! Here is what you will need:
Holiday Centerpiece Supply List:
this list contains affiliate links, if you make a purchase I may receive a small commission, thanks for your support!
glass jar
greenery from your yard
This centerpiece idea is especially good if you have multiple tables to decorate, I needed 6 centerpieces so something I could easily replicate was a must. Get your paper lunch sacks ready, you can use brown or white, whatever goes best with your holiday décor. I did an assembly line process (or rather my daughter did, because she took over this part of the project for me!). Lay out your bags and stencil the front with a roller brush and acrylic craft paint (or whatever paint you have on hand!) Make it your own here – change up the stencil, paint color, etc. to make this all your own!
Once dry, flip the bags and paint the back, be sure to fold down the bottom flap so the entire back of the bag gets painted.
Gather glass jars, these could be mason jars, but they will be hidden so any jar from your fridge or pantry will do! Clip some fresh greenery from your yard. I wanted a wintery feel so I clipped Juniper, Eleagnus for it’s silvery leaves and a few branches from a Yaupon Tree that was full of bright red berries. Start by layering in your fullest and most abundant backdrop plant.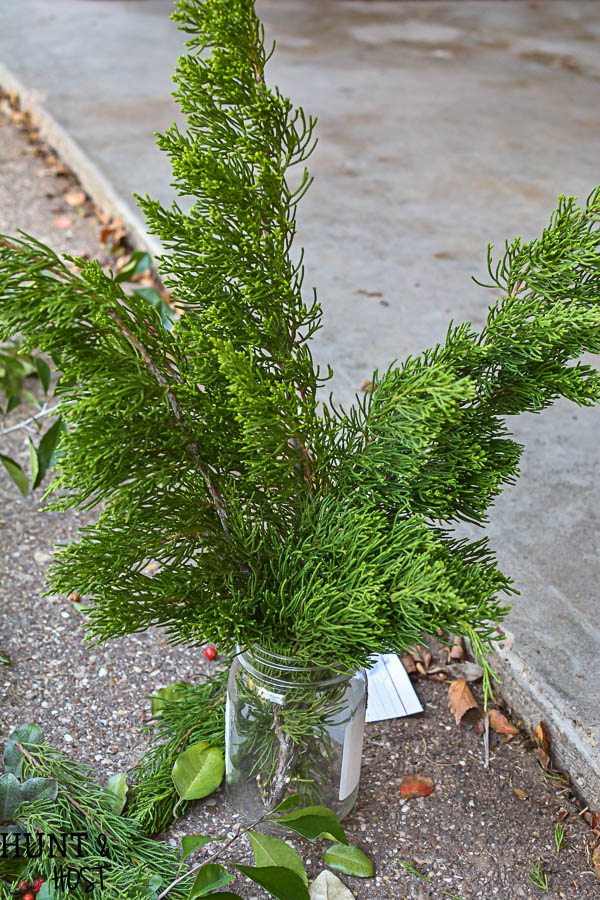
Next add a grouping of secondary stems and finish off with your showcase greens, in this case, my yaupon berries! If you know your greens, you can select plants that last and stay fresh, that way you can make your arrangements a day or two ahead of time and they will still look gorgeous!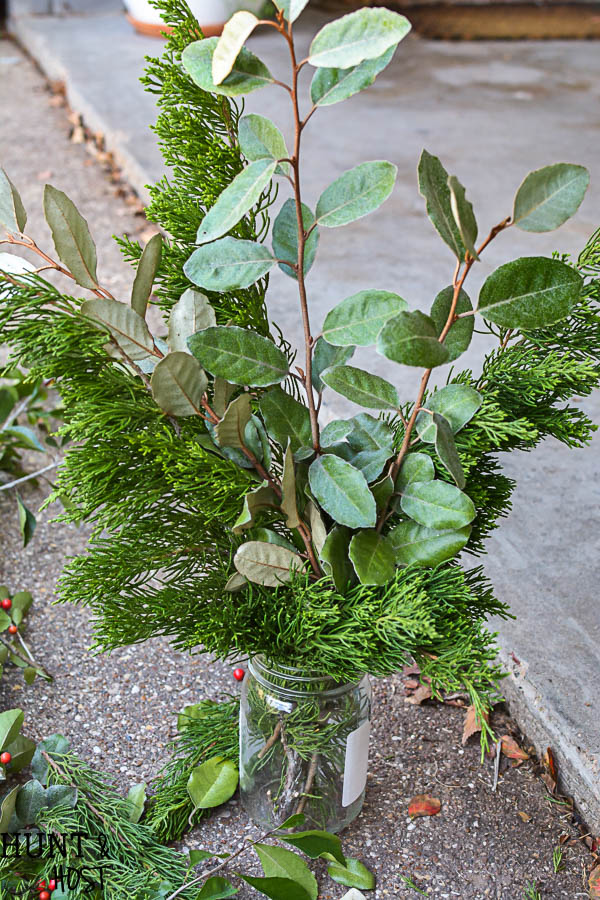
Gently roll down the top of your painted paper bags and crinkle the collar a little, then slide your arrangement inside. You could even use these bags with a tea light inside for a sweet little touch (in a votive holder, or a battery powered one of course). Partner the centerpiece with fresh fruits, nuts or nothing. I let the guests take these home as an added party favor.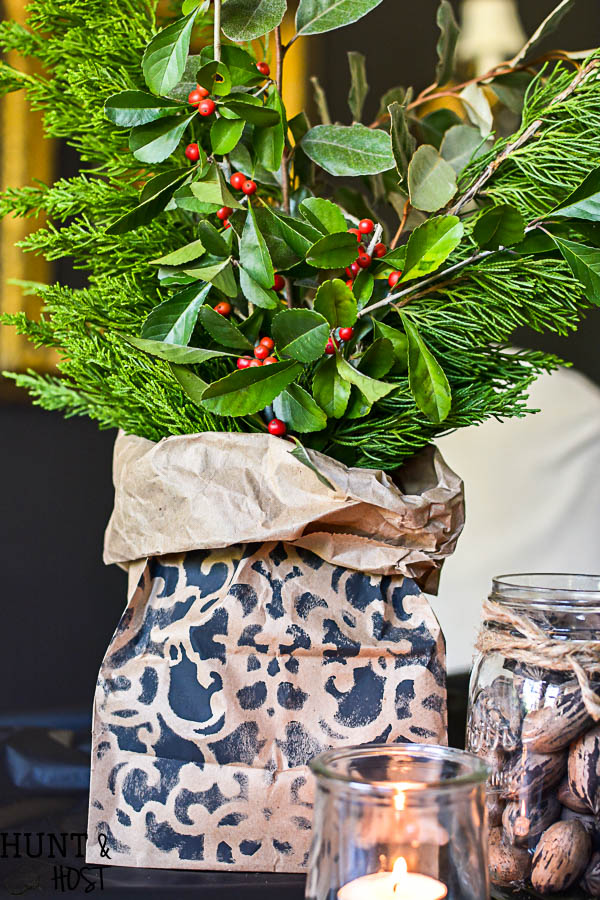
Easy peasy centerpiece, make one or a hundred! Decorating never has to be expensive or hard! Enjoy your company this holiday season and make the decorating just the icing on the sweetest cake.


That is cute and simple, thanks. Have a Happy Thanksgiving.
thank you, glad you like it! Hope you had a wonderful holiday
I have a lot of greenery in my yard and saved jars. I am going to put several of these together and take them to my childrens class room. I will replace each week until school is out for Christmas
Such a pretty idea for almost free, my favorite, I know the kids will love it!