Hallways can be a tough space to work with– what do you put there, if anything? Do you have space for anything functional? How do you make sure it isn’t overcrowded? These are just some of the questions I had… and may very well be the same as the thoughts swirling through your head right now! If that is the case, I’m about to show you a super easy hallway update– I think you’re going to LOVE it! It’s pretty easy on the budget, doesn’t take a ton of calculations or deep thought (we don’t love that around here), and is PERFECT for beginners!
Now… you might be thinking, “Kim, you aren’t a beginner, so how can you say that?” Well, Kelsey is! And she is going to share HER easy hallway update with you right now…
getting started
Hi there– it’s Kelsey! In case you don’t know, I work for Kim at Salvaged Living and similar to her, I ALSO recently moved! My husband and I bought our first home and boy has it been fun… and stressful!! So many ideas (maybe too many) and not enough budget to execute them all! It’s pretty hard to decide where you want to dig in first, but this hallway hurt my soul every time I walked through. Just so lifeless and boring, it needed something!! Now, if you know me (still Kelsey here), you know I’ve never done a DIY… in my whole life. Shocking since I work with Kim all day every day, I know! I’ve just never really considered myself a DIY-er or someone who even COULD DIY if I wanted to! But nonetheless, I wanted and NEEDED a change in this hallway, but didn’t want to dish out the funds to hire professionals, so I decided I would dig in and just go for it. I’ll skip ahead and just let you know right now, it really wasn’t so bad!! And if I can do it, you SURELY can too– I promise! Let me walk you through it!
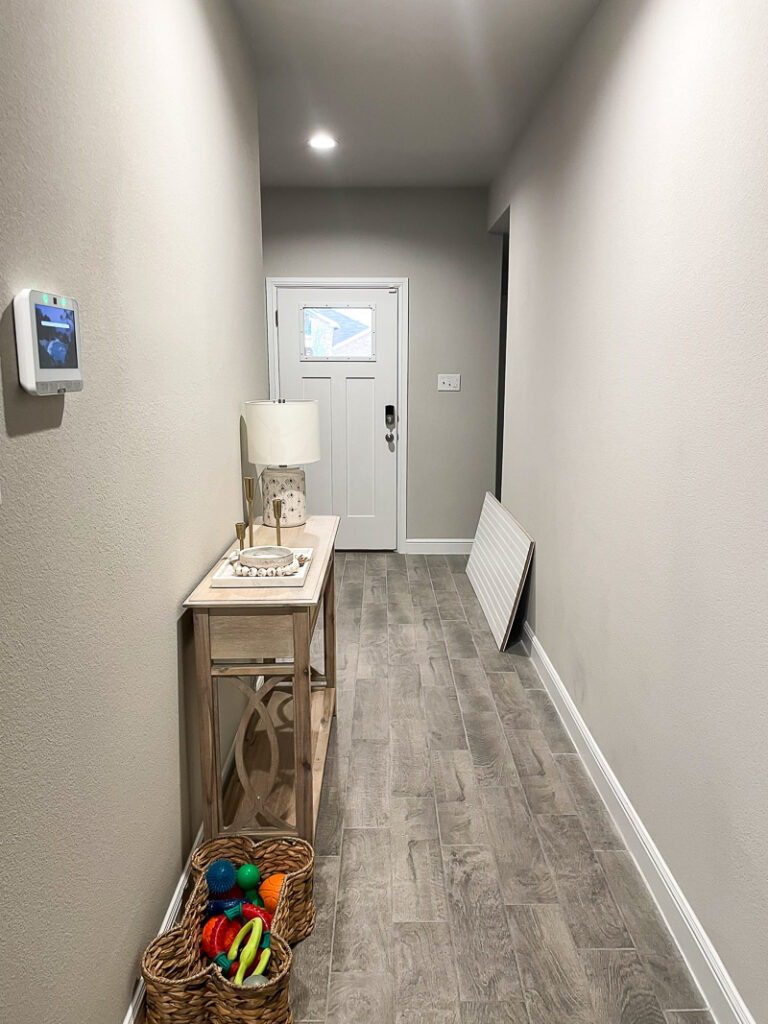
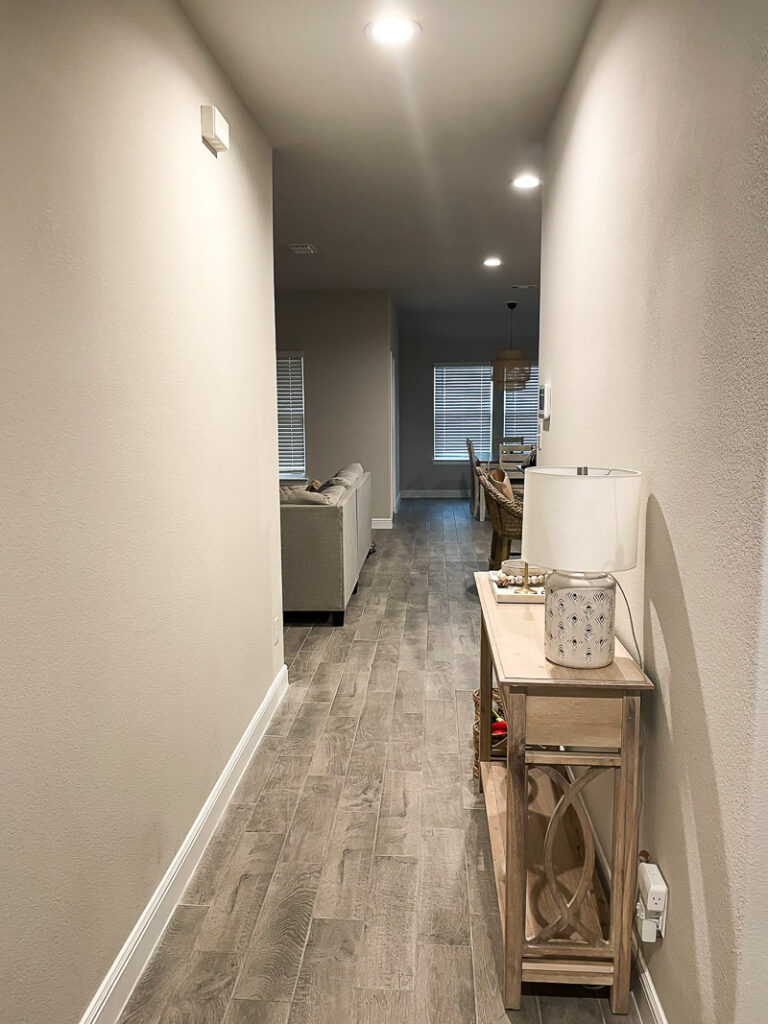
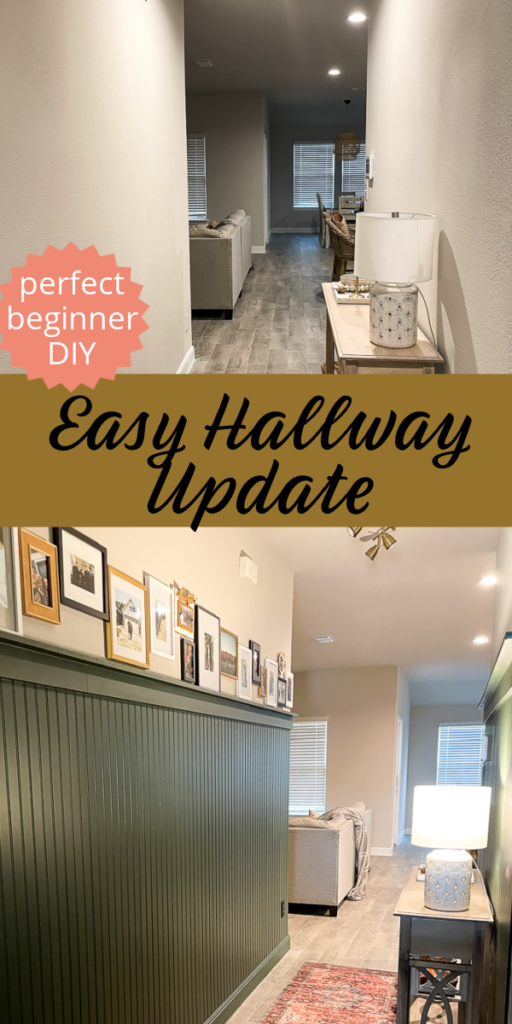
The before
what you’ll need
- beadboard panels (we just picked THESE up from Home Depot)
- brad nailer and brad nails (depending on the brad nailer you use/have, you may need an air compressor, but I’ve linked one HERE that doesn’t require one– it just needs a battery pack)
- construction adhesive
- caulk
- caulking gun (you will use this for the caulk and the construction adhesive)
- wood filler– I got the kind that is pink when you put it on and turns brown when it’s dry, but you don’t have to get that!
- sanding sponge– I know nothing about grit and what that means, I just picked this one up and it worked like magic!
- reciprocating saw (the one we used linked here), multi tool, circular saw, your choice. We went with reciprocating saw and I’ll tell you now I wish we hadn’t. We didn’t have the whole setup for a table saw, so it was a smaller (seemingly easier) option, but I would go with a circular saw or even better, a multi tool! We’ll talk more about this later, don’t worry!
-
1 in. x 4 in. x 8 ft. Radiata Pine Finger Joint Primed Board (quantity you need will depend on your wall length)
-
Trim Board Primed Pine Finger-Joint (Common: 1 in. x 3 in. x 8 ft.; Actual: .719 in. x 2.5 in. x 96 in.) (quantity you need will depend on your wall length)
- paint and painting supplies
- optional: color-match caulk
Depending on if you’ve done any DIYs like this before, you may have some of these tools! Like I mentioned before, we’ve never done any DIYs (I don’t think our past apartment management would’ve appreciated that), so we had no tools! We pretty much bought everything EXCEPT a brad nailer! Kim was sweet enough to lend hers to us for a bit so we could knock this out!
Now, don’t worry– it looks worse than it is. I’ll explain every step along with what tool you use for it, it’s going to be easy!
let’s do this easy hallway update
- First things first– measure your space. My hallway has 2 walls that are different lengths, so make sure you check that on yours as well! The beadboard panels I recommended above come in strips 4 feet wide and 8 feet tall, and the long finger-joint boards come in 8 ft long strips! My walls were about 13.3 ft and 9 ft long, so I had 22.3 ft to cover width-wise. Now let’s consider vertical. My ceilings are about 9 feet tall, and when I asked Kim about how tall I should make the beadboard, she said to follow the rule of threes. Basically, you either want to go 1/3 of the way up, or 2/3! I wanted something a bit taller, so we went with 2/3, at about 6ft tall! I think 1/3 would be a bit more traditional, if that’s your style!
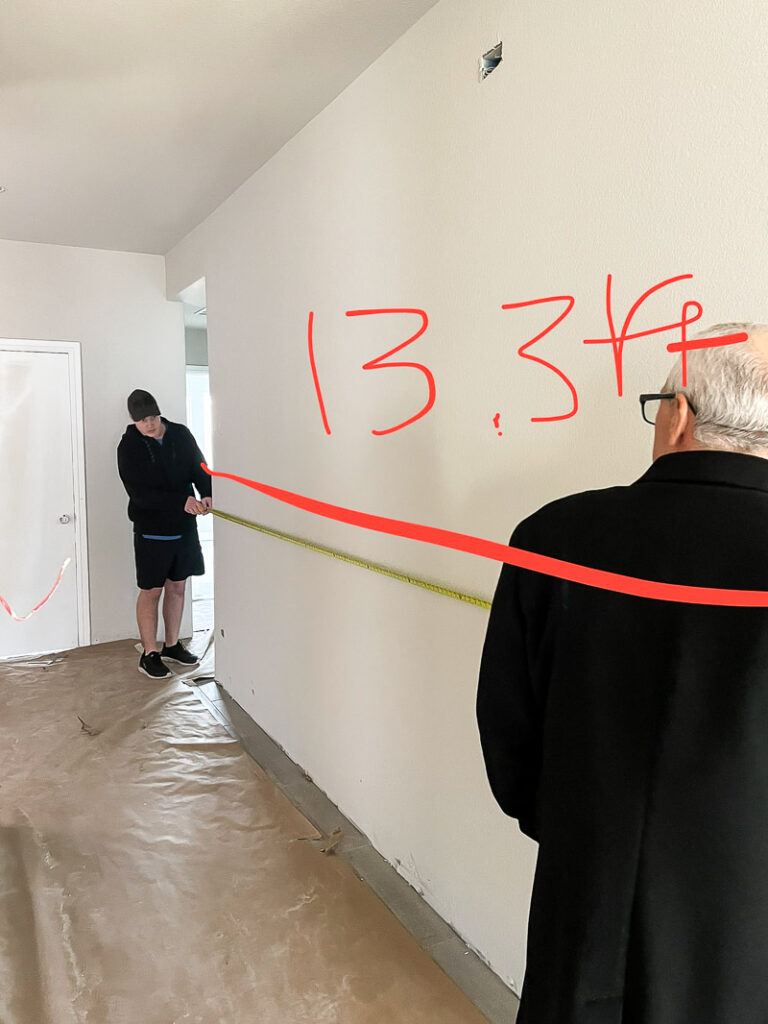
My Dad and Husband measuring the walls while the house was still being built
Just as a little tip: I took photos while my husband and dad measured (which was while the house was being built), and I used the “mark-up” tool on my iphone to jot notes and measurements on top of the photos. That way when I went back to look, I knew what space it was AND how big! This is SO helpful, and it gave me a clearer picture of what was going on!
- After you’ve got your measurements, head to Home depot (or your hardware store of choice, I just like Home Depot)! If you don’t know already, Home Depot will cut your wood FOR YOU, and they’ll even do it for free! Don’t quote me on this, but I think you get 2 cuts per piece of wood for free, and then after that they charge some small amount. Even though we planned to purchase a reciprocating saw for small cuts like outlets, we didn’t have anything for the large cuts. Or any way to transport the large pieces for that matter. We both drive small cars, so we actually had Home Depot cut the beadboard down into 2ft wide x 6 ft long strips so it could fit! No shame in this game– we have to do what we have to do!! As for the finger-joint boards, we could fit those in the car (just barely) and we only had them cut them down when needed, to fit the wall.
- Once we got home, we laid the beadboard against the wall to make sure we had enough and that the height was similar to what we had envisioned! Check!
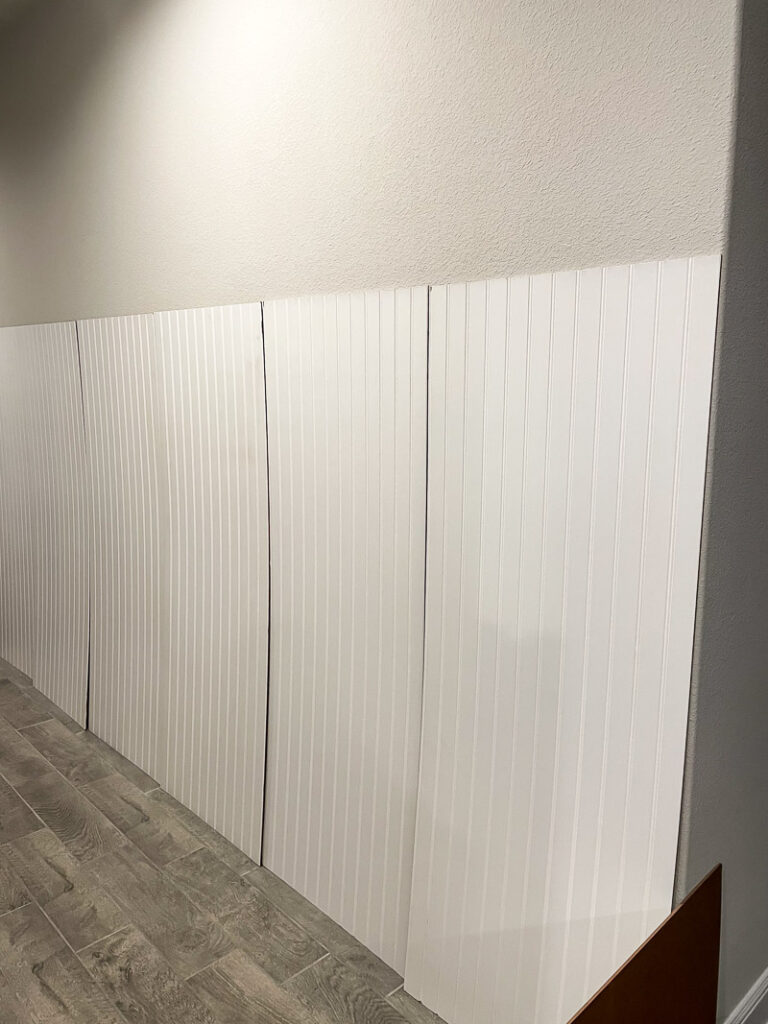
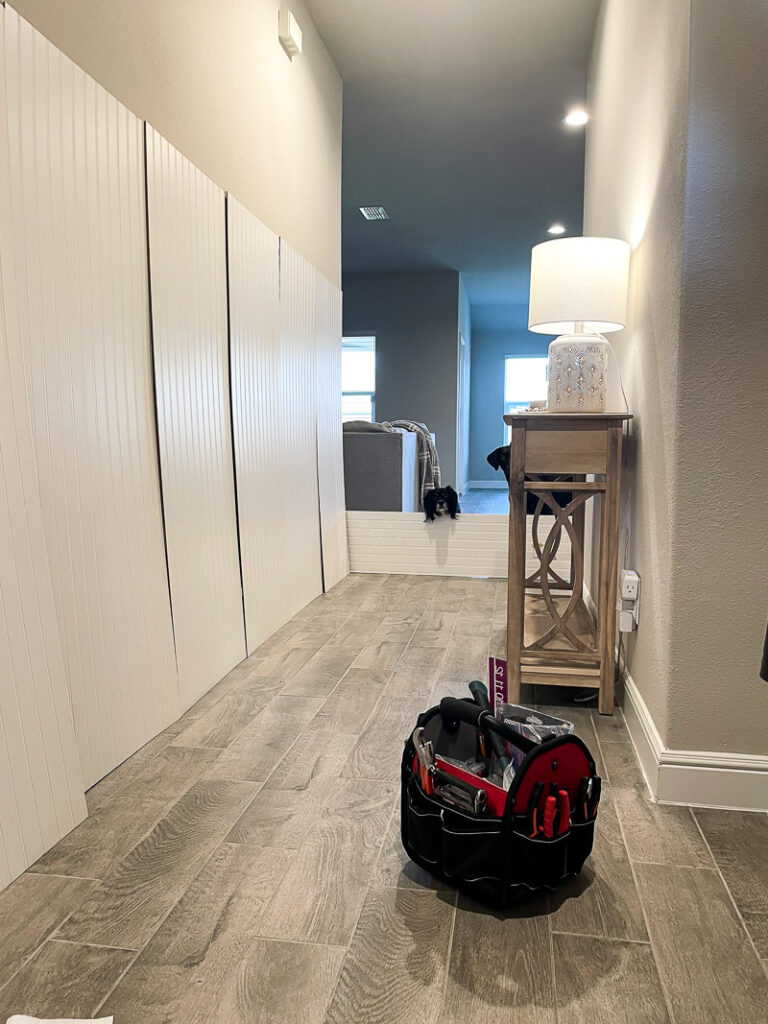
My cute puppies decided to photobomb!
- Our hallway had a total of 3 outlets, 1 light switch, and an alarm panel– hence the need for the reciprocating saw! If your hallway doesn’t have all of that, you’re golden! Some options and tips for cutting out the holes:
- You can take the wall plate off of the outlet, flip it around (where it’s completely backwards and looks wrong) and re-screw it in. Once screwed in, take some paint and gently cover the edge of the outlet cover. Then, when you press your beadboard panel against the wall where it would go, you know where you need to cut. You can see kind of what that looks like below!
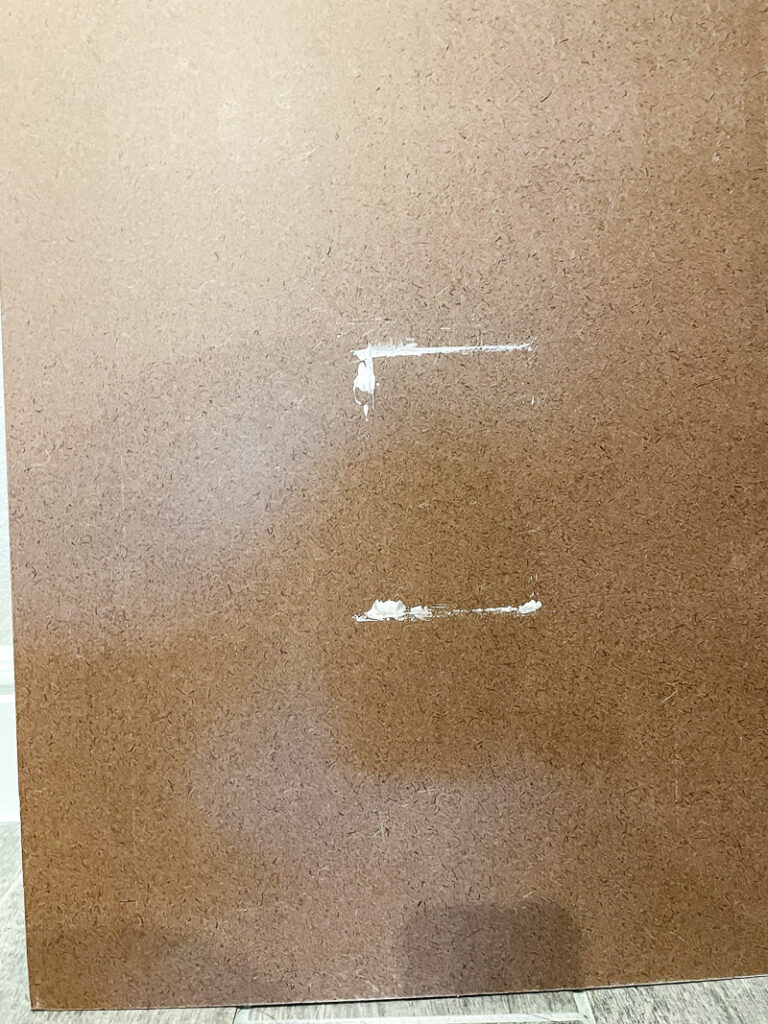
- My husband did NOT love this method, and instead insisted we just measure. Fine by me since he volunteered to tackle that! Either way you decide to go, just make sure you’re cutting big enough so you can use the outlets (and access the metal pieces that attach it to the wall), but not so big that you can’t cover up the edges with your outlet cover! We cut it too big the first time and it was a no-go! Luckily, we had extra bead board!
- As I mentioned before, we used a reciprocating saw for our small cuts. Ben (my husband) would drill holes in the corners of where we needed to cut, to give us a starting point, and then cut. It worked, it was just sort of awkward and there are definitely better options out there! We just used a sanding sponge after he cut to smooth it out and make it look a bit cleaner!
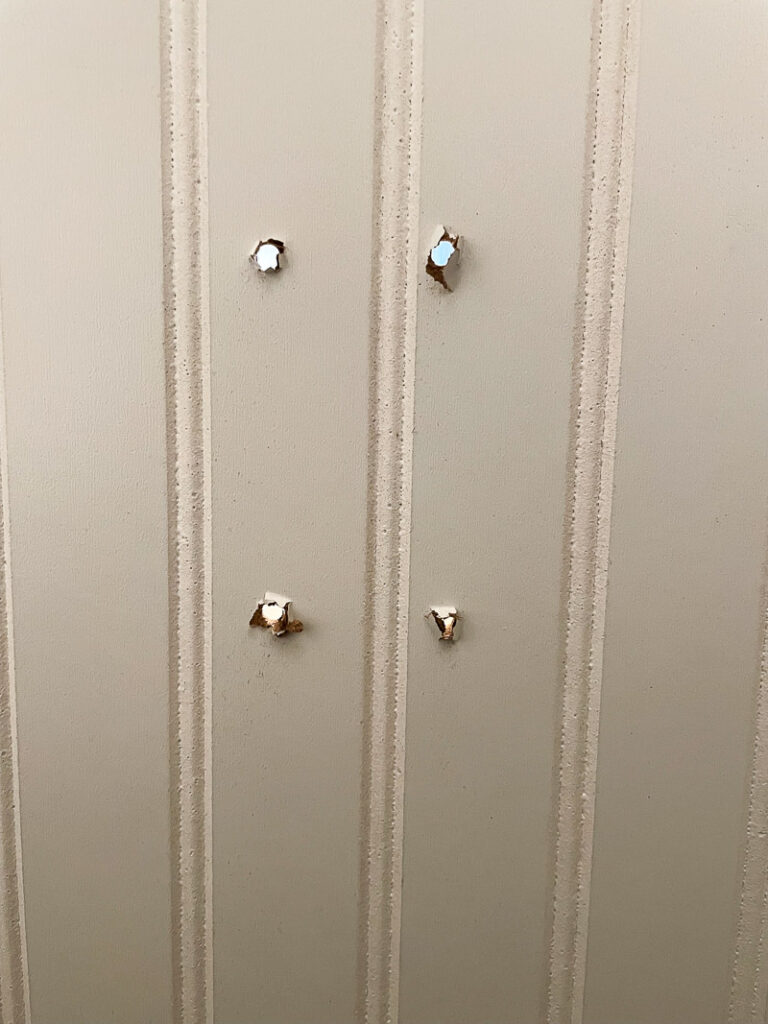
- We cut the holes as we went along the wall, but I might recommend just knocking it all out at once. Once you get going putting the beadboard up, it’s sort of annoying to stop and cut the holes. If it’s done, you can just power through the fun part!
- I thought the alarm would be a BIG problem, but it wasn’t so hard to remove! If you have something unique like that in your hallway, don’t let it stop you! Just YouTube it!!
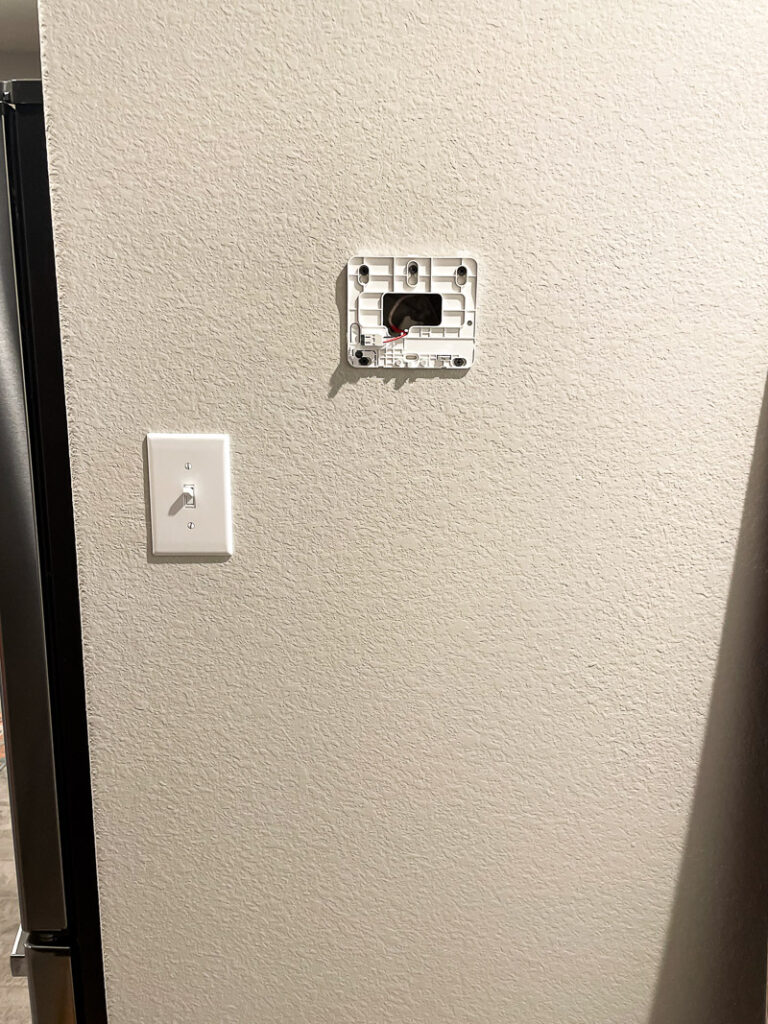
The remaining panel once the alarm was removed!
- You can take the wall plate off of the outlet, flip it around (where it’s completely backwards and looks wrong) and re-screw it in. Once screwed in, take some paint and gently cover the edge of the outlet cover. Then, when you press your beadboard panel against the wall where it would go, you know where you need to cut. You can see kind of what that looks like below!
- Putting the beadboard onto the wall! You will put your bottle of construction adhesive in your caulking gun, and simply squeeze the trigger to apply it all over the back of the beadboard. We did a little wave pattern on the back, but I would get even closer to the edges if you can! Once applied, it’s time to stick it to the wall! You can certainly do this alone I’m sure, but it’s easier if you’ve got help! He would hold the bottom of the beadboard panel and line it up to the baseboard, while I ensured the top was level and flush to the wall! Once we got it onto the wall, I would hold it up and keep it in place while he grabbed the brad nailer (I kept joking that I looked like a chameleon because I pushed my whole body against that panel, it wasn’t going anywhere. It wasn’t a great look for me, I’m sure, but it did the trick)!!
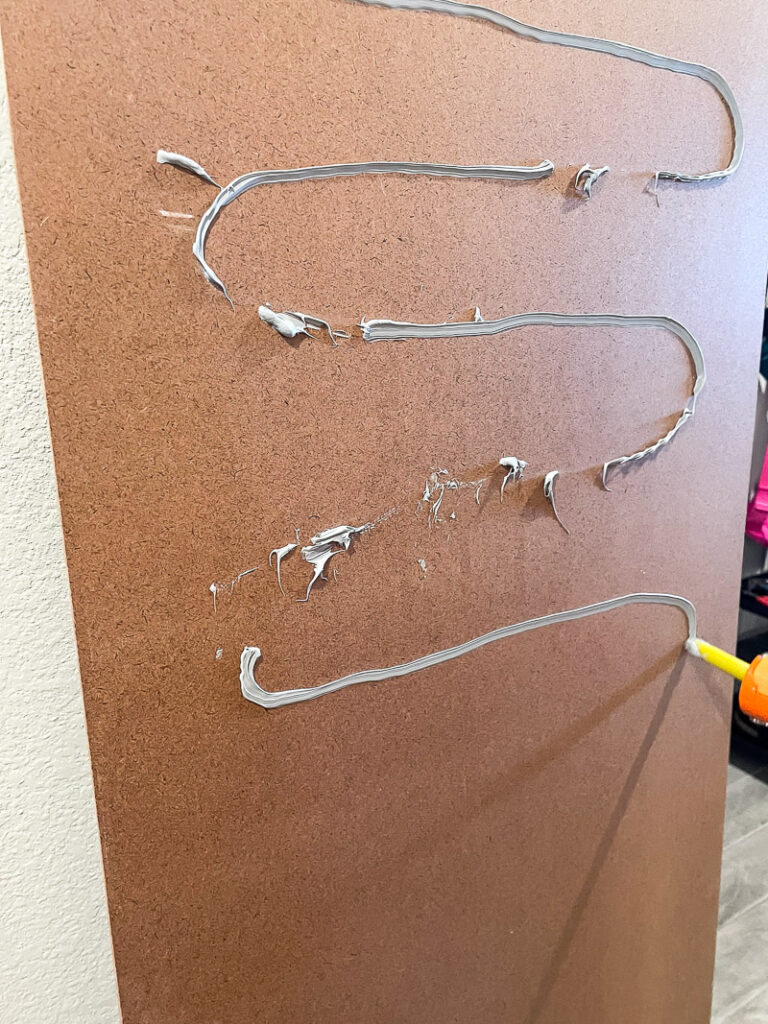
Ben said the construction adhesive was a bit hard to squeeze, hence the spotty application. Just do what you can!
- We nailed along the sides, maybe about 8 nails each side, and then 4 across the bottom and top. That’s very likely too many, but we’re new to this and we wanted this sucker to stay in place!!
- We got in a rhythm that while Ben would start to put construction adhesive on the next piece, I would use wood filler and start filling in the nail holes we just made! I used some flat tool I found in the paint isles at Home Depot to do this, but after watching some other videos, I’m pretty sure you can just do this with your finger!
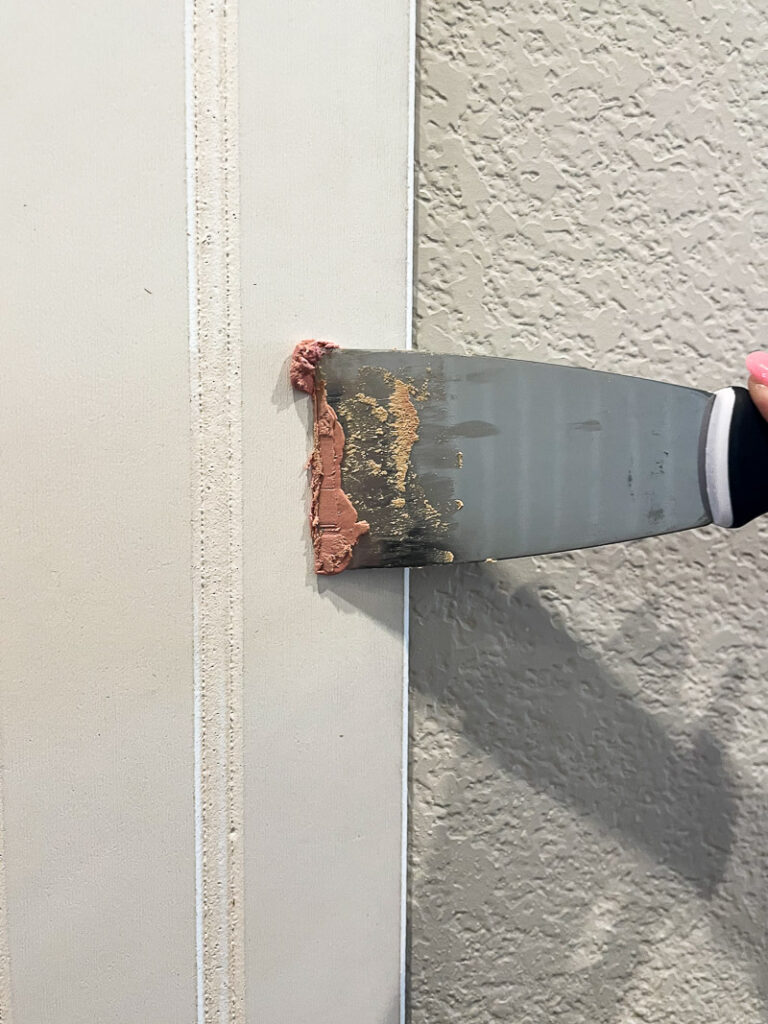
The flat tool mentioned
And it’s probably easier, honestly! Again, I got the pink kind so it turned brown when it dried, but you certainly don’t need that! Since you’re using such a small amount, it dries pretty quick!
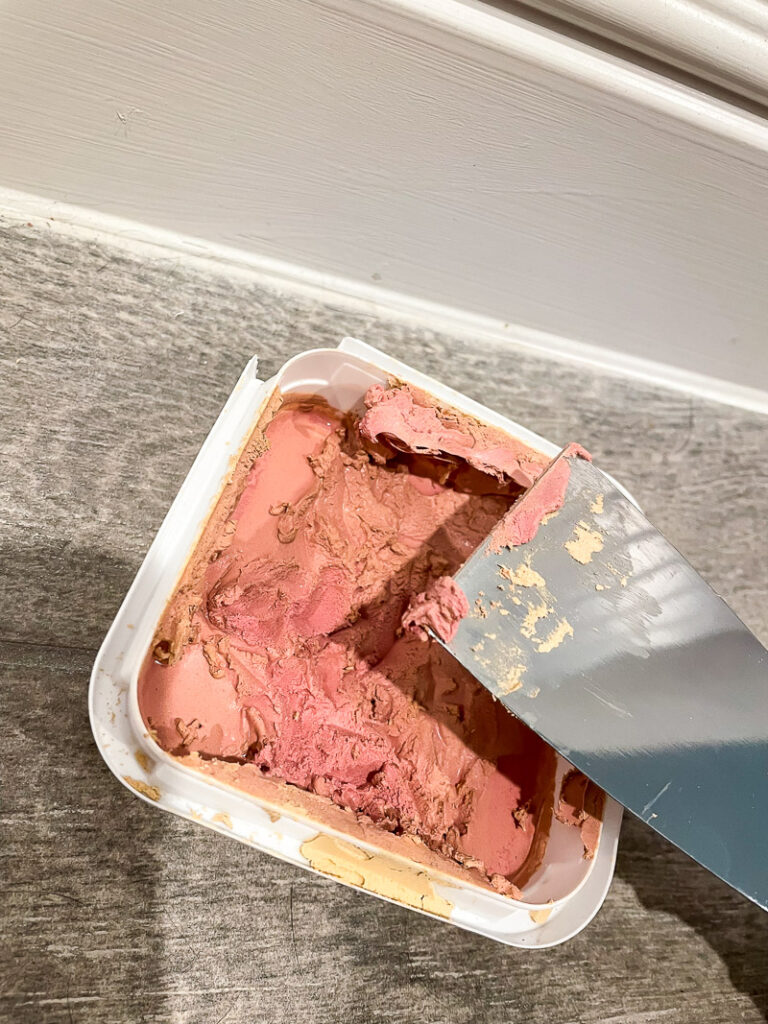
It dries quickly, even in the jar, so I put mine in a baggie in between uses!
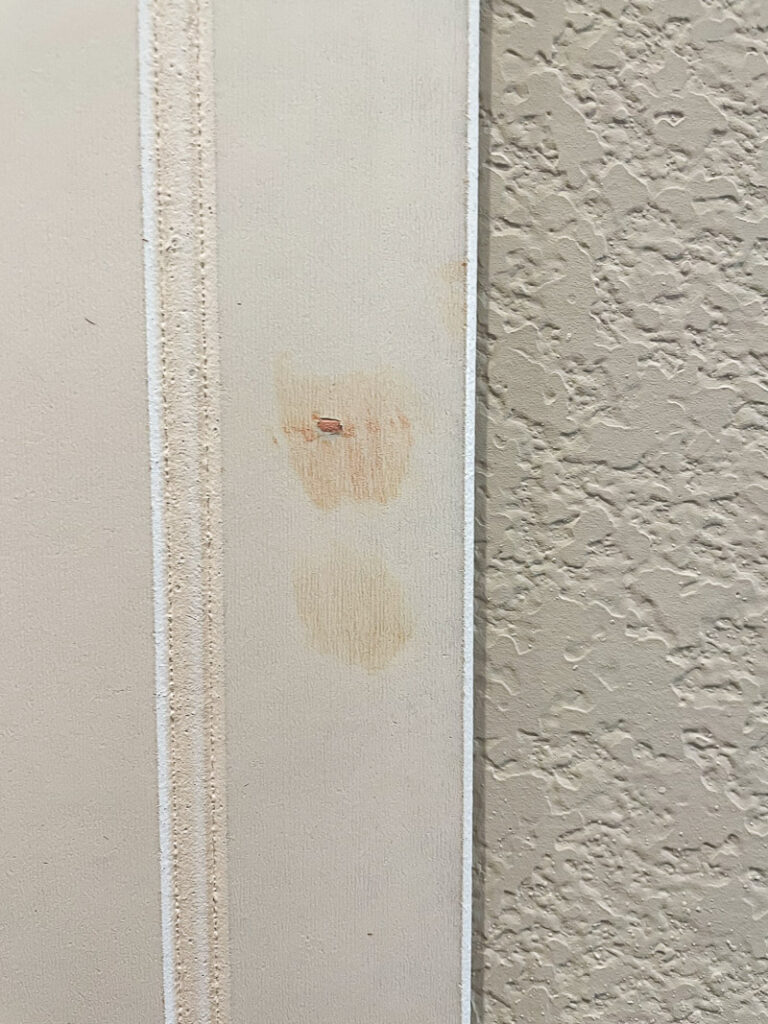
- After all of our beadboard panels were up, and the nail holes filled, it was time to attach the “ledge.” For the ledge, we used primed finger-joint boards, both 1 inch thick and 8 feet long, but one 3 inches wide and the other 4 inches wide! I wanted the actual picture ledge not to stick out, but the trim panel to be a bit thicker! I’ll tell you– I was overthinking this before we began the project, but seriously don’t! You can copy exactly what I did, or do whatever you want! There are no rules, it’s entirely what you want!! We didn’t use construction adhesive on the back of these boards since they are lighter, so we just used brad nails across the top to secure it. We laid our flat board across the beadboard, since some of the beadboard was a bit uneven at the top (warning: it’s great Home Depot will make the cuts for you, but they don’t do it perfectly). We left a couple centimeters of the top of the board above the beadboard, since we knew we were going to be attaching that 3 inch picture ledge.
- Once you have the 4 inch board up on the wall, simply lay the 3 inch one sideways on top of that and nail it in! We did pop a level onto it as we did this, just to ensure it was level all the way across! Once everything was secure, we used wood filler to fill in all of the new nail holes and the gaps in between the boards!
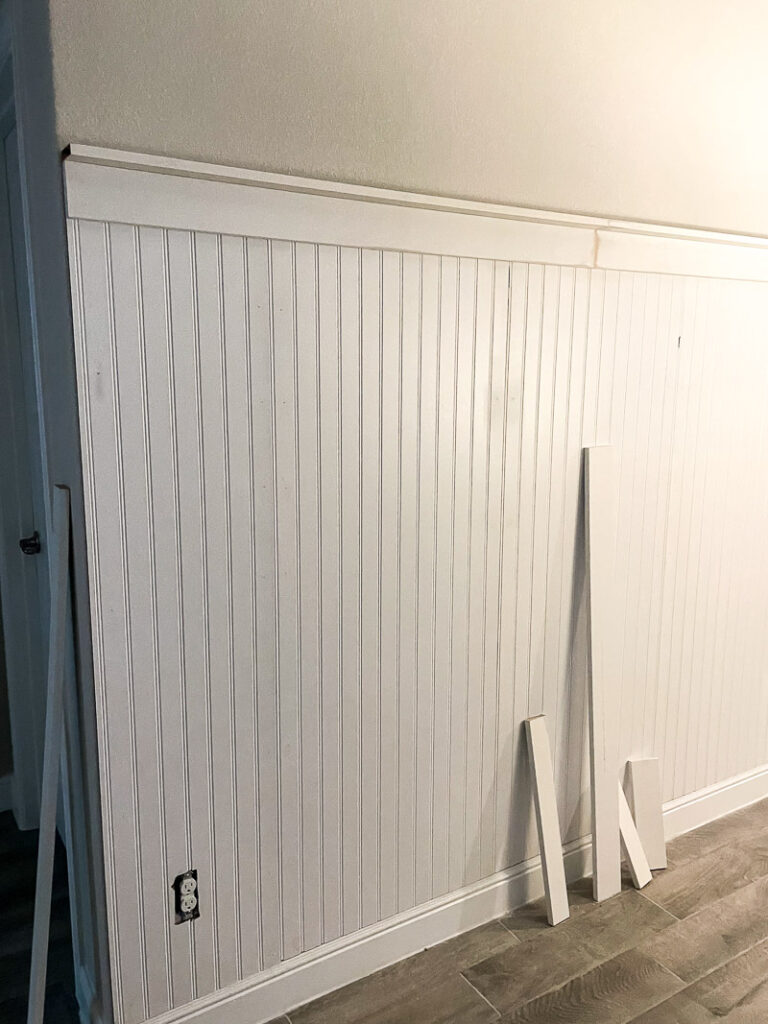
- Once your wood filler is dry, use the sanding sponge and just do a quick once-over each little spot. It doesn’t take much at all, don’t spend too much time on it!
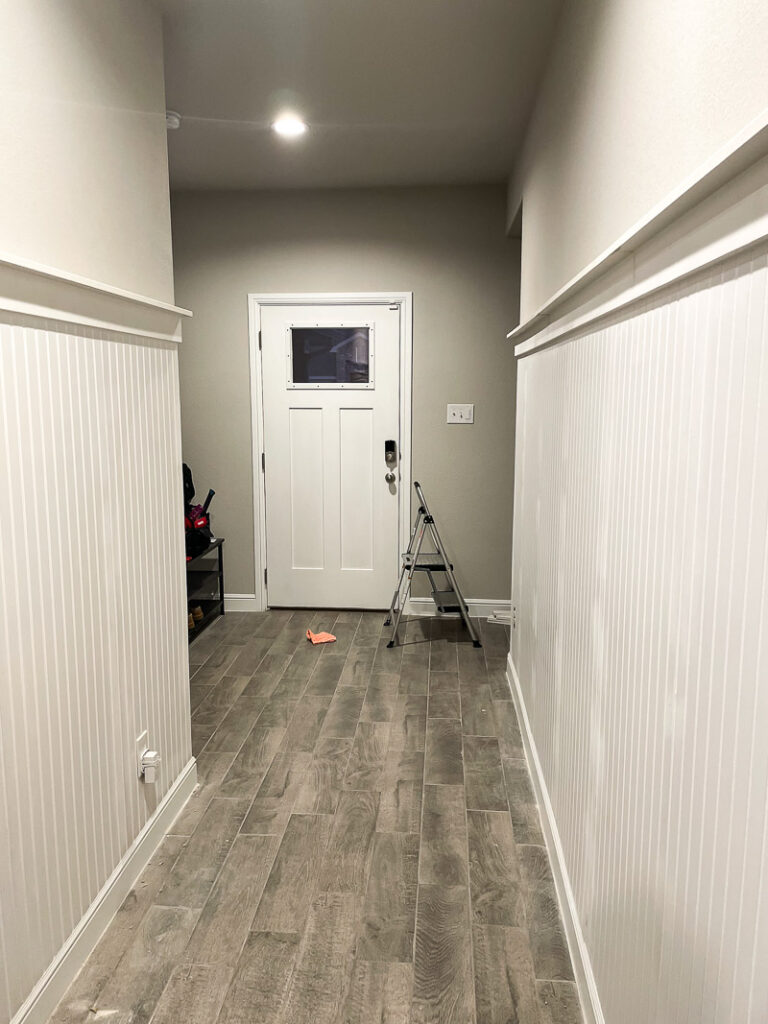
- This was something we couldn’t find a lot of info on, so we just went for it– caulking. We knew we were going to caulk the edges, but we weren’t sure about along the baseboard and particularly in-between panels. We decided to caulk along the baseboard AND in between each panel, and I’m SO glad we did! It’s certainly not perfect but it looks way more seamless this way! We also made sure to caulk in between the 3 and 4 inch wide boards, in between the 4 inch board and the beadboard, and in between the 3 inch board and the wall. Hopefully that makes sense. If not, just caulk everywhere. The biggest thing I’ve learned since doing this project is that caulk SAVES THE DAY!
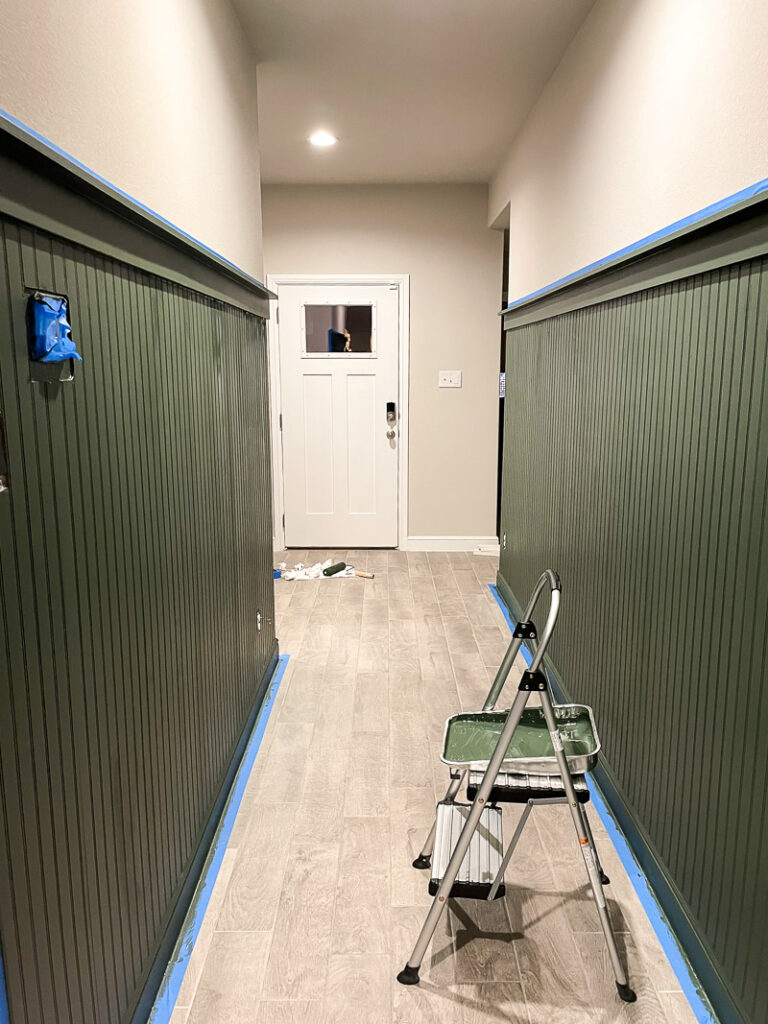
- We wanted this hallway to be moody, think of Kim’s Green room/study (you can see more on that here). We went to Home Depot expecting to get paint samples and left with only one, and in a gallon– we were THAT sure. North Woods by Behr in an eggshell finish. And we actually opted for the “dynasty” version– not sure if that was necessary but the associate said it was the most durable, and well, we have dogs. Need I say more? We are certainly not professional painters and the paint is FARRRRR from perfect, but one thing I’ve learned from Kim: Done is better than perfect!!!
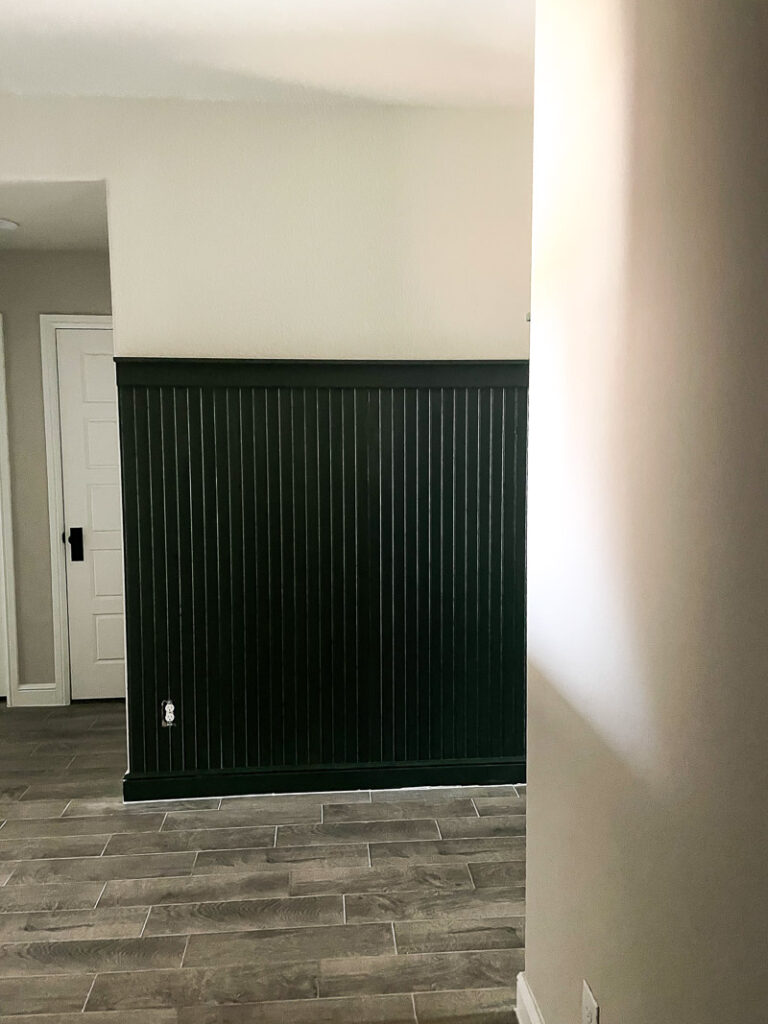
- My best little tip for finishing this up perfectly: Color-match Caulk. You just add some of your paint color and a thickener, and BOOM, caulk in your paint color! We used this along the edges, and since we decided to paint our baseboards, along the floor where the baseboard meets the tile. We had originally done it in white, and it wasn’t quite right. This stuff is amazing, and I will certainly have this on re-order for any future projects like this! You can see how it looked with the white caulk in the picture below. We scraped that up and redid it with the color-match caulk!
There you have it! An easy hallway update, and we knocked it out in a weekend! You could probably even do it quicker if you don’t live 30 minutes from a hardware store like we do! 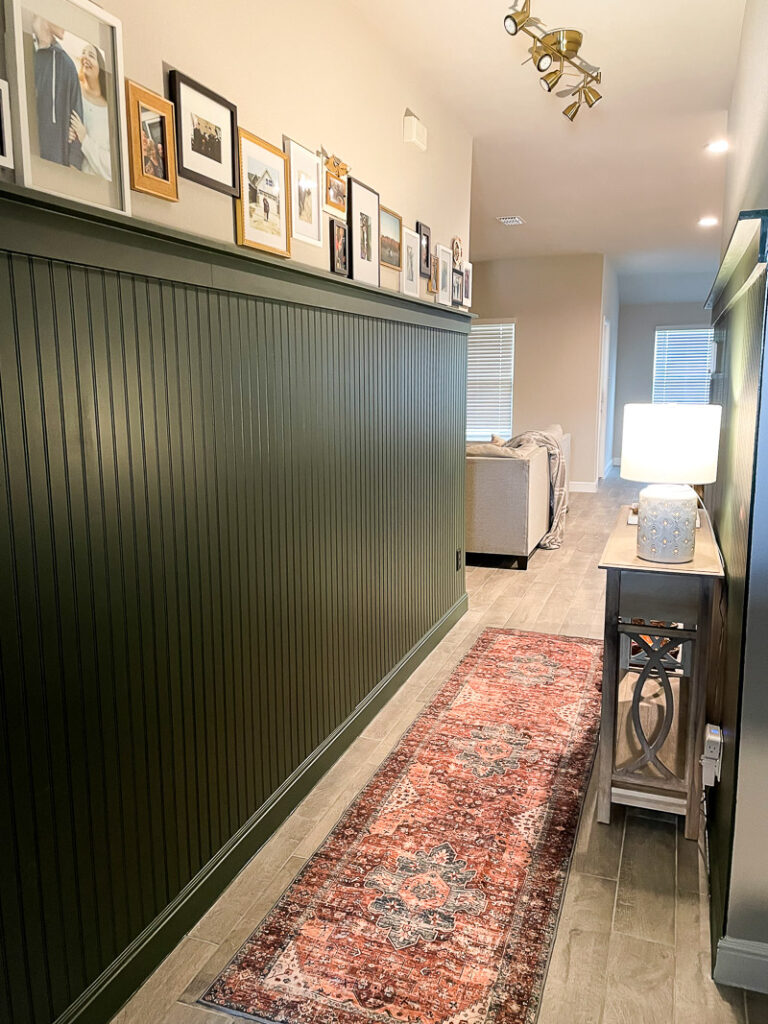
And while yes, it may look a bit more seamless if done by “professionals,” I would also have a lot less money in the bank. And there is just something about being able to say, “I did that!” So, coming from someone who has NEVER done a DIY in her life before this one, it’s not so bad. You can do it… and it’s actually kind of fun!!
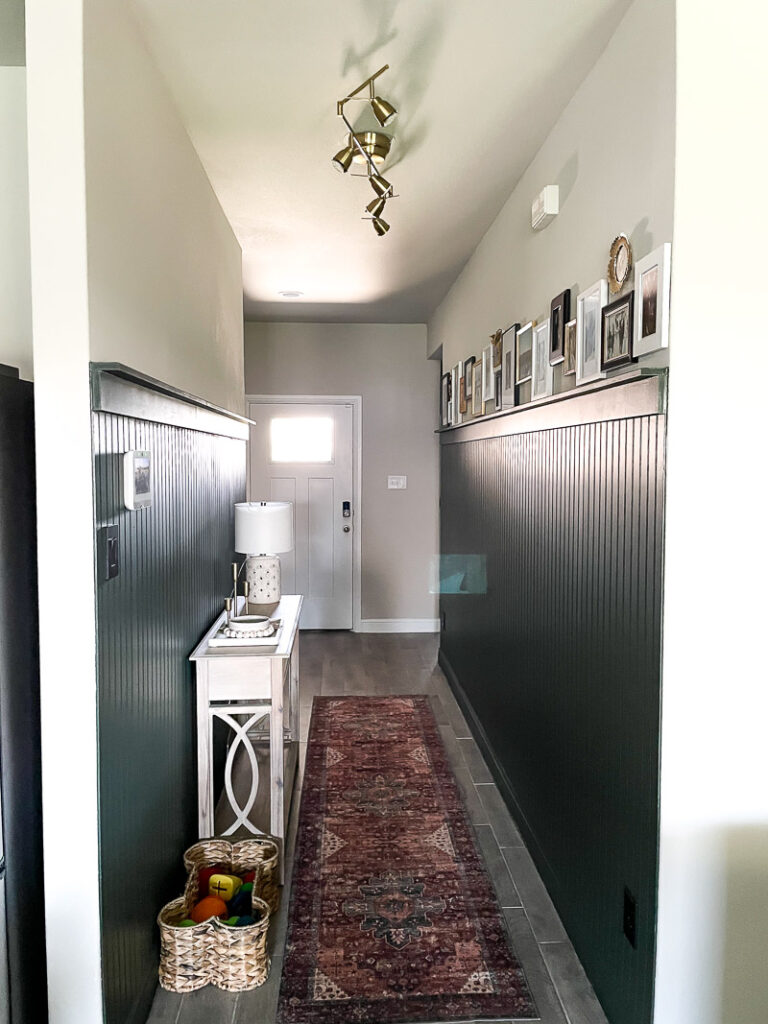


LOVE the photo wall above and the pups … good job Kelsey!
I love what you did!!! The color you chose is FABULOUS and I love how all of the photos are arranged at different heights. Major improvement, and isn’t it a great feeling to know you did it yourselves!!!
Awe, thank you so much!! I really appreciate that!!
Looks great!!
Thank you Sharon!
Very, very nice! Thanks for sharing.
Looks perfect Kelsey & so inviting!
Isn’t she the cutest!