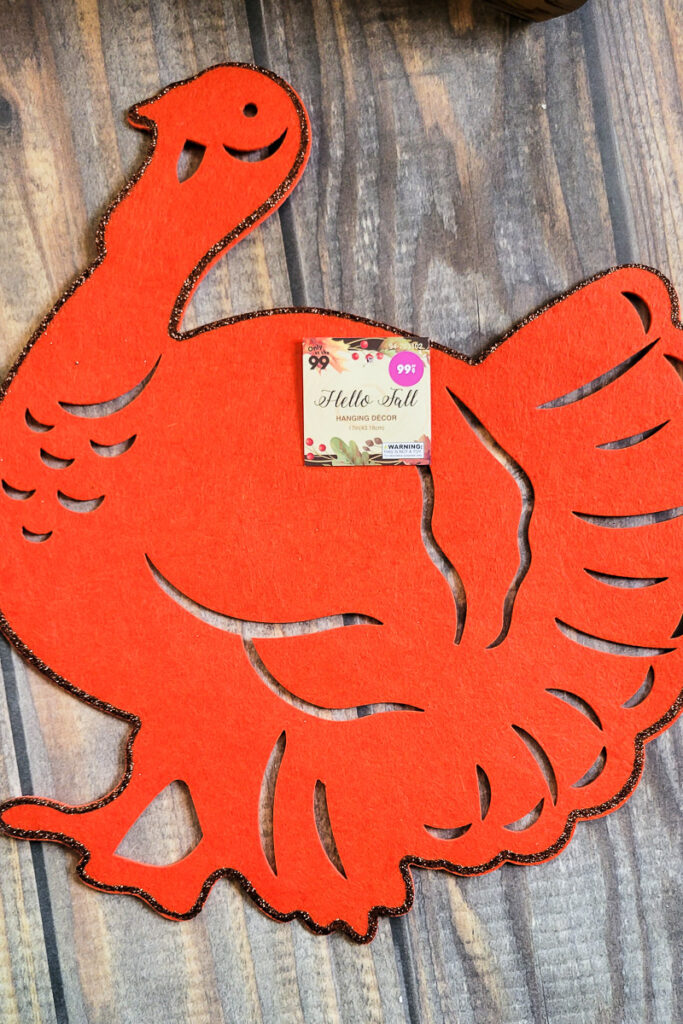
I grabbed this little felt turkey from the 99 cent store for you guessed it… 99 cents. And it’s not really my style, but I knew I could make it my own!! I’m going to show you how to make your own easy DIY turkey decor for Fall, too! Don’t worry, if you don’t have the same felt turkey to start, there’s plenty of pictures online you can snag and attempt to outline yourself!

how to make easy diy turkey decor for fall
- I started by tracing my felt turkey, but again, you can definitely attempt to freehand this! Don’t think it’s too hard, you can’t mess it up! Just draw on cardboard with a pencil and erase and fix as you go!!
- Cut out your cardboard turkey. I used an exacto knife to cut the spots that couldn’t easily be gotten with scissors!
- Start by painting your turkey white, but don’t worry about it being perfect- especially around the head and feet. In fact, leave that mostly untouched.
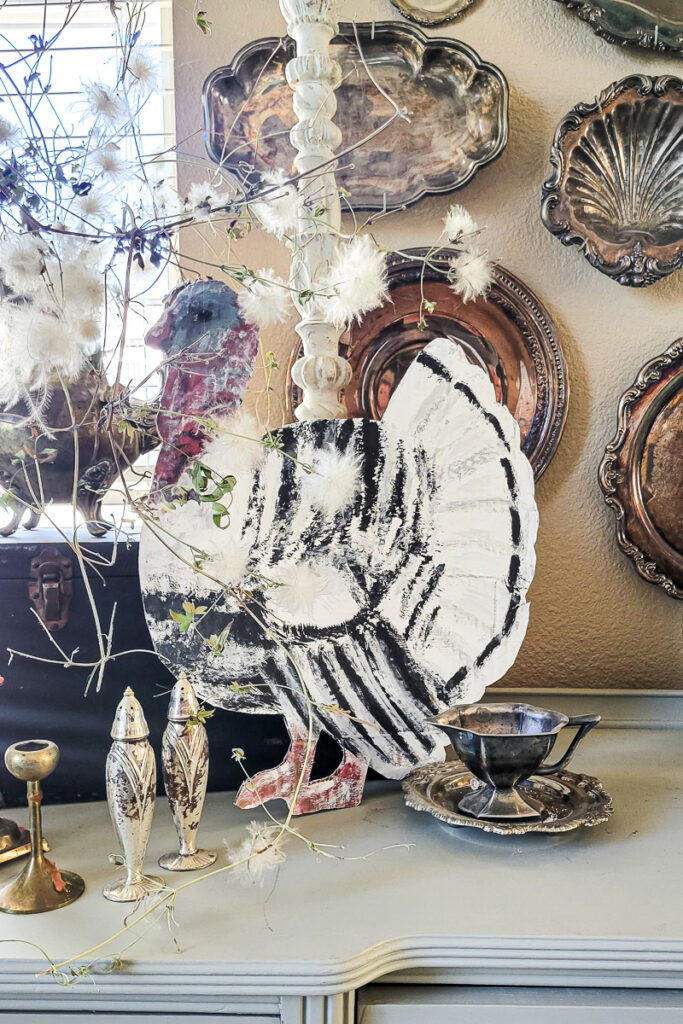
- Grab a paintbrush and start making “feathers” with black paint. I will usually pull up a picture of the object I’m trying to imitate so I can copy that. You can do the same or you can sort of follow my lead and refer to mine!
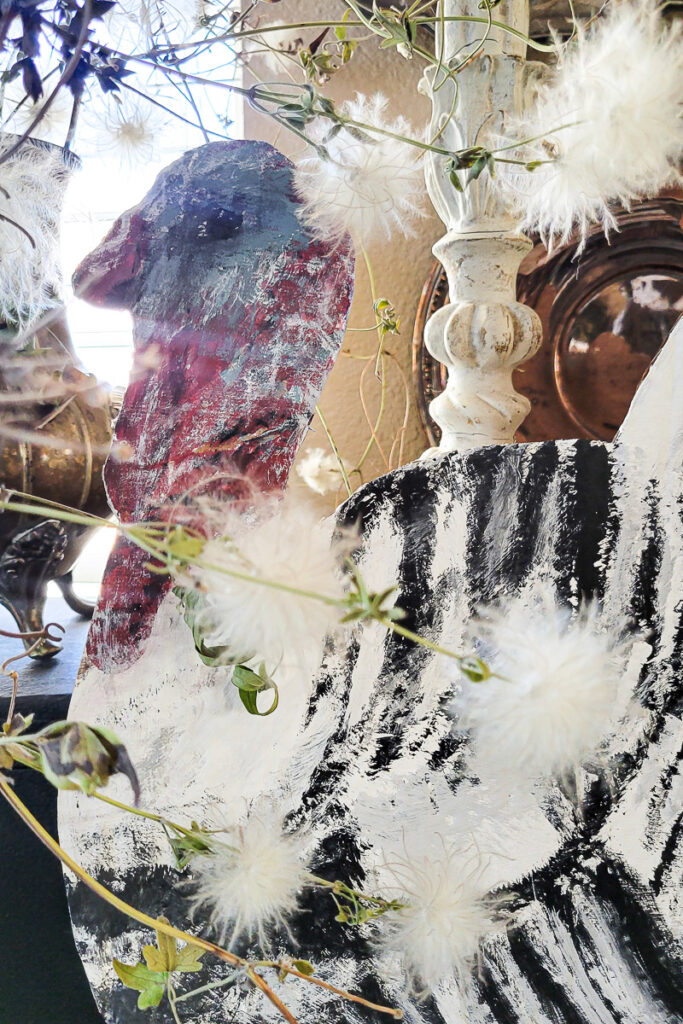
- I used gray and red to accent the head and face, and the feet too. This is really the part to get creative, let your paint do the talking, and don’t sweat the small stuff. You CAN do this!! After doing that, I went back in with some white to give it more of that “feathery” look!

You can see more of the head details here
I know it can be challenging to overthink this kind of stuff, but truly, you can’t mess it up. If you make a mistake, paint over it. Or start over! It is cardboard after all!

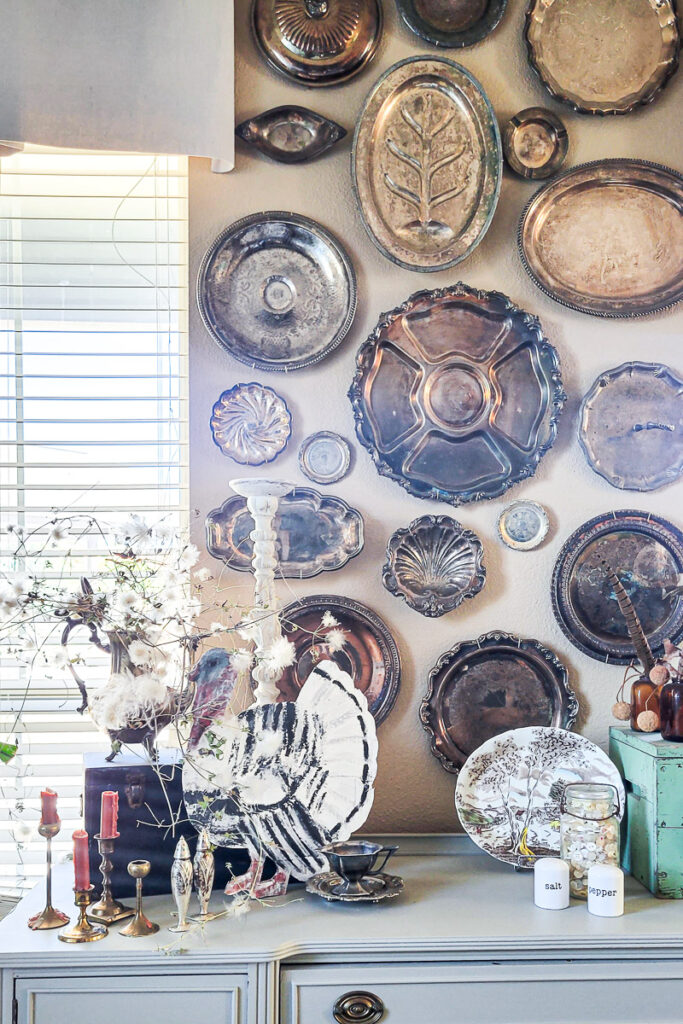
And in the end, you’ve got yourself some easy DIY turkey decor for fall… and it was super budget-friendly (and hopefully fun too)!!


Leave a Reply