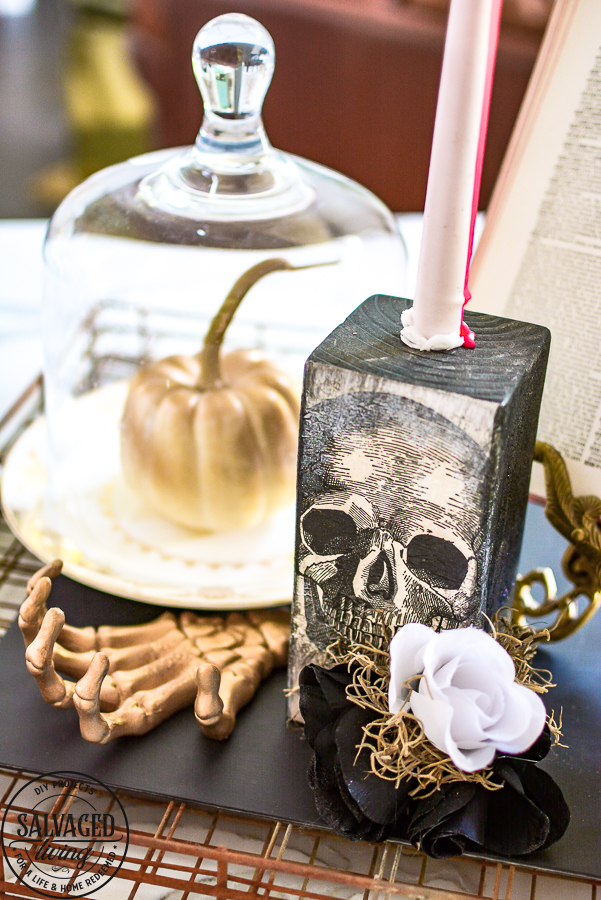
Wait till you see this cute and easy DIY Halloween decoration. Super simple to make and perfect for just about any Halloween vignette you can think of! Don’t you love the creativity a carefree holiday like Halloween affords!?

With just a few fun supplies you can make this Halloween candlestick – or use it as a shelf sitter, book end, stand alone decor or any other creative idea you can think of to add it to your Halloween decoration stash.

DIY Halloween Decor Supply List
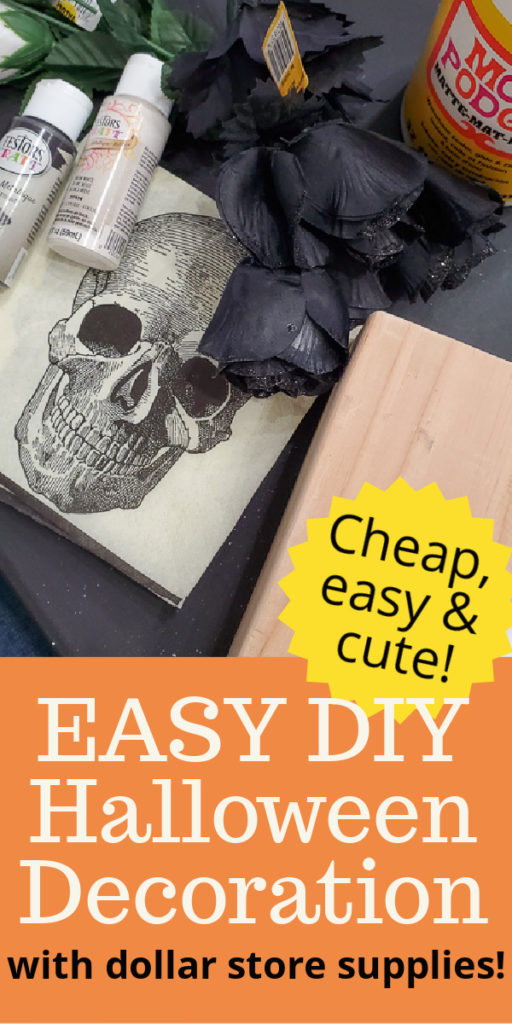
Scrap wood – I used a cut down 4 X 4
Halloween paper napkins – mine came from Walmart, but you can find all kinds of cute ones just about anywhere!
Black and White Acrylic Craft Paint
Sponge Brush
Dollar Store Flowers
Spanish Moss
Mod Podge
Sponge Brush
Chip Brush
Glue Gun
For Candle – Drill with Paddle Bit
Bleeding Candles – found mine at Walmart
This craft is so quick and easy! Here is how you make it!

Halloween Candlestick Tutorial
- Cut your wood down large enough that your napkin art will be fully displayed.
- Paint the wood black on all sides but the front.
- Paint the front white. Whatever color you paint the front will show through the napkin so be mindful of that. If you have a dark based napkin you might want to paint the front black.
- Separate your napkin to remove the ply with the design from the rest of the layers. There will be at least 2 ply but often 3 ply, make sure you separate them all. Cut out the design you want to display on the candlestick.
- Add a layer of Mod Podge to the front of the wood and place the napkin on it and gently smooth out.
- Paint a layer of Mod Podge over the napkin to seal it.
- Use a chip brush in black paint to age and distress the area around the napkin, helping it to blend into the base. You want to use a dry brush technique here – meaning don’t load your brush with paint, use a tiny bit!
- Clip a few dollar store flowers and hot glue them to the base of the wood.
- Glue moss to fill in around the flowers.
- You can use as is for a large candle, but if you want to add a tapered candle you will need to drill a hole in the top with a paddle bit. Measure the bit size you need by lining it up with your candle. Typically 3/4″ works for taper candles.

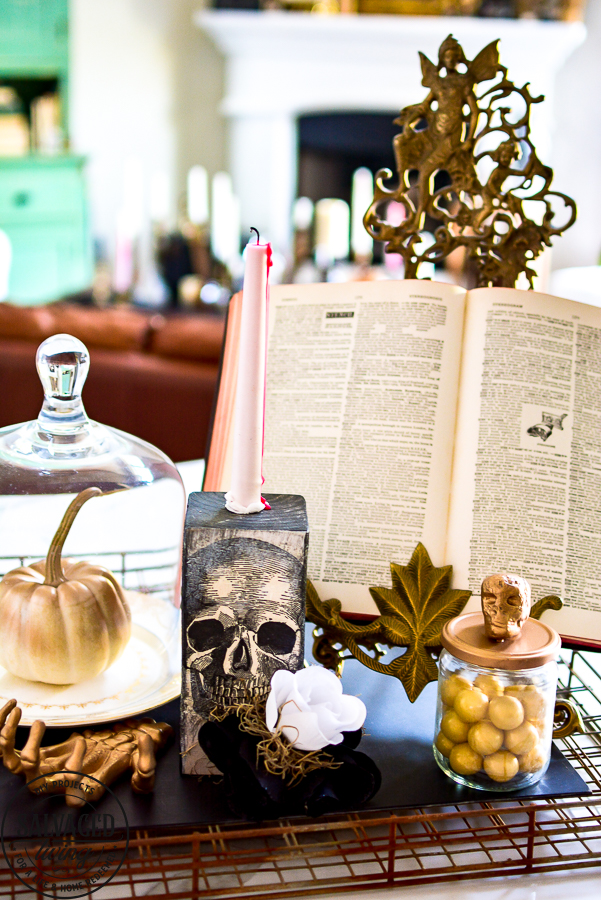
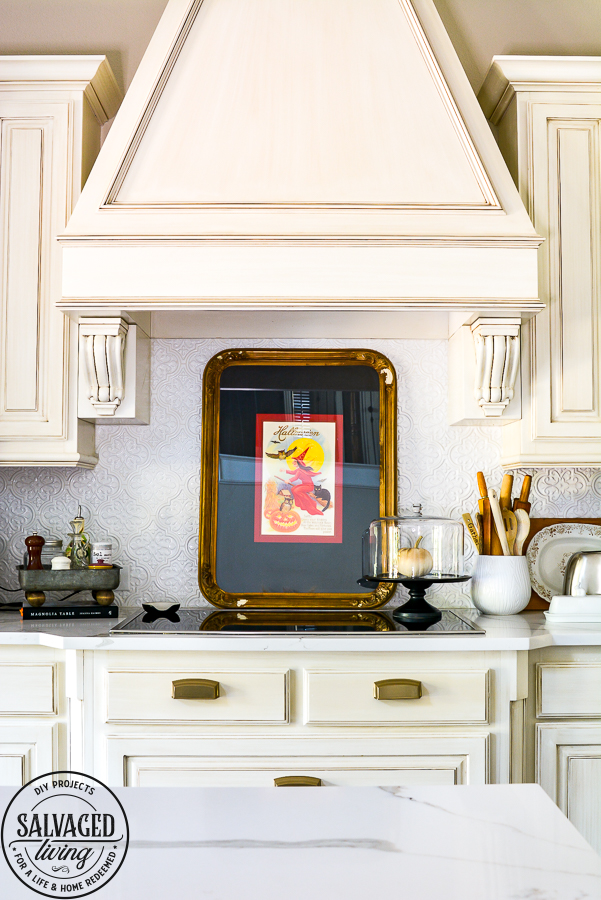
I styled this easy Halloween decor in my kitchen next to a giant dictionary “spellbook” and some other little Halloween trinkets. It would look great in a centerpiece, on your mantel or just about anywhere for fun Halloween decor! I can’t wait to see what you make and how you decorate with it! Be sure to share with me. In case you missed it – see the rest of my Halloween decorating from this year here: Midas Mantel and the Dollar Store Table


Leave a Reply