Transform a room with this easy DIY curtain idea you can create on a budget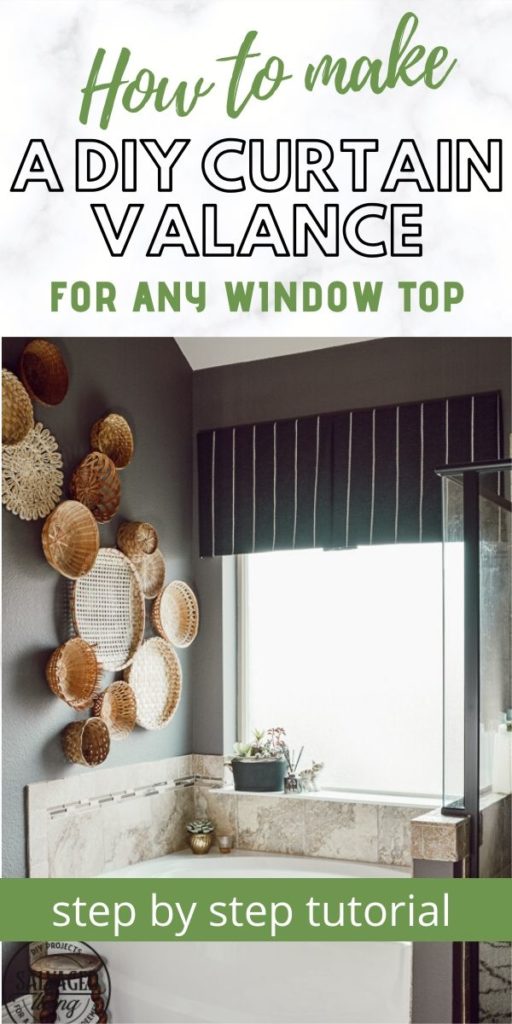
Curtains really set a room off – they are the jewelry to a fabulous dress! Making your own curtains doesn’t have to be intimidating or hard, this simple window valance is a curtain idea you can replicate for any room in your home. Even if you don’t sew, you could use fabric glue and get the same results, so this really is a DIY curtain idea for everyone!
My mom is an amazing seamstress and when it comes to a fabric project I typically enlist her help. She is crazy talented and I am so grateful she so willingly creates any idea I present her with. On her last visit she made me two curtains and started recovering a bench I picked up off the curb. I can’t wait to show you guys all of the beautiful things she made for me. I had her take pictures as she made this window valance and she wrote the instructions for you guys herself! I really believe anyone with some sharp scissors and a little bit of patience can replicate this look in their home. I hope this easy DIY curtain tutorial helps you bring a little something special to your decor. 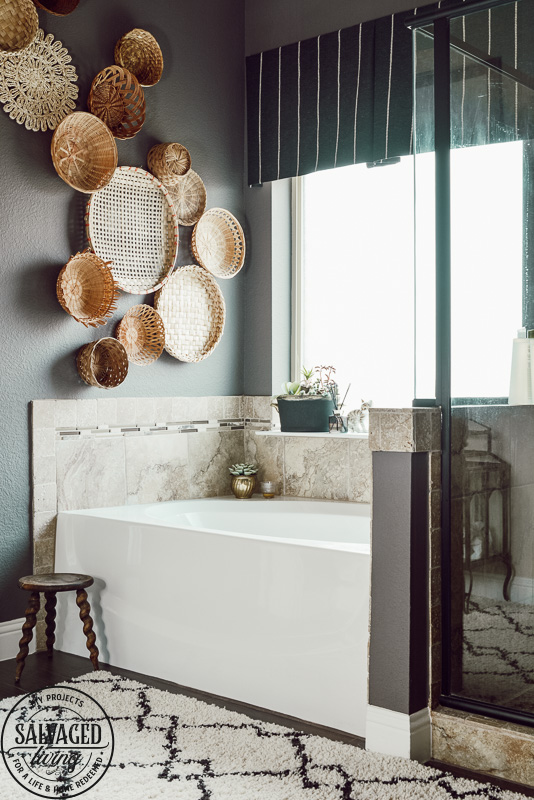
After I hung the basket wall in my bathroom I wanted to complete the look with a simple curtain that finished the space without drawing too much attention. I think this cute window topper did the trick, what do you think?
Here are the directions for you to make your own DIY window valance!
DIY Curtain Idea Tutorial
- Measure width of window. If using a 3” wide board add 18” to this measurement. (6” for the ends and 12” for the pleat) If using 4” wide board, add 20” to this measurement. (8” for the ends and 12” for the pleat)
- Measure for length you want and add 2 1/2”. (Consider the scale of your space! Often this type of curtain looks good if it goes from the ceiling to a few inches below the top of the window. This allows the window to look larger than it is. I didn’t do that hear because the space was to large between the window and ceiling.)
- Cut fabric using these two measurements.
- If your fabric is not wide enough, divide width measurement by 2 and cut 2 equal size pieces. Next with right sides together, sew 1/2” seam down the middle. If you want a no sew option use this glue!
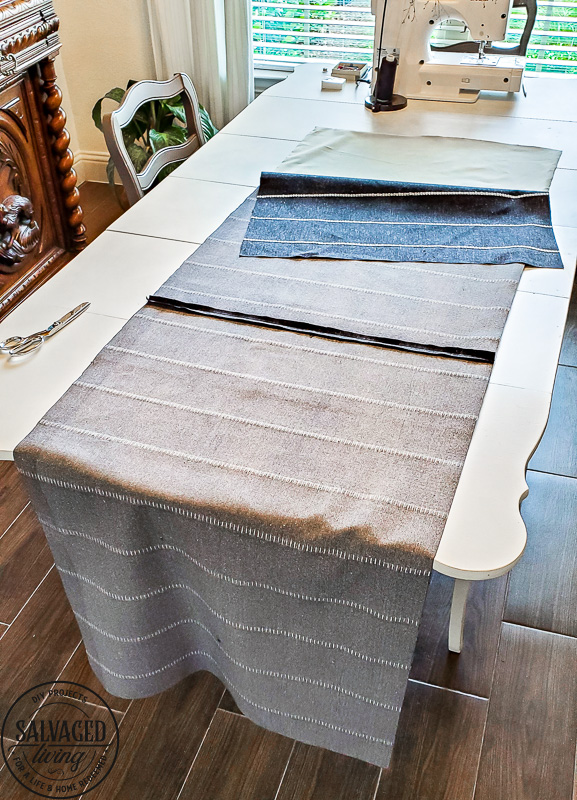
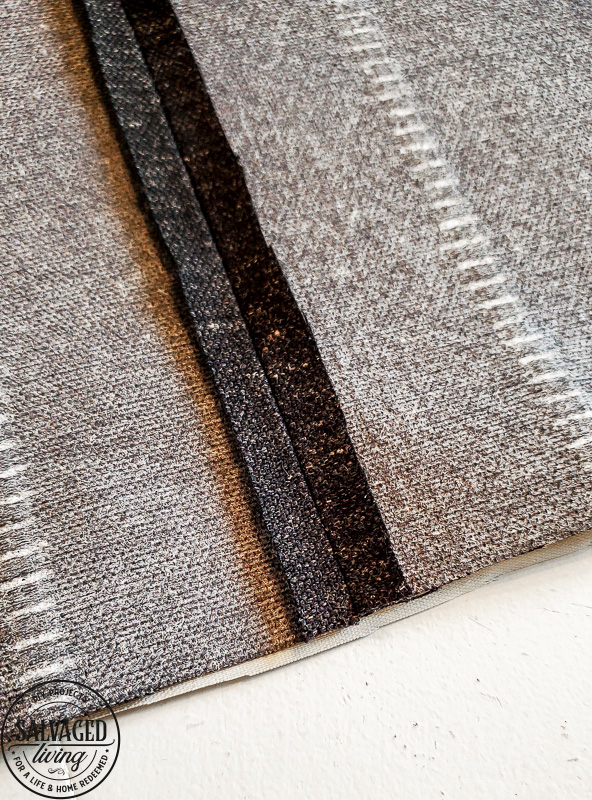
- Cut lining 1 1/2” shorter than your fabric length. You don’t have to line your curtains, but it really makes a difference and makes them look more professional.
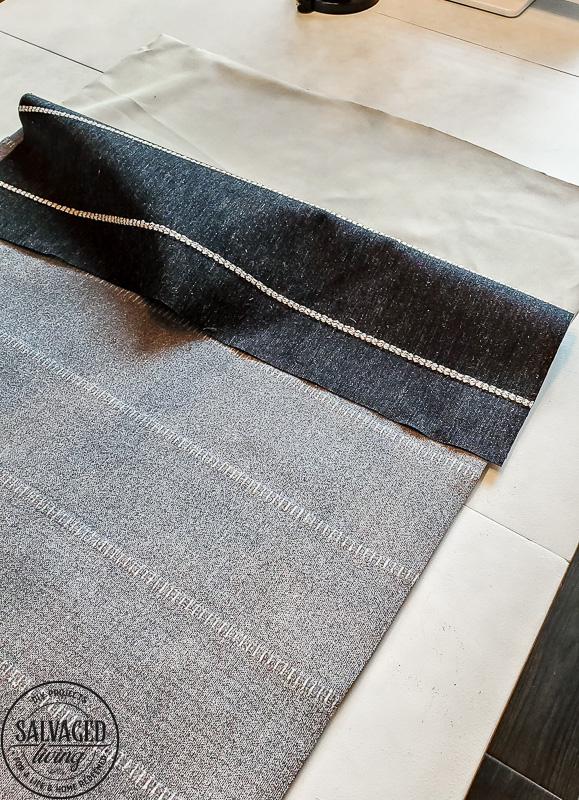
- Right sides together, sew lining to fabric across the bottom edge with 1/2” seam. Then, sew side edges together, 1/2” seam, making sure your top edges are even. Turn right side out and iron. You should see 1 1/2” of your fabric folded up on the bottom of the backside of your curtain. (This helps you not see the lining if you are standing close to or under the curtains once hung!)
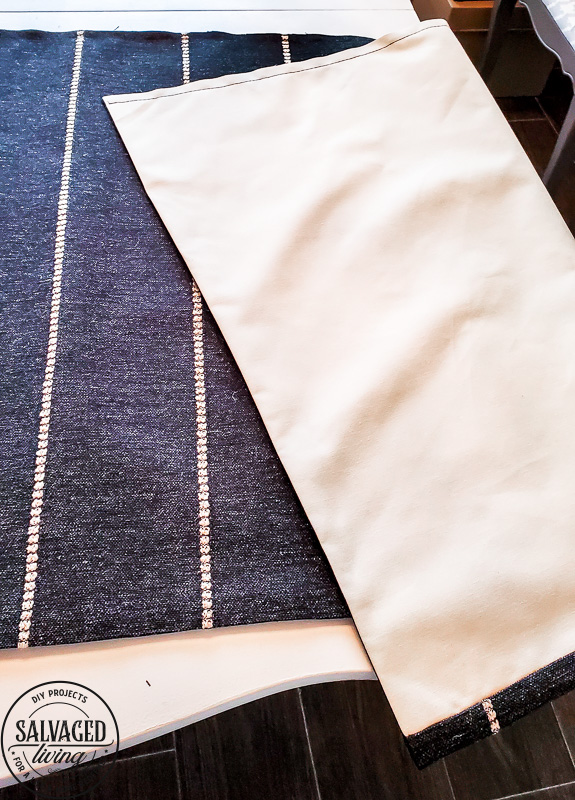
- Sew across top edge or serge edge.
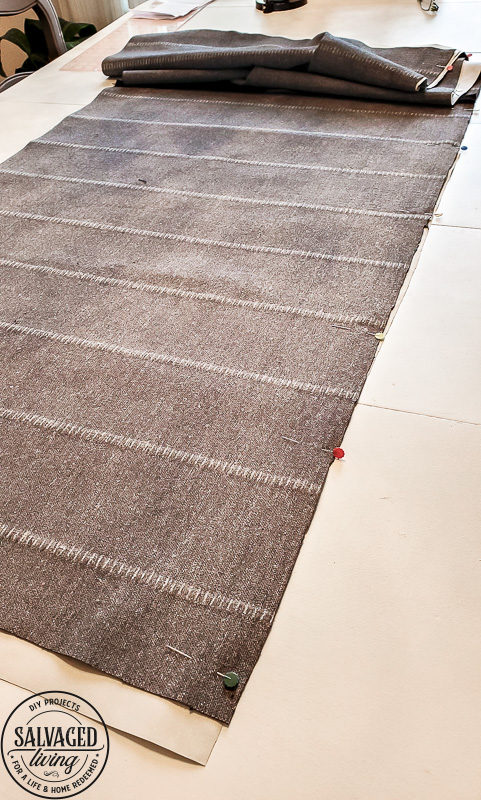
- Next, on your board, mark center and then draw a line 1/2” from the edge (length) of your board. Draw a line 1/2” from edge on the ends (width).
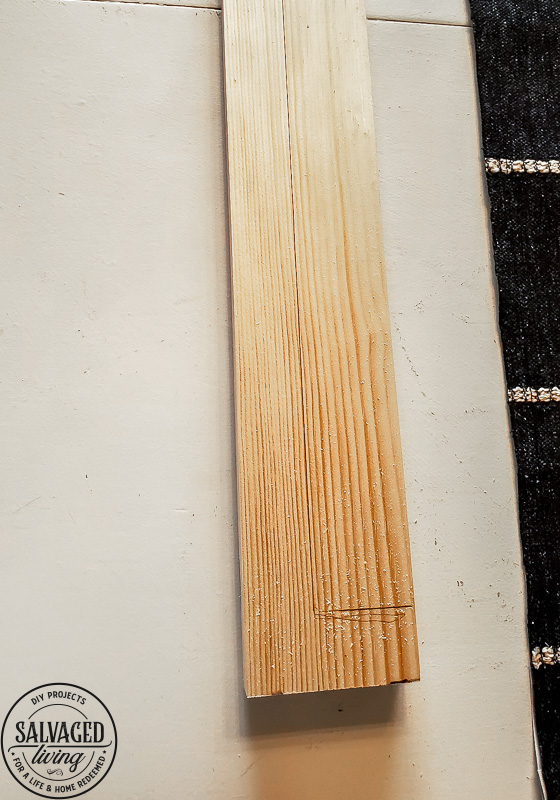
- Place center of fabric on center of board and staple.
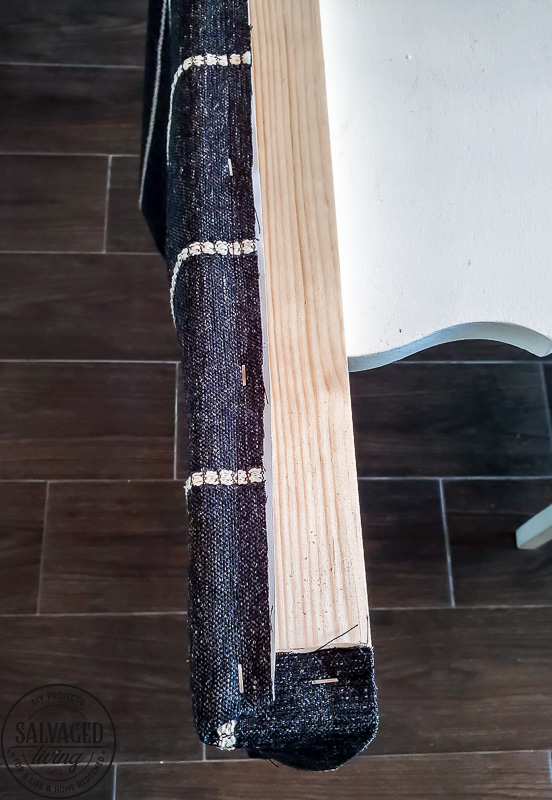
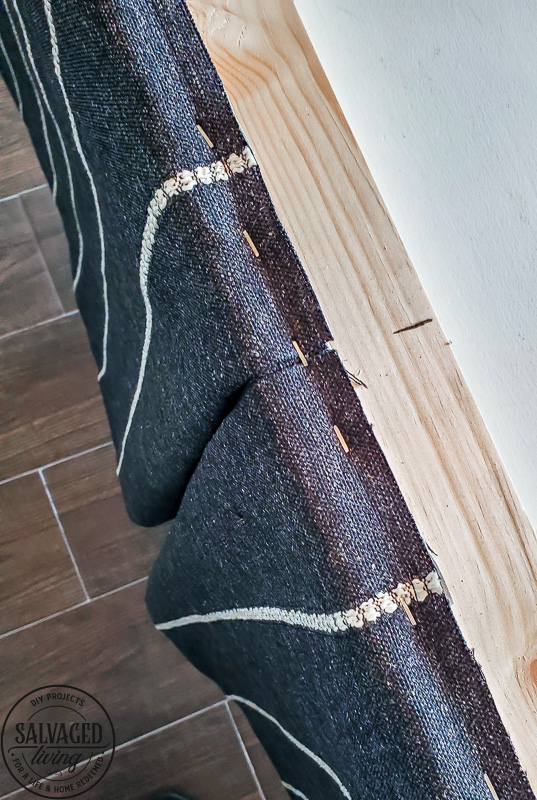 Next, starting at one end staple fabric and then turn the corner with small tuck and then staple towards center using your 1/2” pencil line as a guideline for fabric placement. Make one side of your pleat, placing fold on your center mark. Staple. Repeat starting at the other end.
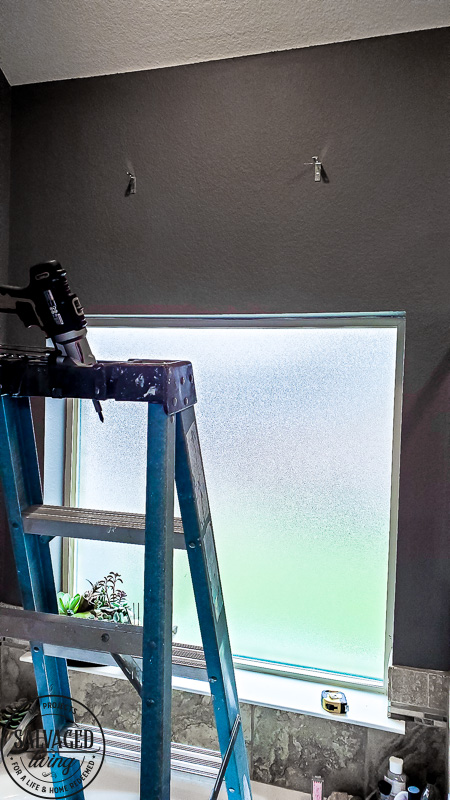
- Length and weight of fabric and board will determine how many L brackets you will need. Mark placement of L brackets and install on the wall above the window. Place board with curtain on L brackets and then screw board onto brackets. See the printable create card below with these instructions!
If you have any questions about this tutorial feel free to ask! Happy decorating!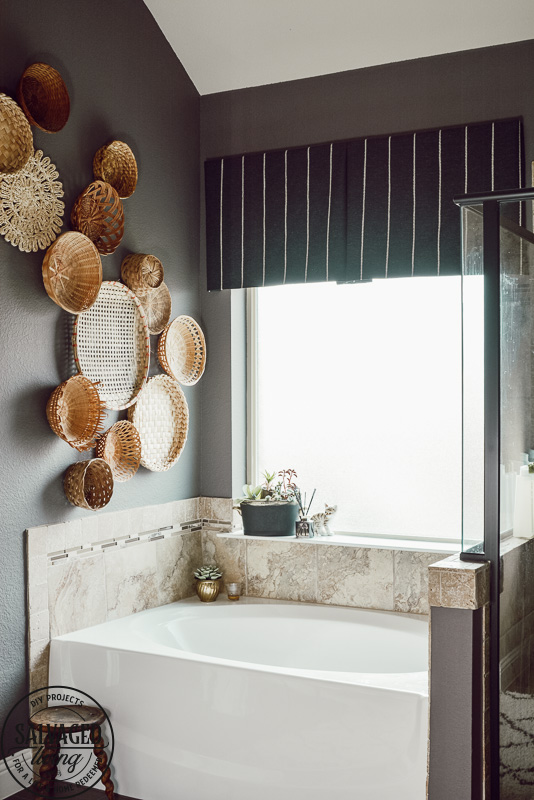
[mv_create title=”Easy DIY Curtain Idea” key=”11″ type=”diy”]


Leave a Reply