Anyone else here still holding on to their love of Thanksgiving? Oh good, we must be twins. I’m not sure why everyone is busy decking the halls when we haven’t even dressed the turkey! Commercialism, am I right? Well, let me show you the cutest DIY dry erase pumpkins you are going to want to add to your Thanksgiving table stat. 
Are you hosting the whole family, cousins, neighbors and their dog? Perfect. These are inexpensive to make and you can throw together a whole slew of them to set a table for two or 100!
The best part? Next year you can have an entirely different guest list and they still work. Because…the magic of dry erase. Am I the only one that loves to see their name written out? It’s so purposeful and thoughtful when your name is labeled on something right?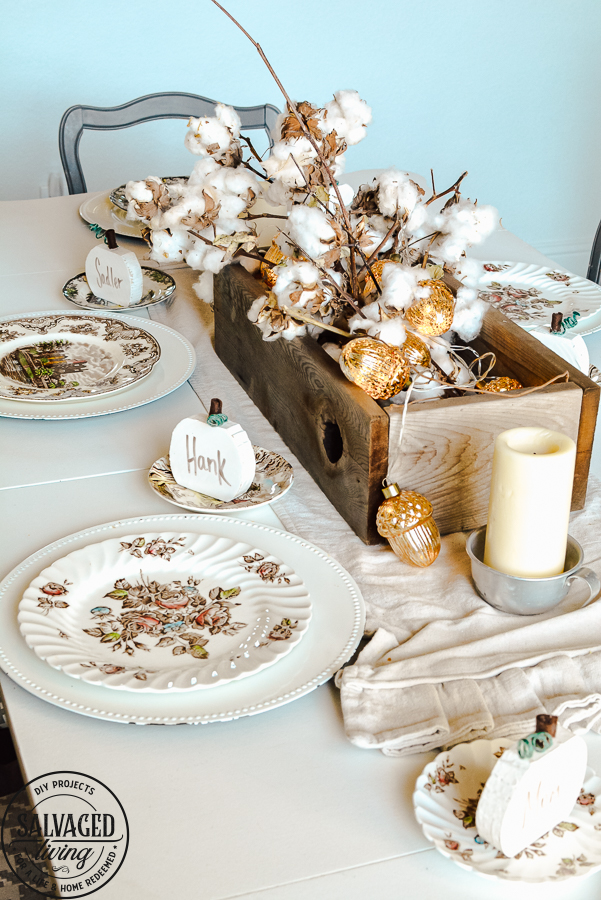
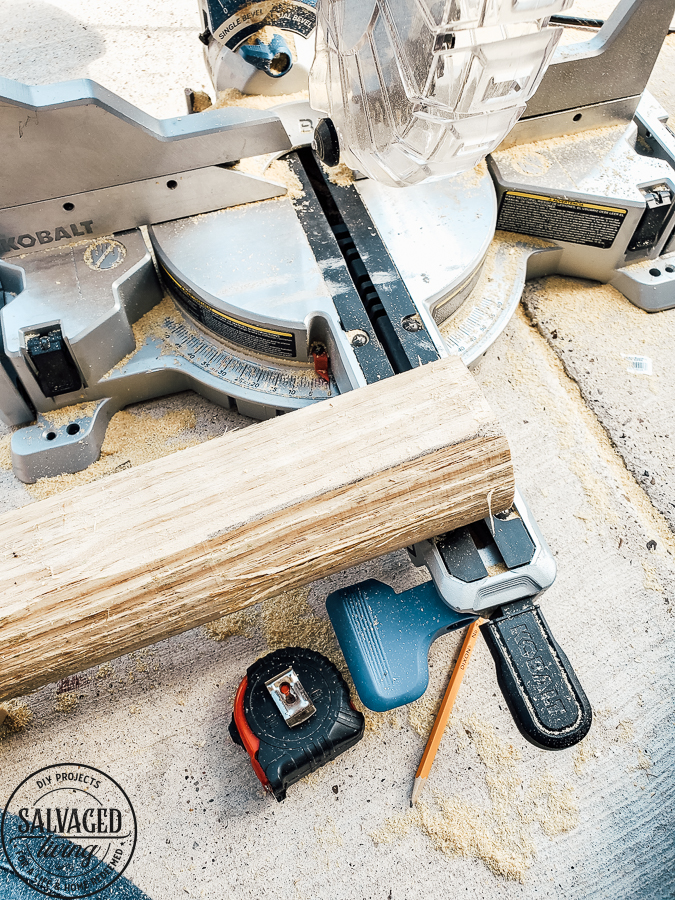
I’m currently obsessed with landscape timbers as a craft supply (did you see this project? )and they made their way onto my Thanksgiving table! I just used my handy chop saw to cut a bunch of thin slices and what do you know!? Little pumpkins where born by the dozen. 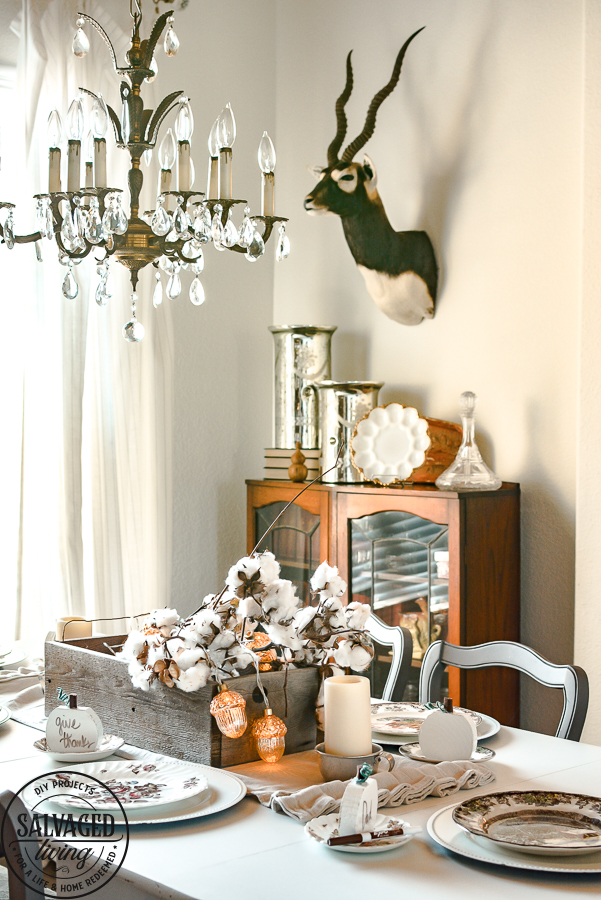
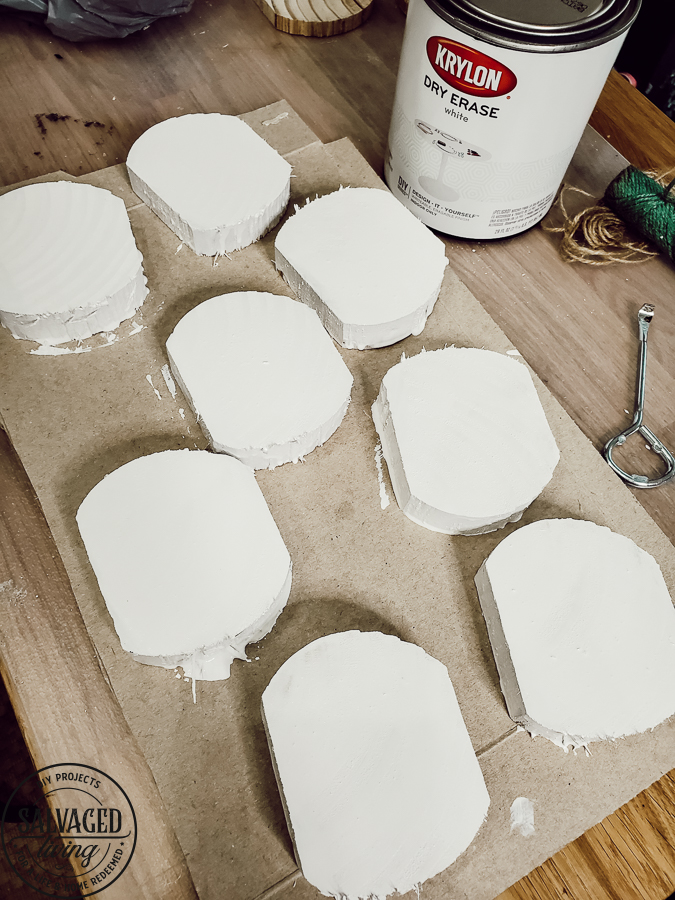
Next I bought the most incredible paint. Maybe you are craftier than me and knew about this wonder paint, but I’m slow sometimes and just found it. Dry Erase Paint. Amazing. You can paint all kinds of surfaces and trust me when I say all things in my home are subject to getting a fresh coat of this stuff. I painted a few thick layers on the pumpkins to create dry erase pumpkins!
I found a great pack of skinny dry erase markers at Walmart and YES – there was a brown one, just what I was hunting for. 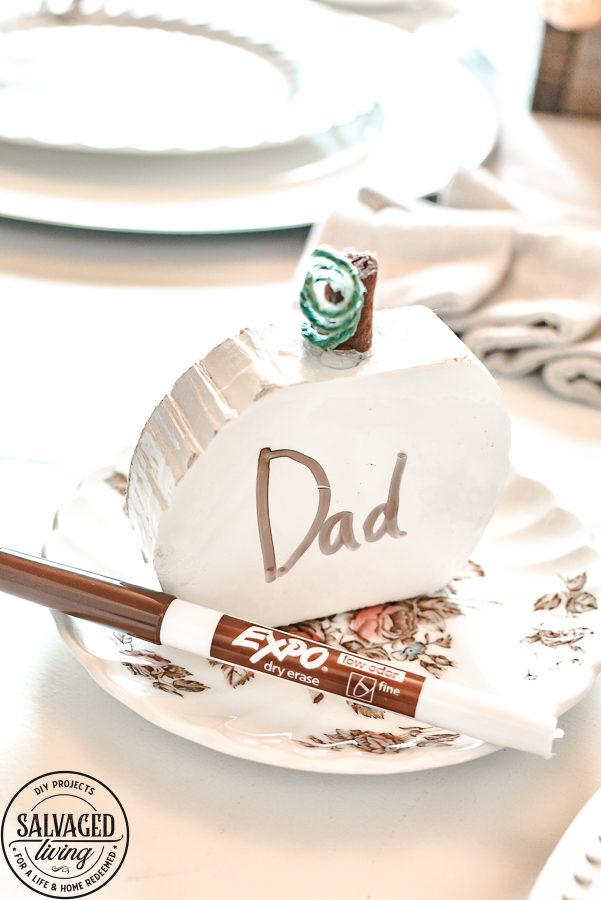
Now we can all sit around a lovely table writing our names over and over. Or maybe just a sweet message, a silly note, or something we are thankful for. So much possibility brought to you by some cool paint.
Here is what you need for this easy fall tablescape!
DIY Dry Erase Pumpkins Supply List
Landscape Timber
Krylon Dry Erase Paint (I ordered mine online here and have enough to do a ton more projects 🙂 )
Soft brush
Felt
Hot Glue Gun (I just bought this cordless one and LOVE it!)
Milkshake Straw
How to make Dry Erase Pumpkins for your fall table setting:
- Cut a landscape timber into 1″ thick slices, however many you need for your guests
- Sand the pieces for a smooth face and edges
- Paint the whole pumpkin with Krylon Dry Erase Paint. On the face of the pumpkin paint a few coats until it is thick and smooth.
- For the stem I rolled a small length of brown felt and hot glued it together as I rolled, then glued it on the pumpkin.
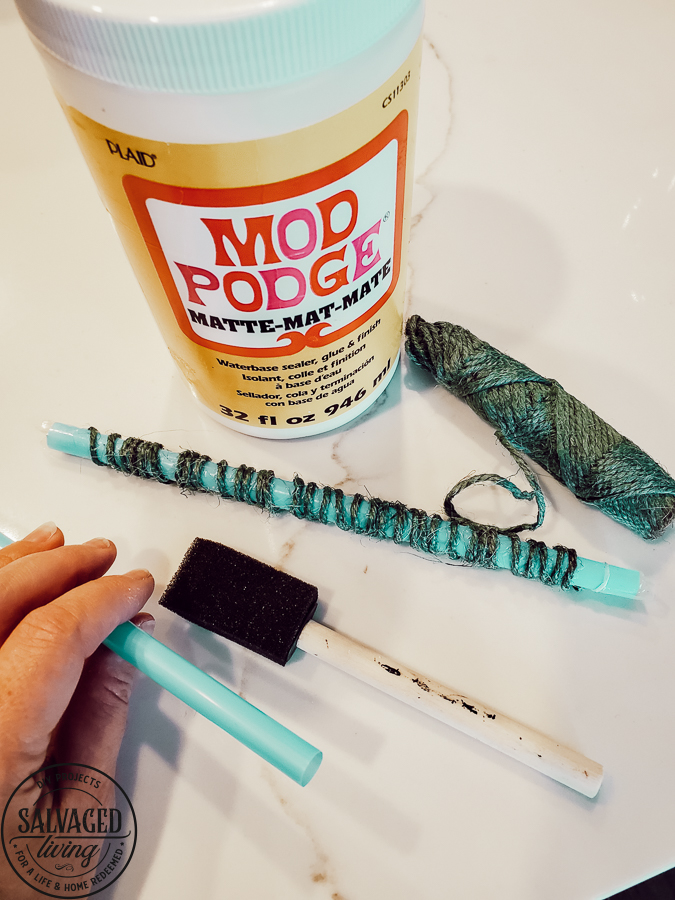
- To make curly stems use green jute twine. Wrap it around a plastic milkshake straw and tape it on both ends.
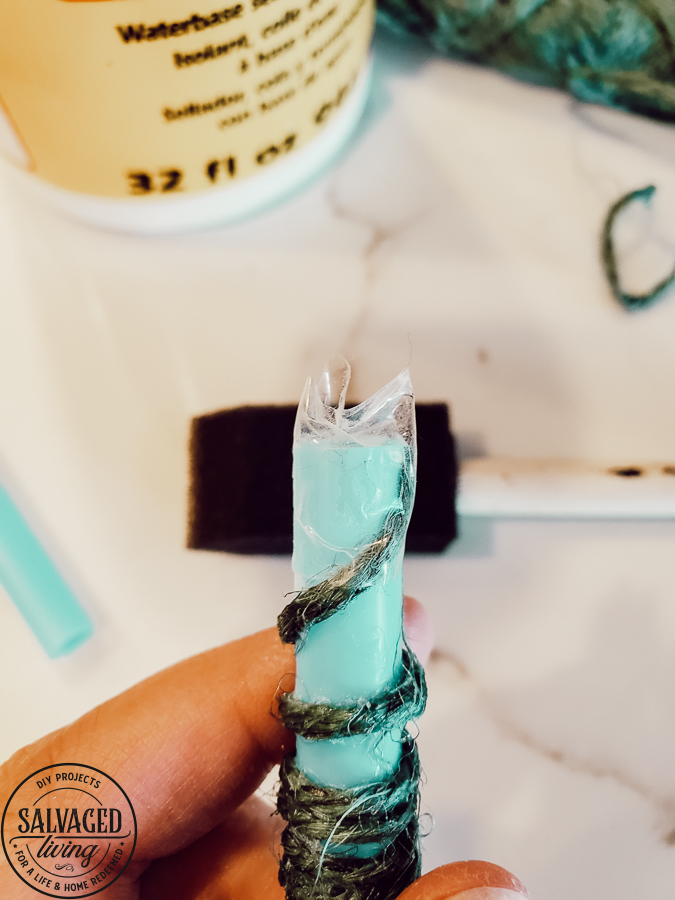
- Cover the twine generously with Mod Podge and allow to dry overnight.
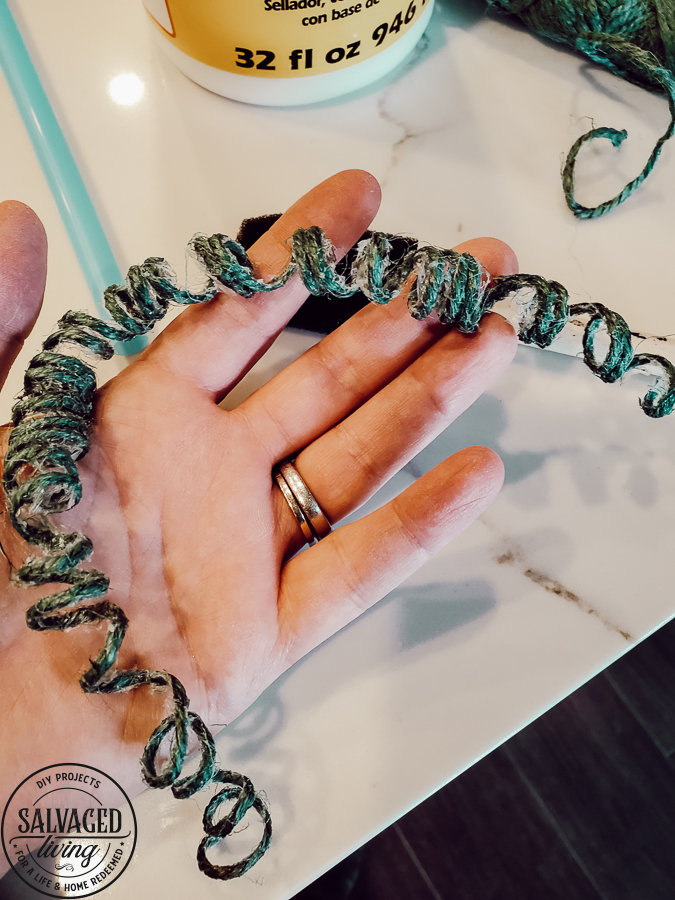
- Once dry break the twine away from the straw and cut into small lengths. Hot glue to the stem/pumpkin.
- Write names, sayings, thanksgivings or whatever comes to mind on your cute new dry erase pumpkins!
Just think about all the other fun crafts and organizing you can do with this concept? Mind blown over here. Happy Thanksgiving, and don’t let anyone bully you into moving past it if you aren’t ready. XOXO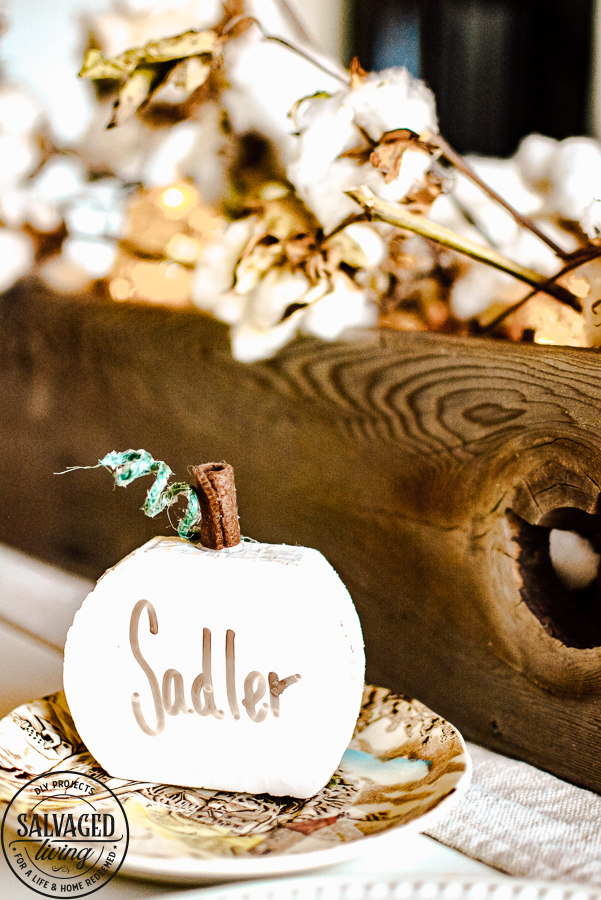



I always enjoy your blog. I’m so glad to see Thanksgiving is still happening at your home.i wont even look at a blog with Christmas.. Let’s enjoy Thanksgiving and be grateful.
Thanks for sharing
aww thanks Judy – It is such an amazing low pressure, remember to look at the good things holiday! I just love it, hope yours is amazing!
These are adorable! Very creative and I’m glad to see I’m not the only one not ready to jump two feet into Christmas just yet. Happy Thanksgiving to you and yours, Kim! ????
right! I adore Christmas but one thing at a time 🙂 Have a wonderful holiday
Your creativity amazes me. What a unique and charming item to make and display on a table or scattered around the home with a one word thankful message on it like the word thankful and then below that someone’s name or an attribute.
Thank you for sharing with all of us!
Blessings to you
Missy
Thanks a ton Missy – wouldn’t they be precious all over the house, I love how you can make a ton of them for cheap!!! Let me know if you make some, I’d love to see them!
I am beginning to notice bloggers using the floral plates that you feature today, and it makes me so sad to see them. My grandmother had a full set when I was growing up and I received them at her passing. A few years ago, in a weak moment, I put the entire set in a garage set and now they are no longer mine. So, hope to see them in more of your blogs. Happy Thanksgiving.
oh no, I can imagine that is a tough one. I love transferware and collect pieces whenever I see them cheap. I bet someone is loving on your grandmothers’s set, I know I sure would be. Blessings friend
What a creative idea- love these!
Happy Thanksgiving!!
Thanks JoAnn – I have so many more ideas for this paint!!! just wait 🙂 You are the sweetest for encouraging me. Have a beautiful Thanksgiving!
Very cute! I hadn’t heard about dry erase paint yet– nice! All walls should be made of the stuff, at least below the chair railings when there are toddlers around! : )
Liberty @ B4andAfters.com
so true!!!
Could use a cork for the stem or even a piece of a cinnamon stick for great aroma!