How to Drill a Pocket Hole
Our family loves to play games. Now that my youngest is old enough to join in we often sit around the big table in our living room and play various board games. The problem is we never really have enough seating around the coffee table that is close enough to guard your hand. And you know we can’t have people peeking at our hand!!! My love for all things budget conscious had me devising a way to get three little stools that would tuck away under our coffee table without costing a fortune. 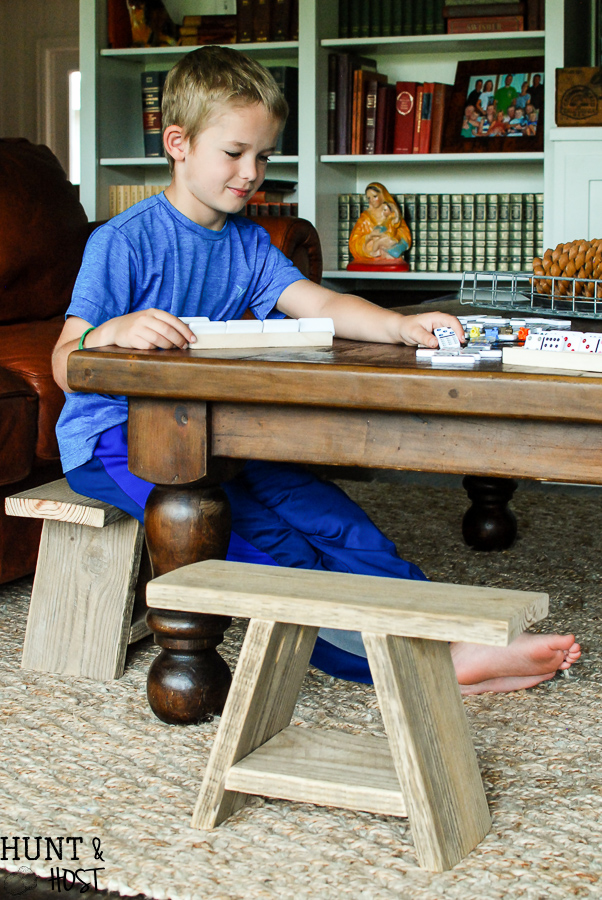 Last year I received a Kreg Jig from the lovely people at Kreg and after they demoed it to me I knew I would go home and build amazing things. Then I got home and it completely intimidated me and sat in my closet! LOL! It was time to pull that baby out and teach myself how to use it and make pocket holes that look amazingly complicated and way more advanced than my wood working skills actually are.
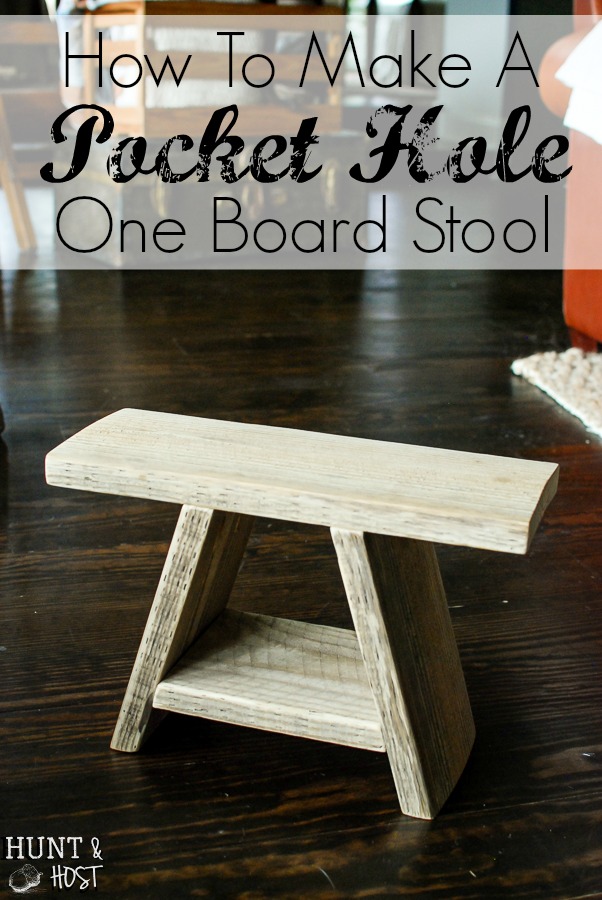 It was so. much. fun. Ladies – teaching yourself a new trick is always a fun thing! Today I’m going to share the steps on drilling your own pocket hole in case you want to step up your DIY game as well. If not you could still make this stool. PLUS… I have the two cutest one board stool models around!
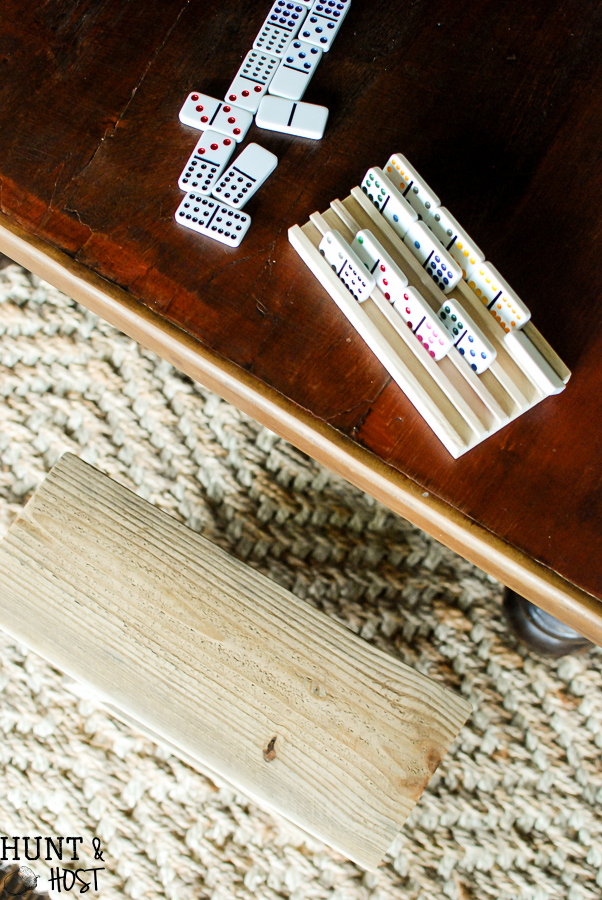
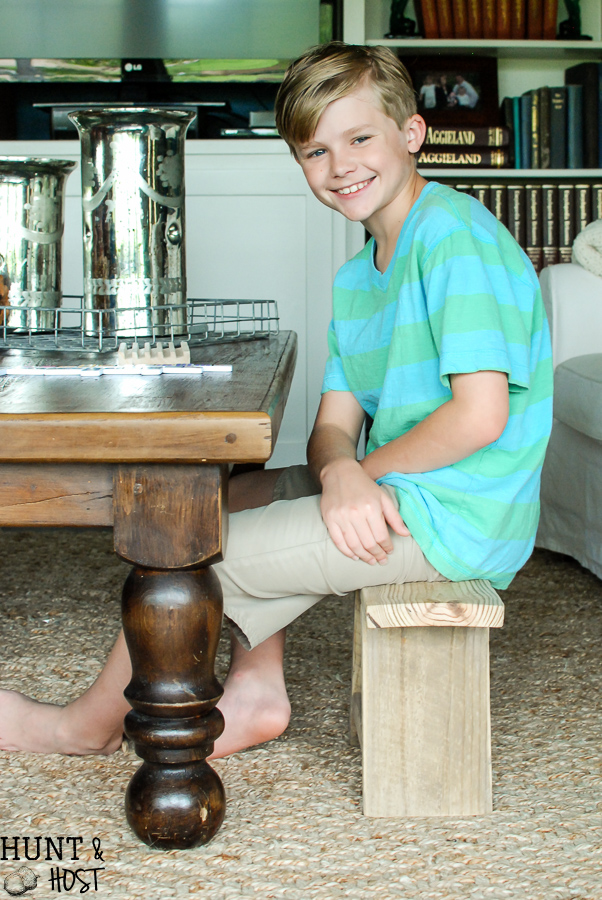
  My sweet boys jumped at the chance to show off our new stools that easily hide under our coffee table and slip out for a mean game of Mexican Train – our family favorite currently. If you don’t have this game you should, it’s a blast. Here is an affiliate link in case you want to order it! Mexican Train Game . We also have these nifty little wooden domino holders that have helped my little ones so much, well me too…we are all constantly knocking over our hand.
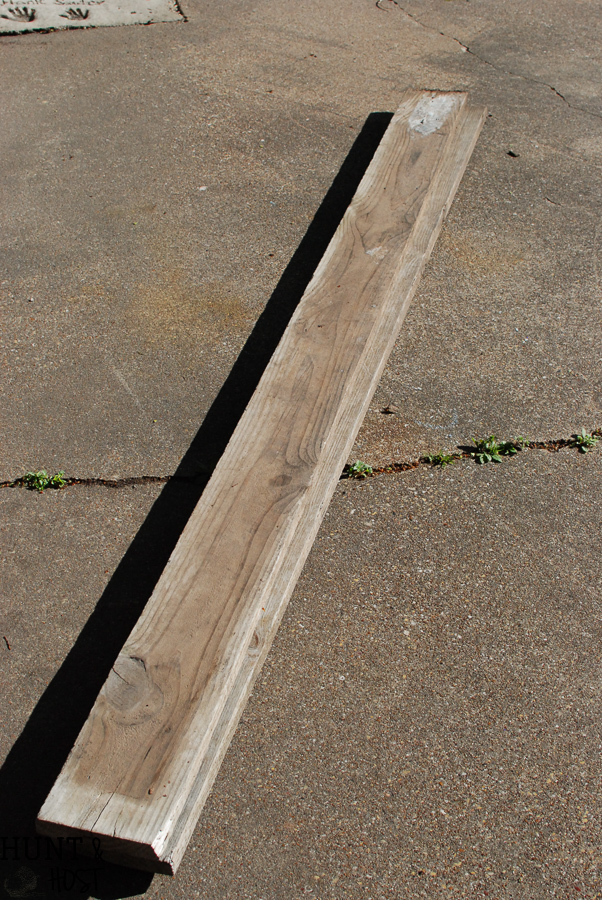
  This stool is built with left over wood I had laying around (YAY FREE!). I had two 1″ X 6″ boards and got THREE stools from them. Not much is better than a good wood pile stash!
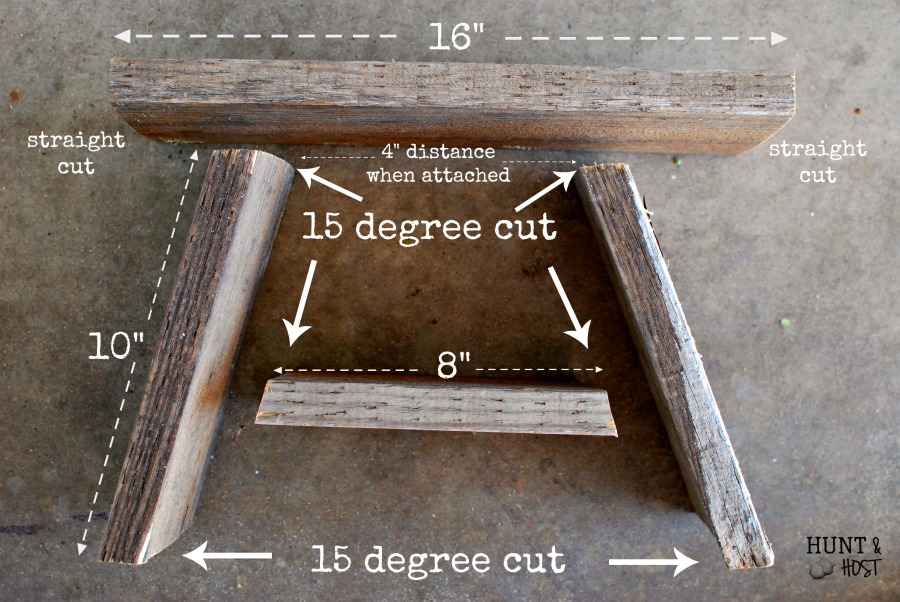
 My plans were inspired by Gail over at My Re-Purposed Life, she is awesome and I loved her little stool! You can check out her tutorial here!Start by cutting the top piece to your desired length, mine is 16″. Next cut the two legs, mine are 10″ long, cut on a miter saw with a 15° cut, be sure to cut the angles the right direction. (this following picture should help) My center brace is 8″ on the shortest length, again cut at a 15° angle.
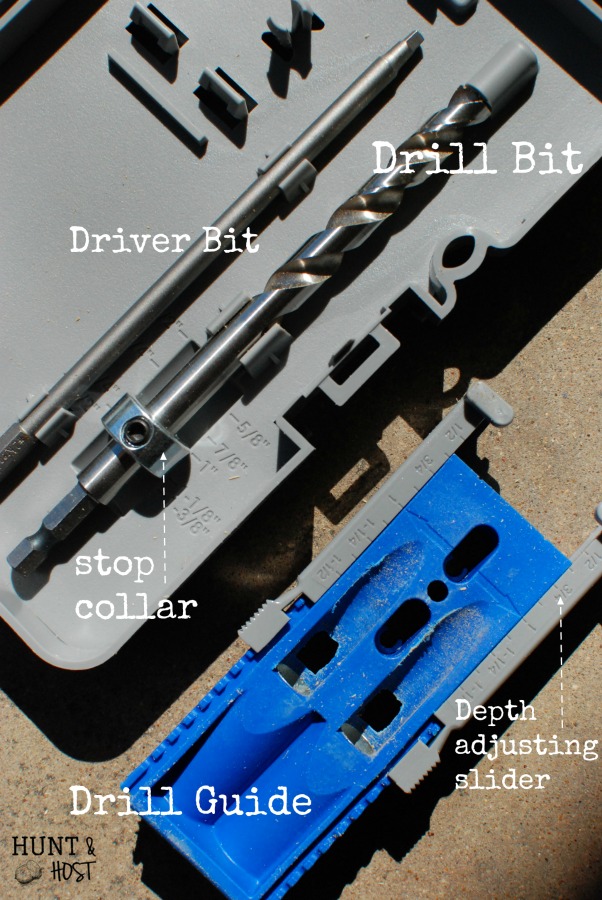
  Now you are ready to try out the pocket hole jig!!!! This handy contraption comes with a chart that will save the day. It tells you exactly how long to make everything and what screw length to use based on the wood thickness you are using. You may want to practice on scrap wood, I sure did! Start by adjusting the stop collar to the appropriate length (refer to the chart in your kit), you do this while the drill is IN the case. The side of the collar closest to the drill tip needs to line up with your desired length. This one is set for a 1″ piece of wood…
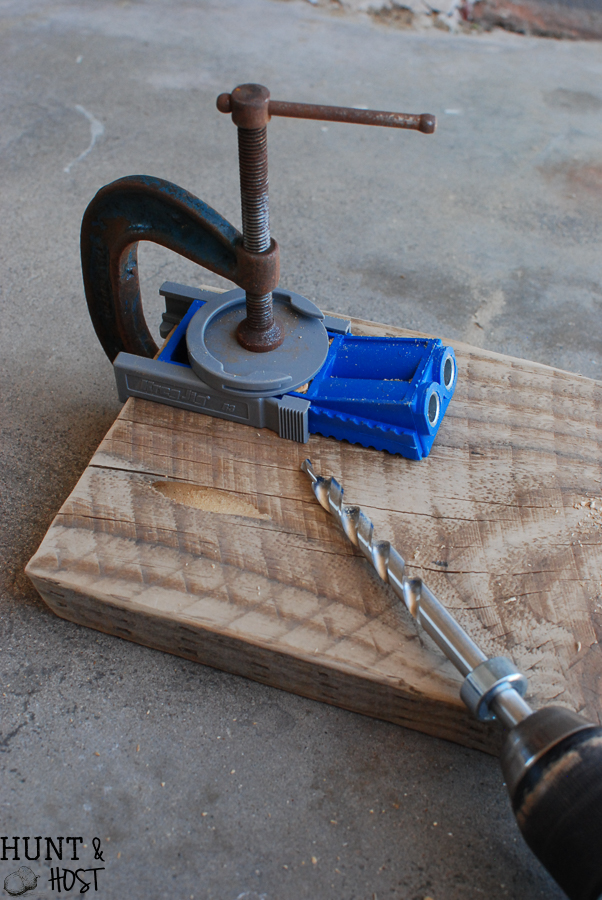
 Next you will set the position slider to the correct length and clamp to the piece you will be drilling. Make sure you measure and clamp in the correct spot on your wood for nice, evenly spaced holes.
  You will be drilling 8 pocket holes on this project. Two on each leg to secure to the seat and four on the cross brace to secure it to the legs. You are ready to drill! Remember, whenever drilling you want to add pressure but let the drill do the work.
  This process pushes out a good amount of wood so go slow and drill until the stop collar touches the slider piece. Keep drilling as you pull the drill out of the hole to easily remove it.
 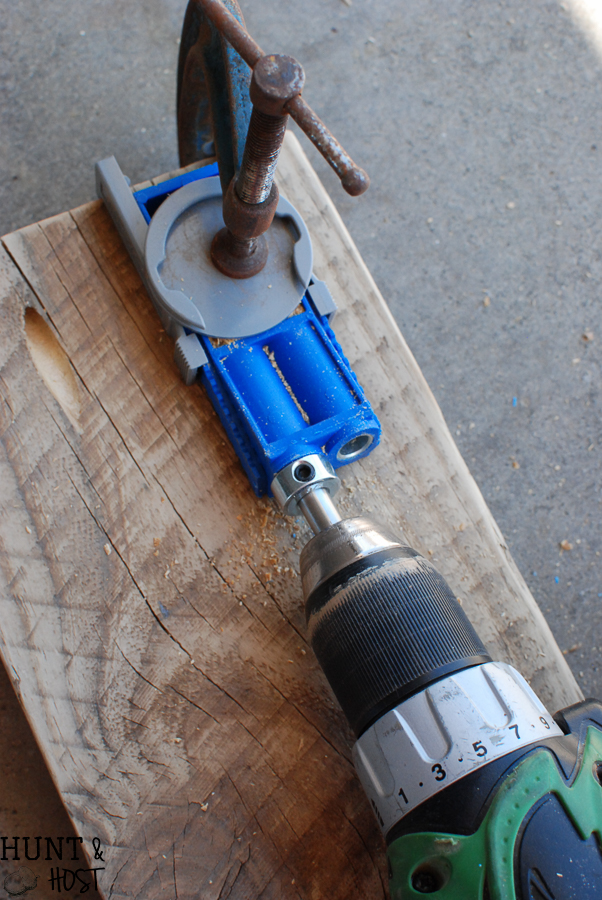 Drill the four holes to secure the legs to the seat, then drill four holes (two at each end) on the cross brace. All holes will use the same settings and screws as long as you use the same wood for all pieces.
 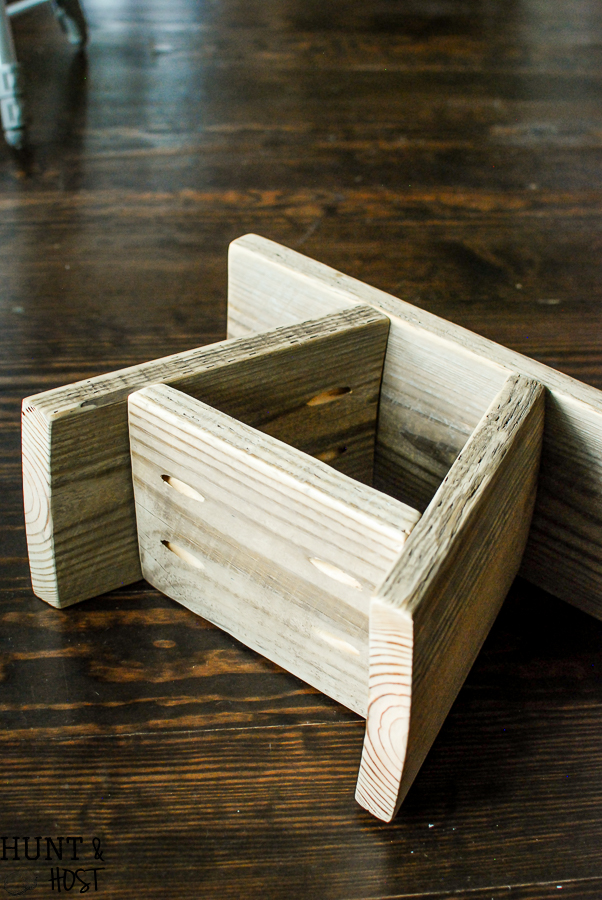 Next select screws according to kit provided chart. Change your drill bit to the driver screw attachment provided in the jig kit. Apply a small amount of wood glue to leg and attach to the seat, being sure to measure and mark so legs will be attached equal and centered on seat. Attach second leg. Slide the middle brace in between the legs until it fits tightly, add a small amount of wood glue to the ends and secure with screws. Friend, you just made a stool with pocket holes, pat yourself on the back and be proud! I have to admit I was so proud when I finished these!
Here is a supply list to make sure you are ready to go:
Pocket Hole One Board Stool Supply List
*affiliate links, if you make a purchase I might make a small commission, Thanks!
Pocket Hole Drill Kit I have the Kreg Jig R3 kit
Screws (some come with kit but be sure you have what you need before beginning!)
Board (1″ x 6″ X 46″ used in this project)
Tape Measure and Pencil
Clamp
These stools have come in handy in our living room, the kids use them all the time for games, eating and just extra seating while hanging out with us. Maybe you can think of a spot you need a few extra seats for little bottoms! It was much easier to knock out three stools at once, I just made a produce line of sorts. My hope is between the easy stool, pocket hole tutorial and Mexican Train suggestion something here will strike a chord with you today! Time with family and learning new things are both fabulous ways to spend your day.
The one who gets wisdom loves life; the one who cherishes understanding will soon prosper. Proverbs 19:8
Signing off with a Dab from the boys…they had to get some funny pictures in after all the serious pics were done. 🙂 Be sure to pin these tips for later. Wish you could pull up a stool and play with us friend!



They are too cute! I’m loving the dominos holder too. We’ve gotten into playing spades recently and I forgot how much I love it
I love spades, been a while since we played but such a fun game!
Cute stools, almost as cute as the cuties sitting on them. Have a blessed weekend.
Thank you – I am partial to the little guys myself 😉
Is it a 15 degree miter or a15 bevel cut?
miter!