How to make a dried flower wall hanging
If you know me well, you know I carry gloves and garden clippers in my car at all times. I am always up for a roadside pit stop that involves beautiful wildflowers. They are perfect to fill an old vase with and even better to hang and dry for scrumptious decor. The price is pretty nice too!
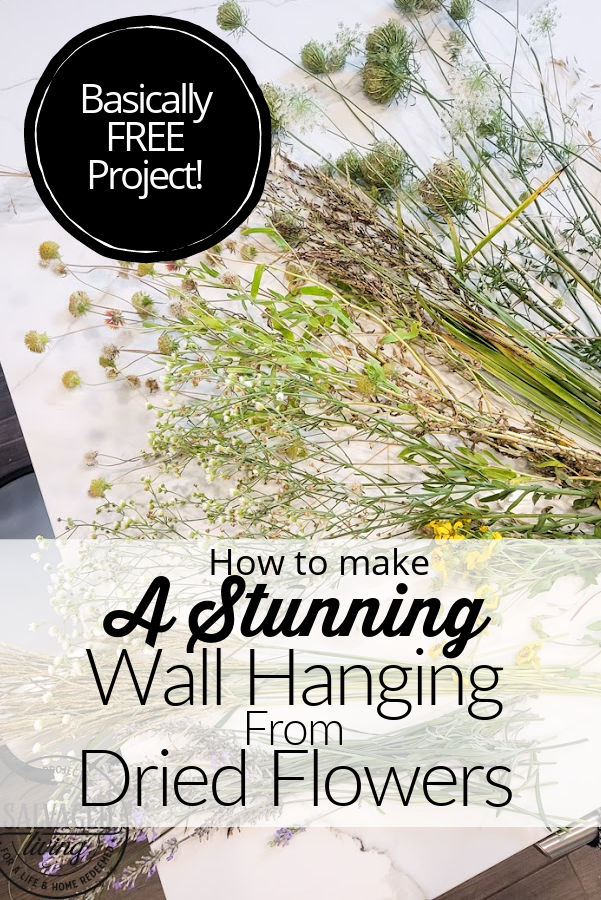
Do you ever go on nature walks or take time to really inspect the roadsides when you drive around town? If you aren’t literally stopping to smell the roses you’re missing out my friend. Nature is always in style. For years, I’ve made my kids go on wildflower hunting adventures and they barely think twice when I pull over in a random spot, hop out and clip flowers. I’m not saying they will continue the task as adults, but they tolerate me at least, LOL.
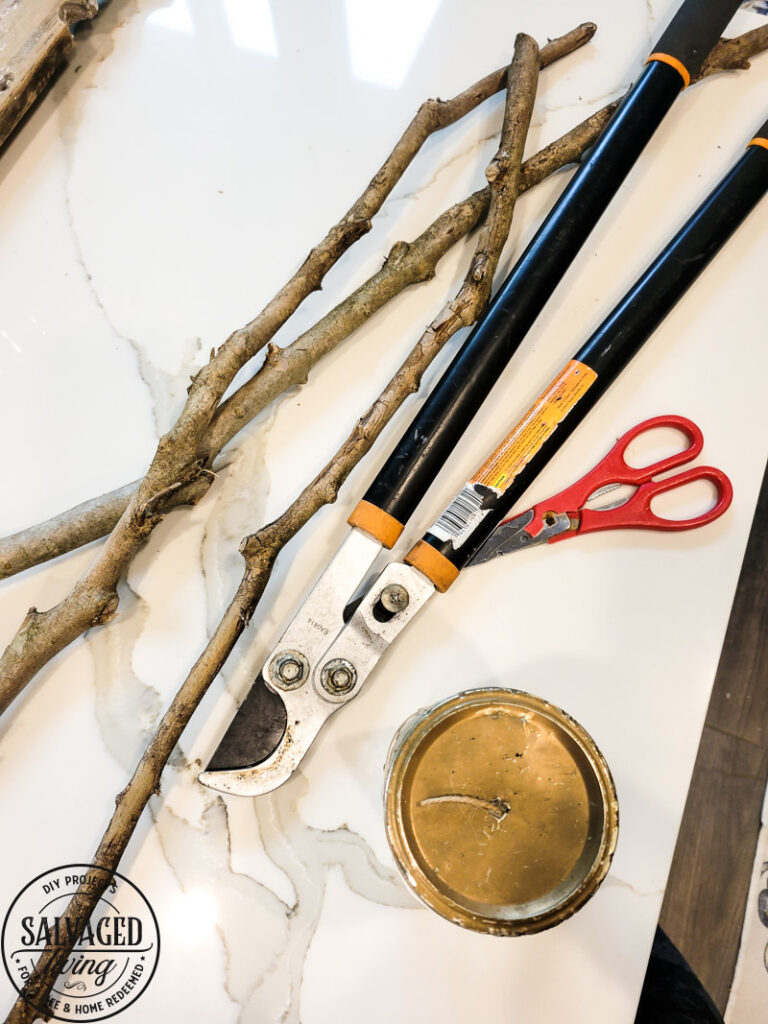
Whenever I talk about picking wildflowers I get questions and comments about “Is it legal to pick wildflowers in Texas?”. I’ve researched the answer and the answer is no – it is not illegal to pick wildflowers here. You do however, have to watch WHERE you pick them, because trespassing and certain State mandated areas are illegal to physically be on. Is it likely a cop is going to site you for being on a public roadway picking flowers? No – but safety is the key here and if you are putting yourself or others in harm’s way to get some flowers (or those lovely Bulebonnet pictures) you might get in trouble. All that to say – be smart where you decide to gather your wildflowers from!
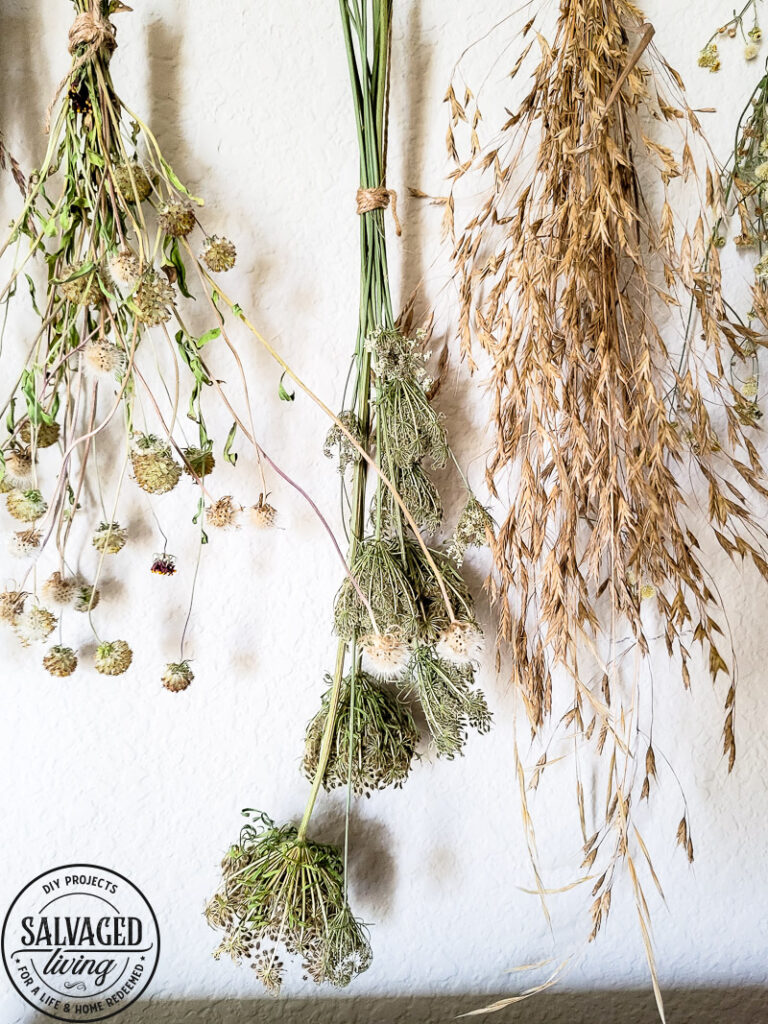
Once I get wildflowers I shake them out really good to let the bugs and loose things fly. Next I usually stick them in a big bucket with cold water and let them sit in my garage or porch a day or two. This helps bugs and such leave the premises as well in my experience anyway. You will always have a few tiny creepy crawlies when working with wildflowers, so don’t be surprised. It comes with the territory. Here are the details on how to create a DIY wildflower wall hanging.
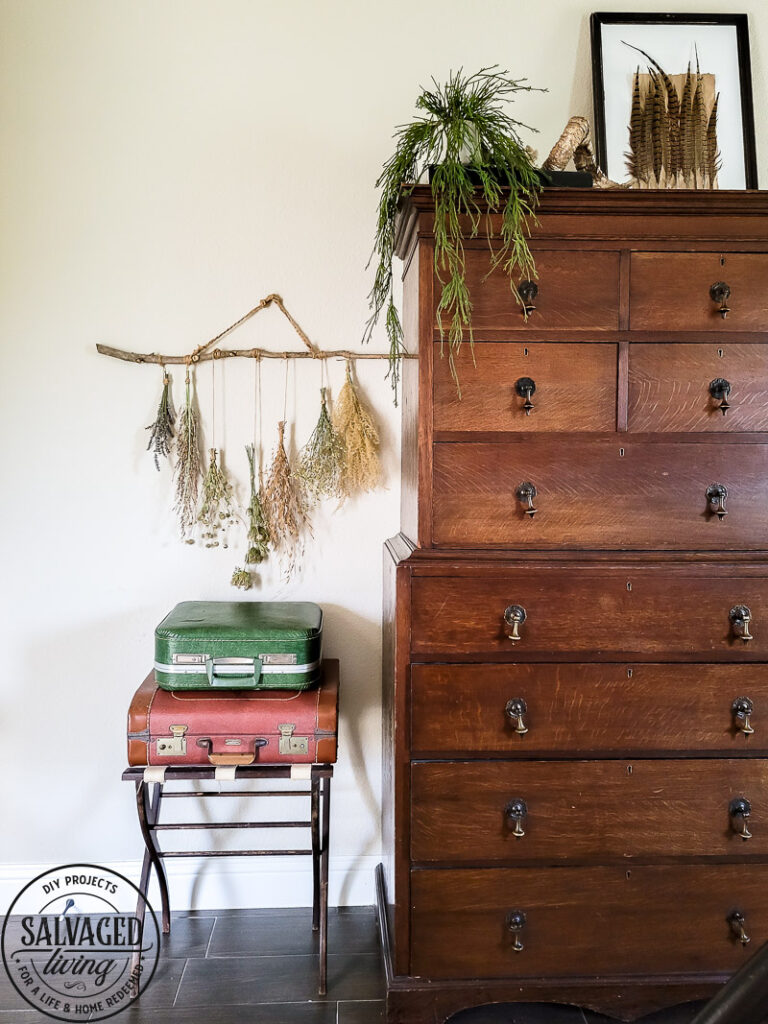
Dried Flower Wall Hanging Tutorial
- Gather wildflowers in small bundles.
- Wrap the bundle tightly with jute twine at the base of the flower part, leave a long string on the twine.
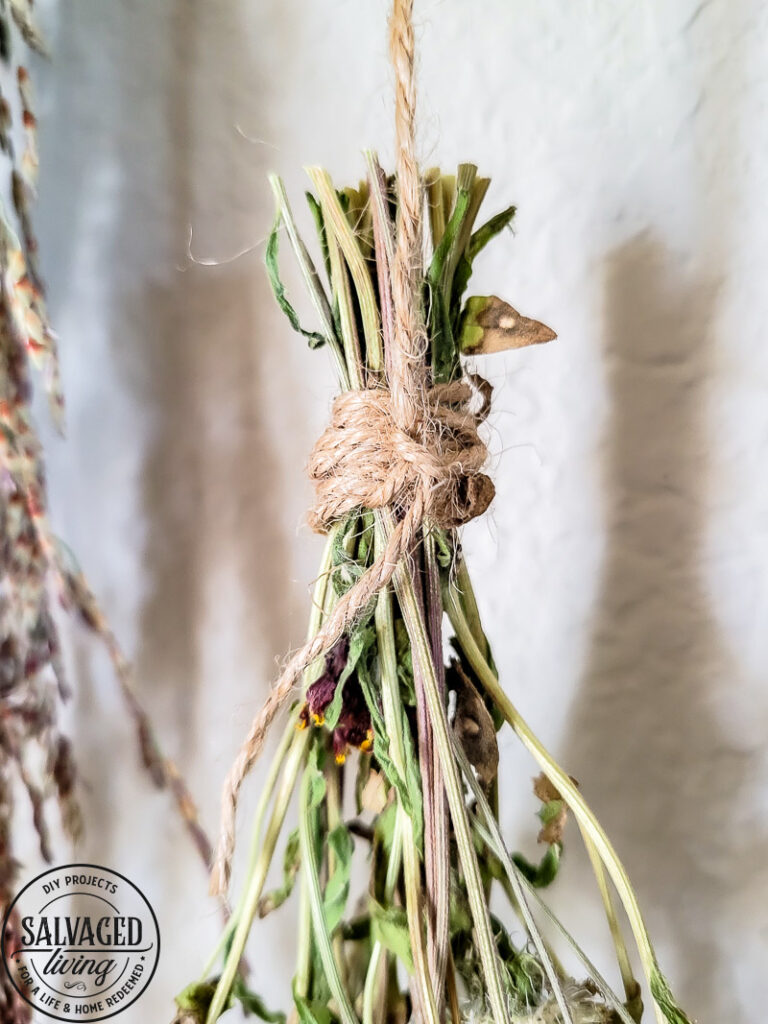
- Trim the end of the flower stems to an equal length.
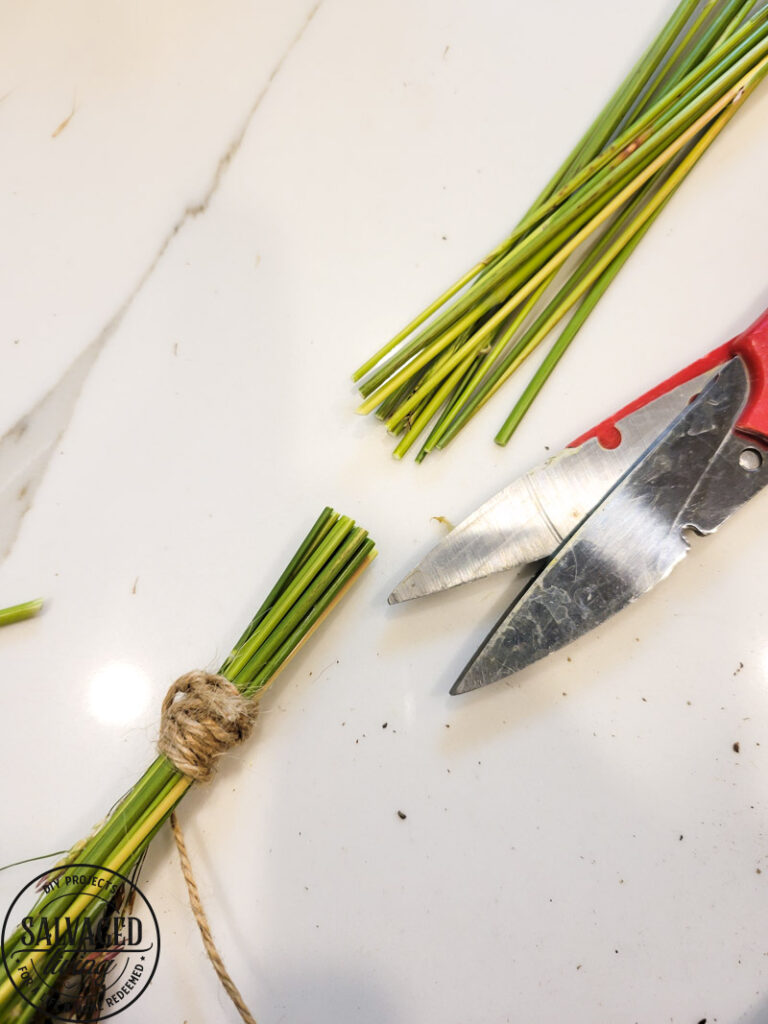
- Make an odd number of tied bundles.
- Find a long stick, or use a dowel rod of some sort for your wall hanging center.
- Arrange the flower bundles in varying heights, start at the outside and work your way in. The outside bundle will be closest to the stick. You will want to use similar length bundles opposite from one another for unity.
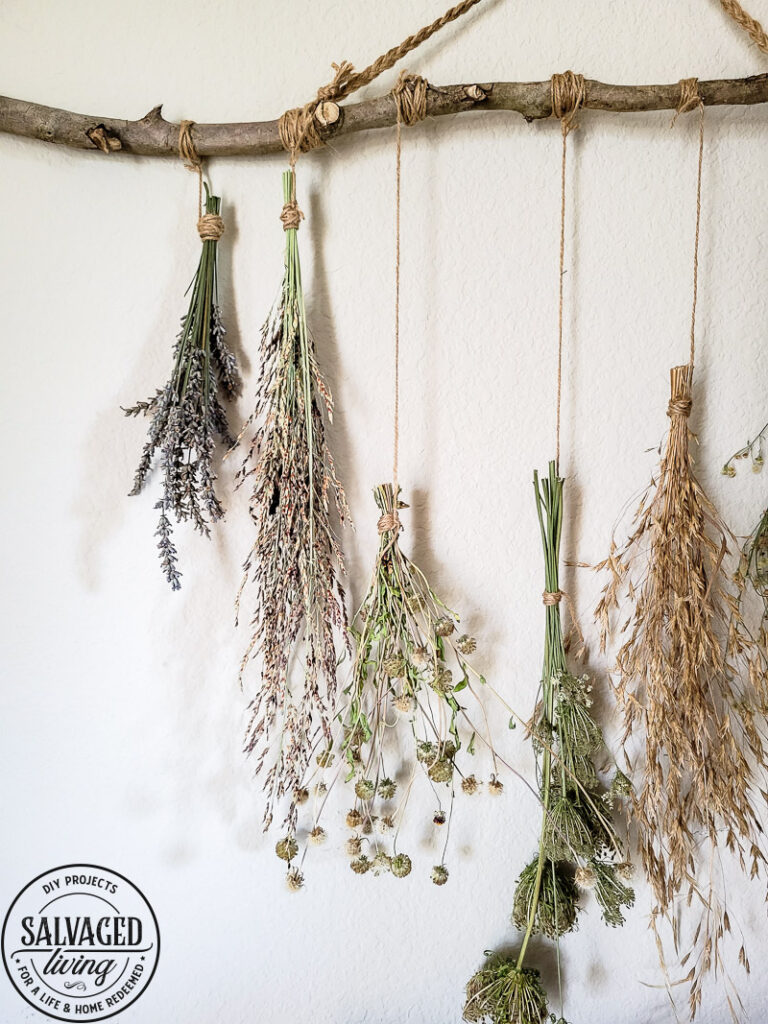
- Tie each bundle to the stick in the order and length you laid out. Adjust to even spacing and trim excess twine.
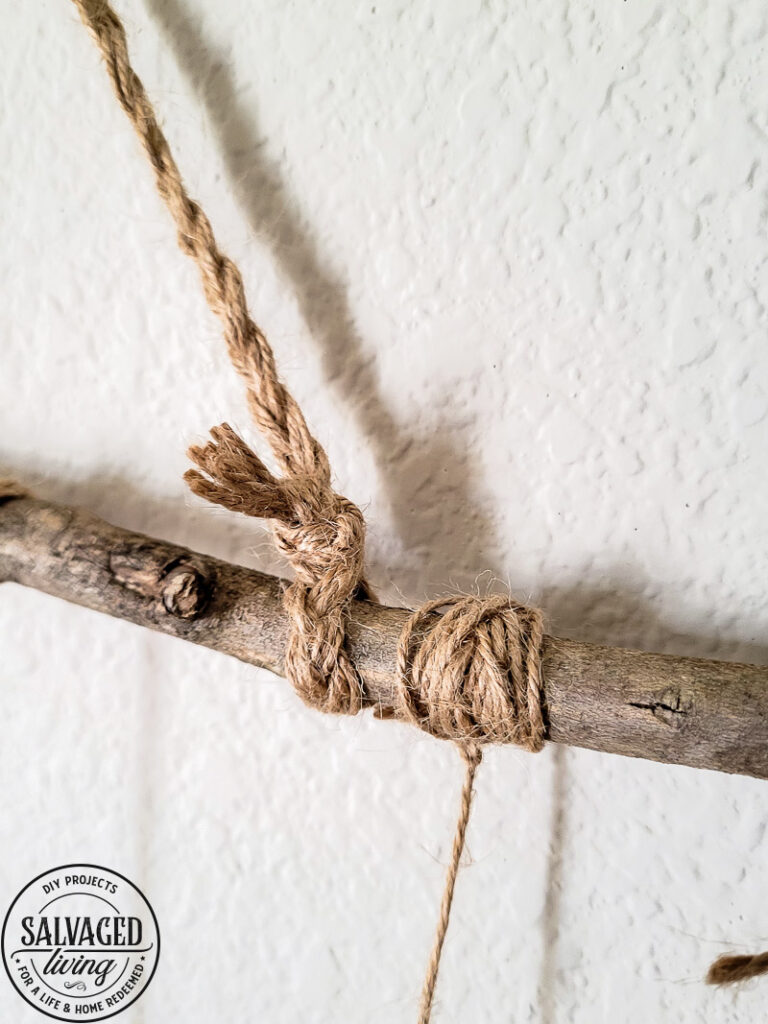
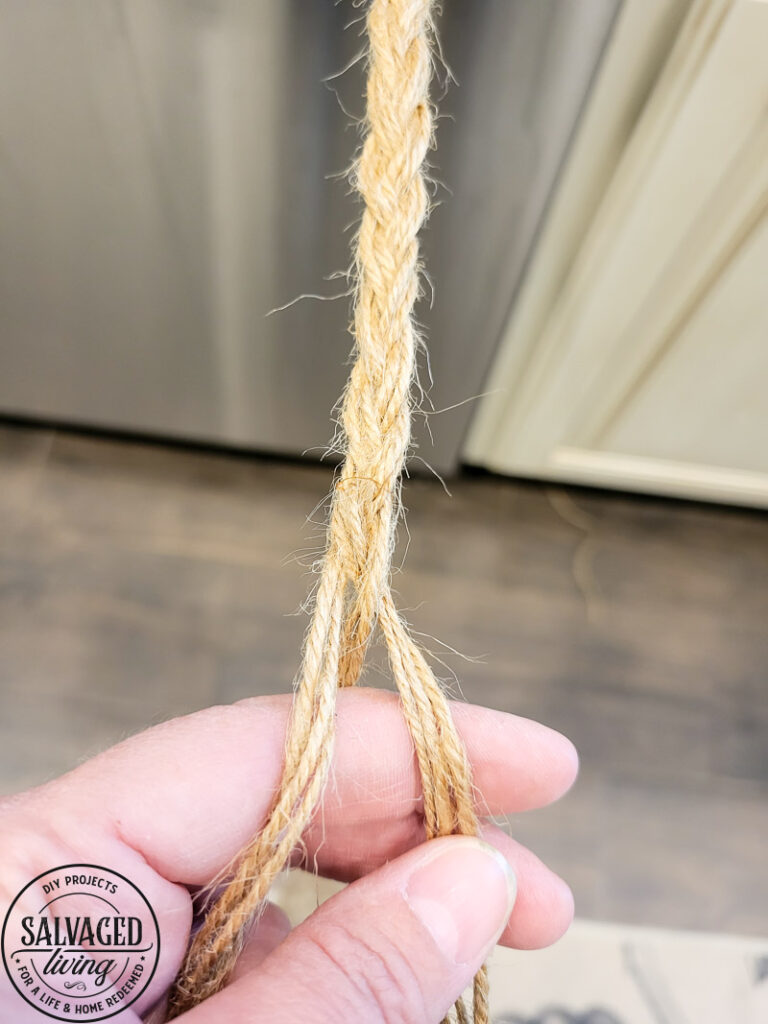
- Braid three lengths of twine for the hanger. You will need to measure how long you want your hanger piece to be. Tie it to the ends of the stick and hang!
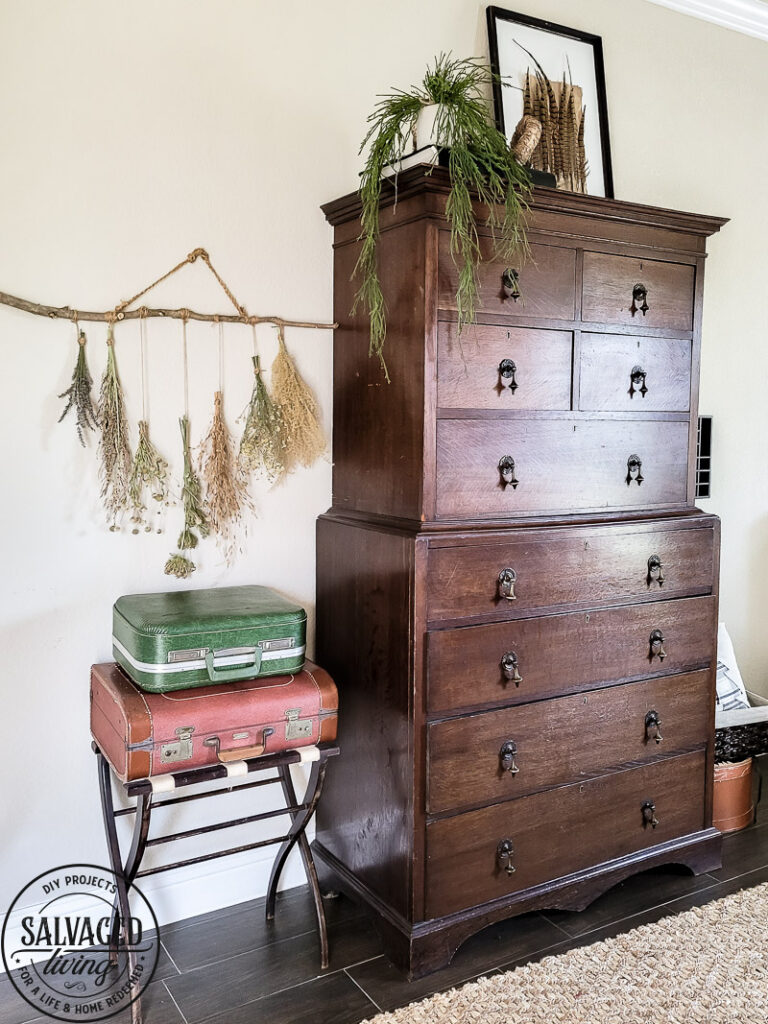
I added this beautiful wall hanging to my bedroom and it looks amazing. It’s suck a pretty piece that cost me nothing to create and for a girl on a budget – that’s a winner. I let the fresh flowers dry naturally on the wall hanging, so there was no extra time needed for that step.
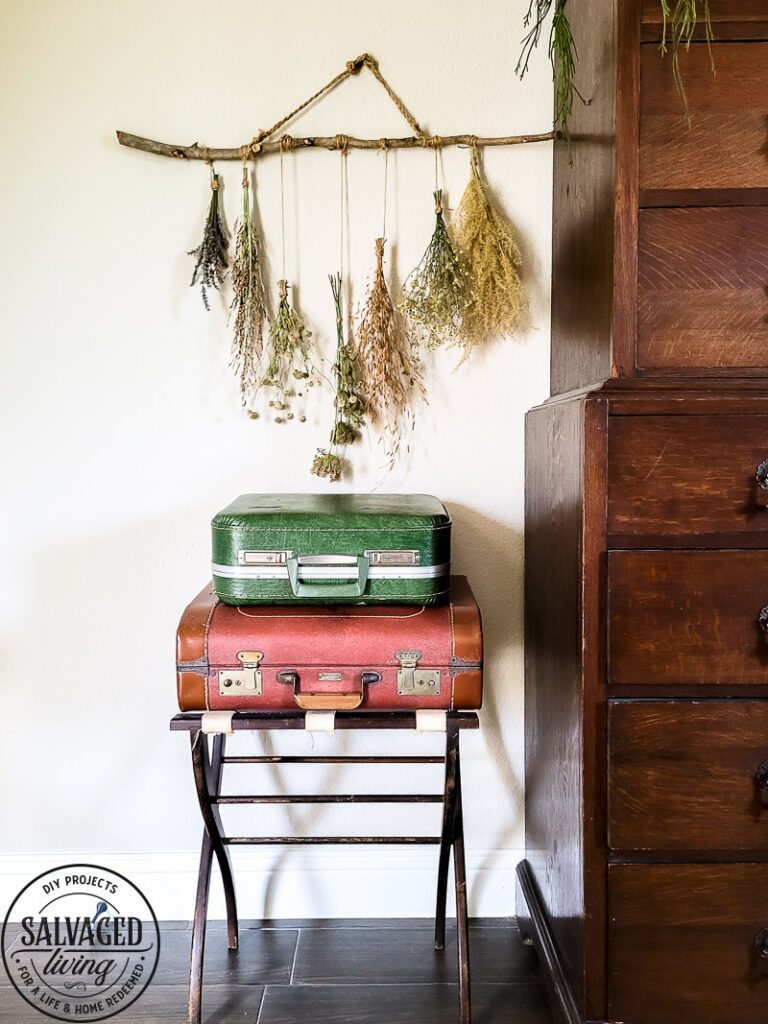
Go make one friend – I promise you will love this and the best part is you can make it as large or small as you want, use all one kind of flower/grass or a bunch of different ones – there is so much possibility with this wall hanging!
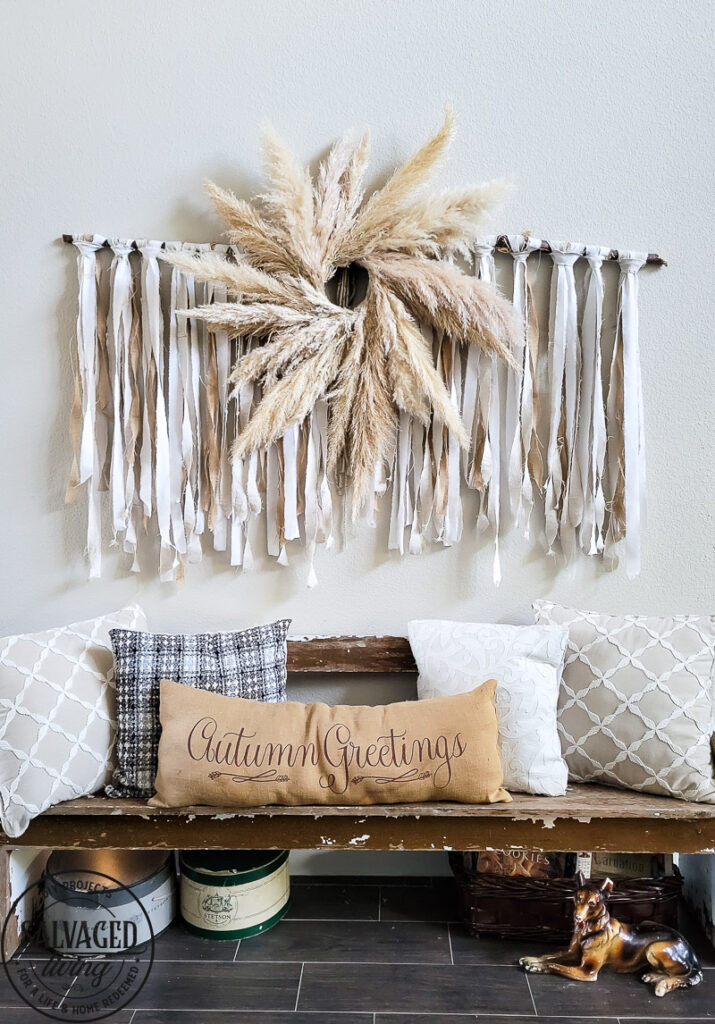
If you want another easy and inexpensive wall hanging idea you can try this one!


Darling
Darling