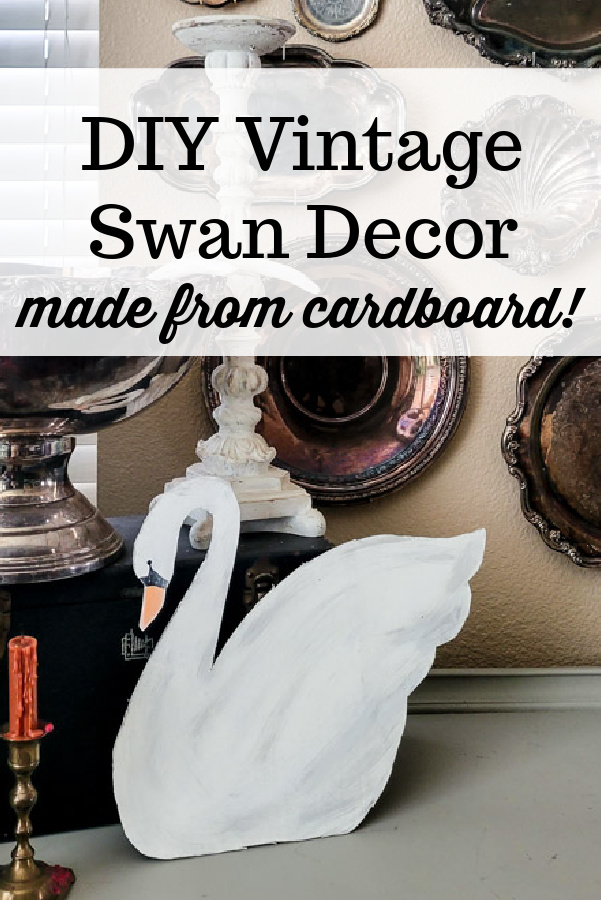
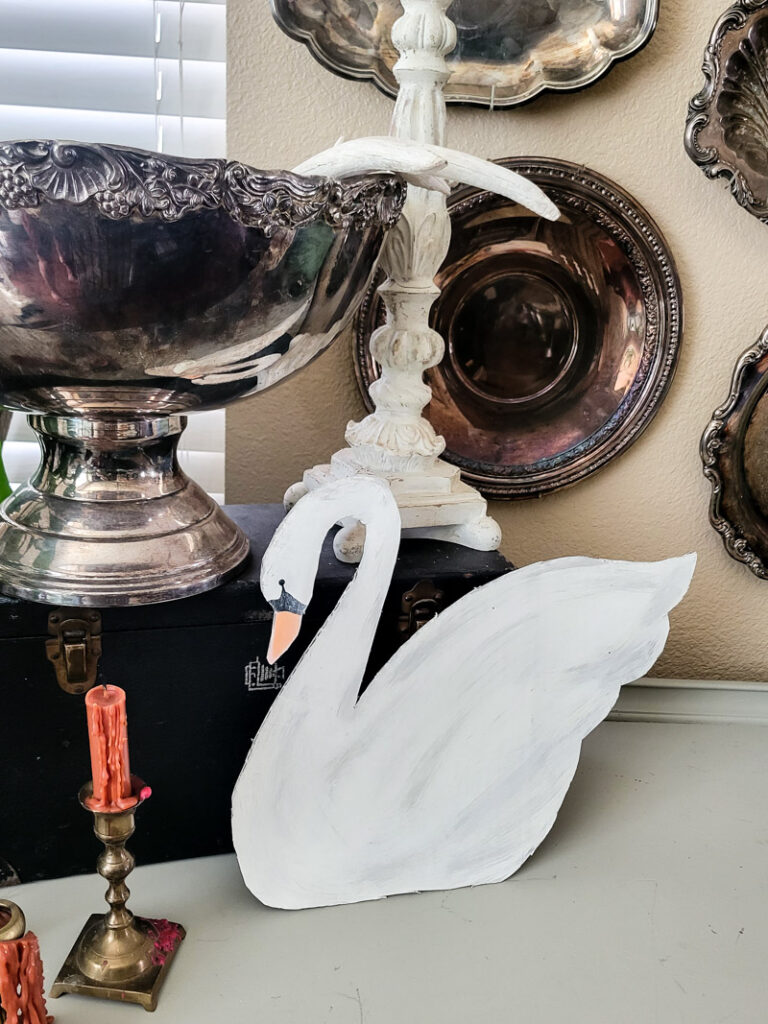
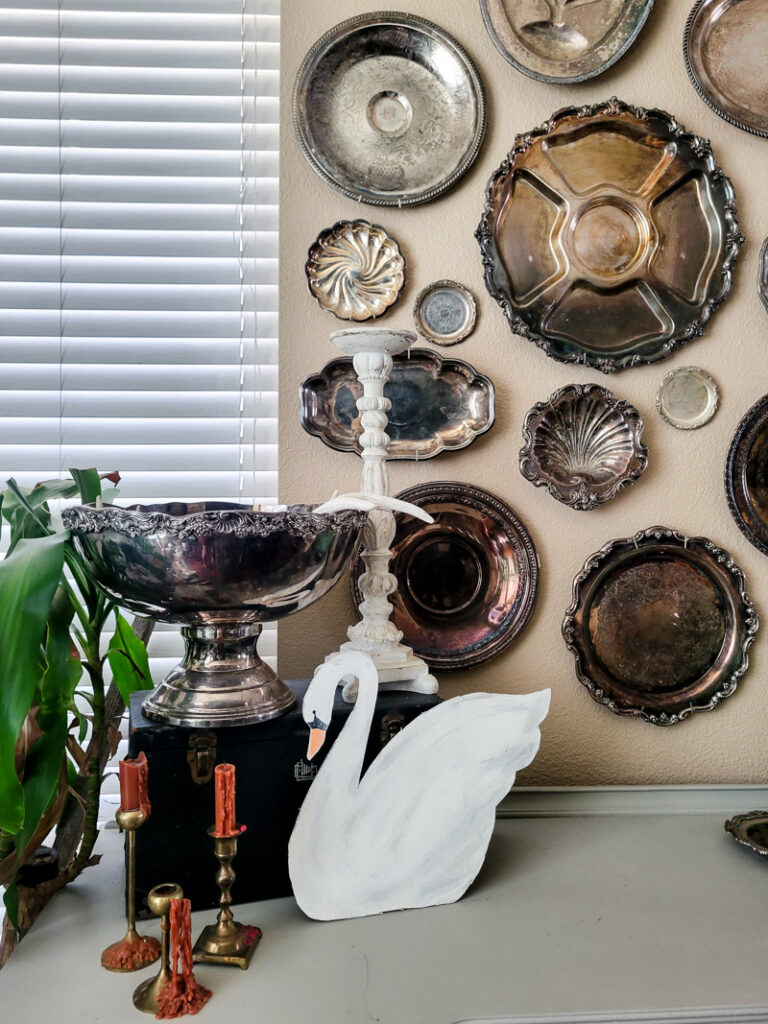
I keep seeing swans pop up in all of my social feeds this year. Beautiful Summer vignettes featuring beautiful swans, some thrifted, some expensive, some in between. And while I’d absolutely LOVE to own something like that, I just don’t. I haven’t been out thrifting and I certainly don’t want to order an expensive piece online. Plus, what’s the fun in something that’s so easy to attain, right!? So I decided as I have many times before, “I can make that!” And here are directions along with a free pattern so you can make your own DIY Vintage Swan Decor too.
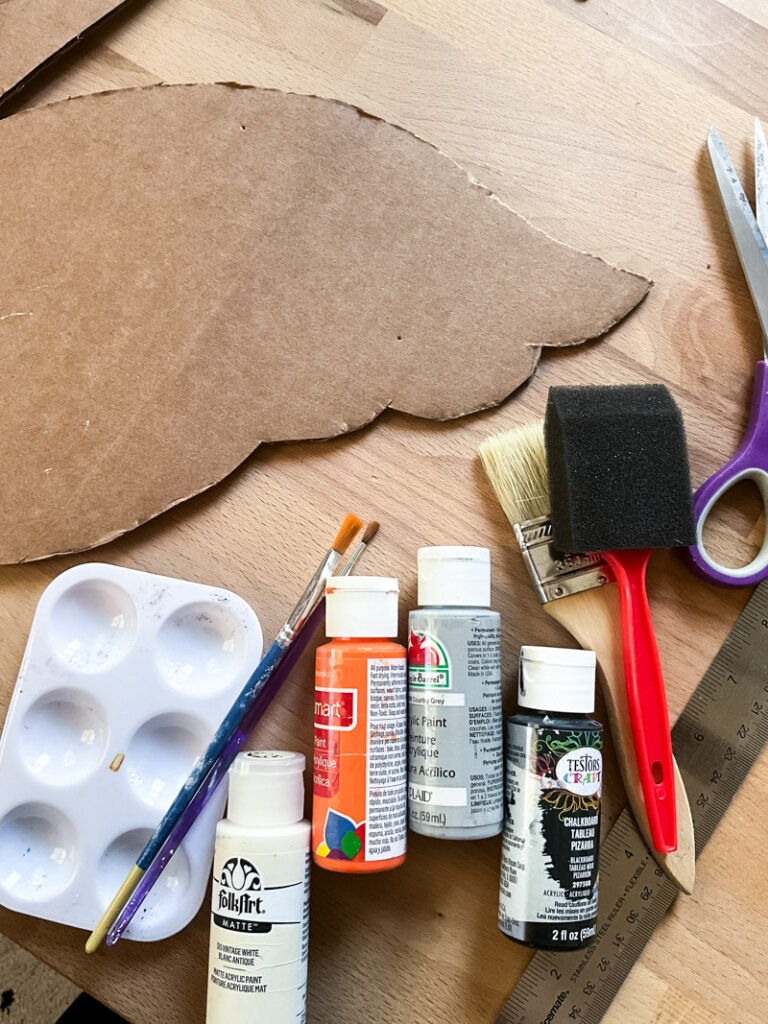
what you need
- cardboard – corrugated, or thick cardboard is best
- free swan cut out
- scissors
- pencil
- tape
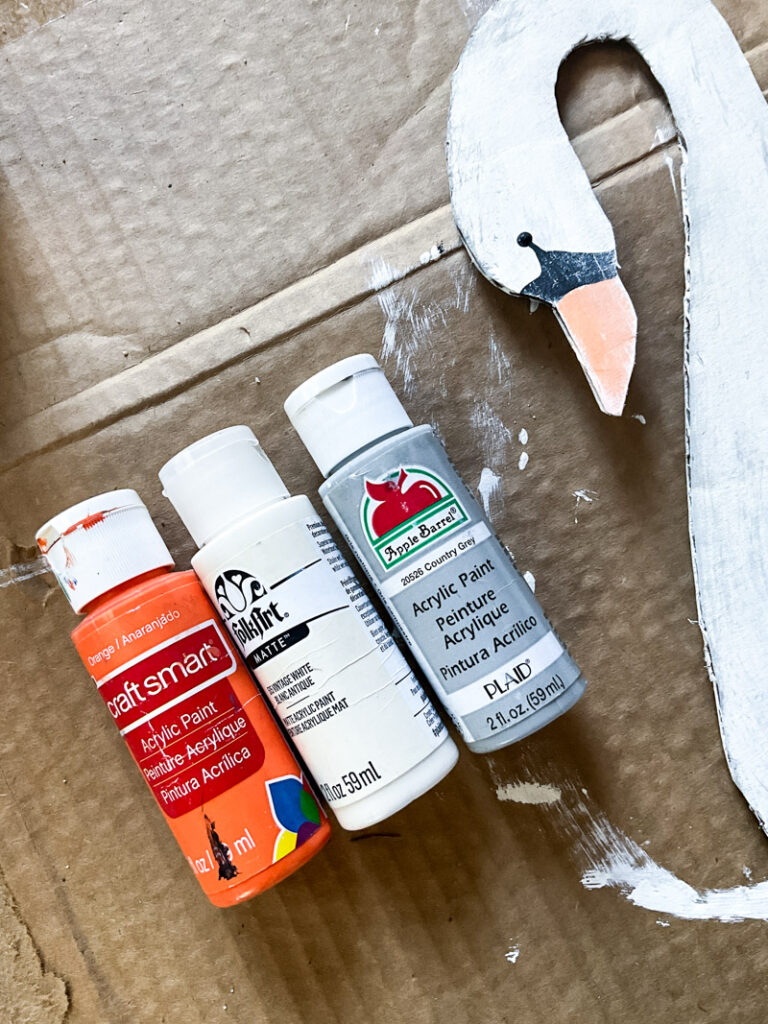
- paint (white/cream, black, orange, gray)
- small paintbrush and sponge brush
let’s make diy vintage swan decor
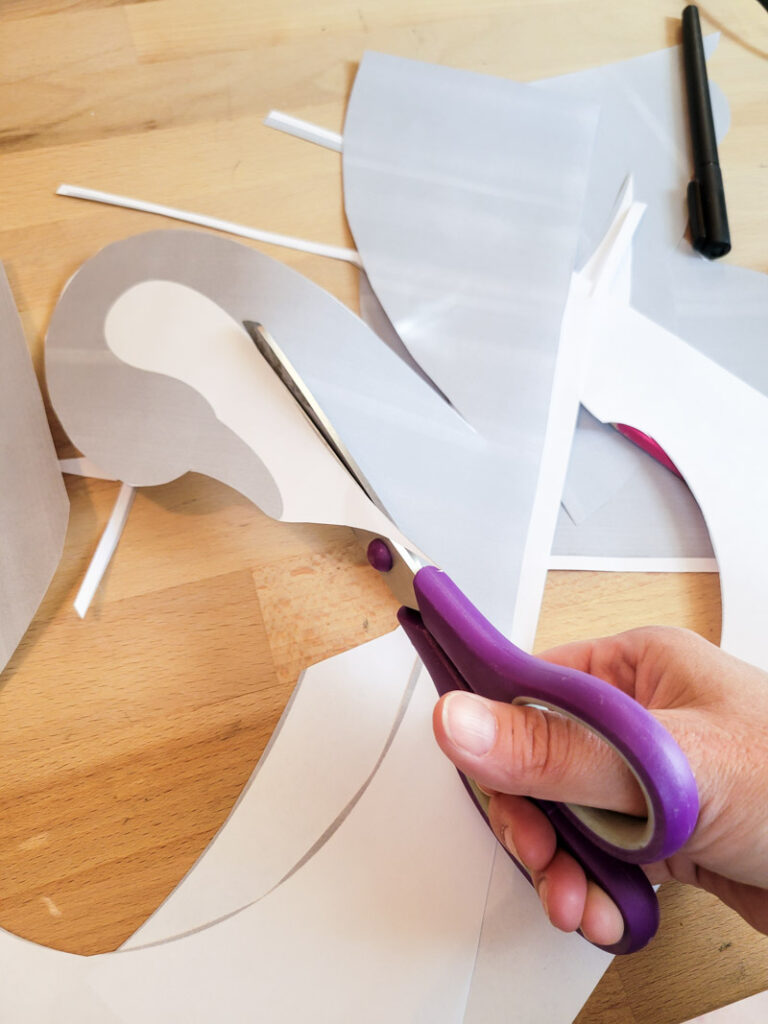
- Download the printable swan cut out right here and then cut every piece out. There’s 2 sizes to pick from so you can choose only one or make both! The small swan fits on a standard 8.5″ X11″ piece of paper, the large swan takes three pieces of paper taped together.
- Lay the pieces out to create your swan and then tape it all together (if you use the large pattern).
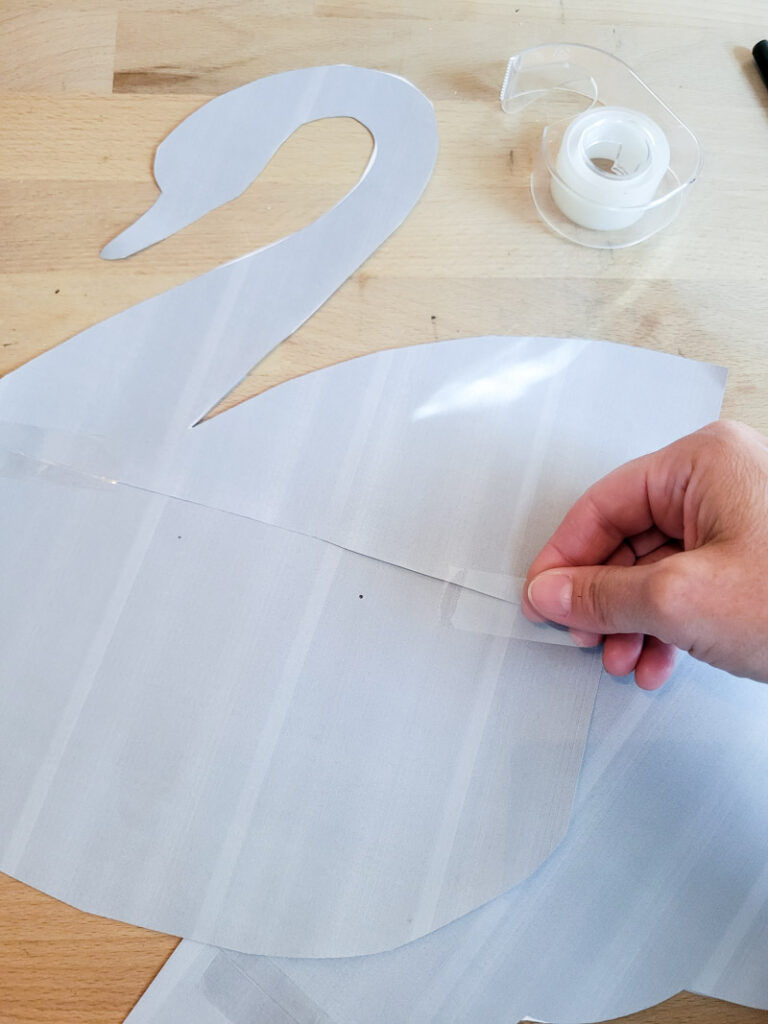
- Trace your swan onto a piece of cardboard and then cut it out!
- Paint the swan a white or creamy color.
- Use the light gray paint and some light strokes to create subtle dimension and a “feather-like” look on the swan! Use a dry brush technique (off load the paint before you put the brush to your swan). Remember you can always add more, it’s harder to take away. BUT – if you add to much, just paint over it with thwhite and try again!
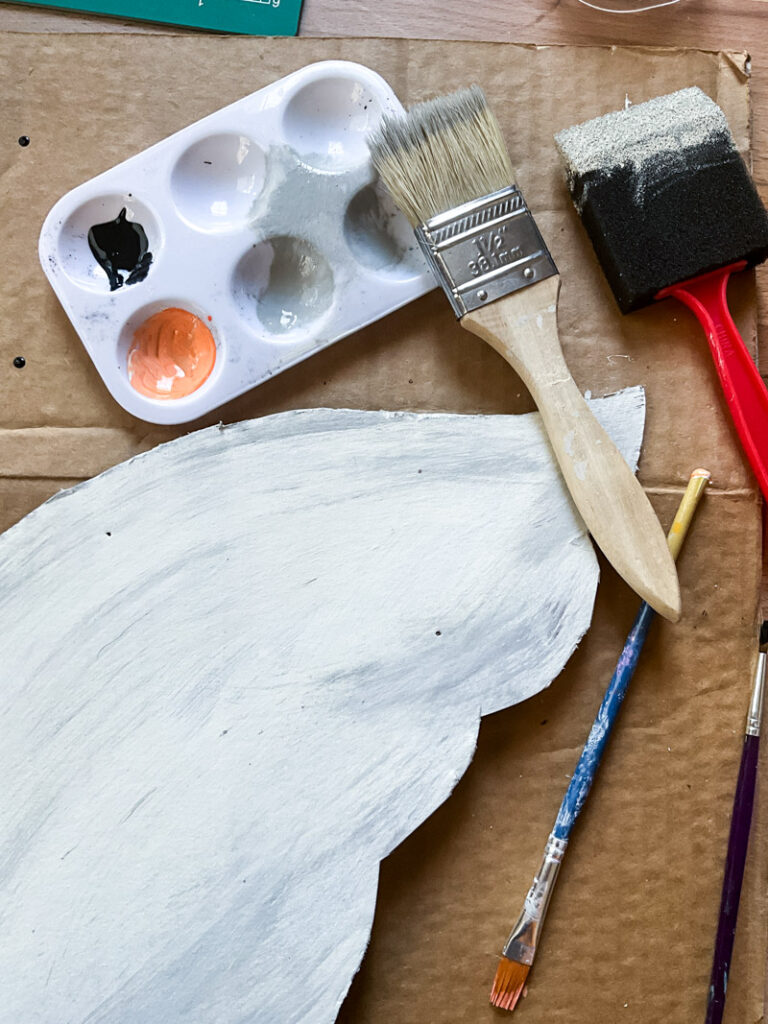
- Since we’re going for a more vintage-like feel, I toned my orange down with some of the color I used on the swan itself, and painted in the beak. You’re just eyeballing this, so don’t overthink it.
- Use the end of a small paintbrush and some black paint to paint an eye on. Just a little dot will do! Next, I added some of the unique detail swans often have, just by connecting the beak and the eye with black paint. You can copy what I did, or just look at swans online and copy from there. It’s basically just a triangle!
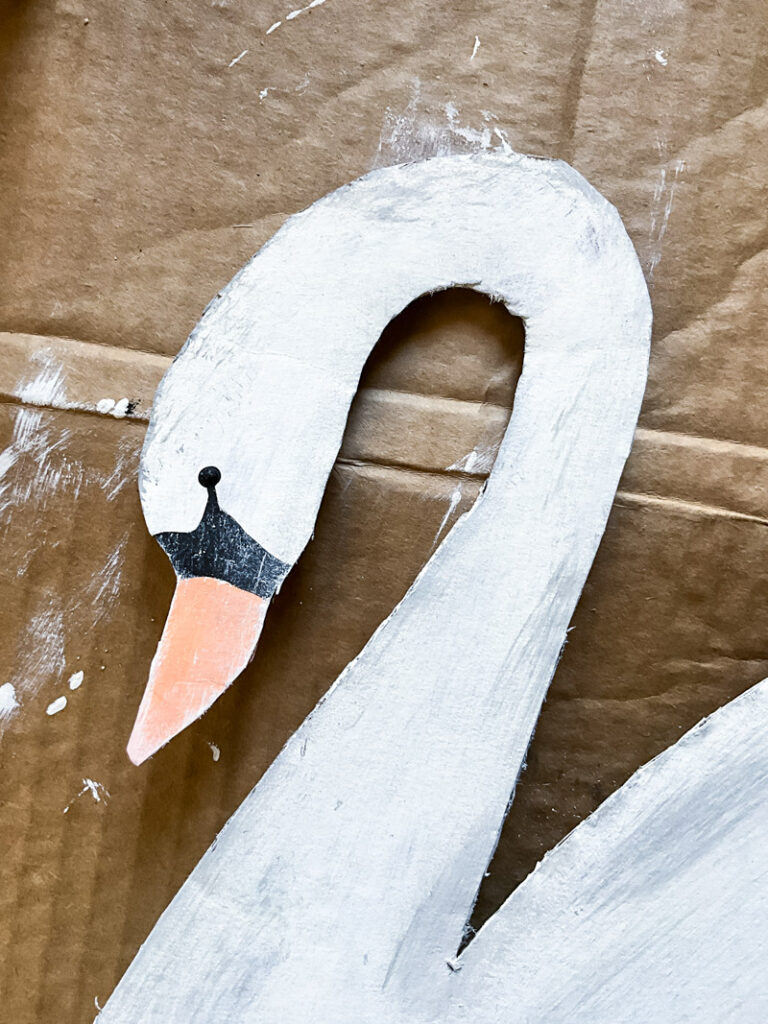
- Using the same gray from the body highlights, I toned down the face area with the same dry brush technique. Just lightly brush around the beak and eye area. This gives it a bit more of a lived-in, vintage feel.
- Lastly, I took the gray color and just brushed around the edges of the swan some, once again to give it a bit more of a lived-in feel.
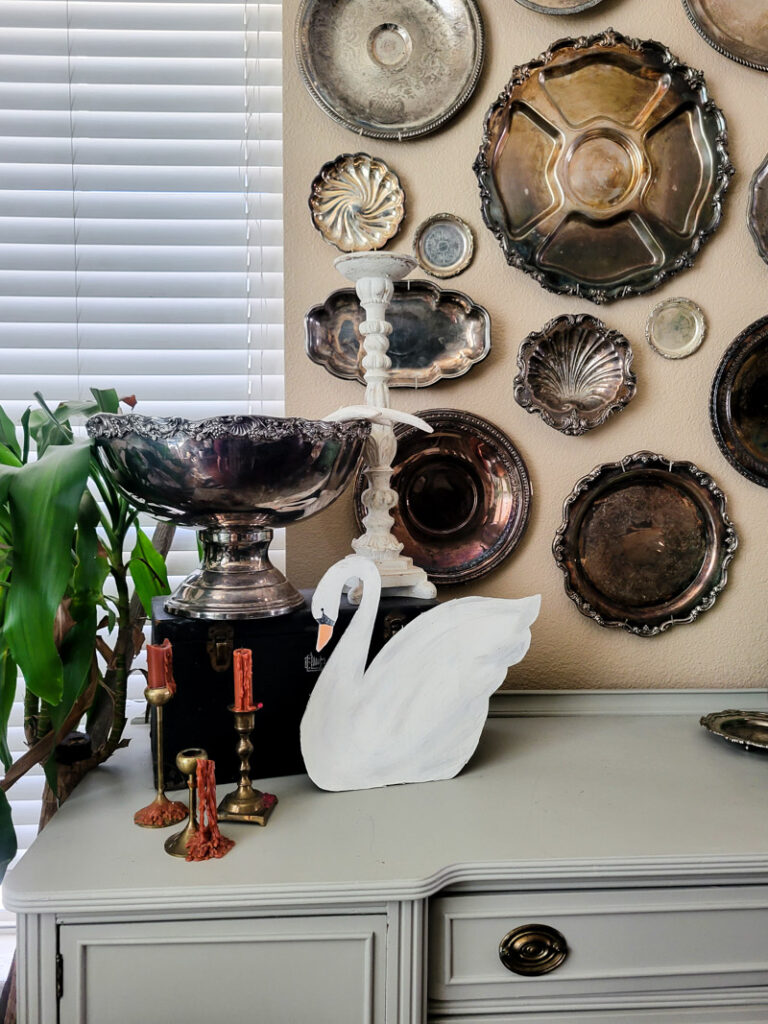
I absolutely LOVE this DIY Vintage swan decor! It was so easy and budget-friendly… I don’t feel like I’m missing out anymore! But the best part is I didn’t have to go out and hunt for the perfect one since I made the perfect one for me. And I didn’t have to drop tons of money either. Once again, cardboard to the rescue!!
If you’d like to see other cardboard project ideas, click HERE!


Leave a Reply