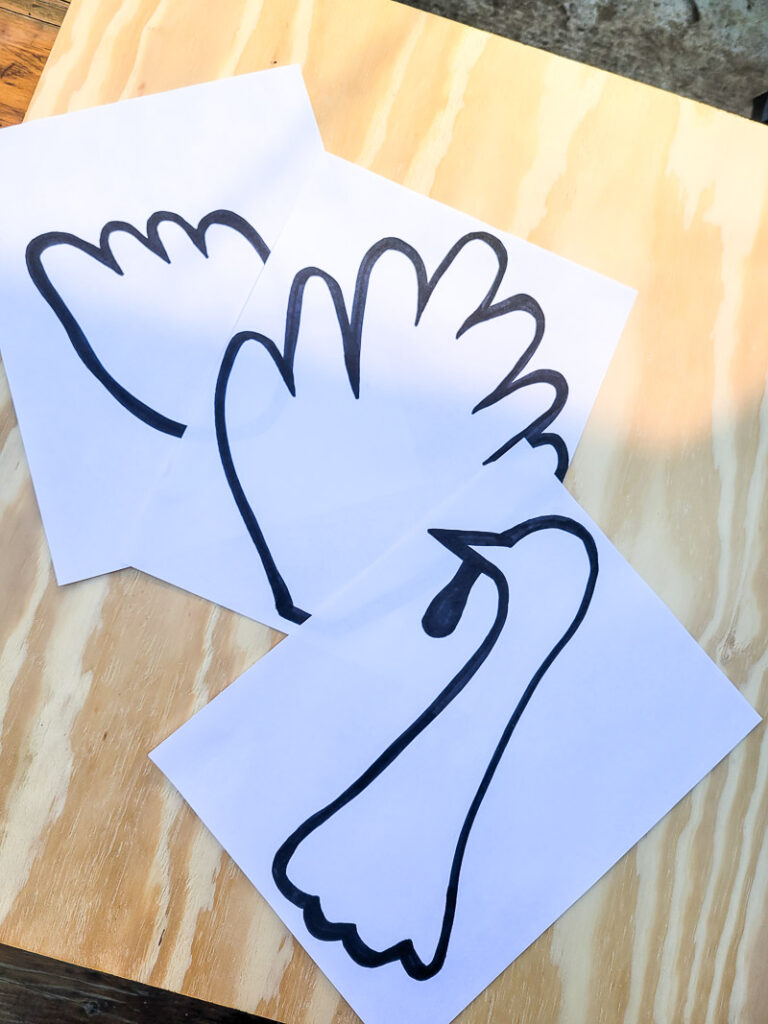
This DIY turkey decor idea is perfect for the beginner DIY maven who wants to start working with wood! PLUS – I have the most amazing new (to me) product to help you with all your wood crafts. Let’s get this fun turkey project started with a free turkey pattern for you to follow. Then wait and see the two precious ways you can style this turkey decor for fall! Thank you to Rust-Oleum for sponsoring this fun project and introducing me to Varathane Less Mess Wood Stain.
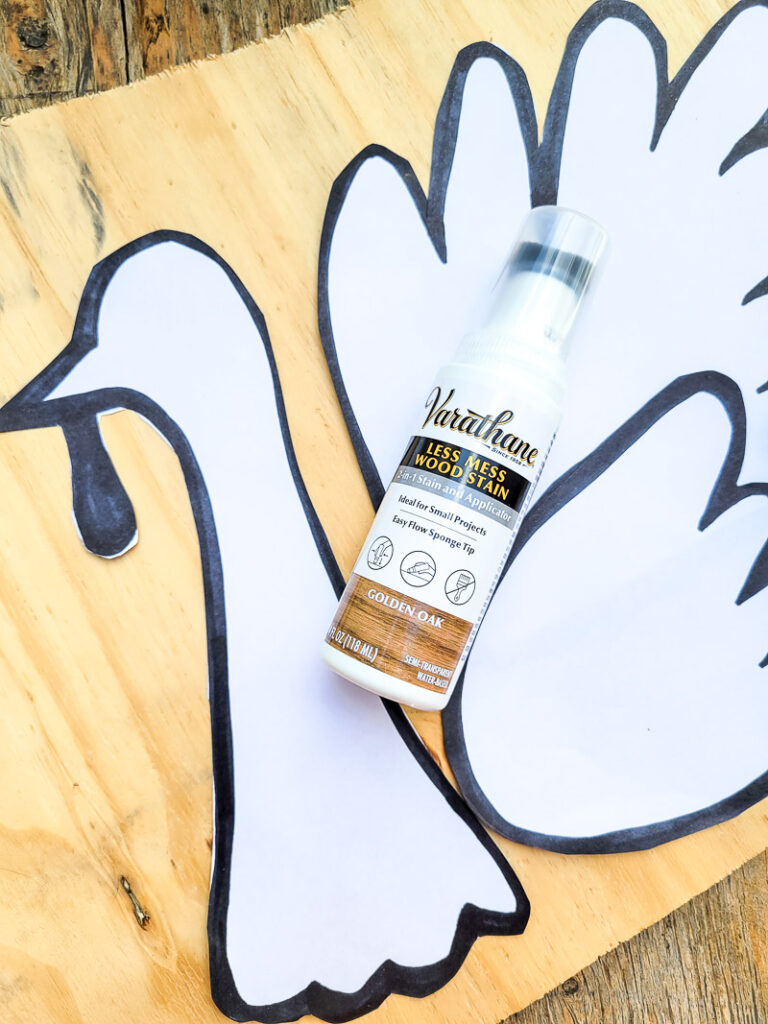
I am all about classic, timeless decor, and this little turkey is one for the books. I had a similar turkey set a while back in my store that was made from metal and absolutely adorable, but it sold out and I never even got one. I decided I could easily make this out of wood for a staple fall decor piece I could use for years to come. You can make it too, I’m gonna give you a free pattern and all the details! It’s also a complete win that you could make a whole slew of these for a fraction of the cost – have your own flock of Thanksgiving turkeys if you want!
I must admit this project turned out just as I pictured it in my head (which does NOT always happen) but most of all I felt really accomplished in creating it. I believe we are never too old/young/wise/talented/untalented/crafty/not-crafty to learn something new. Something new might be how to use a new tool, try out a new product, or just be plain okay with failing if a project doesn’t turn out as you’d hoped. While this one turned out for me, I learned how to use a new tool AND learned about a new (to me) product that I am now a complete fan of. I literally smiled the whole time I was making this wooden turkey because it felt good to stretch myself. I hope you will do the same.
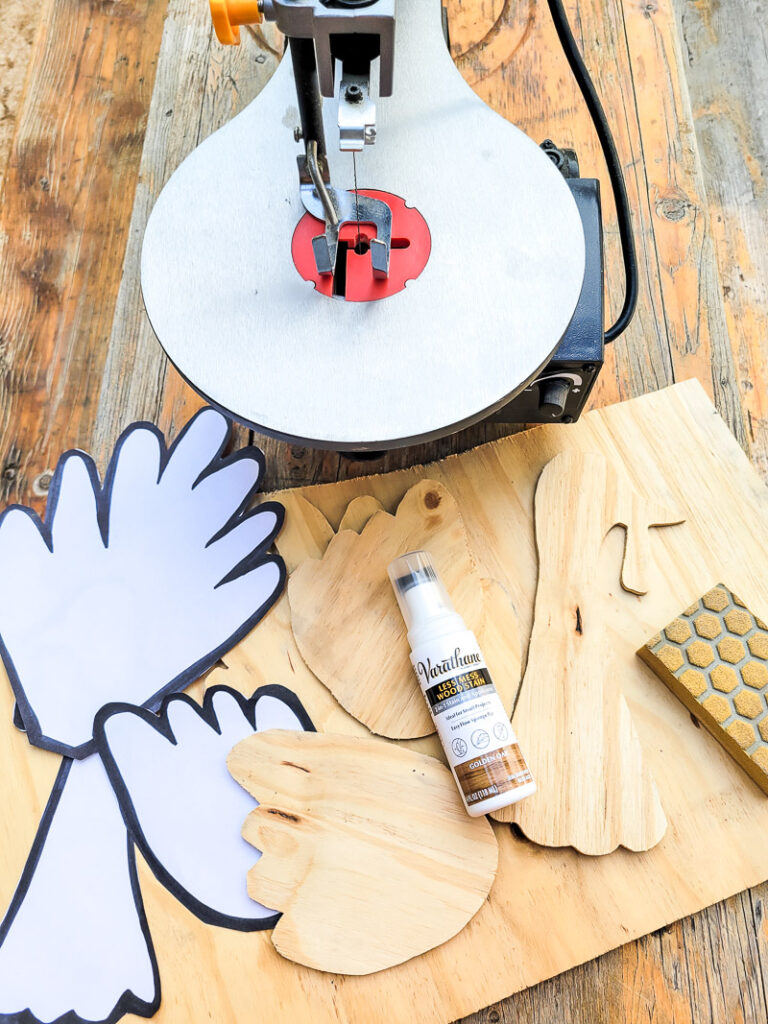
To make this versatile DIY turkey you’ll need a few supplies. Here is the list, with links so you can grab exactly what I used:
DIY Wood Turkey Supplies
Sheet wood – 1/4″ plywood, you can get small inexpensive sheets at the hardware store
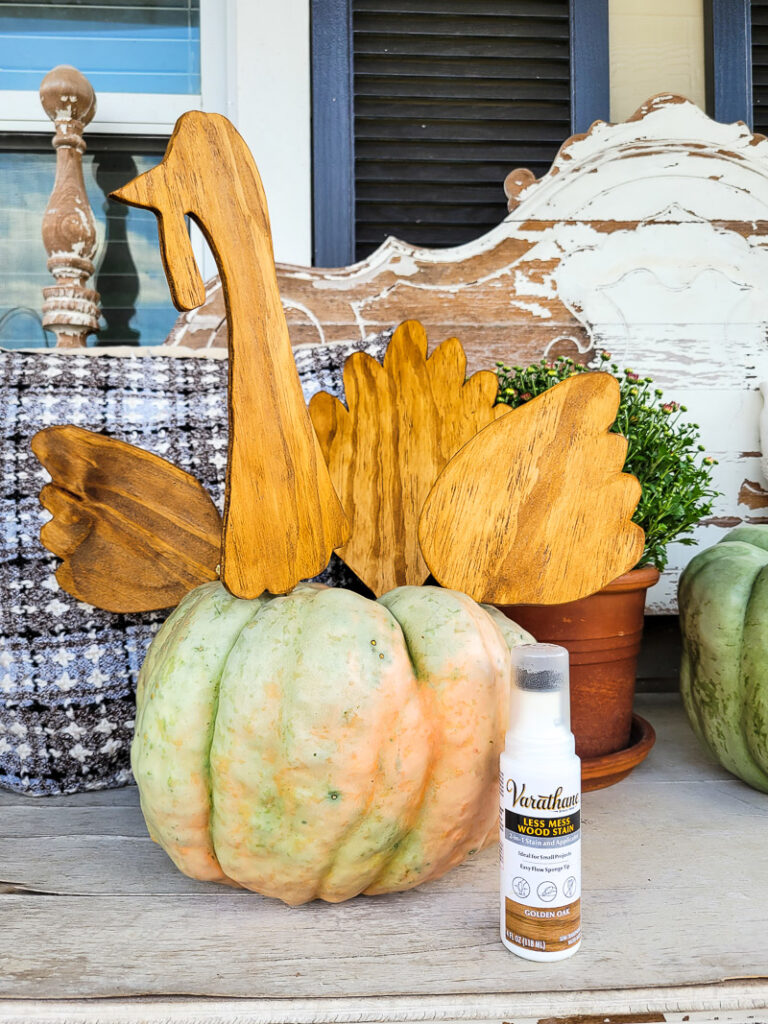
Varathane Less Mess Wood Stain ( I used Golden Oak)
Or you can find Varathane Less Mess Wood Stain Here
Pencil
Scissors
Fabri Tac or Wood Glue
Gator Sandpaper and/or sanding block
Sealant for Outdoor Use: Varathane Spar Urethane Water Based
How to Make A Wood Turkey Pumpkin Insert
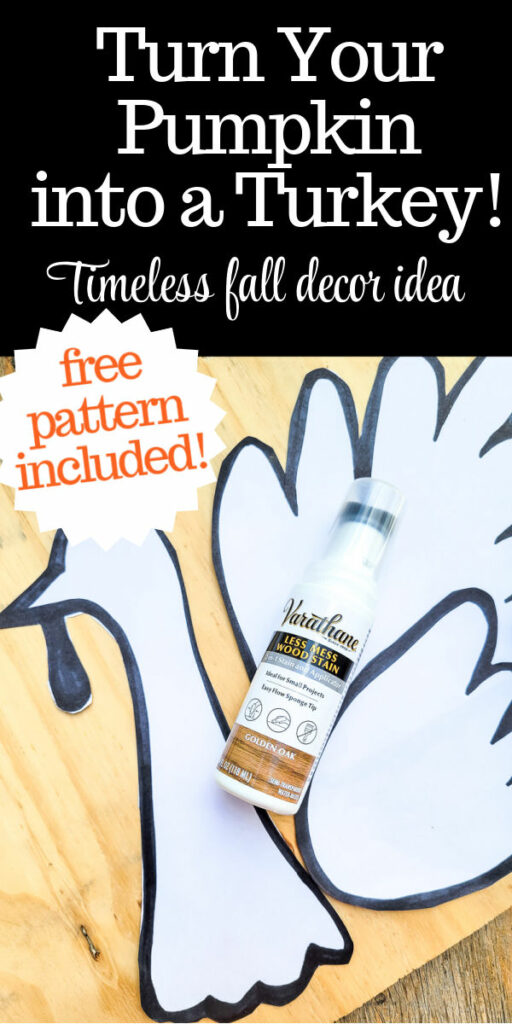
- Print and cut the free pattern provided in this blog post.
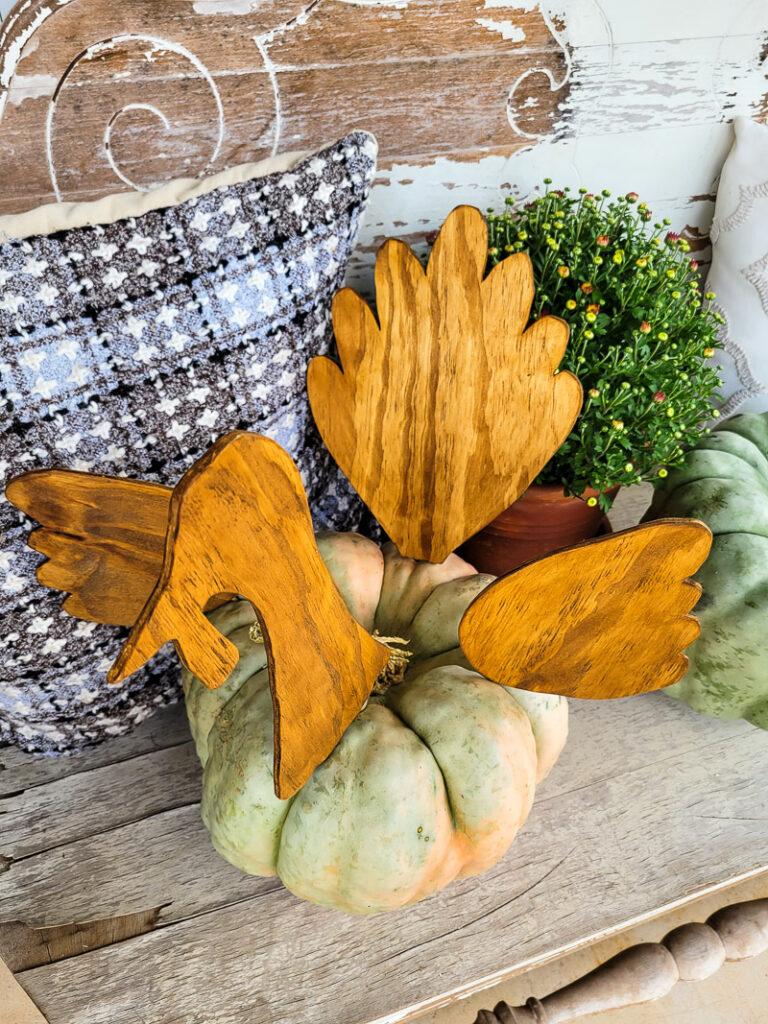
- Trace the pattern onto a piece of 1/4″ plywood. Trace the pieces close to the edge for easy cutting. Make sure you trace two of the wing pieces.
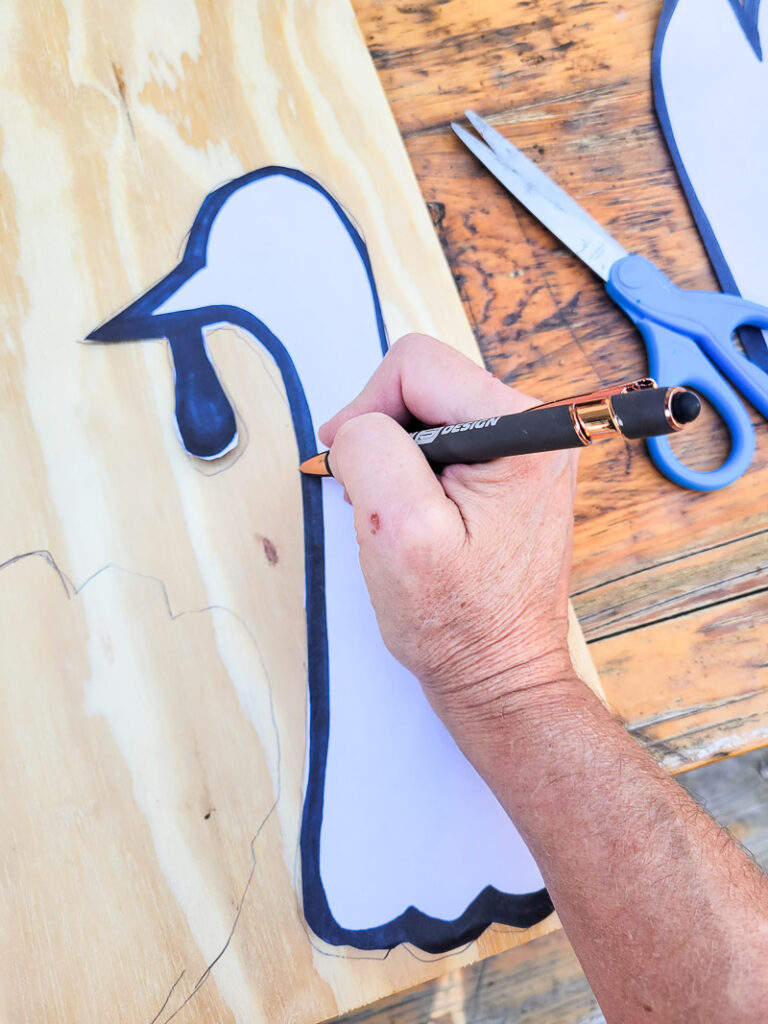
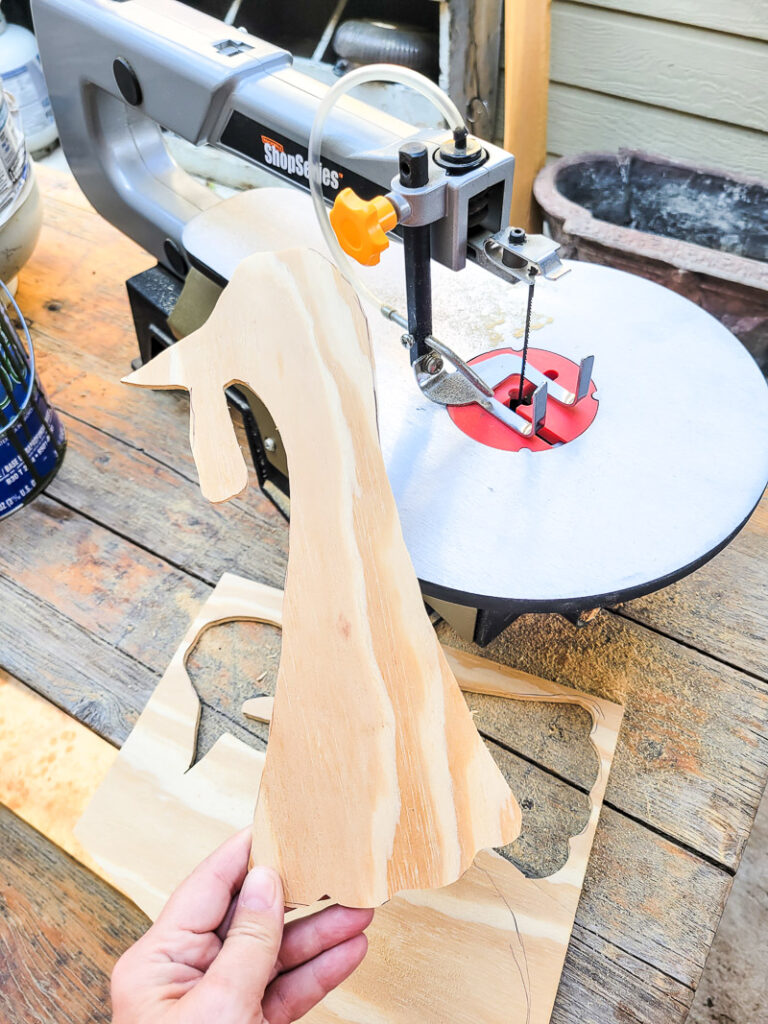
- I found it easiest to cut each piece from the main piece of wood. It made it easier to maneuver each piece as I cut it.
- Cut out each piece with a scroll saw. Working with a scroll saw is fun and pretty simple. *** Please use extreme caution when working with power tools, read your instruction manual, follow safety guidelines, and wear eye protection!*** It opens up a world of crafting possibilities! My best tips are to practice and don’t be hard on yourself if each cut isn’t perfect. Sandpaper helps a lot. 😜Make sure the blade tension is good, tight seems to be easier for me, so play around with it! Make sure the foot is securely over your wood to keep it stable, but don’t make it too tight or you will have a hard time gliding the wood around. I found I had to adjust as I went sometimes! The blade speed is very helpful, I found fast to be the sweet spot, but the good news is you can take it slow until you are comfortable. I have worked with a number of saws and they can be very intimidating, but a scroll saw is a sweet spot to get started with power saws. It is not overpowering in the way a jigsaw is, although you can use a jigsaw for this project. I personally think you would have less control and that makes me nervous, so for me, it was a scroll saw for sure. Also, on a few pieces I cut the main shape out and went back to cut the details, like the curves and crevices. It was easier when the exterior wood was removed!
- Sand each piece to remove any imperfections, splinters, and trace marks. I love Gator Sanding Blocks!
- Stain your turkey with Varathane Less Mess Wood Stain. This stain is a crafting game changer. It truly is less mess, it glides on easily, made it a cinch to get in the cracks and on the sides of each piece and there was zero cleanup! The stain went on beautifully and the color is gorgeous. Honestly, they nailed this stain delivery method. It also has very little to no odor, so you could easily craft inside with this stain.
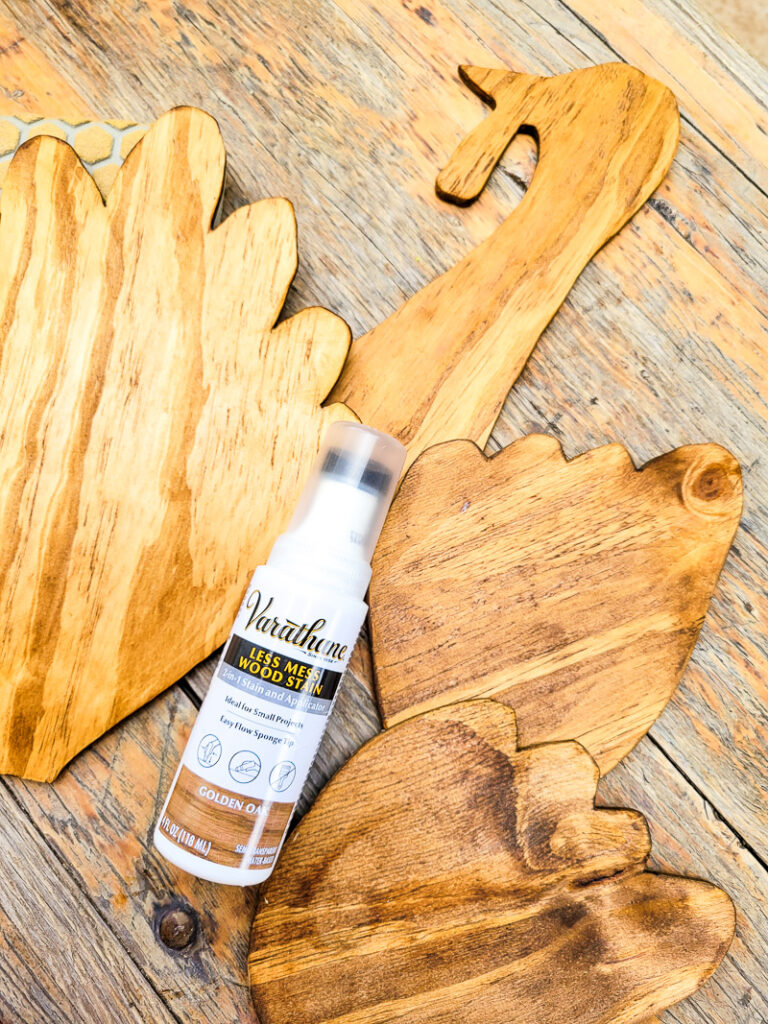
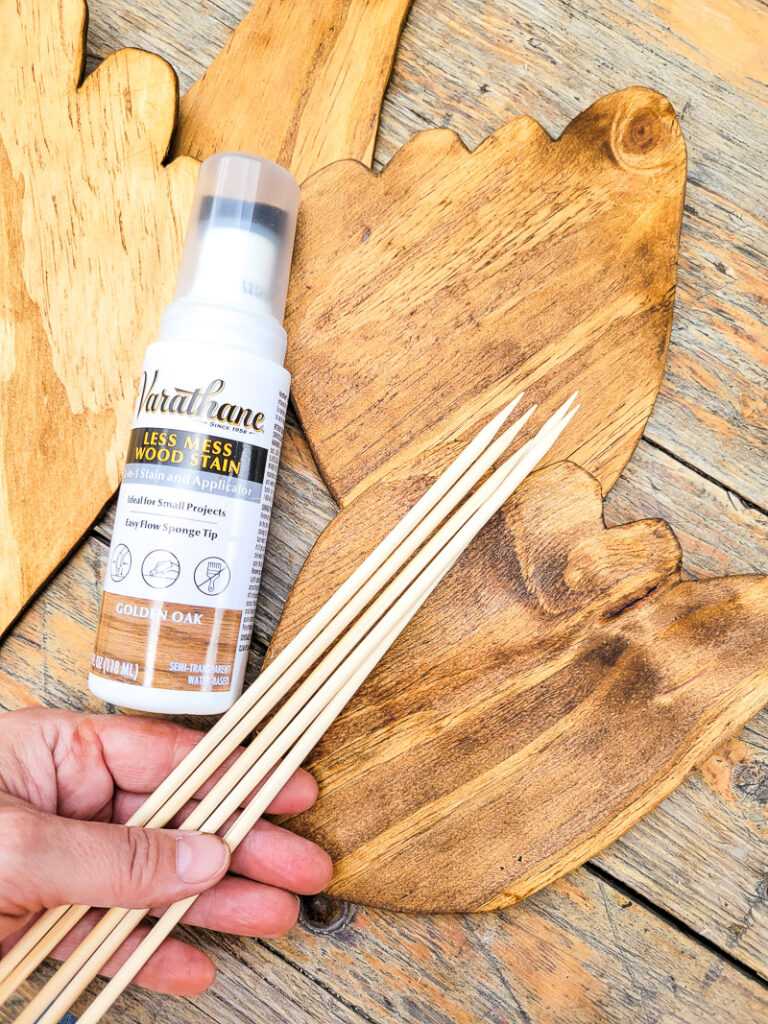
- Stain four skewers as well.
- Once the stain is dry, glue the skewers to the wood turkey pieces using FabriTac or your favorite wood glue.
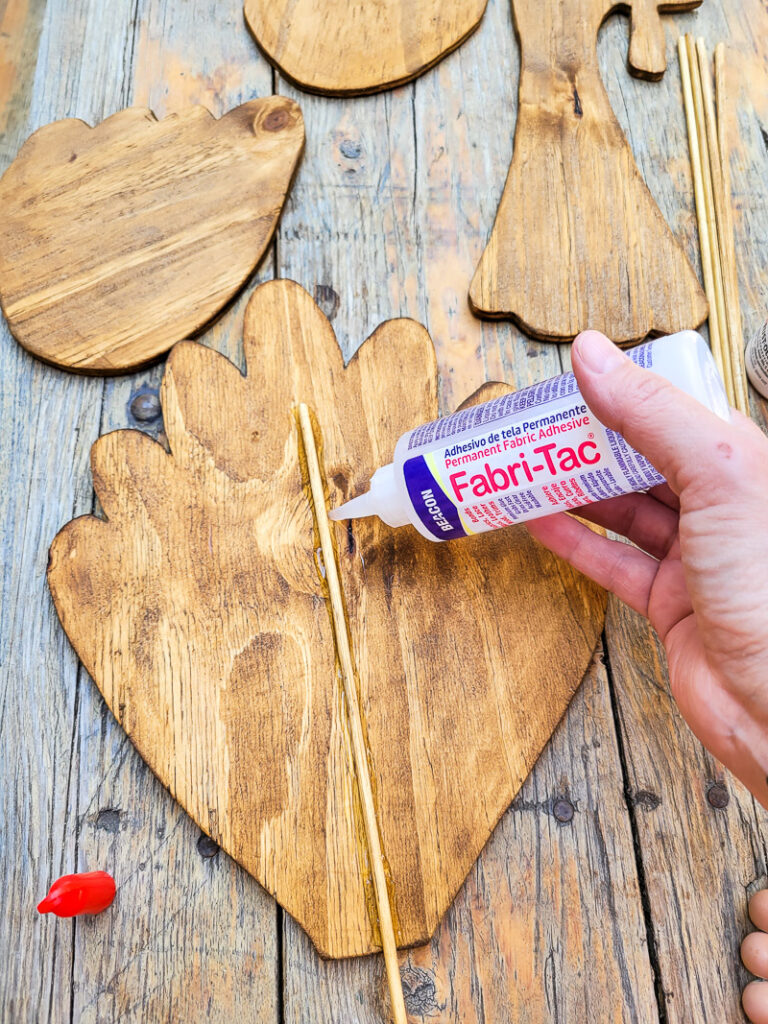
- Allow glue to dry completely and add your wooden turkey to a potted plant or pumpkin (faux or real!) for adorable fall decor. Be gentle when pushing each piece into a hard surface like on a real pumpkin. If you plan to use your turley outdoors seal it with Varathane Ultimate Spar Urethane Water Based Sealant for protection and long use! Now see the different ways you can use these turkey piece cutouts below! I can’t wait to hear which is your favorite…
Add your wood turkey pieces to a pumpkin – you can use these in a real or faux pumpkin!
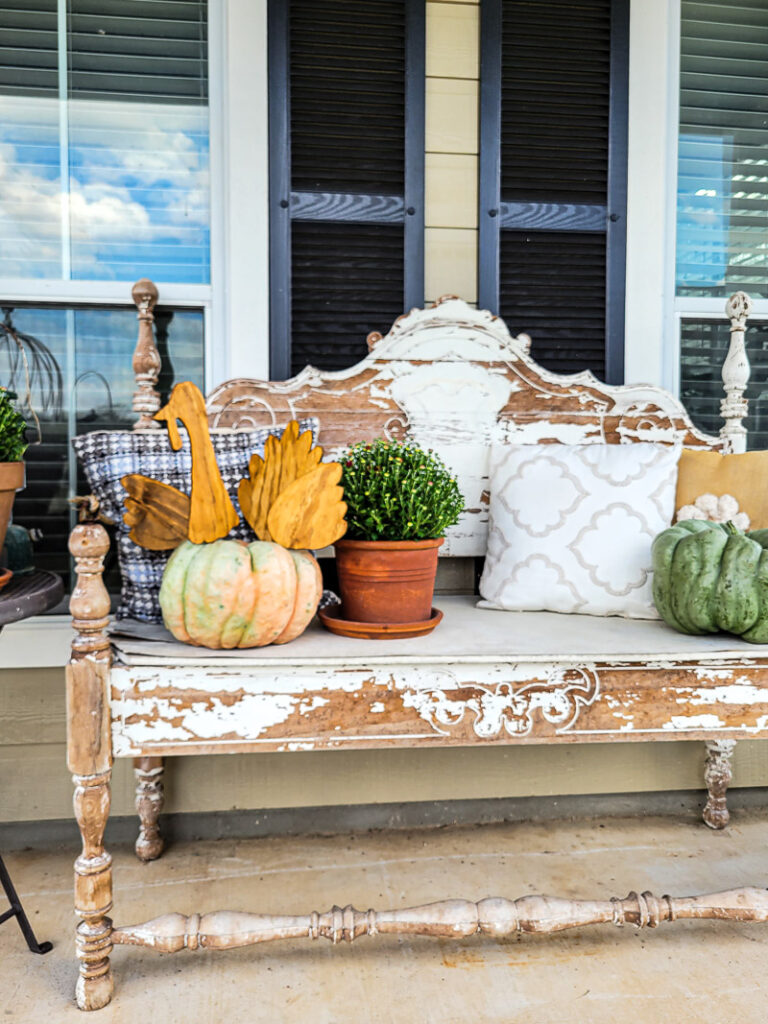
Or try your new turkey in a potted plant like a fall mum or porch fern. You could also add your turkey parts to a faux plant.
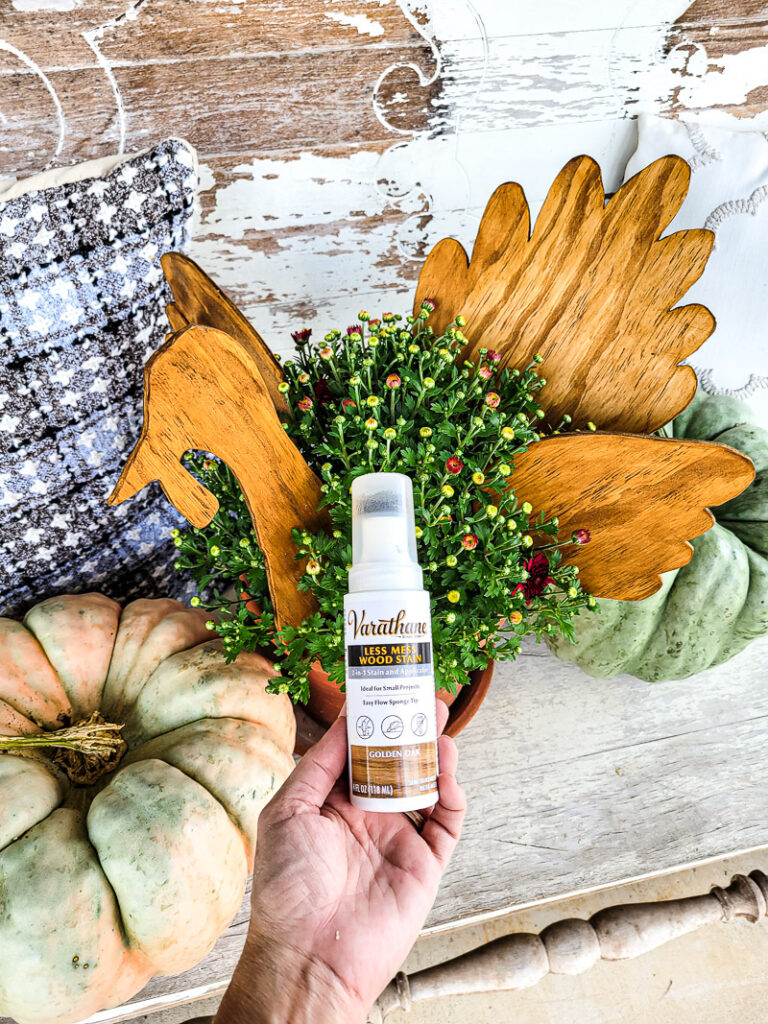
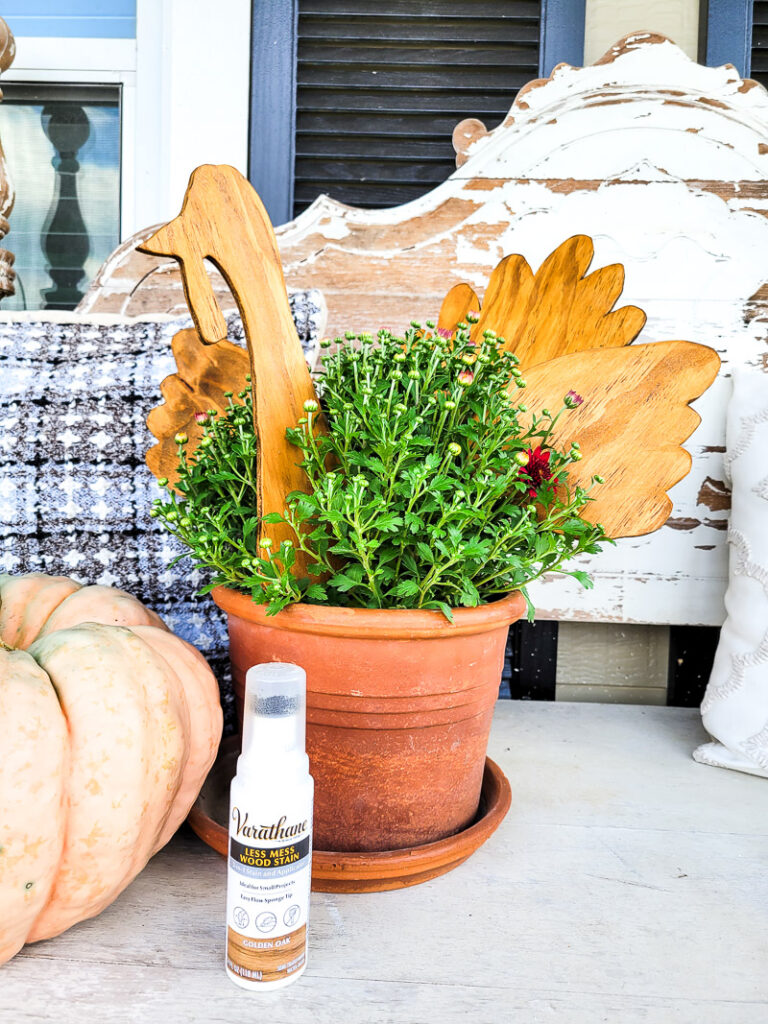
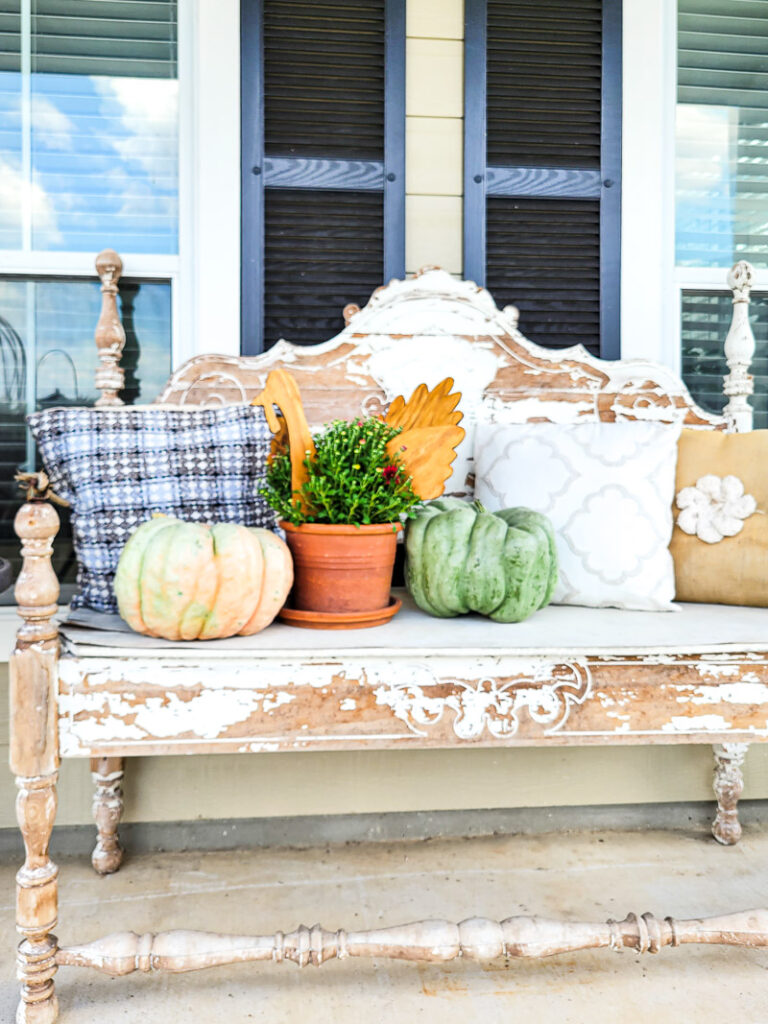
I’d love to hear which way you like this DIY wood turkey styled? Do you prefer the turkey plant or the turkey pumpkin? It’s so hard to choose…Don’t forget to pin this project so you have the pattern close by!


This is so cute! I love it with the plants. Nice job!
The plant is my favorite.
My daughter and I searched several times all over the post and could not find the pattern. I am hopi g to make one for me and two of my friends.
Check again Sharon – we are so sorry. we realized the link was broke, but it is fixed now!!!! I am so sorry!!!