I’m a list girl! Whatever it is, give me a list and I’ll get it done– but if it only exists in the clouds I’ll never remember it. Can you relate? I mean, I’m a mom of 3 so my life is basically just running from here to there, grabbing kids, grabbing groceries, getting allll the things done, the list never ends! And that’s okay because that’s life and I’m sure there will be a day where I wish I was running kids around and cooking for 4. But, until that day comes, a list is my lifeline and my daily guide! The battle lately has been WHERE to put the list so that I will see it and actually use it– and the good news is, I have finally found a solution! This DIY to-do list holder from scrap wood is about to be your new bestie!
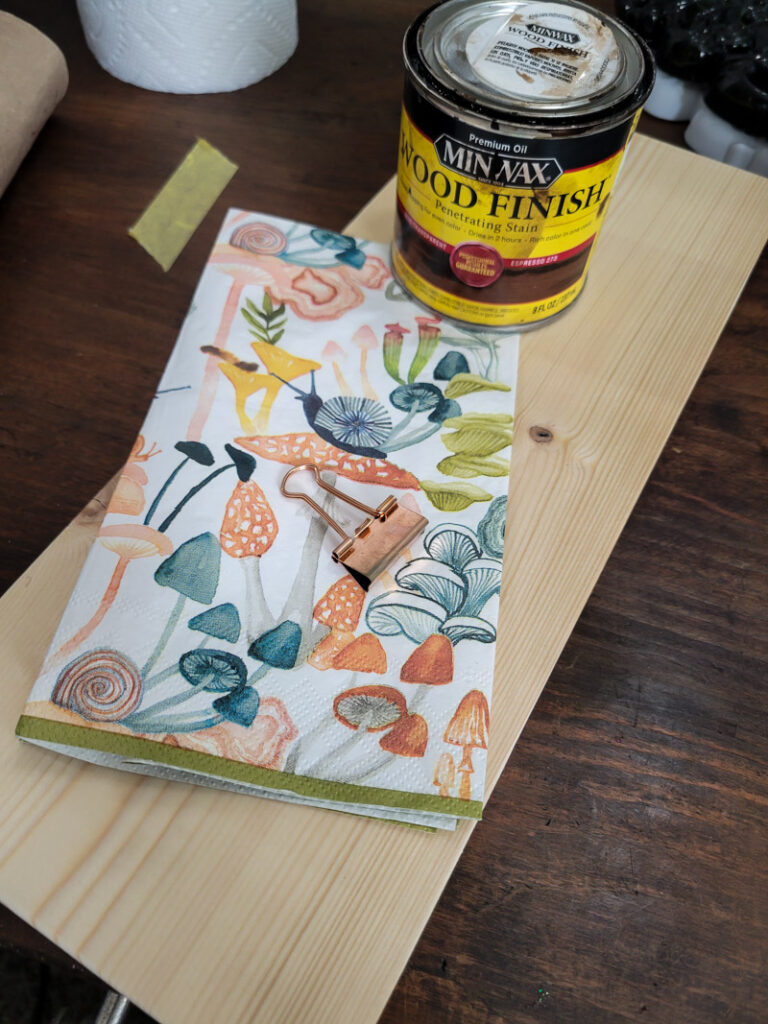
what you need
- Piece of scrap wood (I used about a piece about 12″ long and 6″ wide, but the choice is yours)
- Wood stain (I used minwax in espresso, but you can choose whatever you like)
- Napkin (design of your choice)
- Mod Podge
- Fabri-tac
- Dowel Rod
- Wood trim
- Nail
- Binder Clip
- Picture hanger (I bought a huge pack of these from Amazon a couple years ago and it’s the best purchase ever– I linked it here for you)
- Small piece of wood (I used a size that was about 3″x6″)
- Sanding Sponge
Don’t get bogged down by the list of supplies– you have some wiggle room here and can alter or change your to-do list up to use whatever supplies you already have on hand. Just trust the process and keep reading!
how to make your to-do list holder
- Use mod podge to adhere a napkin to your scrap wood. This step is somewhat optional, but honestly if you skip out, you’re missing out on cuteness! Make sure to separate your napkin layers and get it down to one ply– if it isn’t, it won’t look right!
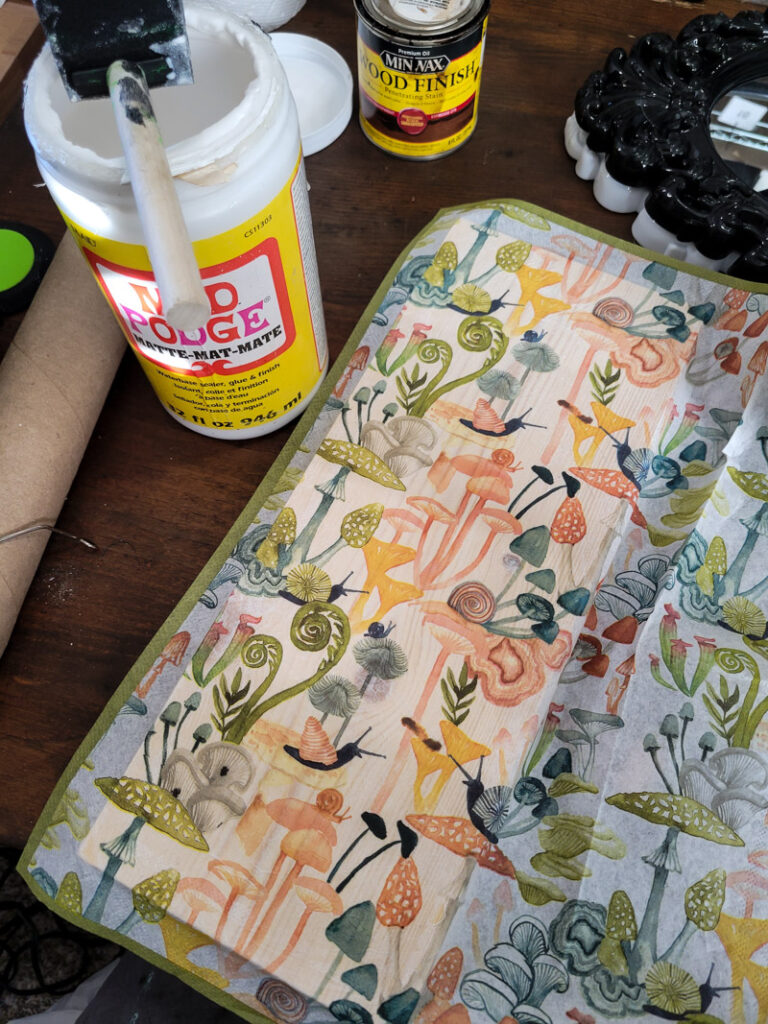
- Stain the back and sides of the wood. You can even run the stain over the napkin a bit or on the sides of the napkin if you like an aged look like I do!
- Use fabri-tac to attach the wood trim to the top!
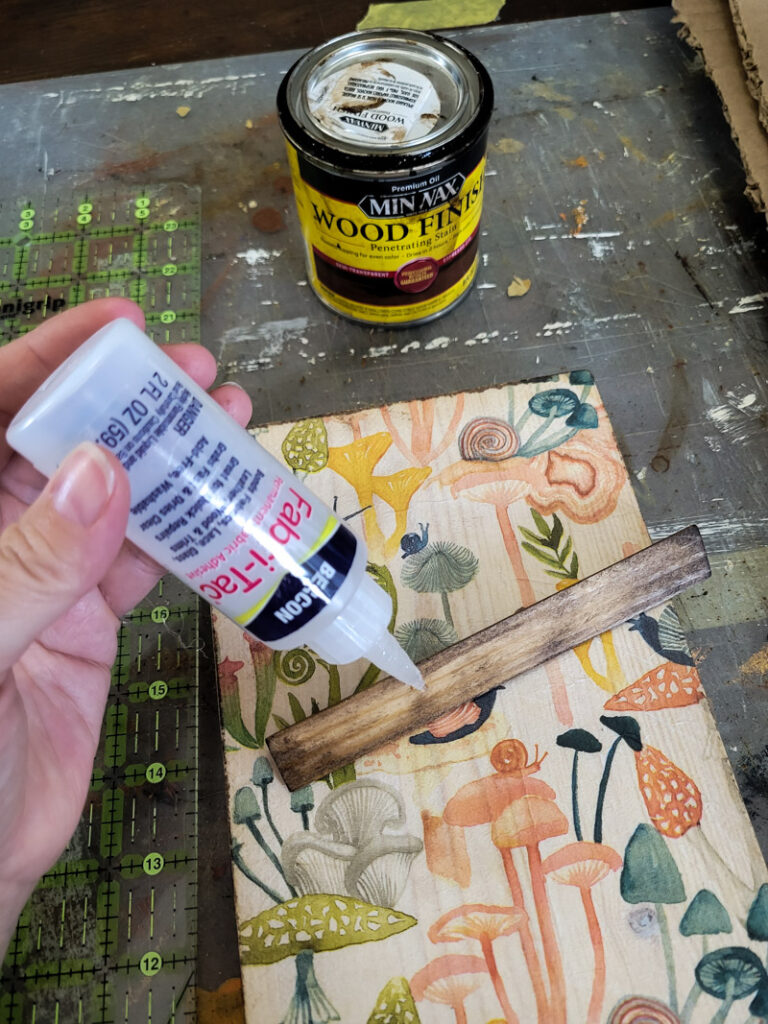
- Attach your small piece of wood to the bottom of the scrap wood and then attach the dowel rod to the edge of that. We’re essentially trying to create a lip here to store a pen, chalk, pencil, whatever you want! If a writing utensil isn’t handy, I’ll forget to write things down when I think of them, and then what’s the point!
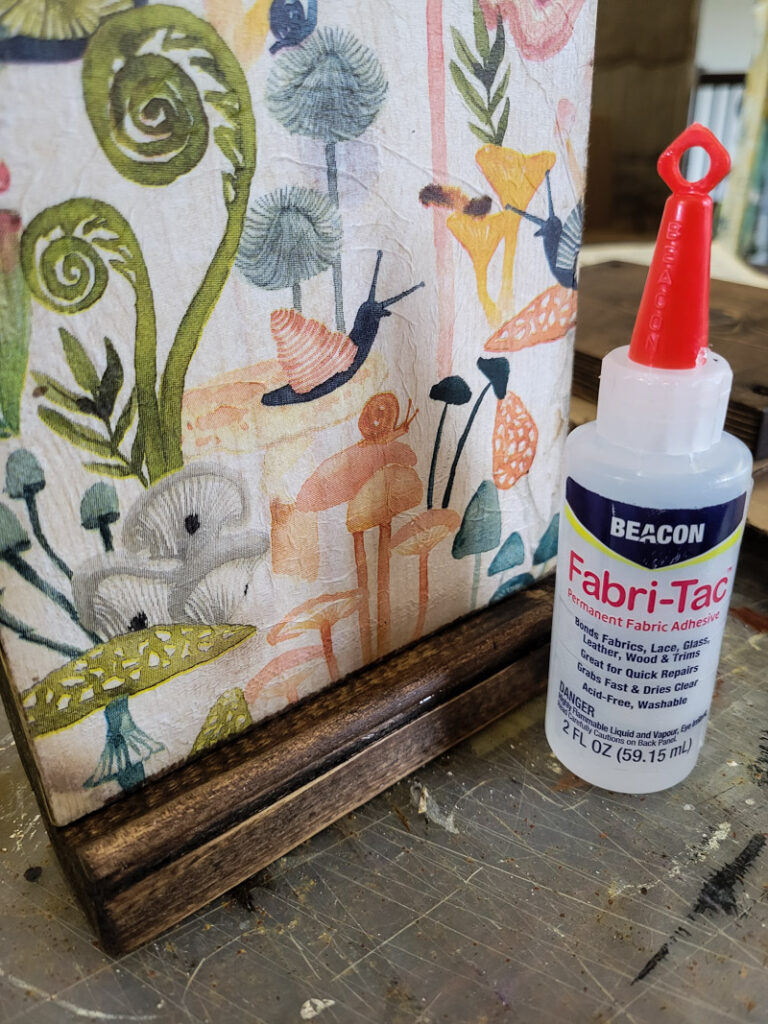
- Screw the picture hanger to the back of your to-do list holder so you can hang it up in your kitchen or laundry room, or wherever you feel you’ll use it and see it the most!
- I put a nail in the top of my to-do list holder, right under the wood trim, so I can hang a binder clip from it! Easy Peasy!
- Grab your favorite notepad, attach a binder clip, and get to listin’!
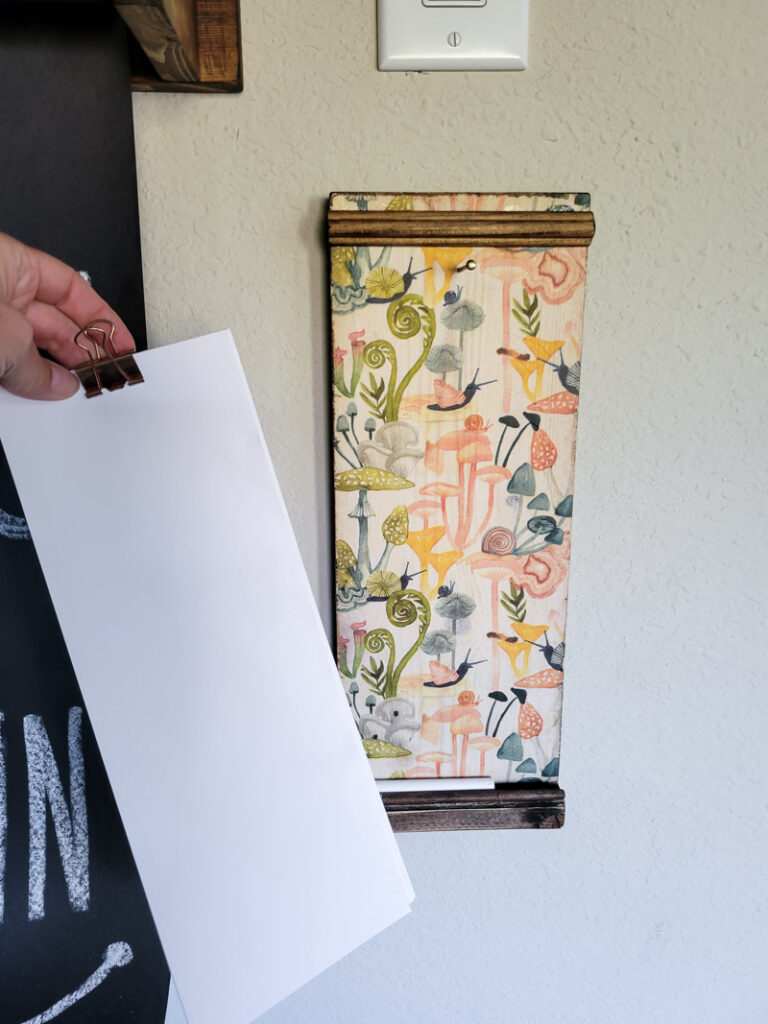
Now you’ll never forget anything again… if only! But in all seriousness, this is a great way to keep your never-ending to-do list right in plain sight! Out of sight of mind is real, and I want to do everything I can to avoid that!
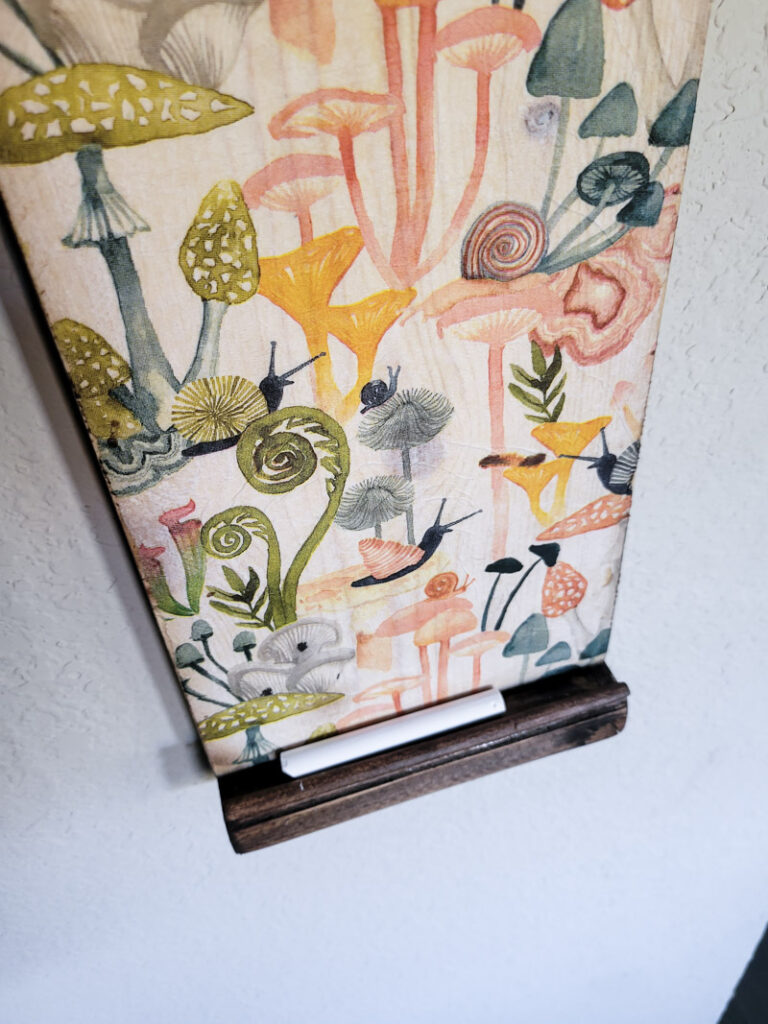
Now add this DIY to your to-do list and get started!
And if you liked this fun scrap wood project, you can check out more on the blog HERE!


So cute and I love those napkins!! Where did you get them?