Learn How to Make a fun DIY Tic Tac Toe game that’s pretty enough to display
I’ve been on a kick to figure out how many projects I can come up with using a 4 x 4 post and this DIY Tic Tac Toe board was my first project. I can’t wait to share the others with you, so stay tuned.
A 4 X 4 post is an inexpensive material to use for a variety of projects and is readily available at your local hardware store. Make sure you pick a straight post that is not warped. 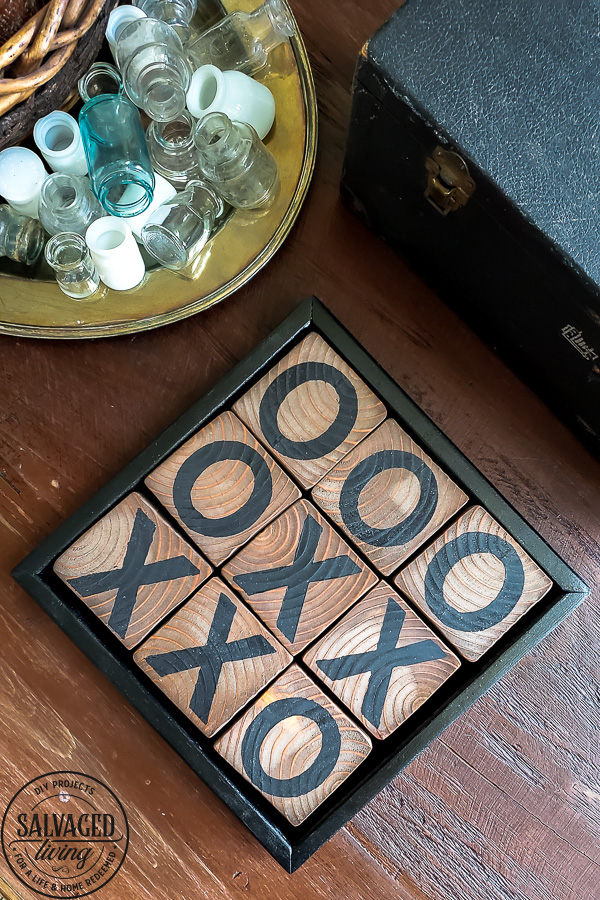
This project is also awesome for those of you getting your feet wet with power tools. I absolutely adore using my sliding miter saw for projects and this one only requires a quick chop of your post and learning how to make a 45 degree cut.
You can finish off this tic tac toe set a variety of ways, painting the blocks, staining them or even decoupage them for a fun finish. You can paint the X and O’s on the blocks or use a cricut machine to cut out vinyl decals. There are a ton of possibilities. 
Materials for DIY Tic Tac Toe
- 4 X 4″ Post
- 1.5 X 1″ Stick of wood
- small sheet 1/4″ wood
- Miter Saw
- Sander
- Finish Nail Gun or finish nails and hammer
- Stain
- Paint
- Stencils
- Wood glue
- Wood filler (optional)

How to make a Tic Tac Toe Game
- Start by cutting down your 4 X 4 post into 9 – 1.5″ pieces. It is helpful to have a stop point in place on your saw to assure you cut each piece exactly the same.
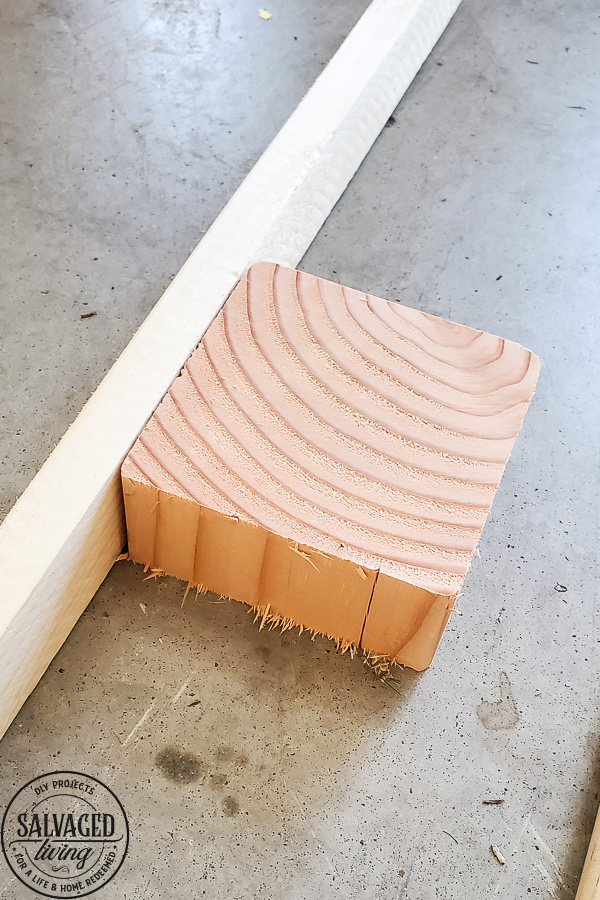 Note – the thickness of each piece is the same as the width of the box frame you are about to make, so if you get different size materials adjust accordingly!
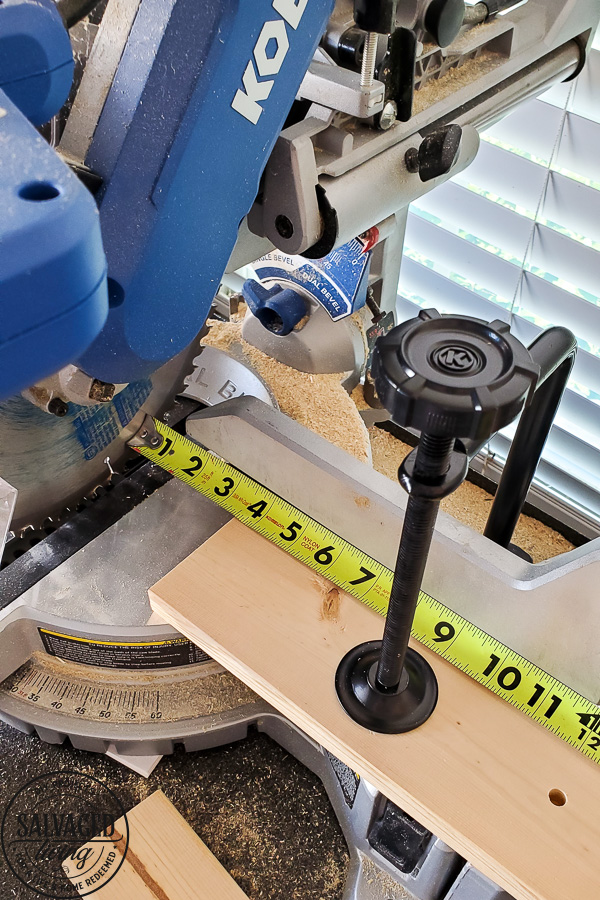
- A stop point can be accomplished by using a vice grip to hold a piece of wood down on the cut side of your saw. Measure the distance from the saw blade to your stop wood for the desired measurement. Make sure your saw is off as you are measuring for safety reasons.
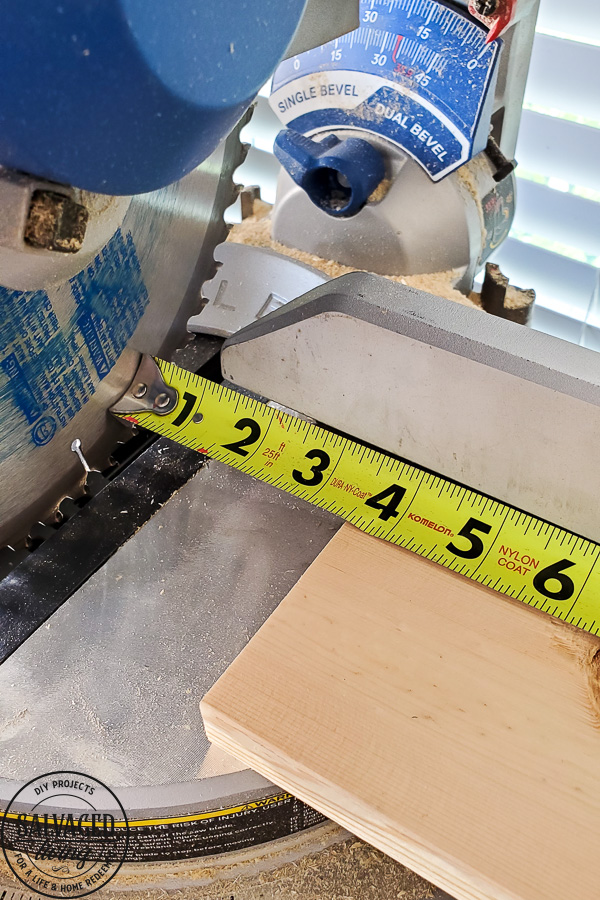
- As you move your wood to cut each new piece the measuring will be exact and complete if you slide your wood to meet this stop point. (these pictures are an example, the measurements are from a different project so please disregard)
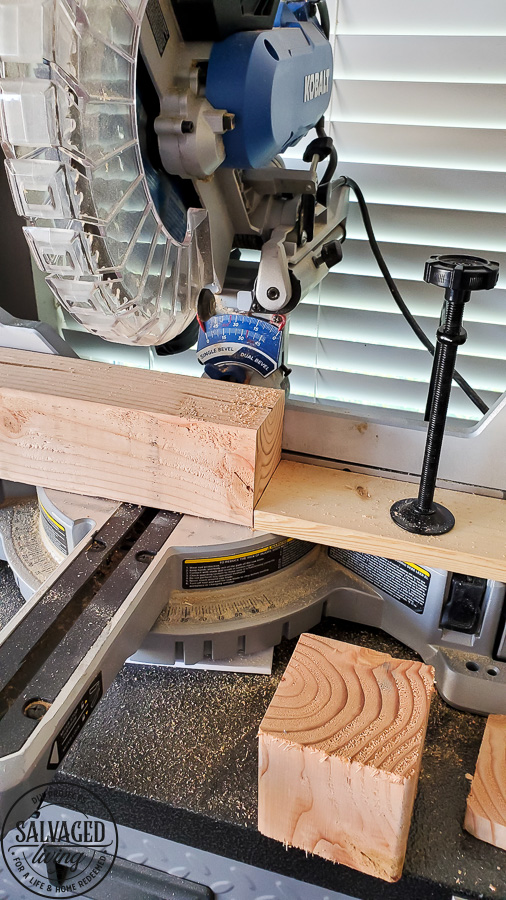
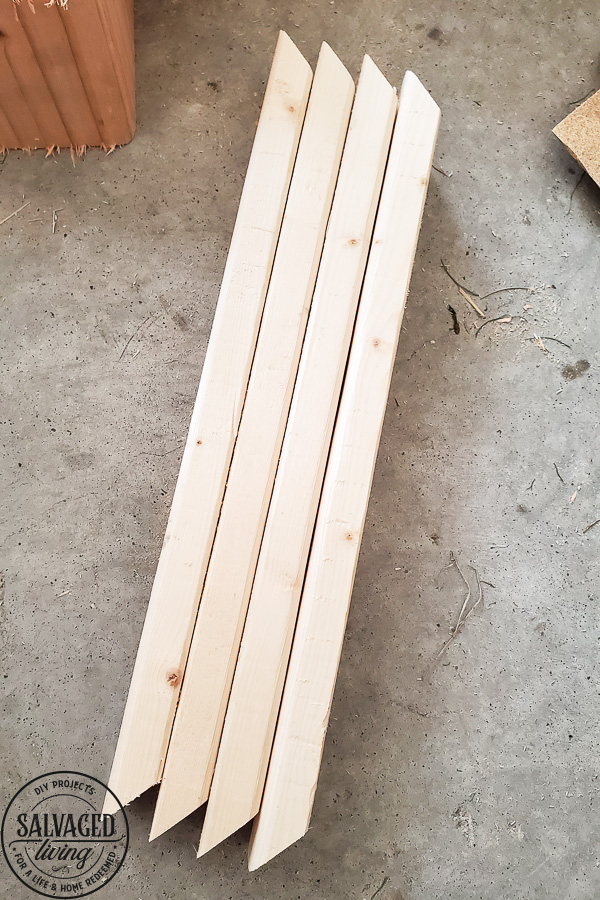
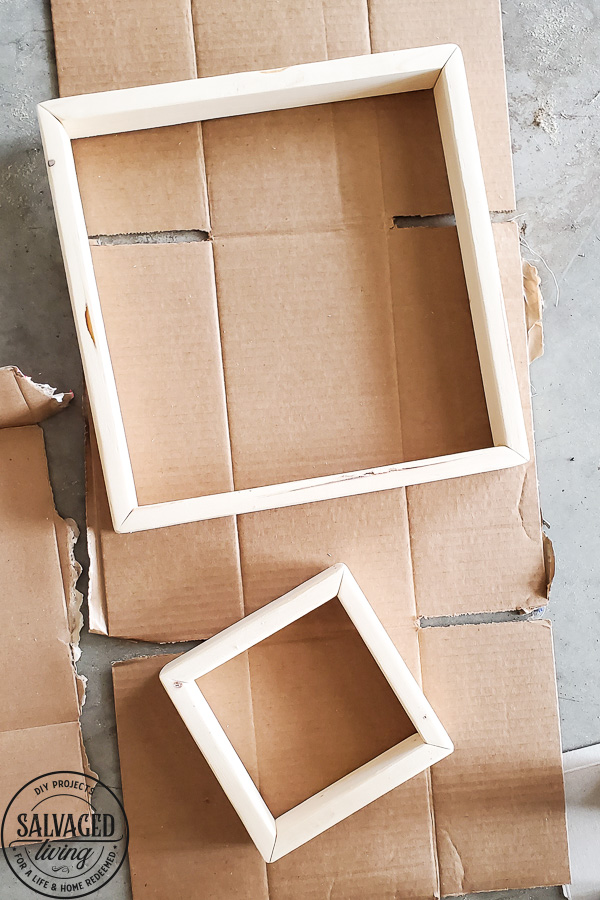
- To build the shadow box frame that will house your tic tac toe game cut 4 lengths of 1.5″ X 1″ wood with a miter saw. A miter saw allows you to cut angles on your wood. You will use a 45 degree cut and the shortest part of your wood will measure 10.5″. Again a stop piece will ensure even lengths on your wood pieces. You cuts will look like this:
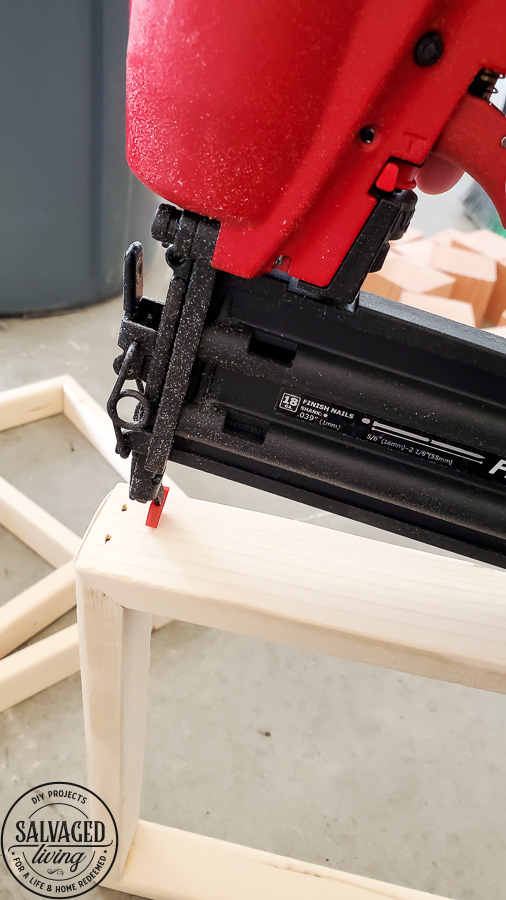
- To join the frame I suggest a dab of wood glue before nailing each corner together using a finishing nail gun. You can use finish nails with a hammer, but it is much harder to do, in my opinion. Secure each corner.
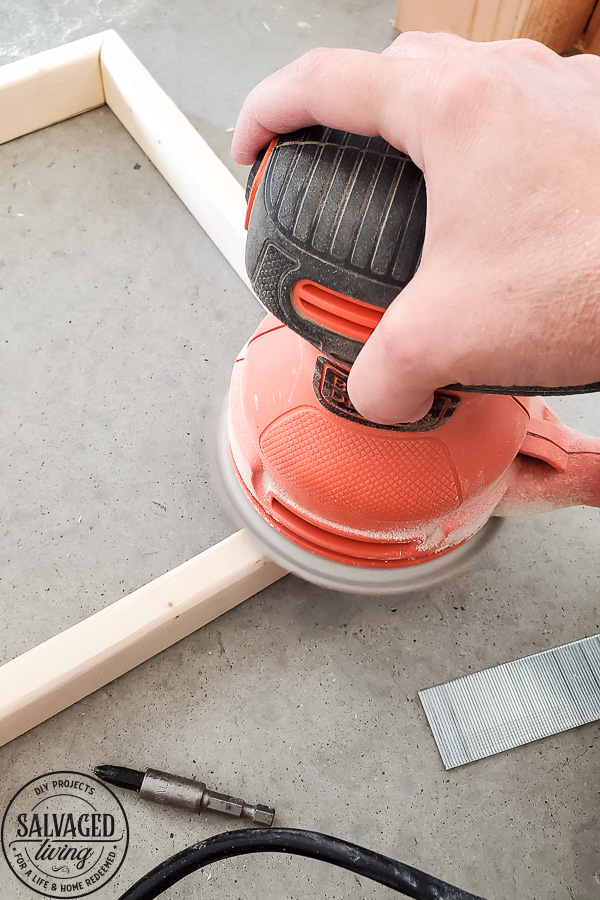
- Sand the corners and joints for a smooth joint.
- You can use wood filler in your corners to smooth any gaps if you like.
- If you have a sliding miter saw you might be able to cut the base piece of your box with it (this depends on your slide range), if not you might need a table saw or circular saw. I wait to cut this piece based on the finished measurements of my frame to be sure it fits, but it should be 11″ X 11″.
- Secure the base piece to the bottom of your frame with the finish nail gun.
- Paint or stain your frame box and tic tac toe pieces.
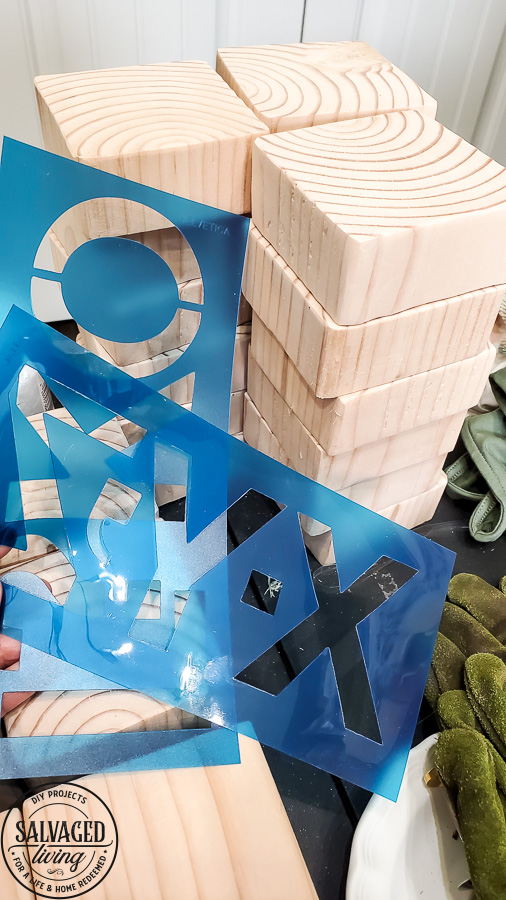
- I used stencils to paint the X’s and O’s on the game pieces.
I made a small version of this game as well. I love this for a small side table or apartment living.  For the small version I used a wood burning tool for the X’s and O’c. You can get all my wood burning tips here.
This makes for a beautiful gift or house warming present. I went ahead and made a few all at once while I was at so I have them ready for Christmas gifts! Knowing how to make a frame like this will come in handy as well for a variety of DIY projects. I hope these tips helped you and if they did, be sure to pin them and save them for later! 
[mv_create title=”DIY Tic Tac Toe Game” key=”21″ thumbnail=”https://salvagedliving.com/wp-content/uploads/2020/07/4-x-4-post-projects-DIY-scrap-wood-projects-18.jpg” type=”diy”]


Live this… step 4… how big are pieces before you miter the edge?