Terracotta is a classic look that has REALLY been resurfacing lately. And hey, I’m here for it. I believe it’s truly timeless, and it’s fairly easy to replicate/dupe. So today I’m going to tell you how I made precious DIY terracotta decor for Fall… and it wasn’t expensive or hard!! Stick with me!
what you need
- FREE leaf template (download HERE)
- Air Dry Terracotta Clay
- Fall-inspired cookie cutters
- cookie drying rack
- parchment paper
- toothpick
- knife
- roller
- baking soda
how to make terracotta decor for fall
- Roll terracotta clay flat. I used baking soda to help with sticking and a roller to really work it flat.
- After rolled out completely, you can use the fall-inspired cookie cutters and/or my FREE leaf template provided HERE! If using the leaf template, simply cut it out and use a knife to trace around the leaf.
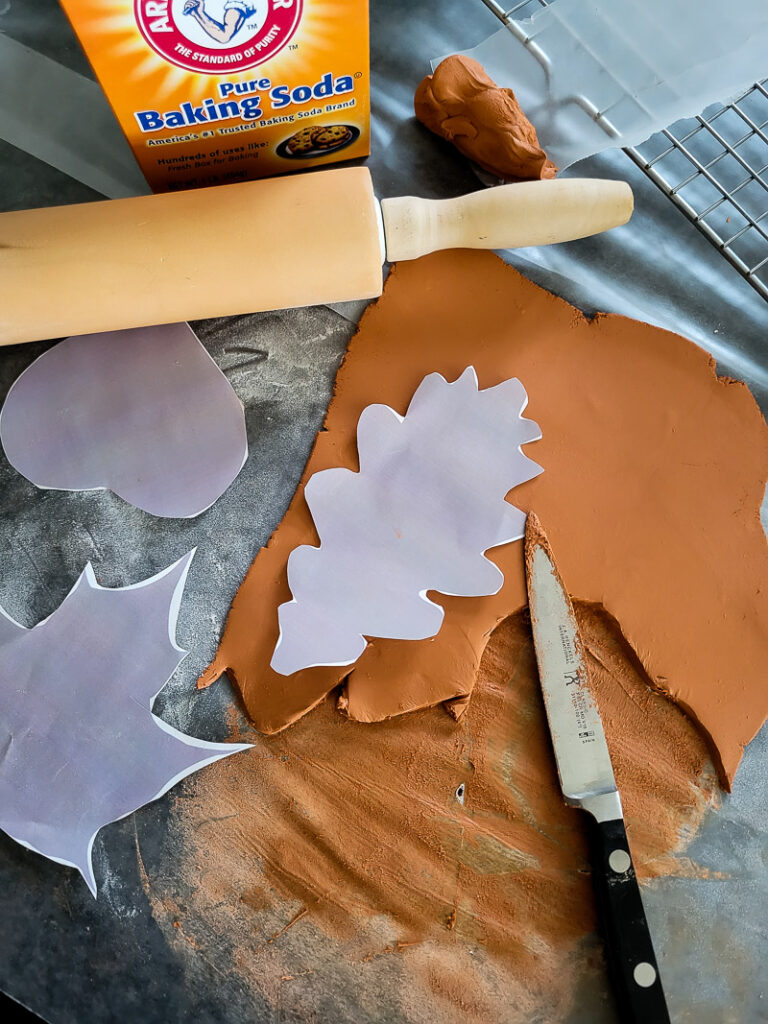
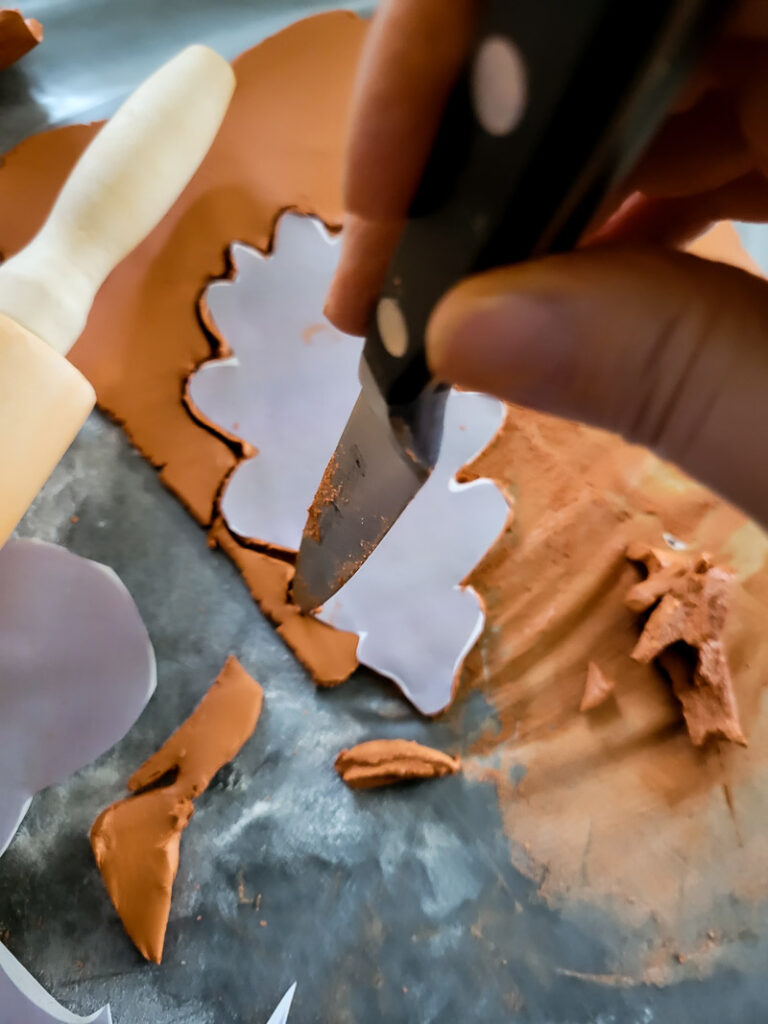
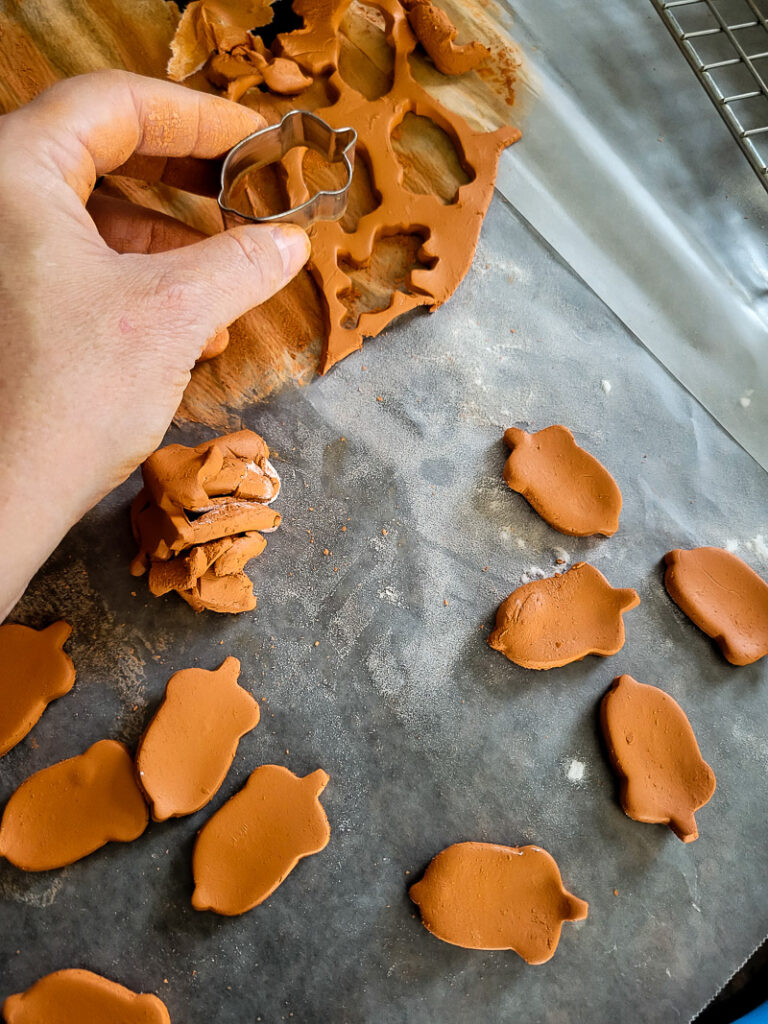
- You can use a knife or toothpick to create designs designs on your clay before it dries. I also poked holes in the top of my leaves so I could create a little wall hanging, but that’s totally up to you!
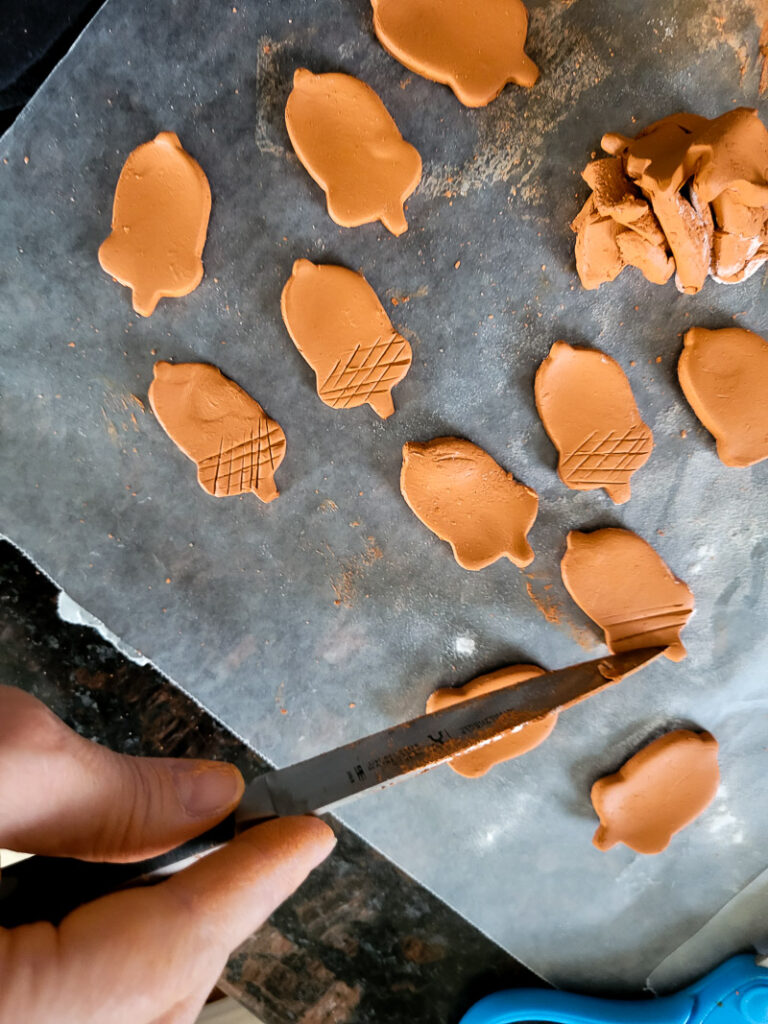
- After your design is complete, lay your finished terracotta shape out on the cookie drying rack. If you want your leaves to look more realistic, you can roll up parchment paper and put it under certain areas to bend it how you’d like.
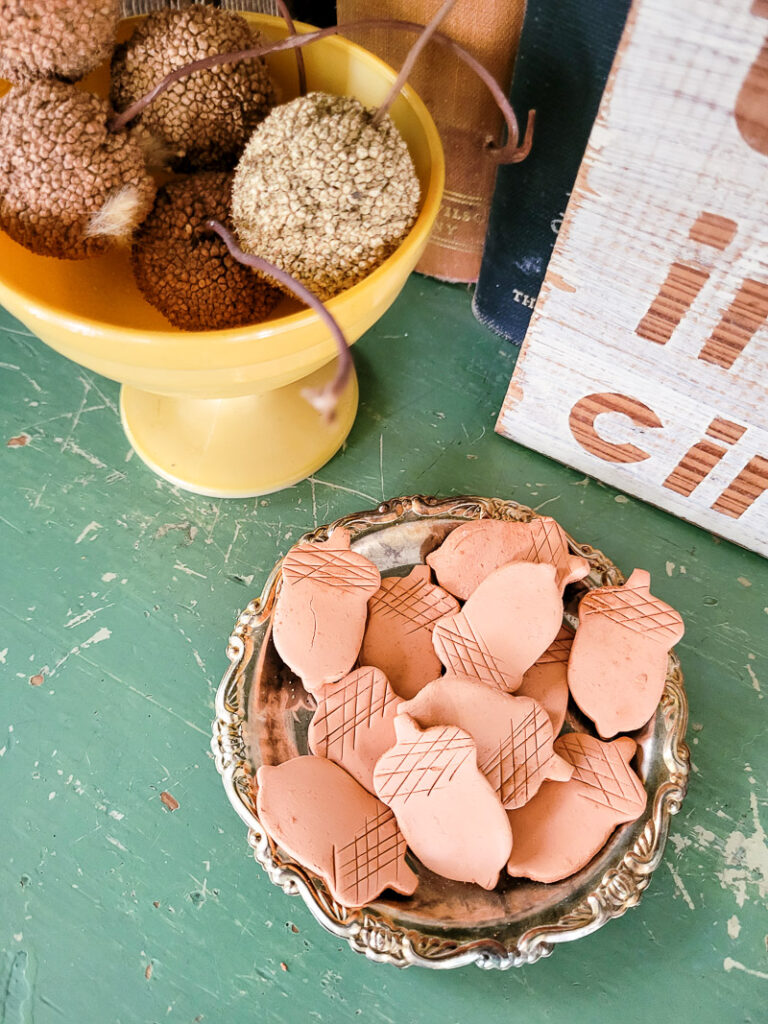
And after it dries, you’re done!! No baking required, and super budget-friendly!! This would be a fun craft to do with kids, too!!
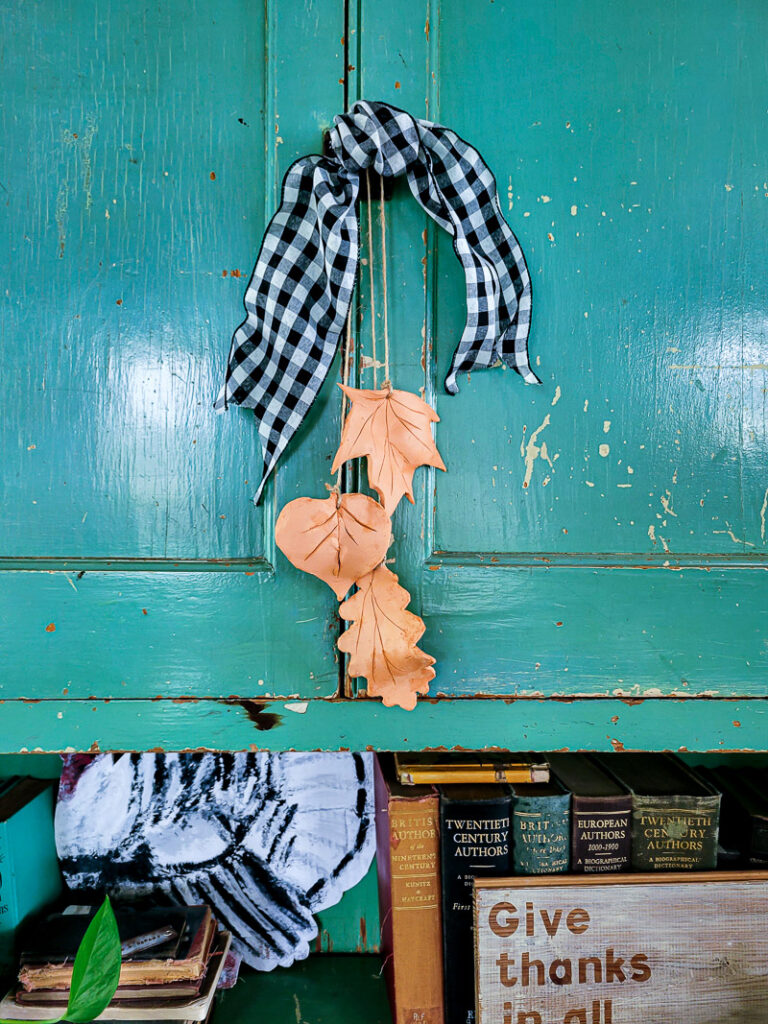
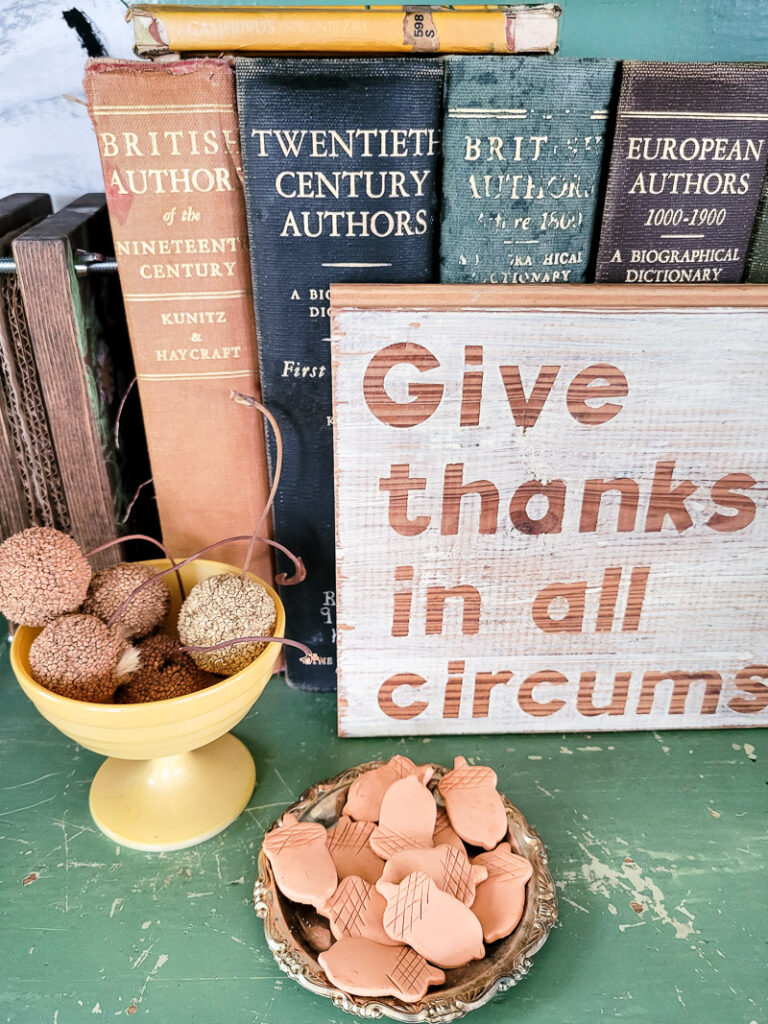
You can create tons of shapes and designs, and use this as a wall hanging, bowl filler, create a garland, there’s tons of options!!


Leave a Reply