This DIY snowflake garland is a Christmas decoration winner!
I’ve been dreaming of a white Christmas, but we live in Texas and those are incredibly rare! I decided to make my own winter wonderland this holiday season and with the help of Rust-Oleum. I was able to create a giant snow flurry on a small budget! You can make it snow at your house too, let me show you how. This project is sponsored by Rust-Oleum, all ideas and opinions are my own.
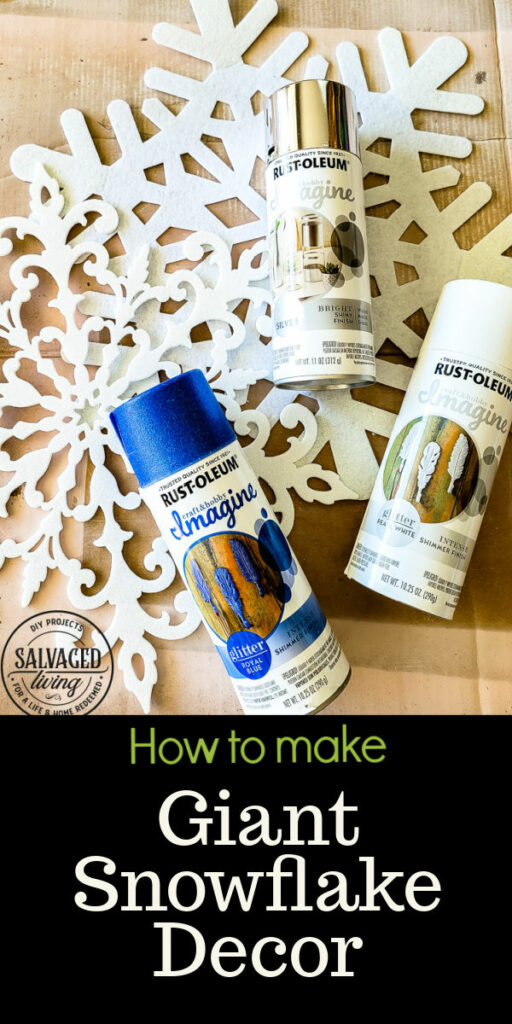
You can make this giant DIY snowflake garland in no time, plus you can make as much as you want, in case you have a lot of ground to cover or live in a tiny spot, this DIY will fit your needs. Here is what you’ll need:
DIY Snowflake Garland Supply List
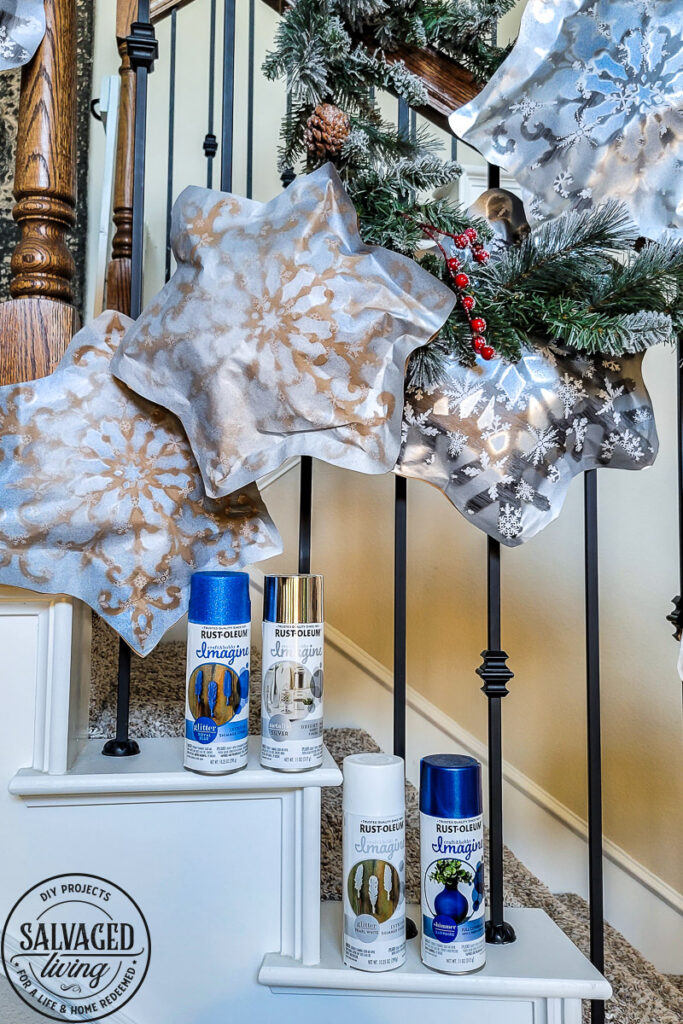
Rust-Oleum Imagine Spray Paints –
- Sapphire Shimmer: You can find it HERE
- Royal Blue Glitter, Metallic Silver, and Pearl White Glitter: You can find them HERE
Dollar Store Snowflakes – If you can’t find a snowflake, make any giant shape! You can use this concept for all the holidays (I did it for Valentine’s Day once!)
Wrapping Paper – A mix of Kraft Paper and printed wrapping paper with snowflake designs
Glue Gun
Jute Twine
Scissors
I love using felt pieces from the dollar store as a giant stencil – they are such a fun size to go BIG or go HOME! Plus, the price is right! Just lay your giant snowflakes over wrapping paper and spray over the top with an assortment of Rust-Oleum Imagine Spray Paints.
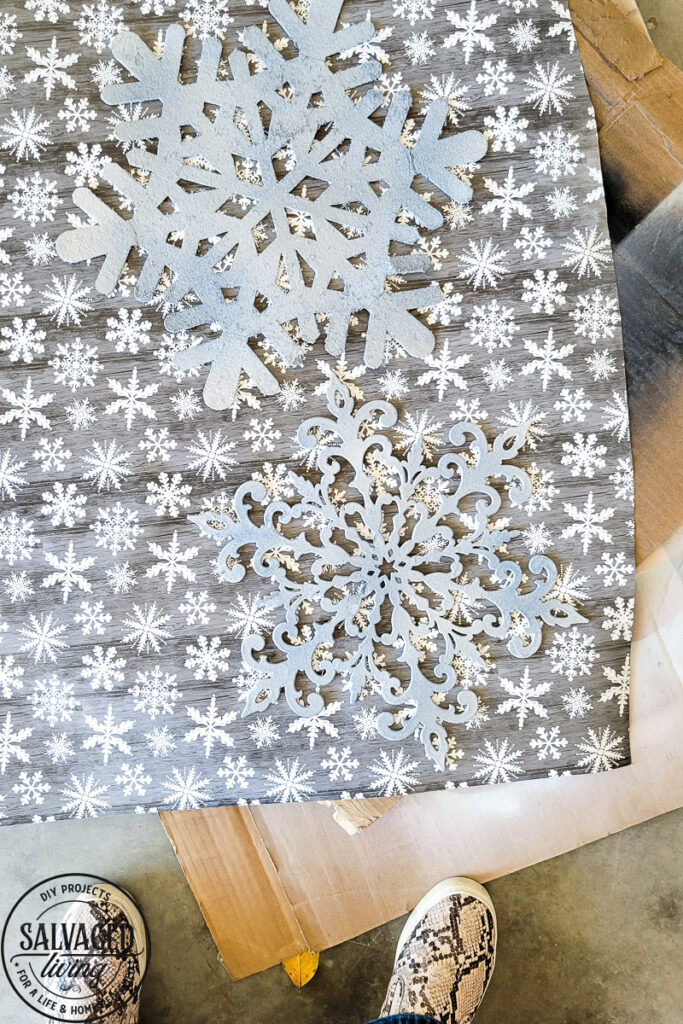
You want to make sure to spray directly overhead, avoiding spraying from the side, so you get crisp edges. It’s also helpful to use a dark, contrasting color from the paper as the main outline color. You want a really solid edge sprayed around the stencil edges so your design shows well.
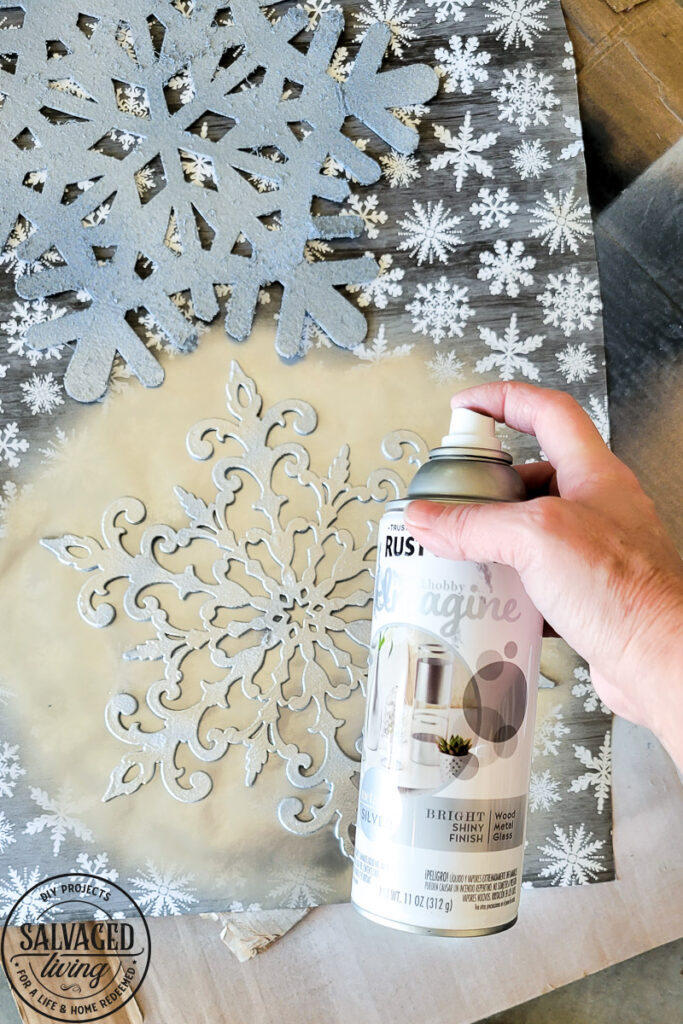
Next I layered splatters of different colors – touches of Shimmery Sapphire, Sparkly White and Glittery Blue. No two snowflakes are a like, so feel free to mix and match a variety of colors and finishes with these giant snowflakes!
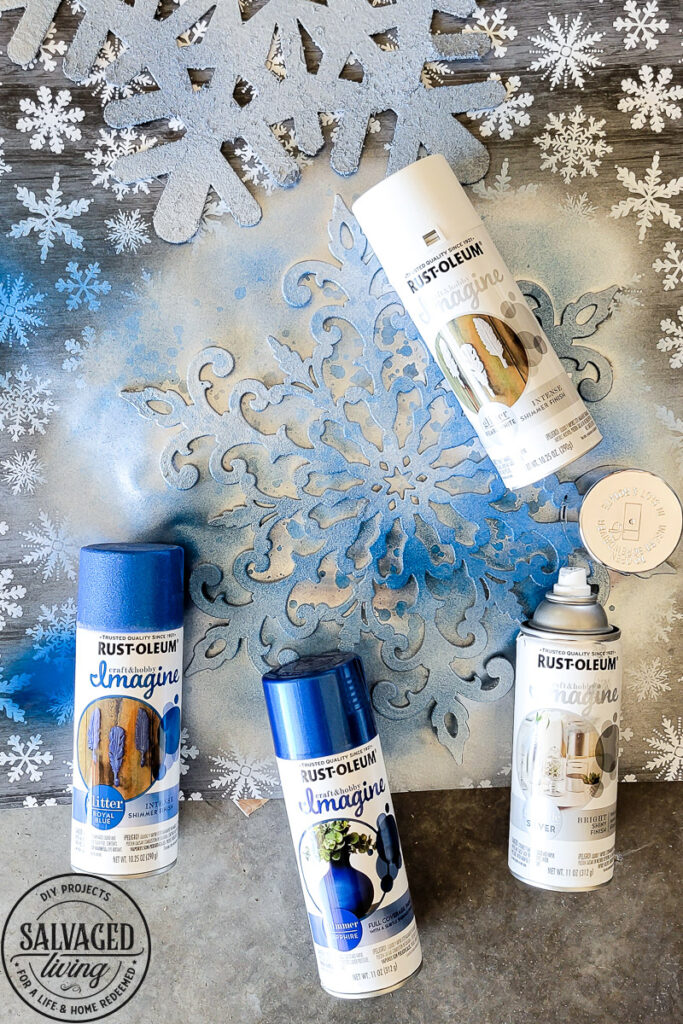
The Rust-Oleum Imagine line of spray paints have SO MANY fun finishes and amazing colors to choose from for you Christmas projects. I’ve used quite a few over the years (I’ve linked some project down below for ya!) and always adore the special touch they give to my crafts and DIY. I seriously don’t feel like the pictures do just for the texture, shimmer and shine the paints give off in person. I mean GLITTER…can you ever go wrong with glitter? nope.
After you spray paint all your snowflakes, cut them out. You can loosely cut around the shape of the snowflake, it doesn’t need to be intricate or exact.
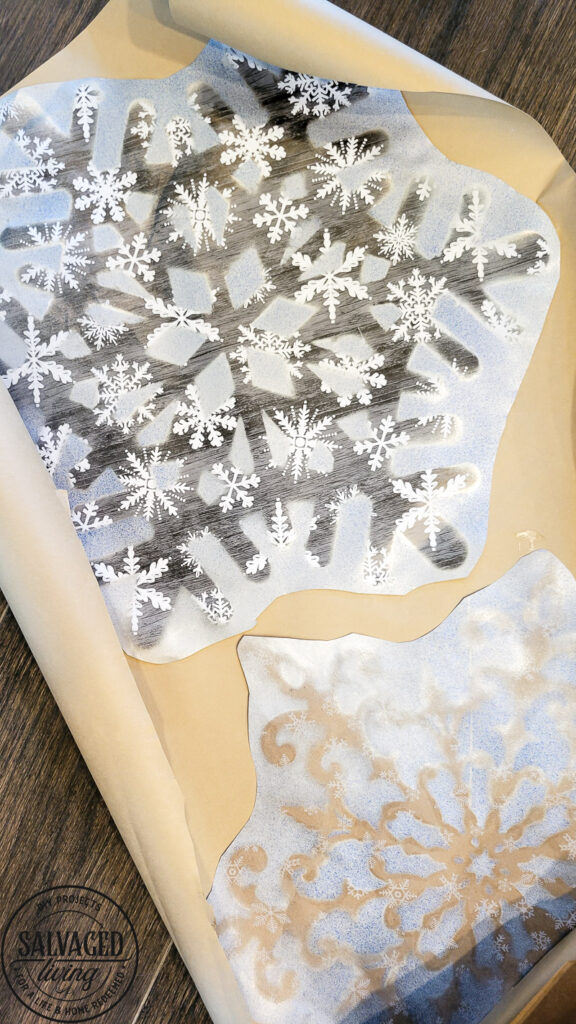
Use a hot glue gun to glue the cut out snowflake to a plain piece of kraft paper. Be sure to only glue 3/4 of the edges and leave an opening to stuff the snowflake, like you would a pillow.
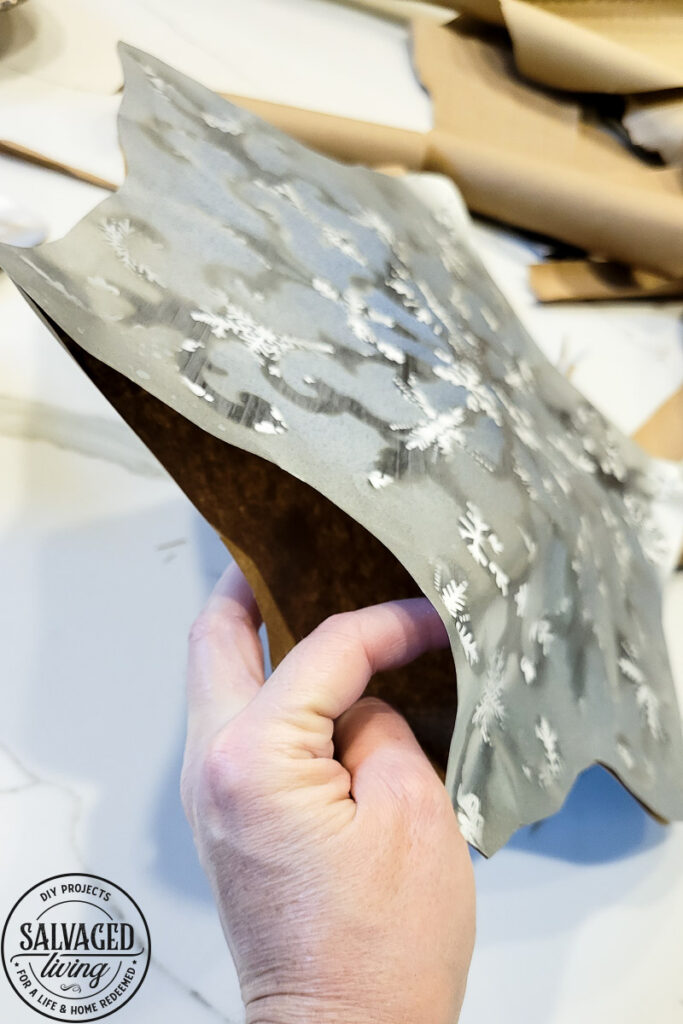
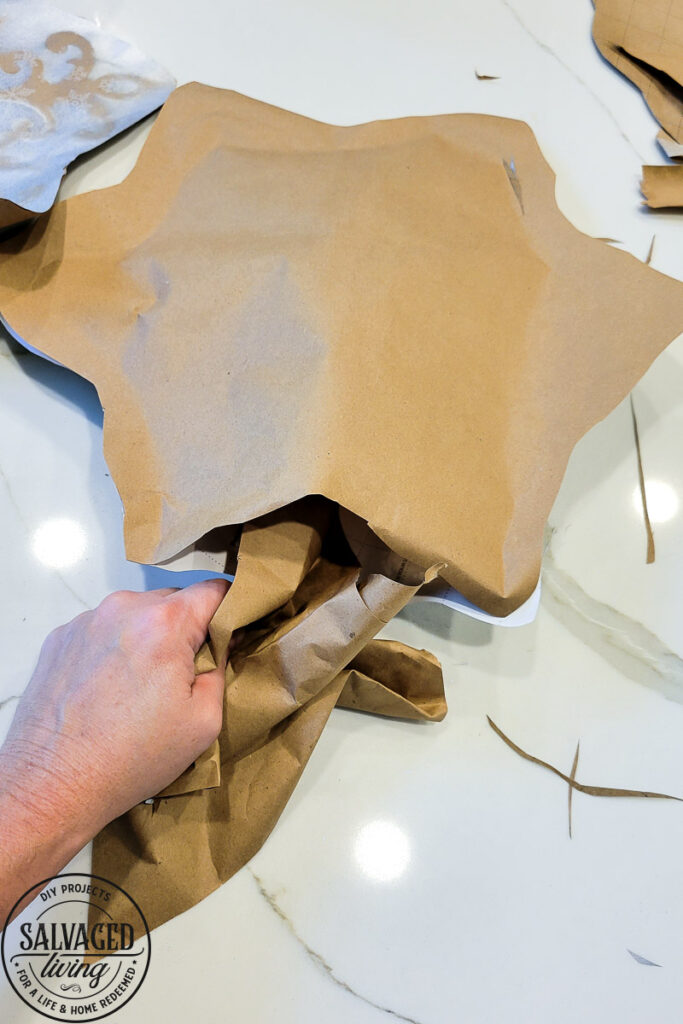
Now, cut the shape out again, so the back matches the front. Next, you can use the paper scraps to stuff your snowflakes with. Seal the opening, once stuffed, using your glue gun.
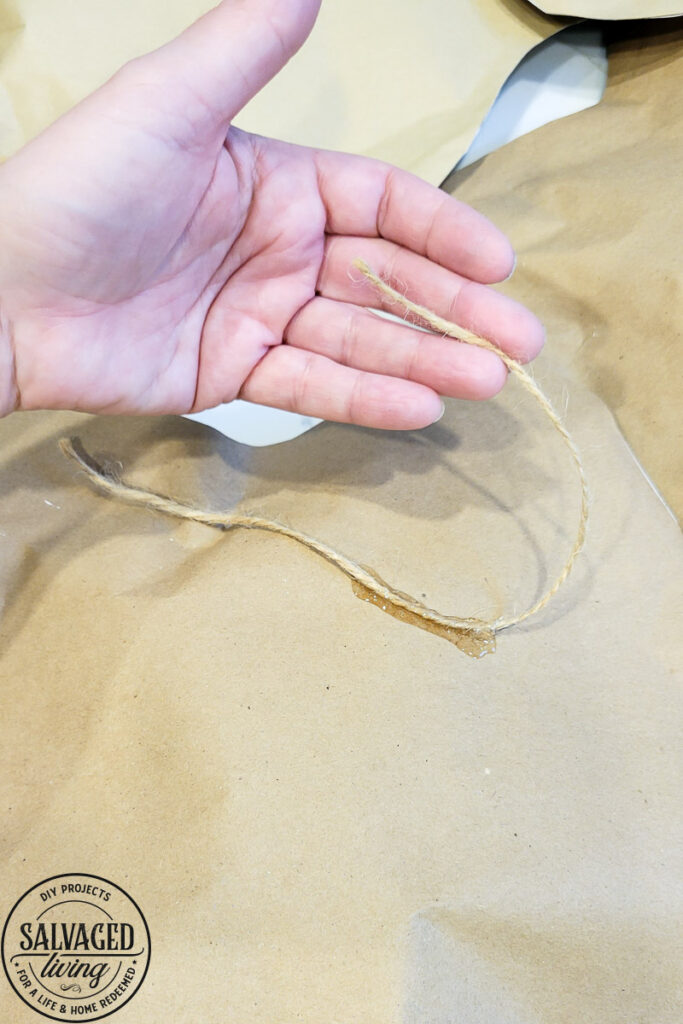
Glue a piece of string on the back of each snowflake to attach it to whatever surface or garland you choose.
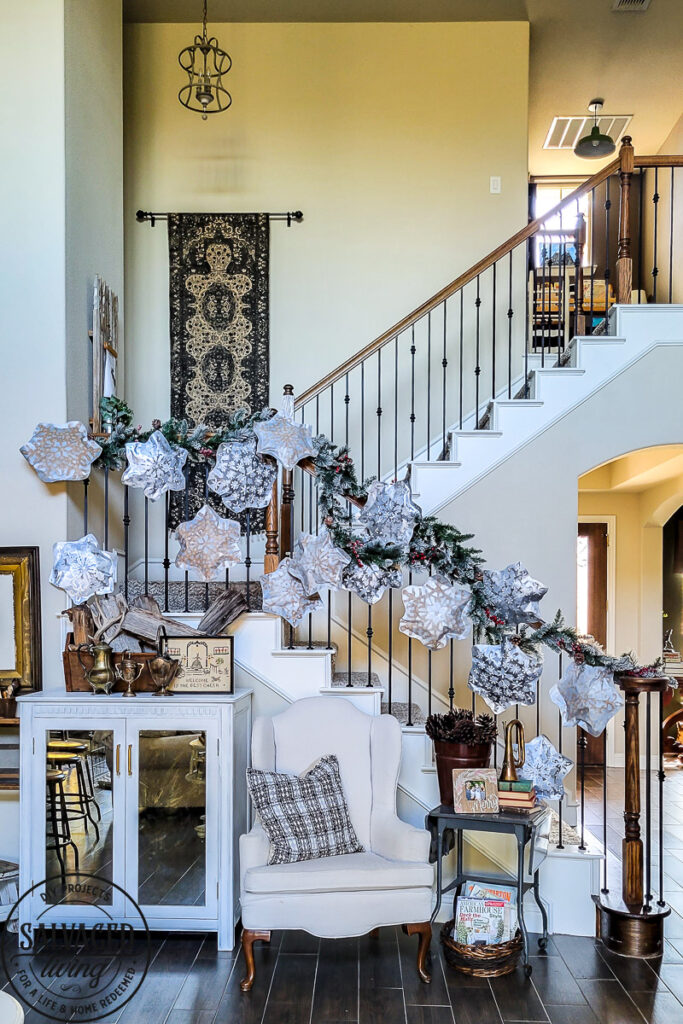
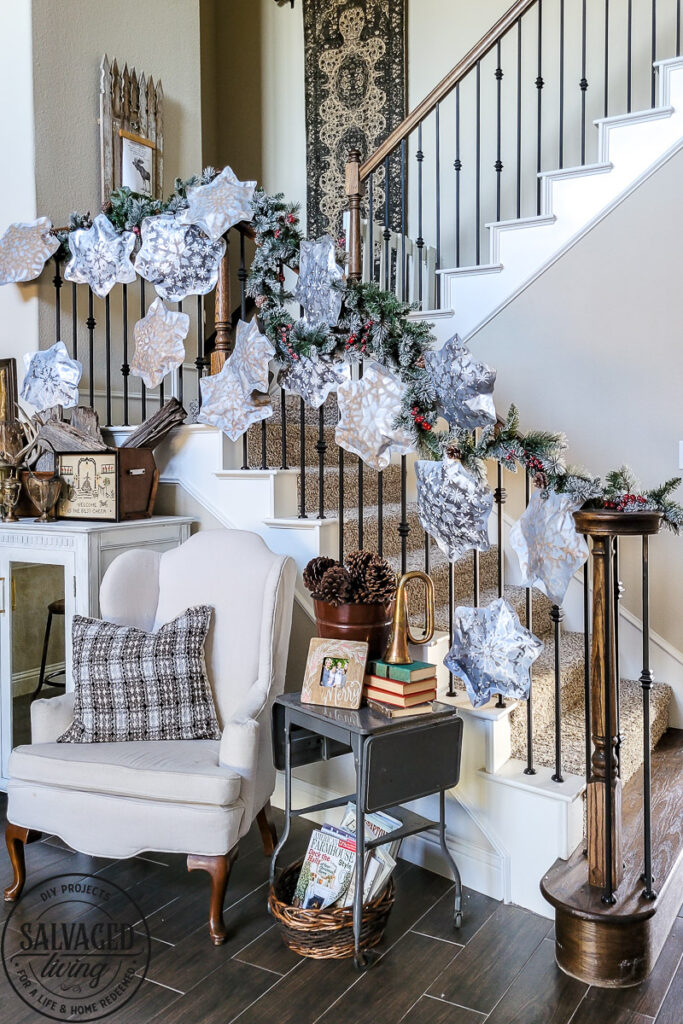
I used my giant DIY snowflakes on my stair banister with flocked greenery. I love the wintery feel they add with a little bit of shimmer and shake!
They are so fun and festive, don’t ya think? There are so many ways to use these cuties in your decor – try them on your mantel, stairs, or across a bookshelf.
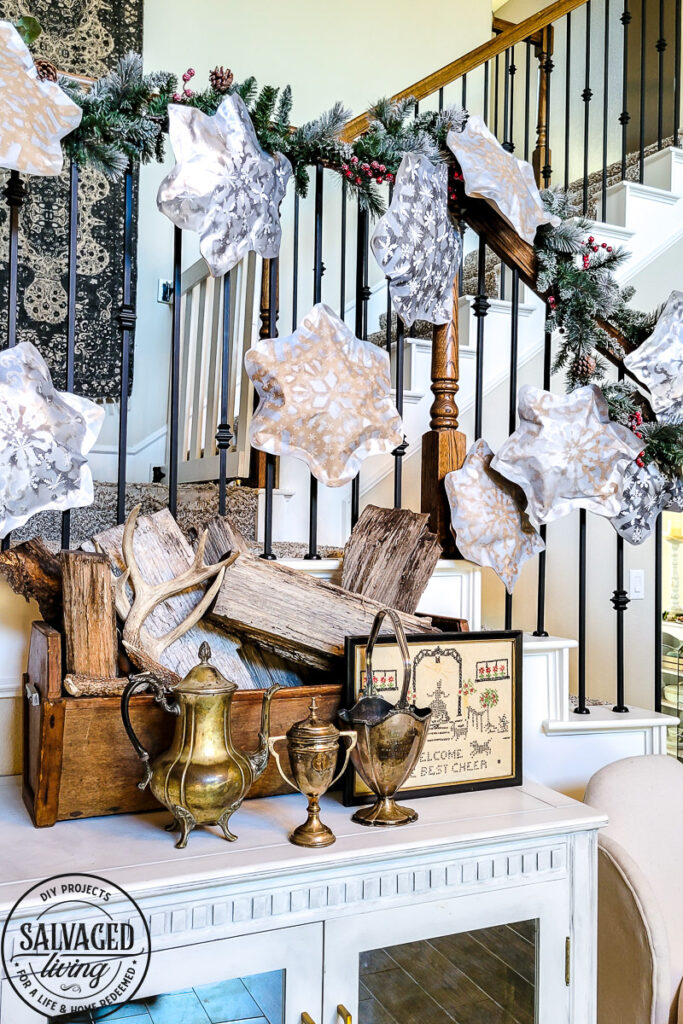
I always like to mix old and new, so I threw in some new vintage items for a cozy Christmas feel.
You can even use the snowflakes individually in bookshelves and vignettes. The possibilities are endless. All I know is these are easy, budget friendly decor pieces to make – have fun with them! Here are some other projects I’ve done with Rust-Oleum Imagine products:



Kim: Your house is beautiful and the snowflakes look great on your staircase. So unique. Thank you for sharing.
Thank you so much for being her Felicia!
So do you just keep using the bought snow flakes over and over or buy more snow flakes
I use the same one over and over! $1 🙂
I love these snowflakes. They look great.
thank you Amanda!