Have you been dreaming of a sweet little raised garden bed you can call your own? Yay – me too! We had an amazing garden at our last house. We had HUGE blackberry bushes and tried lots of different vegetables and herbs. I loved it. I missed it. Look how cute it was…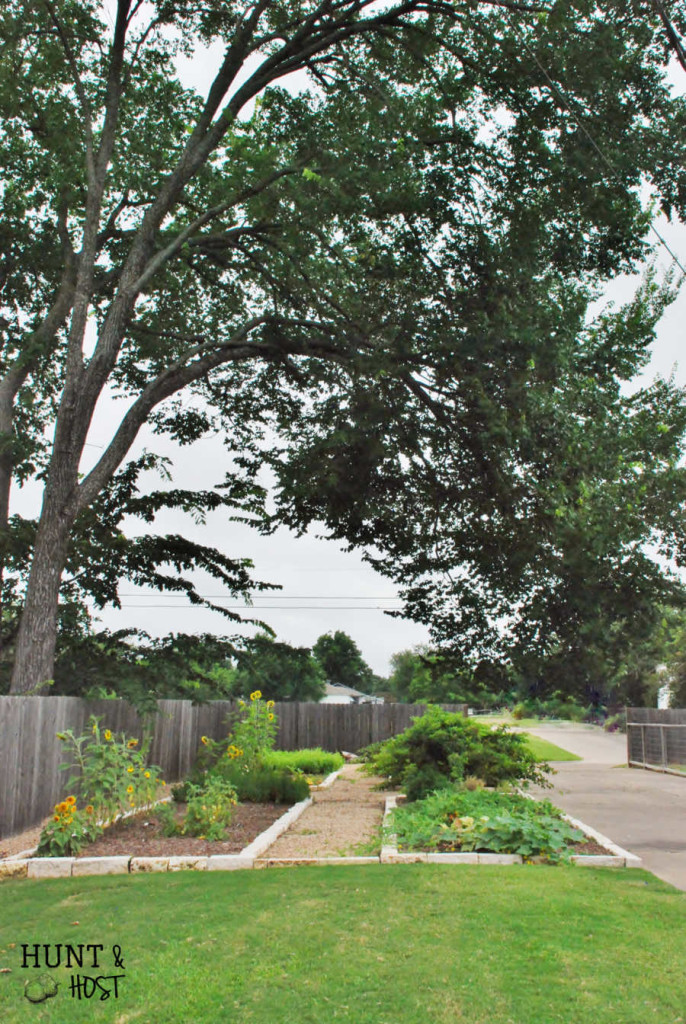 The ground at our new home is literally rock. No joke, it’s near impossible to plant in so I talked my hubby into helping me make a DIY raised garden bed. He helped me value engineer the whole thing so it wouldn’t cost a total fortune and this mama is SO HAPPY! I will share my materials list with you. You can also see how I stained the wood quick and easy here.
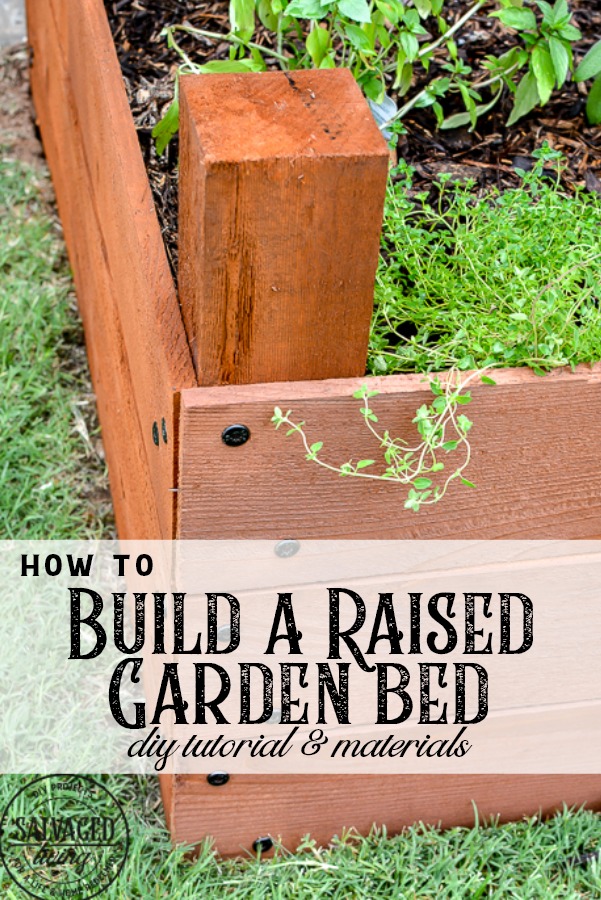
DIY Raised Garden Bed Materials List
9 – 5/8 in. X 6 in. X 8 ft. Cedar Fence Pickets (these coast around $4.82 and are more lightweight and slightly less expensive than decking timber you might use) 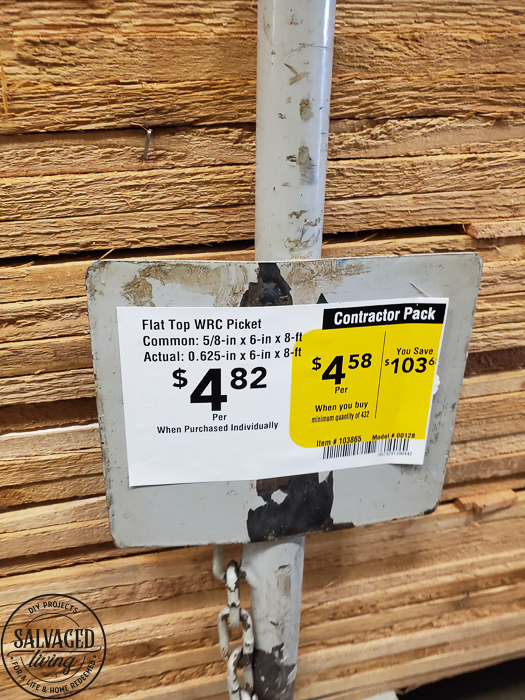
1 – 4 in. X 4 in. X 8 ft. Cedar posts (these cost $28.48 a piece so they are pricey – you could use treated posts that will run about $8.57 instead, but they will take stain different than cedar)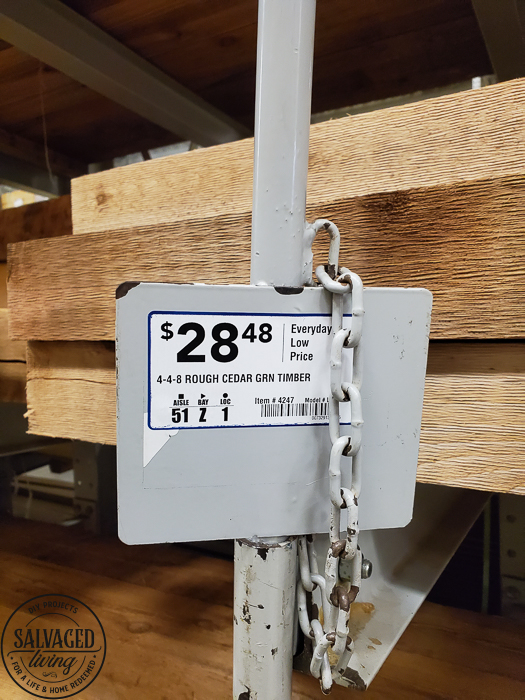
1 – additional scrap wood or small post for reinforcement on the inside of the raised bed (it will not show)
1 box 2 7/8″ Headlok screws (I liked the black finish and somewhat decorative head on these screws) If you buy in bulk it is cheaper, you will need 48 screws for this exact project. 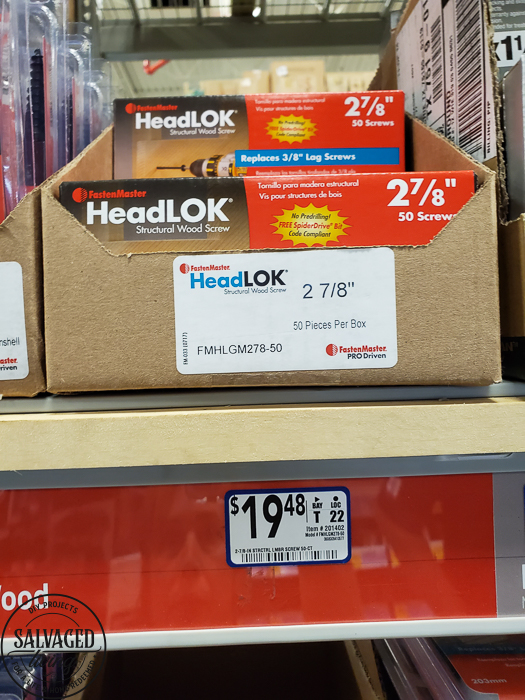
6 additional screws to accommodate your scrap support wood width
Drill
Chop Saw (I’m in love with my new sliding miter saw, this one here)
This garden bed box is movable and that is one of the best things about it! Of course once the dirt and plants go in the box will stay put, but if we ever move or change up our yard the box can go with us! 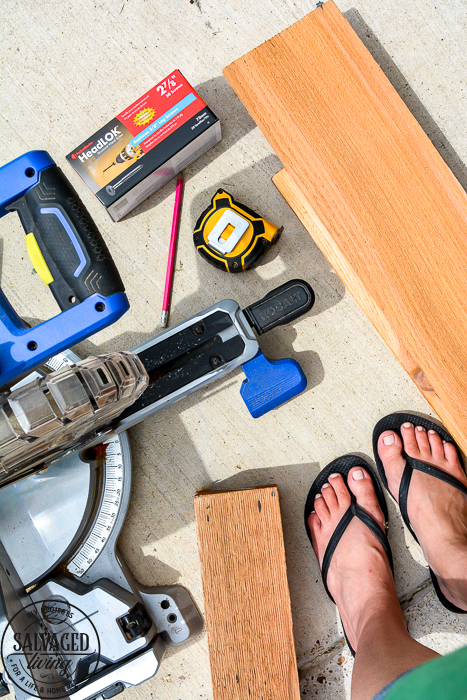
DIY Raised Garden Bed Tutorial
- We built our bed the same length as the fence pickets for cost savings and reduction of cutting needs. We had the long side as 8 feet and the short side a 4 feet. I wanted the posts to stick up some because I have plans for them later, you may want to cut them flush with the top of your garden bed. Start by cutting your post into 4 equal lengths using a chop saw.
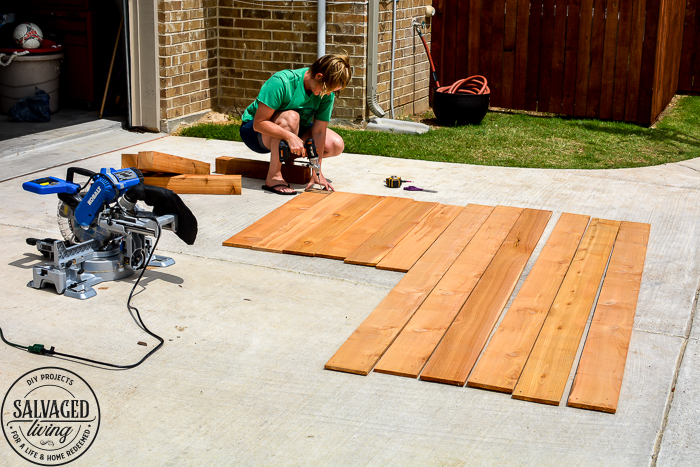
- Cut three fence pickets in half to create the boards for the short side.
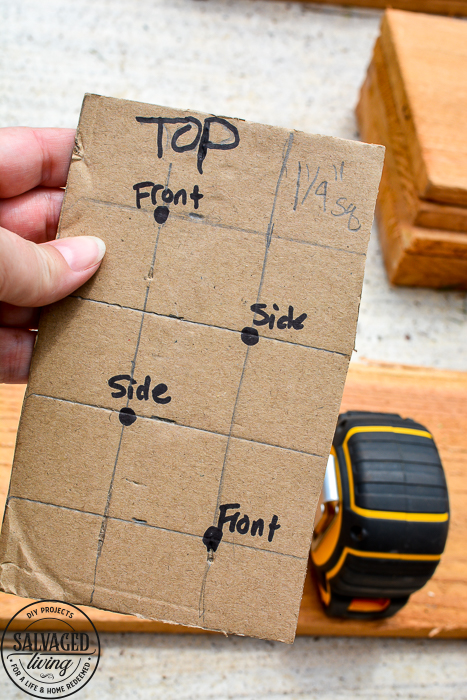
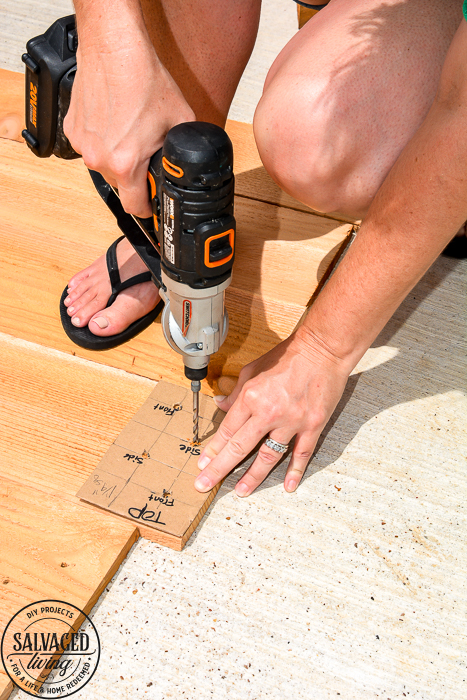
- I pre-drilled screw holes based on a pattern I made from heavy cardboard. You will want the screws evenly spaced for aesthetics and to make sure you have screws going into different spots as you will be attaching wood to two sides of the posts.
- Start with one post and a long fence board. We used a extra piece of board to guide the proper overhang amount so the front of the box would look clean. Line up the board and the post corner evenly. Attach the board with the screws in the pre-drilled spots.
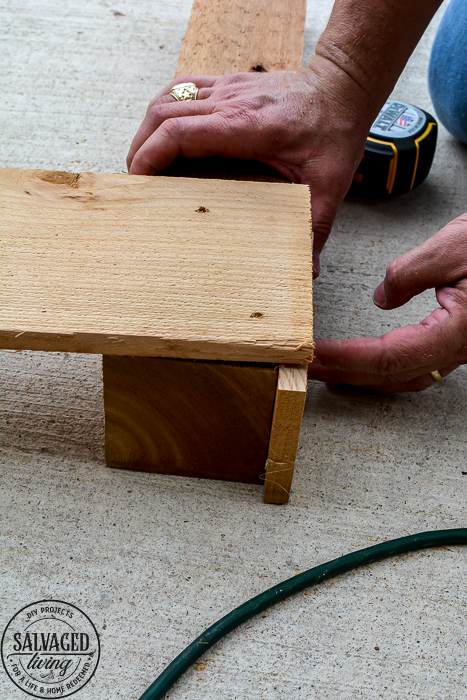
- Go to the other end of the long board and repeat with a new post.
- Add the next long board on top, be sure to secure the boards as close together as possible.
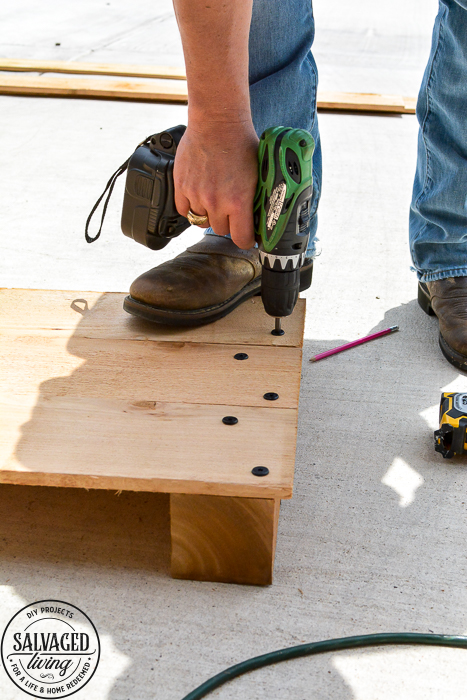
- Repeat with a third board. (you could make this bed shorter by stopping at two boards, just cut your post height accordingly as well)
- Make both long sides first.
- Once long side is built add a small post or scrap wood to the inside middle of the board for stabilization, so the weight of the dirt and water the garden box holds doesn’t push the sides out.
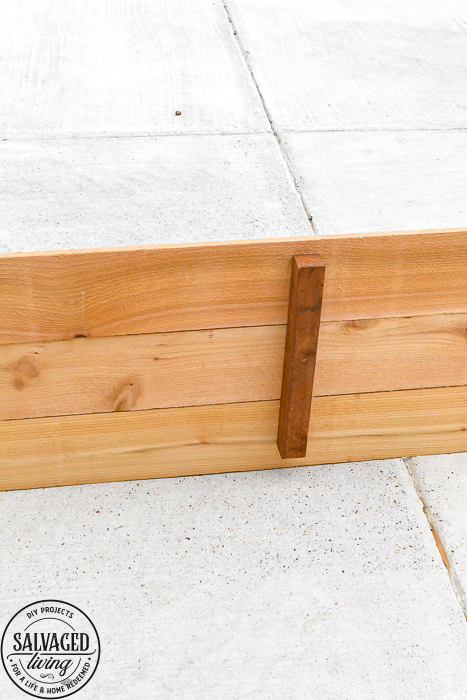
- Next attach a short board to the corner of post, making sure it is square.
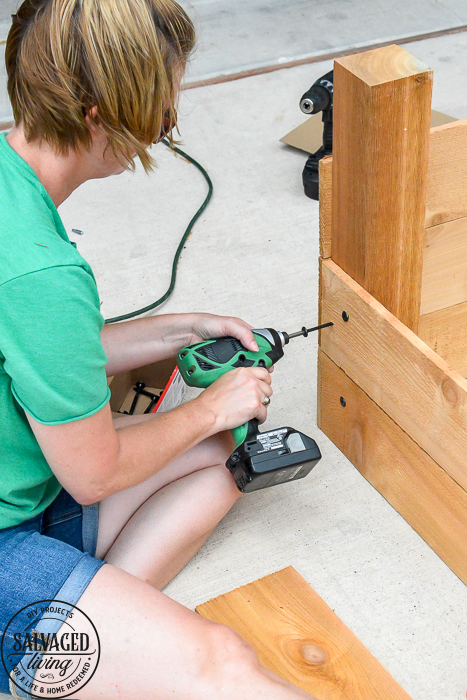
- Repeat on all corners until your box is built.
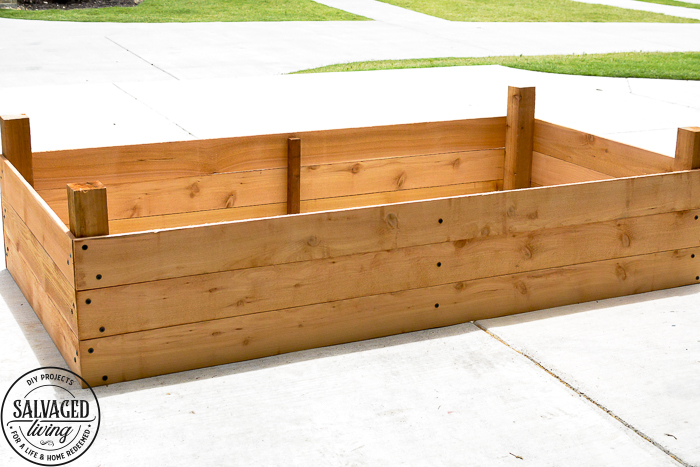
- We stained our raised garden box so it will last longer and maintain it’s beautiful color. You can see how we stained the wood here using our Wagner FLEXiO sprayer and the finished pictures of our sweet little garden.
This was a simple project to make and only took an afternoon to build. It now sits outside of my office window and is growing like crazy! My youngest son really enjoyed helping us fill and plant the garden and he goes out and waters all the time. I hope you enjoy your garden as much as we do! Be sure and save this post for later so you can easily replicate this affordable raised garden bed in your own yard! 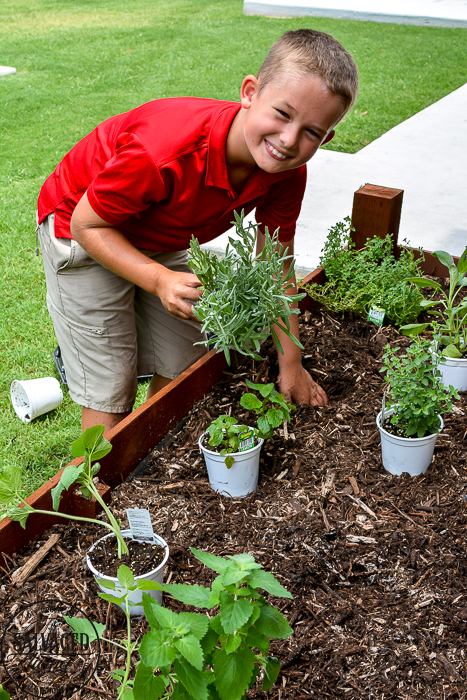


Leave a Reply