Let’s be honest, who doesn’t love a good wreath? They’re so festive, sweet, and fun… but they can also be expensive!! And hey, there’s a time and place for everything, even an expensive wreath! But that time is not now, because I’m about to show you how to make a DIY paper wreath for all seasons! It’s super easy… and EXTREMELY budget-friendly!
what you’ll need
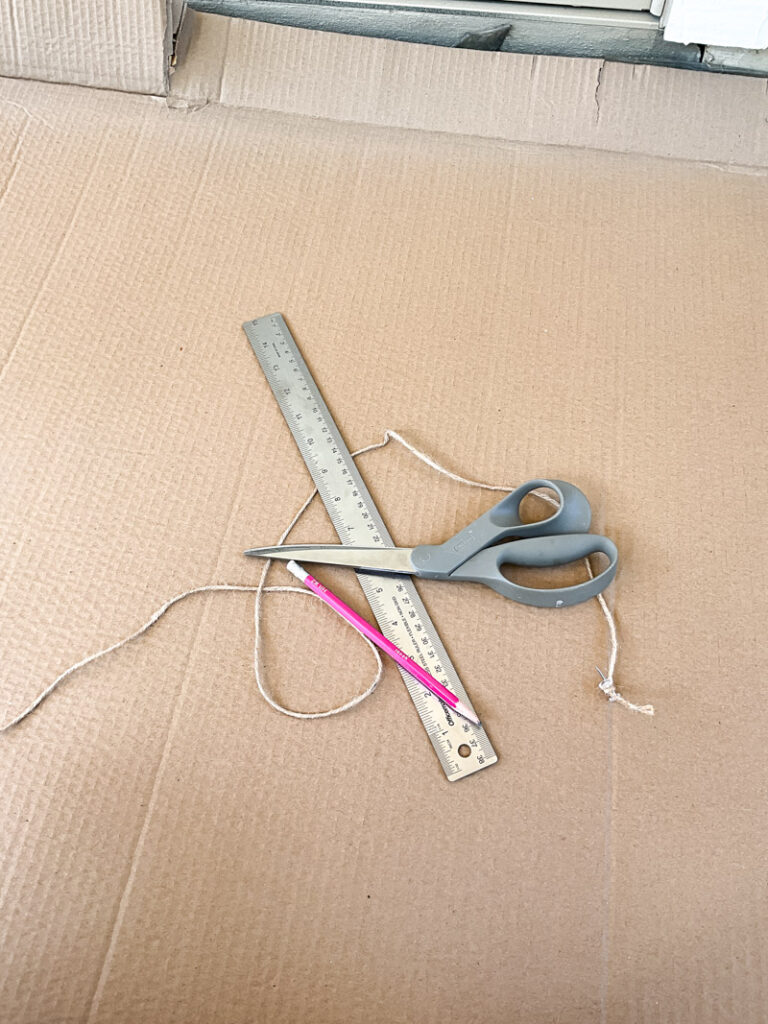
- cardboard
- scissors
- pencil
- jute twine
- newspaper or old papers
- hot glue
how to make a diy paper wreath for all seasons
- The first step in making this wreath is to cut your cardboard circle. This can be however big OR small you want it to be, I made mine about a foot across! I tied jute string around a pushpin, put it in the center of my cardboard and then measured the radius of about 6 inches. Tie the end of the 6 inch string to your pencil and BOOM, a perfect circle. Because it is a wreath, you’ll need to create an inner circle as well, so it ends up in a donut shape. My wreath is about 3-4 inches wide, so I made my string for the inner circle about 2-3 inches. Again, all totally up to you! Once traced, cut out your circle.
- Take your newspaper or paper scraps and cut them into long strips, maybe a centimeter wide or less. After you have long strips, you will cut those into smaller strips. I just randomly grabbed pieces and cut– it’s not a perfect science! Cut some long strips in half, some in thirds, mix it up!
- Next, the easy part– it’s just a little repetitive! Apply hot glue to a small section, maybe about 2 inches wide, and then stick paper clippings onto it. You’ll just repeat this until the entire front is covered. You may need to go in after and fill in any missed spots.
- Flip your wreath and before applying your paper clippings all over, we want to attach jute so you can hang it! Put 2 small dots of hot clue about a half inch to an inch away from the outer edge of the wreath, and lay jute string in it. Press down with a finger protector on and once dry, apply a bit more hot glue on top for extra security.
- After attaching the jute string, you can cover the back in paper clippings the same way you did the front!

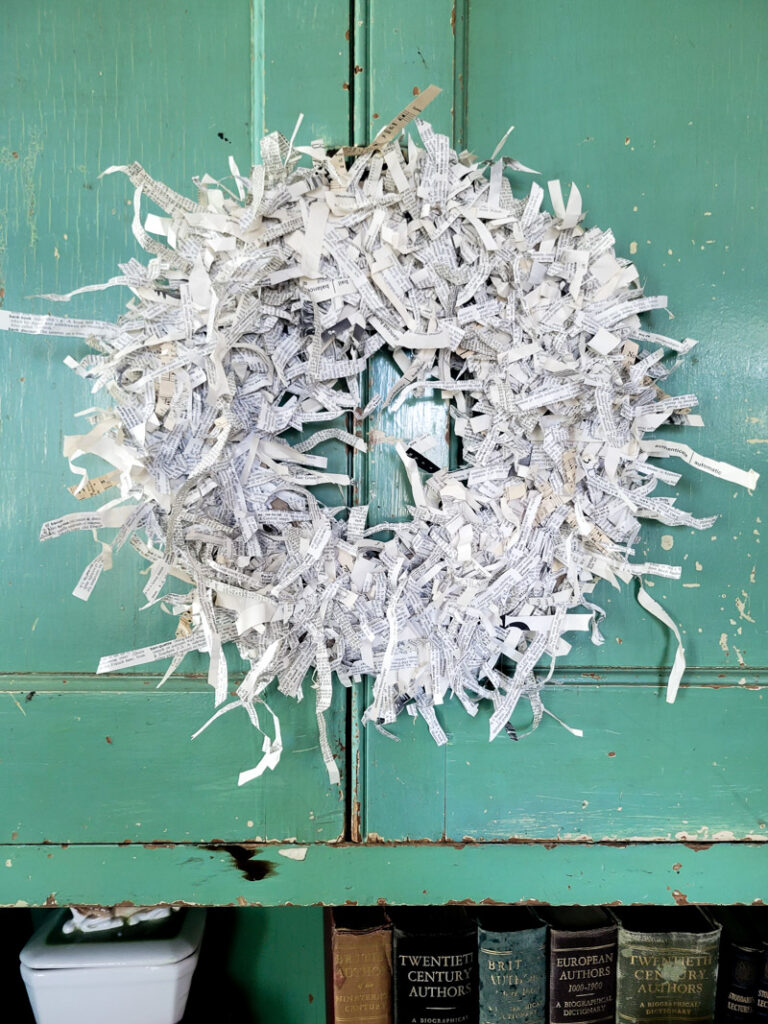
Seriously, it’s the easiest thing ever! And I love a classic black and white wreath like the one shown here, but you can certainly add colors and paint the paper before cutting it. With 5-10 extra minutes of painting, you can have a wreath for ANY holiday!!

I hope you love this DIY paper wreath for all seasons, and I’d love to see what you do with YOURS!
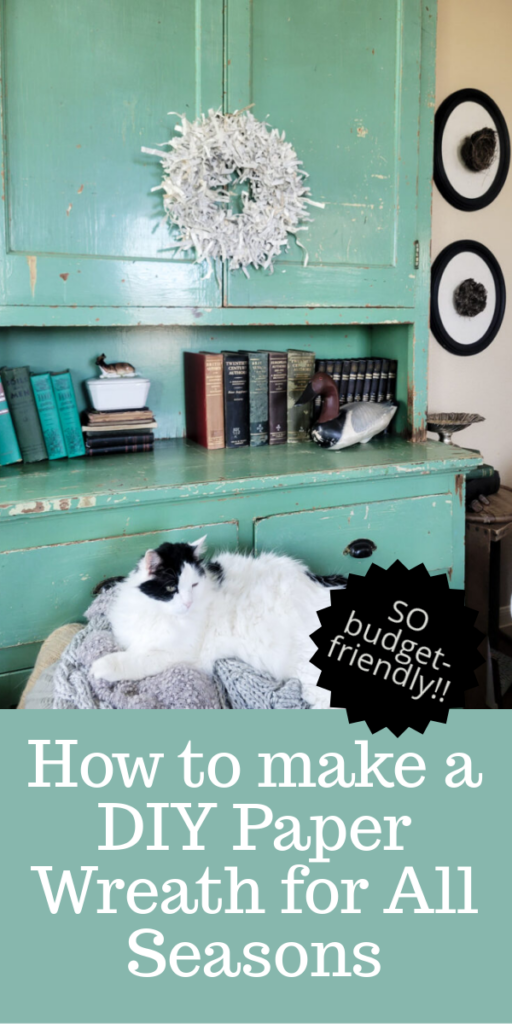
If you’d like to see other paper crafts like this one, click HERE!


Leave a Reply