I don’t know if you’ve seen the price of pumpkins this year, but wowza! They’re pretty pricey, especially if you’re wanting to grab a few for decorating your porch- like what I was wanting to do! But, where there’s a will there’s a way… and that led me to this DIY heirloom pumpkin decor. I’m going to save you some money and give you some tips so you can make your own too!!!
what you’ll need
- cardboard
- sharpie or pen
- hot glue gun
- scissors
- paint- totally your choice but I used orange, green, white, brown and yellow
- water
making this diy heirloom pumpkin decor
I sketched out some pumpkins on old cardboard boxes I had laying around and cut them out. When I had a big enough space, I sketched 2 together so it would be one large piece! Like I noted above, the color of your pumpkins is 100% your choice, I went with a variety of green, orange, and white. A tip when painting your pumpkins is to ensure you’re painting up to down- it helps to create those lines a real pumpkin has. I even when in with some white on mine to add dimension, and again, ensured I was painting from top to bottom.
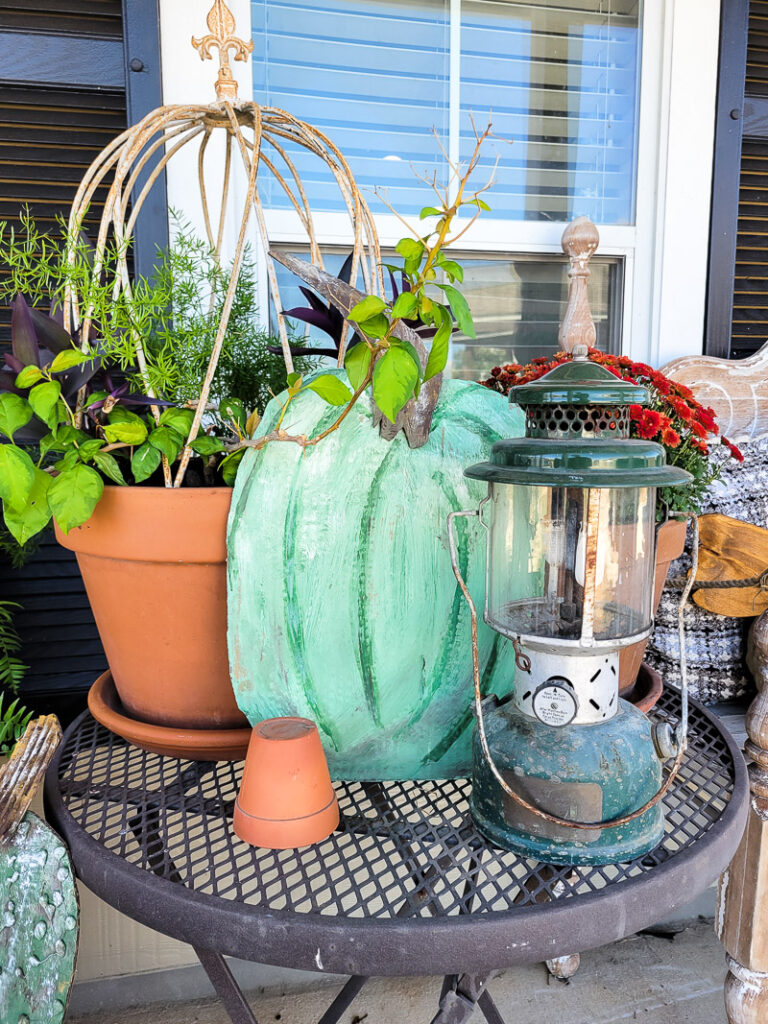
If you’re unsure what you want yours to look like, simply google heirloom pumpkins and choose your favorite looks!! I love the bumpy ones! To recreate that look, I used a glue gun to create dots all over the pumpkin. If you plan to do the same, don’t worry about them being perfect dots or having a rhyme or reason. Nature is random, so your pumpkins should be too!
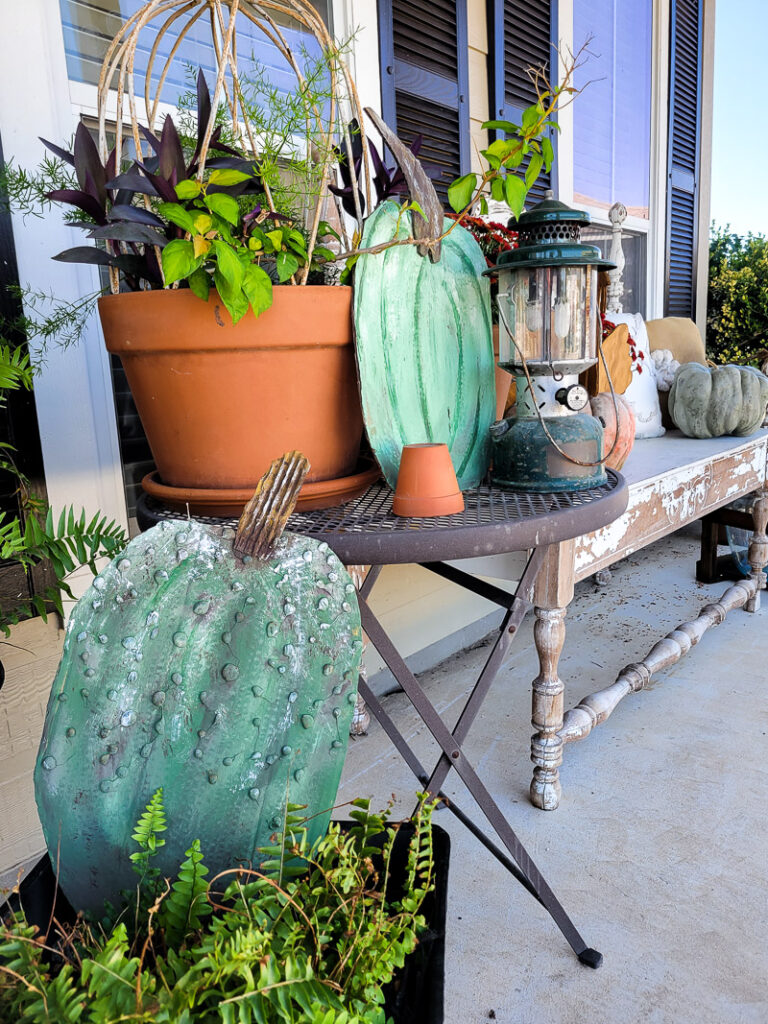
For the little stems, I just cut a small piece of cardboard, got it wet, and then ripped it up a bit to expose the corrugation and provide some texture! Then I used brown and yellow to add some color, and hot glued them to the pumpkins!
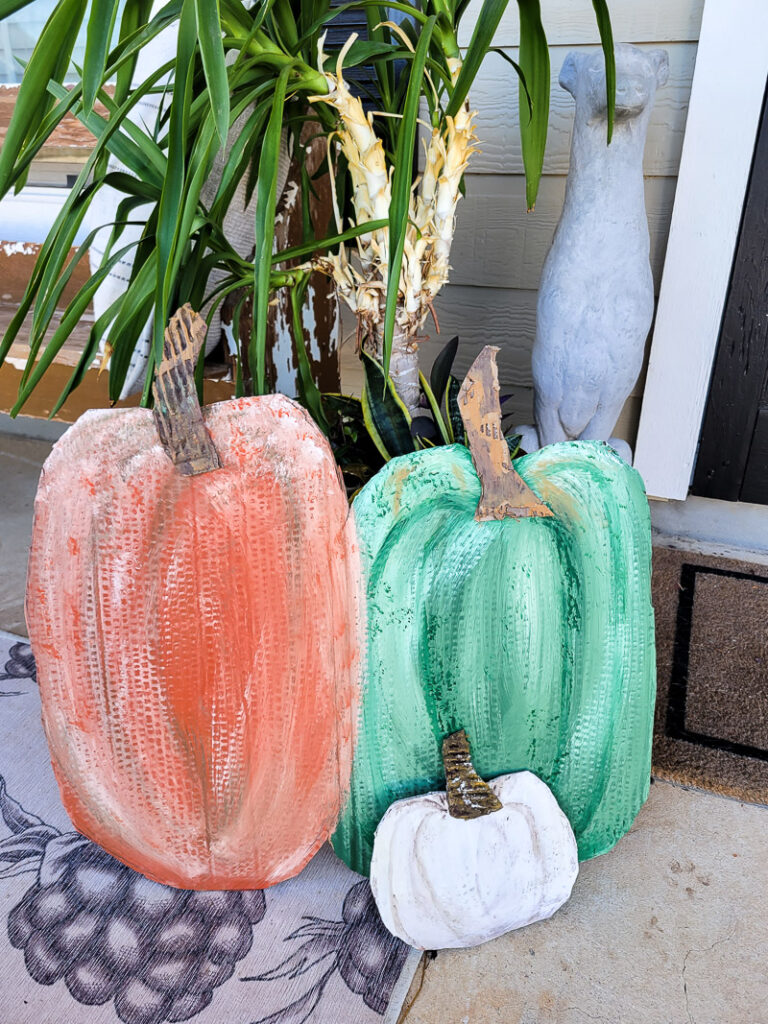
The beauty of this DIY- nature ISN’T perfect, so you don’t have to be. If you make a “mistake,” don’t sweat it. Leave it or paint over it. OR, it’s cardboard- start over!!
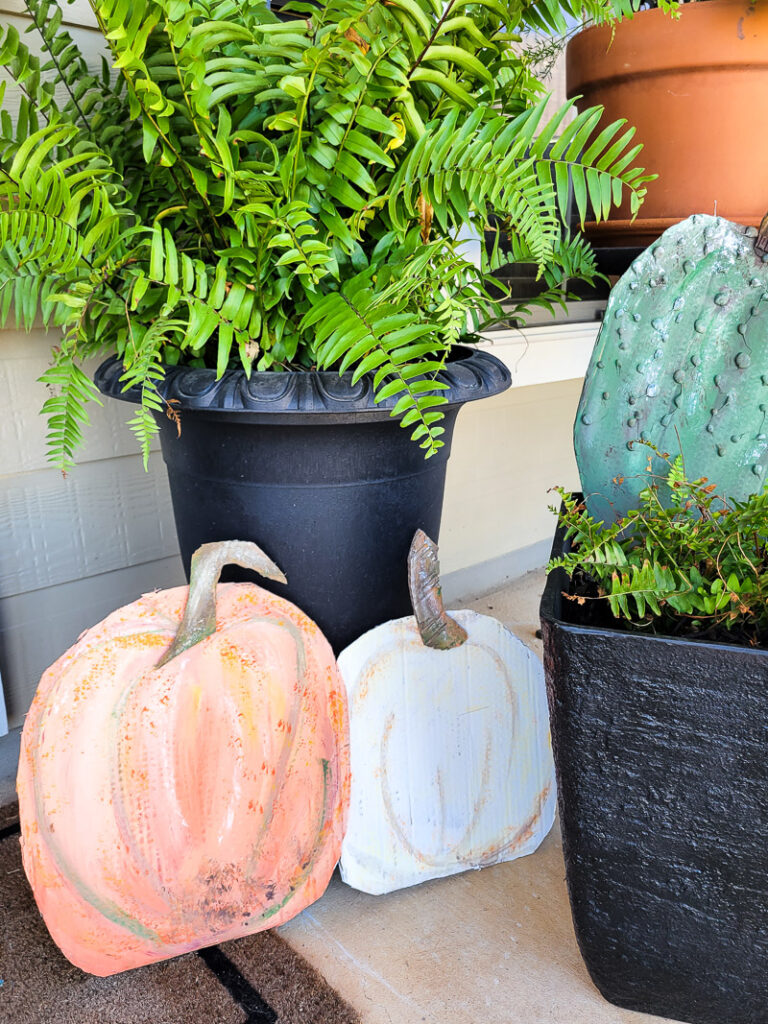
I made quite a few of these and used them for porch decorating, similar to how I would “real” heirloom pumpkins… but these didn’t cost me a dime! To hold these in place you could glue a bag onto the back and fill it with sand or add a little cardboard stand so you can set something heavy on it- whatever works!
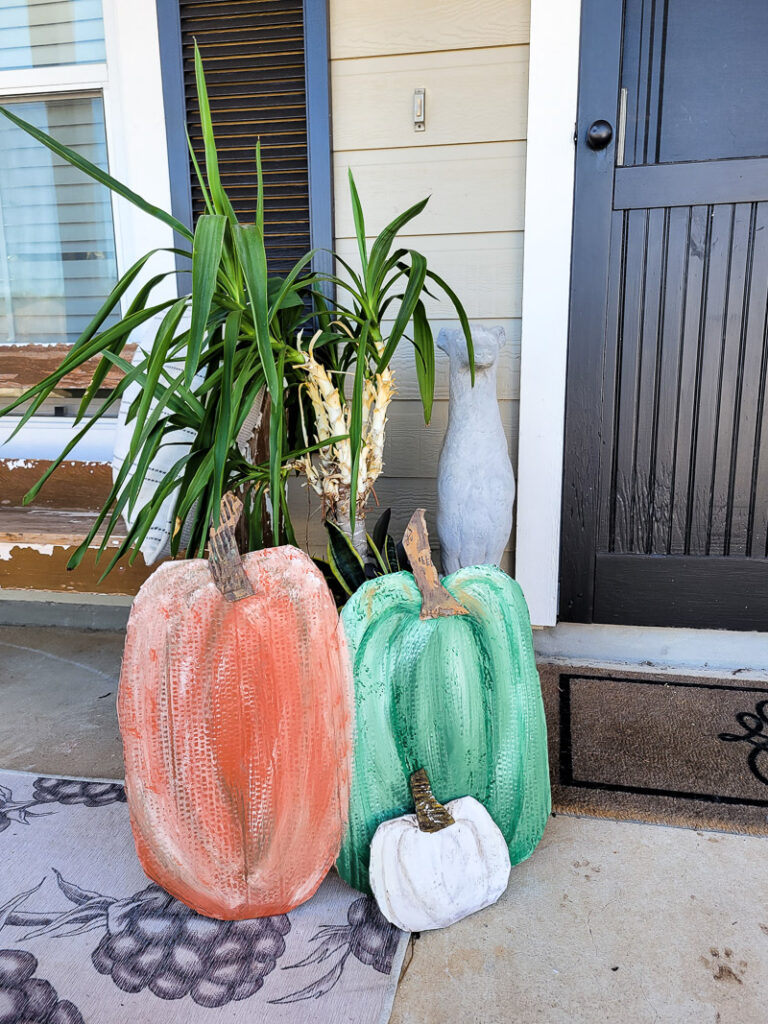
And now you’ve got these cuties for years to come!! If that’s not a decorating win, I don’t know what is!!


Leave a Reply