I love a good scrap wood project and I’ve wanted a flower press for a minute, good thing it is so simple to make a DIY Flower Press. I’m gonna show you how to make your own.
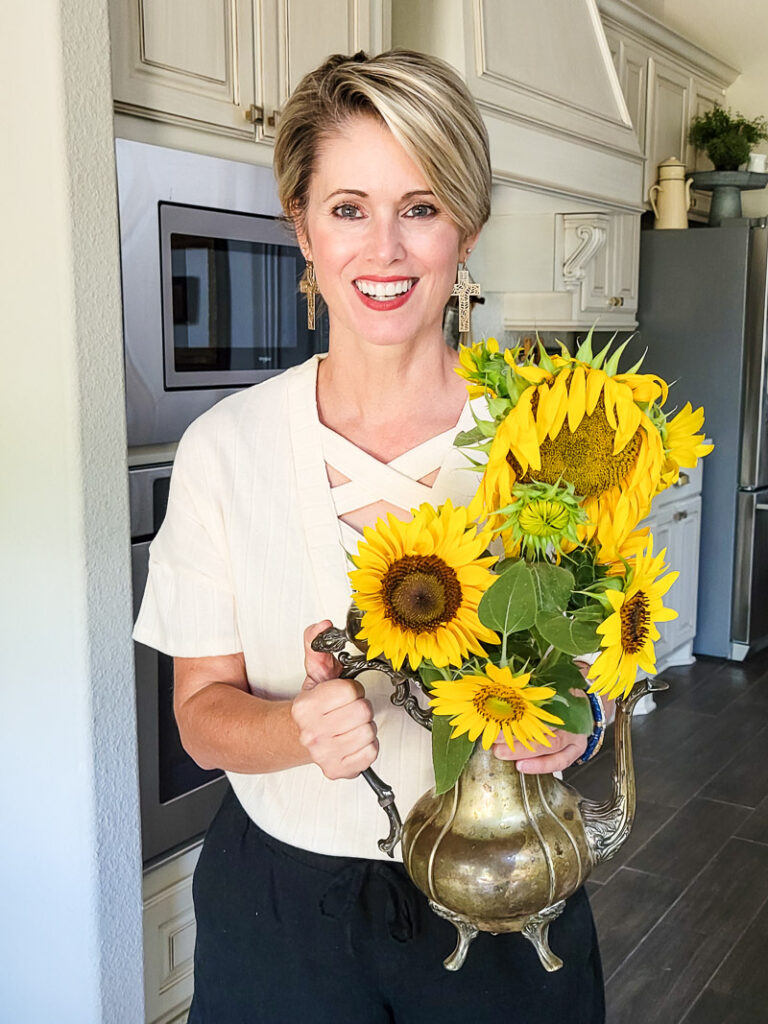
You guys know I am a fan of mother nature – wildflowers, any flower really, has my heart. I love to make flower arrangements to brighten up the house. They just make a space feel good ya know? I’ve been getting into journaling more lately and really wanted to bring flowers into the mix. I love a good mixed-media journal and adding elements of nature feels like a natural addition! Obvisouly these sunflowers might be a little too large to dry, but the petals would be perfection!
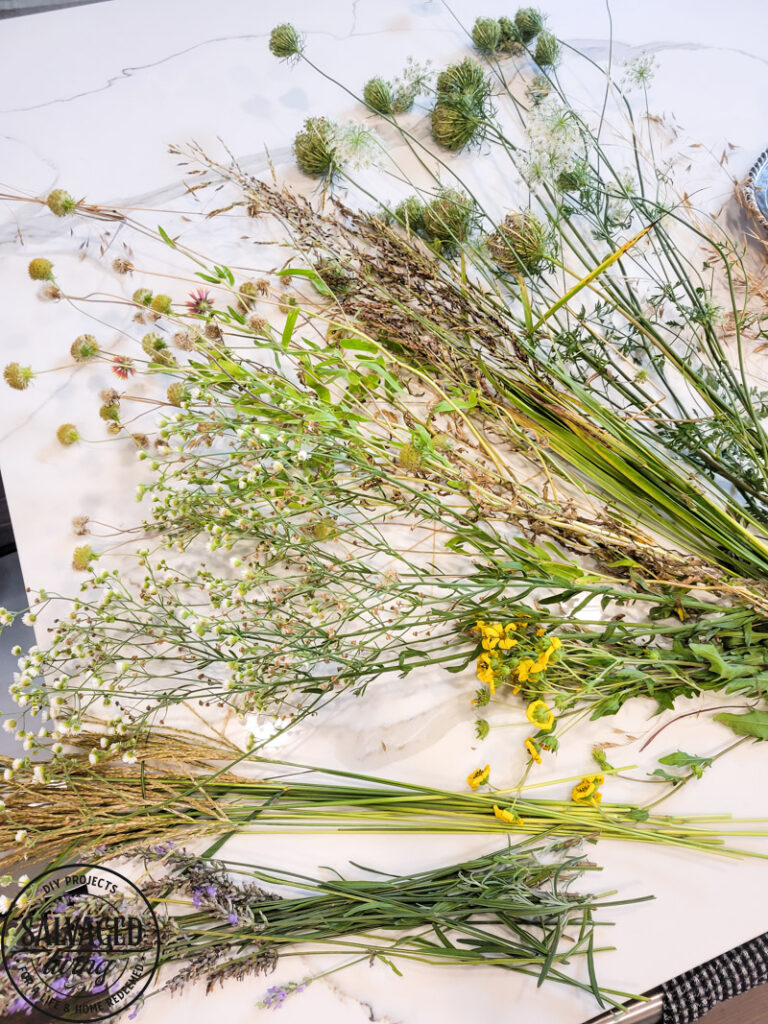
You can always collect greenery or flowers from vacations or outings and dry them as a fun way to preserve your favorite memories. I love that once you have dried flowers there is an endless amount of craft projects you can create with your dried treasures! Making a DIY flower press is simple to make with a few steps. The best part, you can make one any size you’d like to fit your needs.
How to Make a Flower Press
- Use any size of wood you’d like, scrap wood works great for this project. I used a 1″ X 6″ board and cut two identical-length pieces. I’m a sucker for a good scrap wood project, you can see more projects here.
- Get 4 screws and wing nuts. I used 1/4″ pieces.
- Create a pattern to drill a hole in the corner in the exact same place on all four corners. I used a piece of paper to make my pattern and mark the holes in each corner.
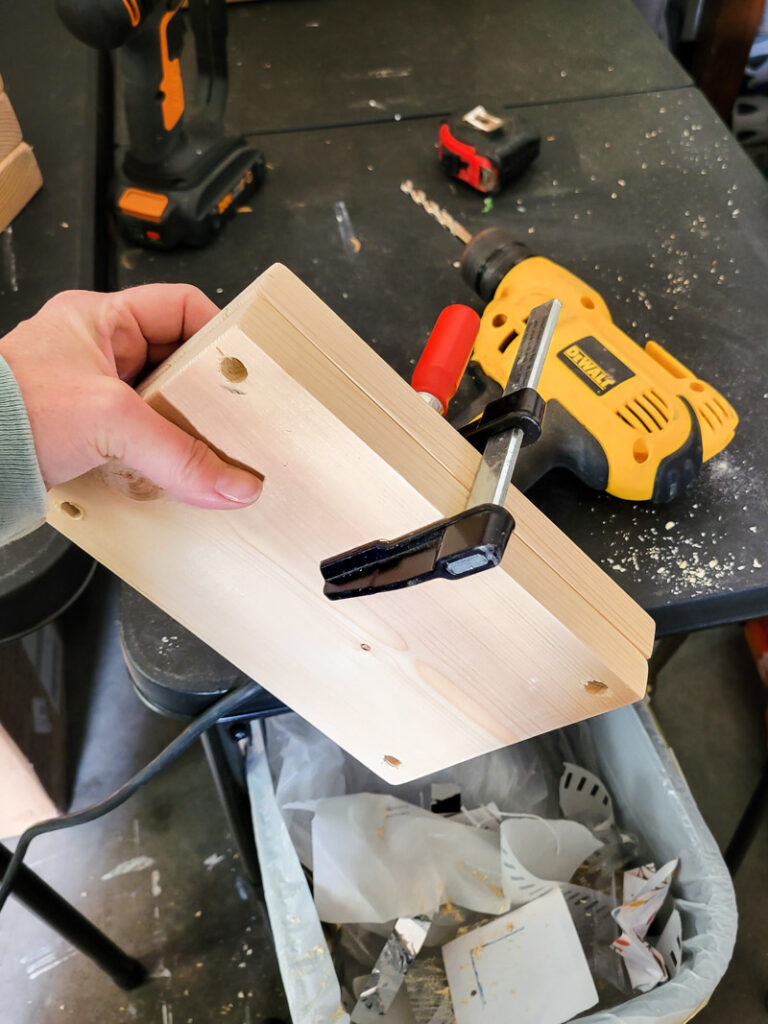
- Use a drill with a bit slightly larger than the screws you will be using for your flower press. Drill four holes in one piece.
- Use a vice clamp to hold your two boards together and use the drilled board as your template.
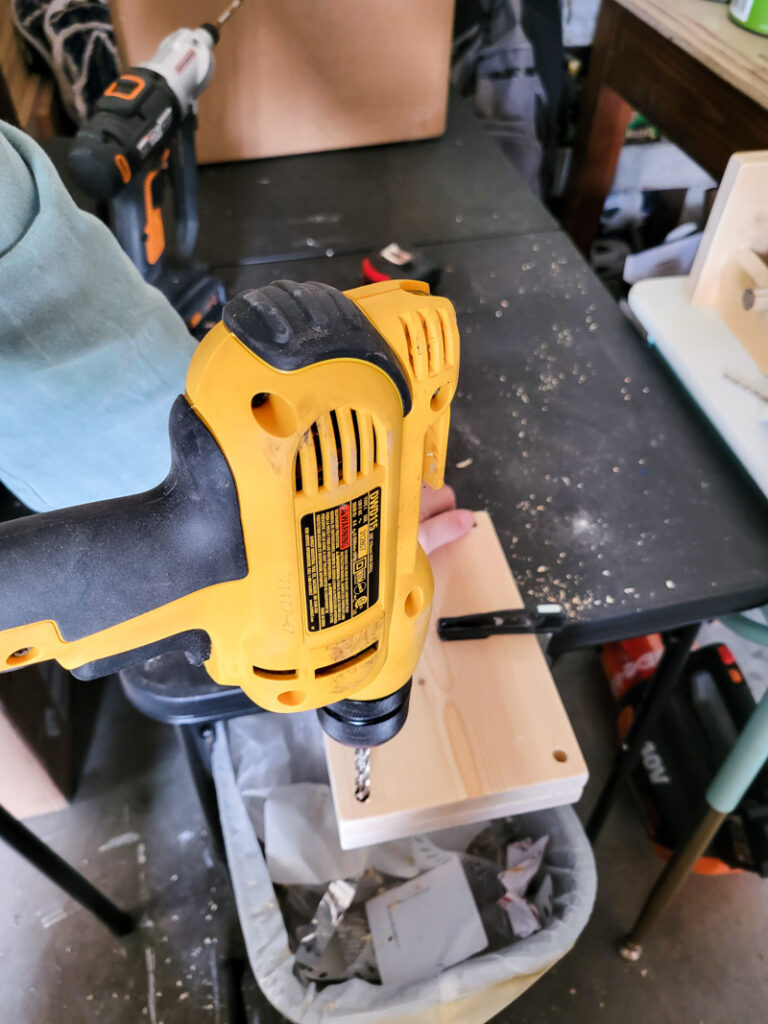
- Once you drill the first hole, thread the screw into it for perfect alignment of the next hole. If you do this with each hole as you go, then your holes will line up perfectly!
- You might want to mark the top and bottom so you keep the two pieces straight and the correct way to put it together in case your holes are not 100% in line any way you turn the board.
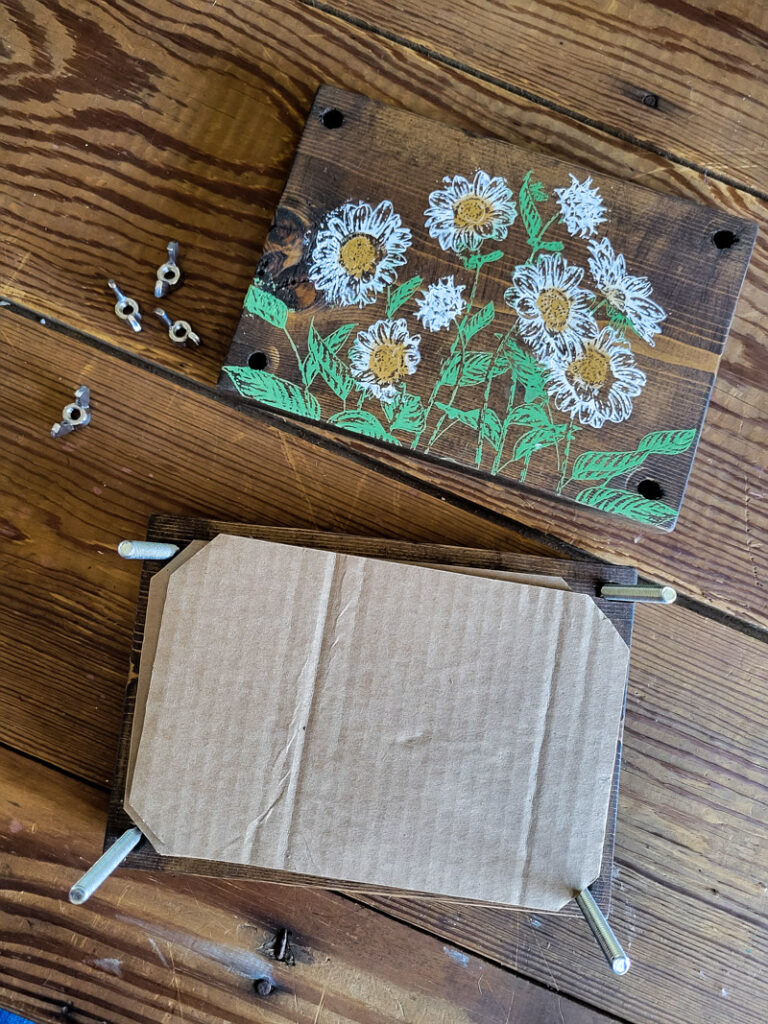
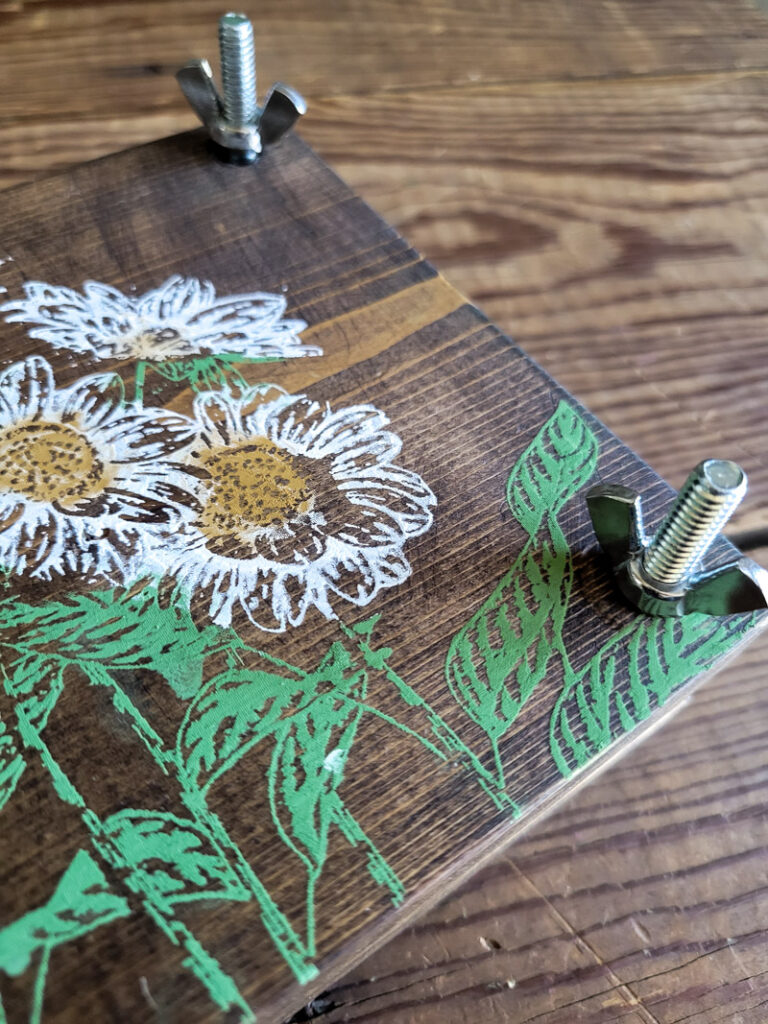
- Stain, paint and decorate your flower press anyway you see fit! I love that you can use it as decor while it’s working on drying out your flowers!
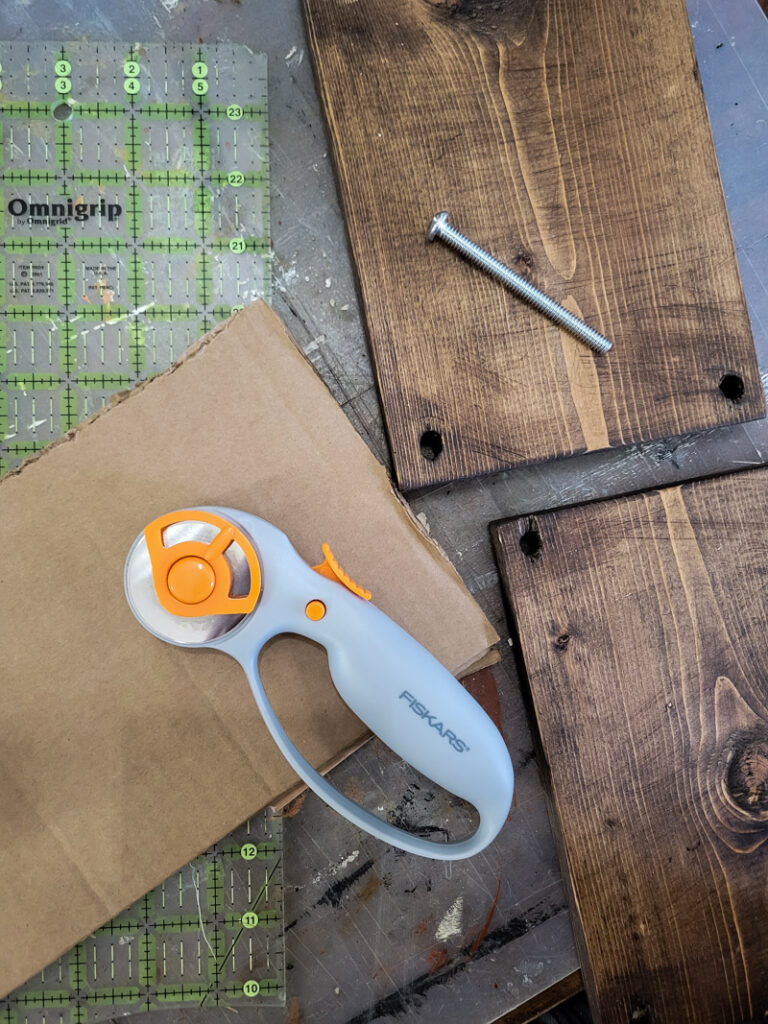
- you will want to cut multiple layers of cardboard to fit inside your press, this give you multiple layers and material to dry out your flowers. You may want to use extra paper to help the drying process as well.
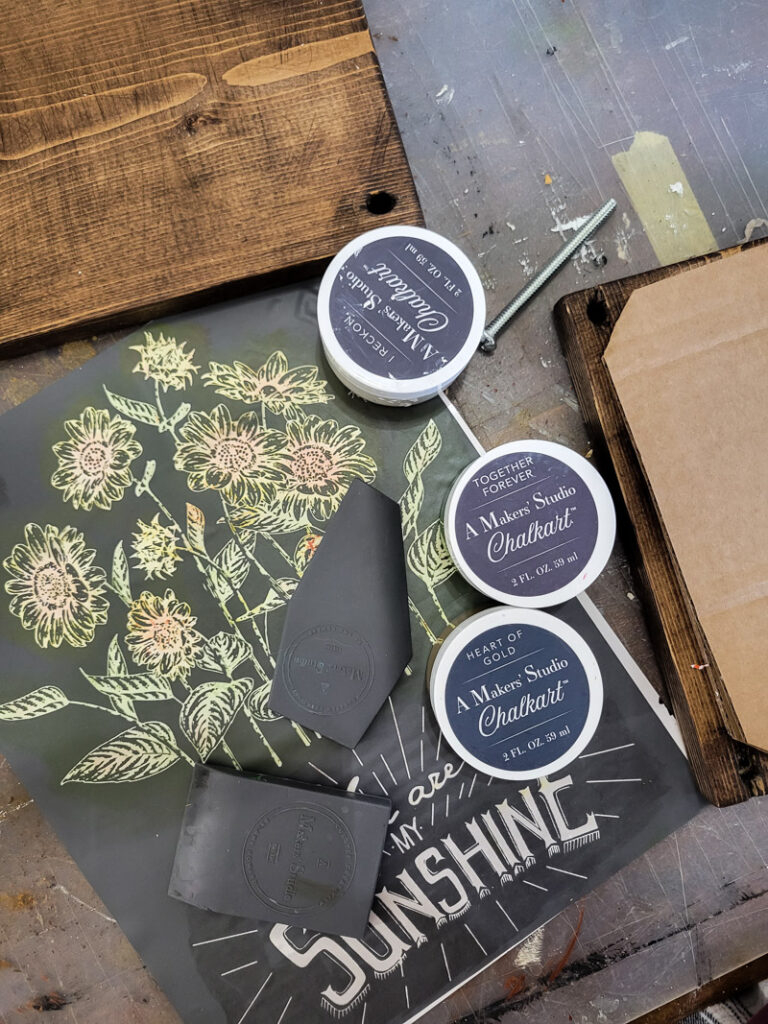
- I chose to stencil my flower press using Maker’s Studio stencils and Chalkart. You can find them HERE if you want to check them out! They are so so easy to use and can really take your projects to the next level in no time.
So tell me…what are you going to do with your dried flowers? I’d love to hear all your ideas! If you want a really beautiful and budget friendly idea to make with your dried flowers try THIS PROJECT!


You should sell these,I would buy one.