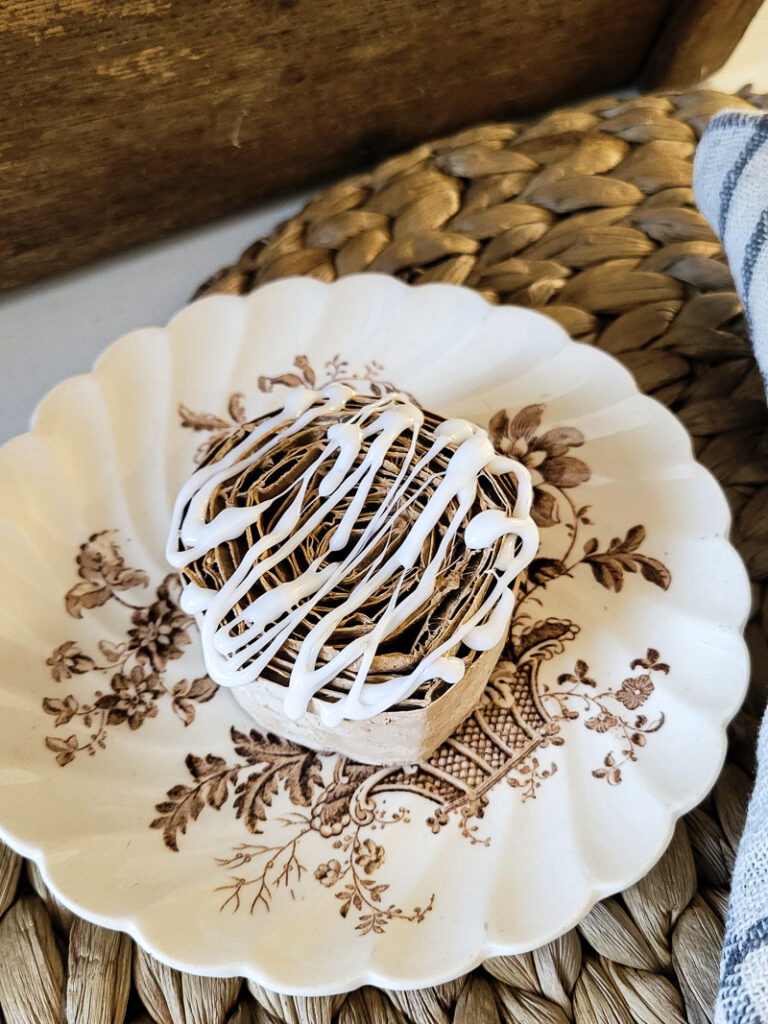
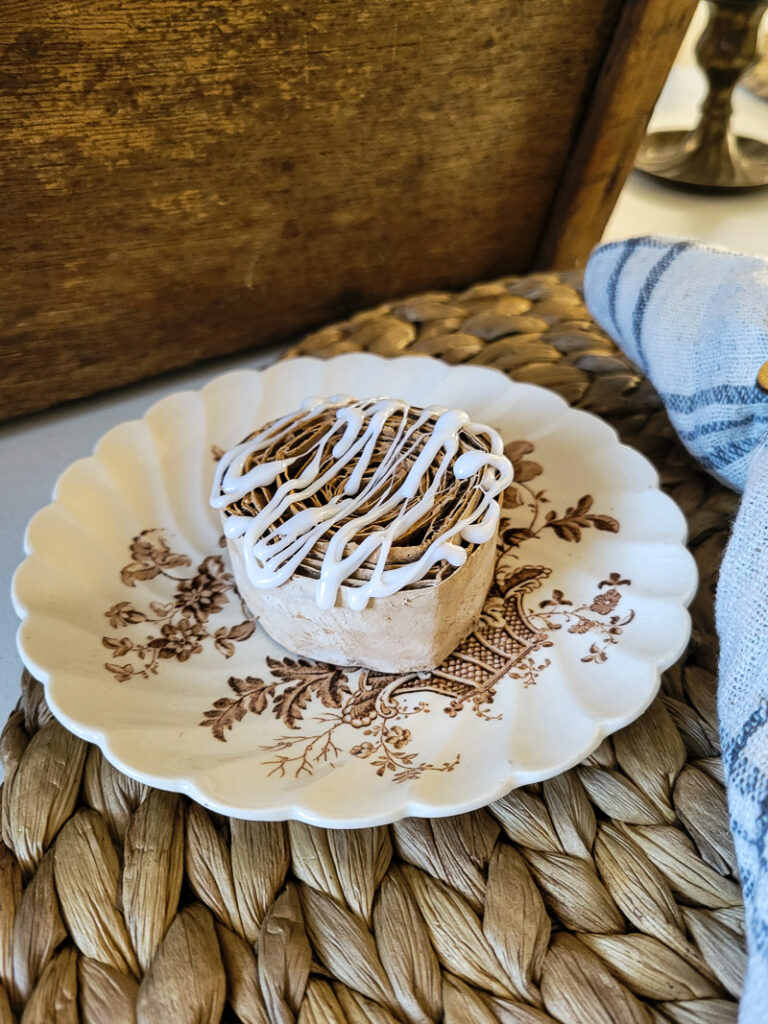
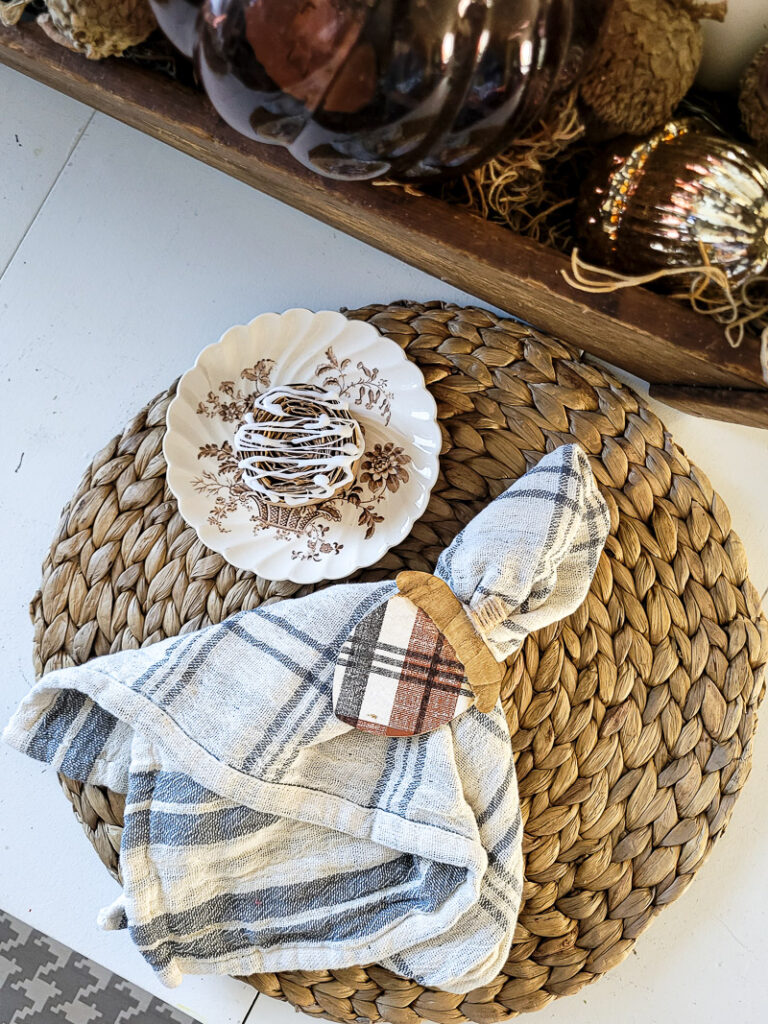
If you’re on the hunt for some cute, unique, easy-to-make decor, then you need to see these decorative cinnamon rolls! They are so cute to decorate with!! Use them in a coffee bar, on a tiered tray, on your dining room table, in your kids room- WHEREVER!! Let me show you how to make them and then I’ll show you how I decorated with mine!!
what you need
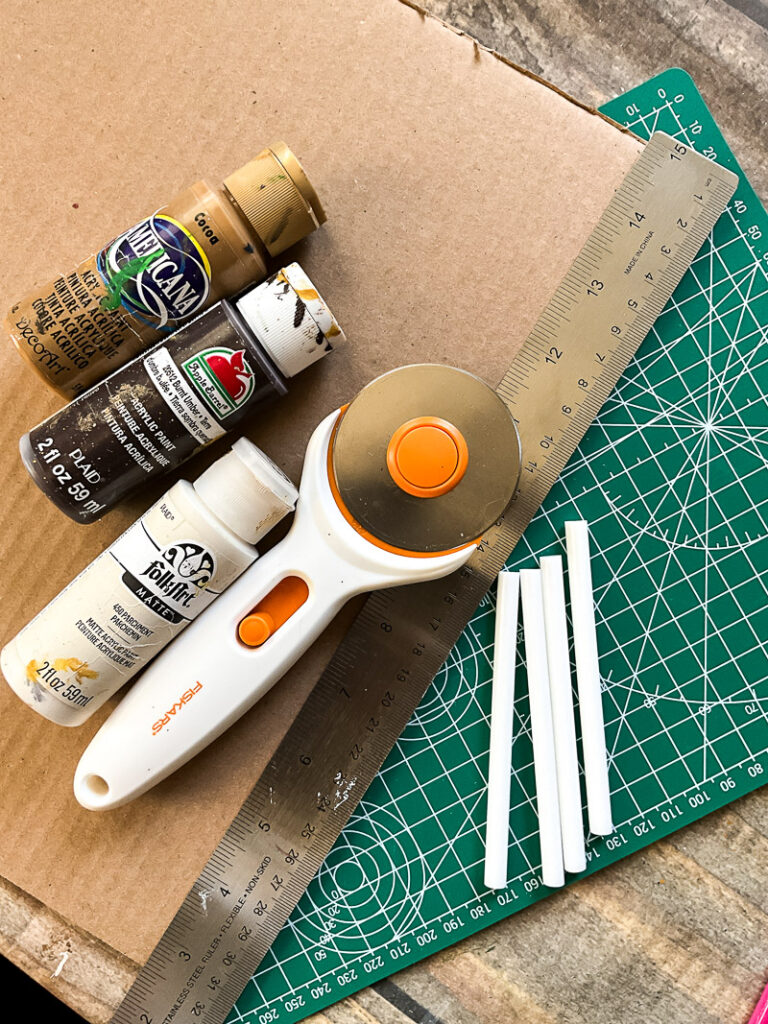
- cardboard
- paint
- DecoArt Americana in Cocoa or similar
- FolkArt in Parchment or similar
- Apple Barrel in Burnt Umber or similar
- scissors
- chip brush
- water
- hot glue gun with WHITE hot glue
- rotary cutter
- ruler

how to make decorative cinnamon rolls
- Cut out strips of cardboard- 1 inch wide and 12 inches long or so. However many you need will depend on how big you want your cinnamon rolls and how many you want to make. I used about 3 strips on each of my cinnamon rolls. Some of my strips did vary a bit since I was using scraps, but keep them as close to the same as you can! TIP: Not only should you use the ruler for rough measurements, but I also used it to cut along the straight edge.
- After your strips are cut, get them wet. You want to coat them with water pretty well because it will make them more pliable.
- Start by rolling up one strip of cardboard and at the very end, hot glue the strip closed. It’s crucial to do this so your cinnamon roll doesn’t fall apart. Then, use hot glue to attach another strip and roll again. I did this about 3 times on my cinnamon rolls, but again- your choice.
- Once they are all rolled up and made, I used the cocoa paint color and coated them- no need to be perfect. Then, I used a mix of cocoa and parchment paint to paint the sides.
- Using the chip brush, get burnt umber paint on it and flick the paint into the cinnamon rolls.
- Lastly, use the white hot glue to “ice” the cinnamon rolls!

These little decorative cinnamon rolls are seriously so precious and so easy to make!!! You can decorate with them or even make them for your kid’s kitchen playset, LOL! Oh, how I wish I could have one more day with my kids that little again!!

Whatever you plan to do with them, I hope you enjoyed this little tutorial and you follow along for more!


Leave a Reply