That time after Christmas but before Spring… it’s always been a weird time filled with snow days, warm blankets, bright beginnings on the horizon and… confusion about what decor you’re supposed to have out. Well, supposed to is kind of a silly word here, because you can do whatever you want and I’m a firm believer of that, ESPECIALLY when it comes to decor! But, I find myself wondering what feels “winter,” what feels “Christmas,” and what falls in the middle. Decor that falls in the middle is the sweet spot, because you can use it the longest, AND it’s just less for you to pick up when the dreaded task of taking down Christmas decor comes around– you save that decor for “future you” to deal with! If you’re in the same boat, I’ve got a small project for you… DIY decor you can use all winter! It’s easy, it’s cute, and it’ll be on display for months at a time! You can’t beat that!
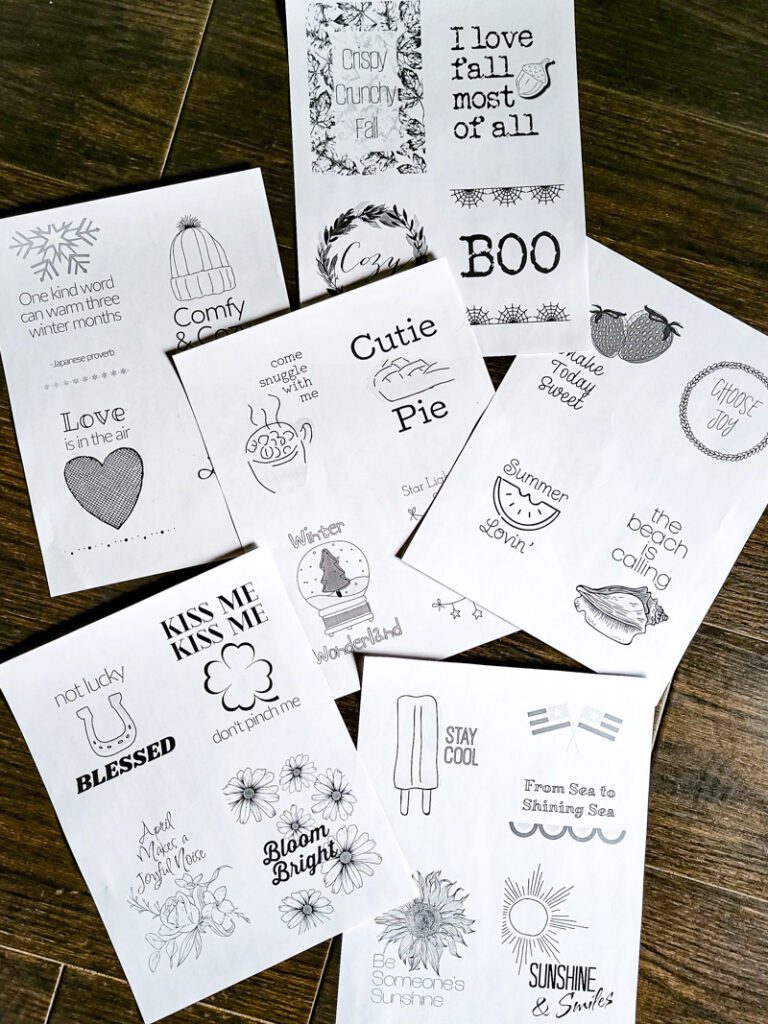
what you need
- Wooden block– you can cut this yourself, have a store like Home Depot or Lowe’s cut it (at least I believe they do), or you can even look for something at your local dollar store that is around this size, like a wooden block with designs already on it, or a plastic shelf-sitter (you can always paint over those and make the design your own). You can even find wooden blocks in different shapes and sizes on Amazon, I’ve linked some for you HERE!
- Printables from Salvaged Living Mercantile
- Watercolor pencils
- Fake snow or pom poms
- Mod Podge
- Sanding block
- Small paintbrush
- Brown & white acrylic craft paint
- Water
- Sponge Brush
- Glue gun
let’s make diy decor you can use all winter
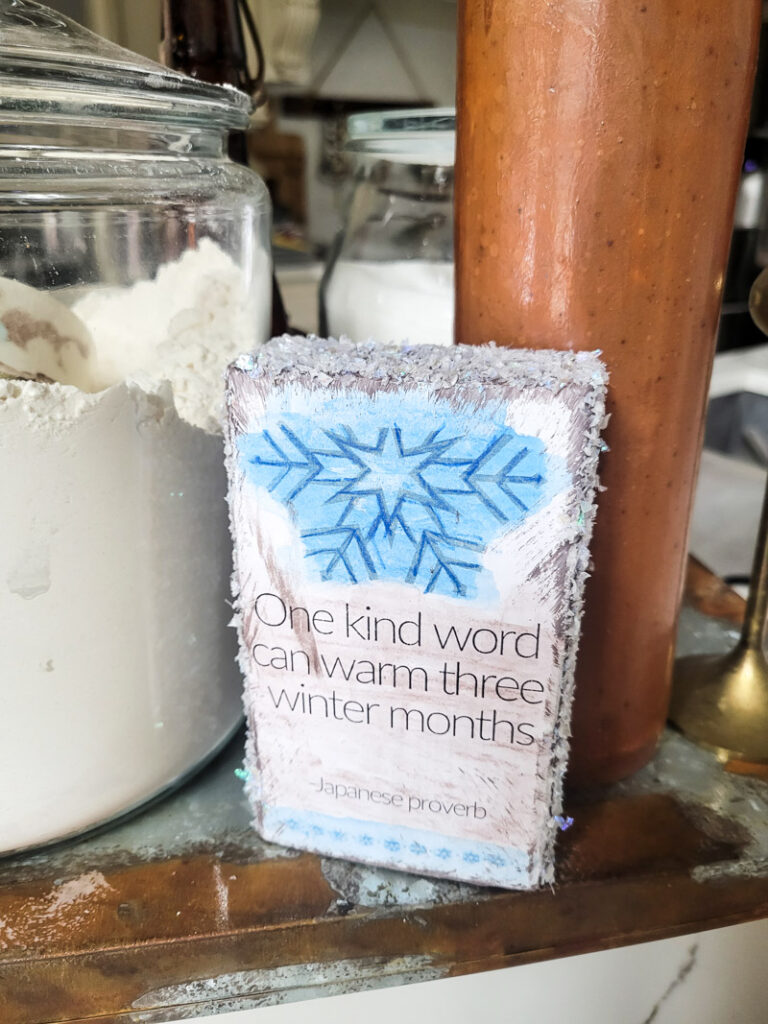
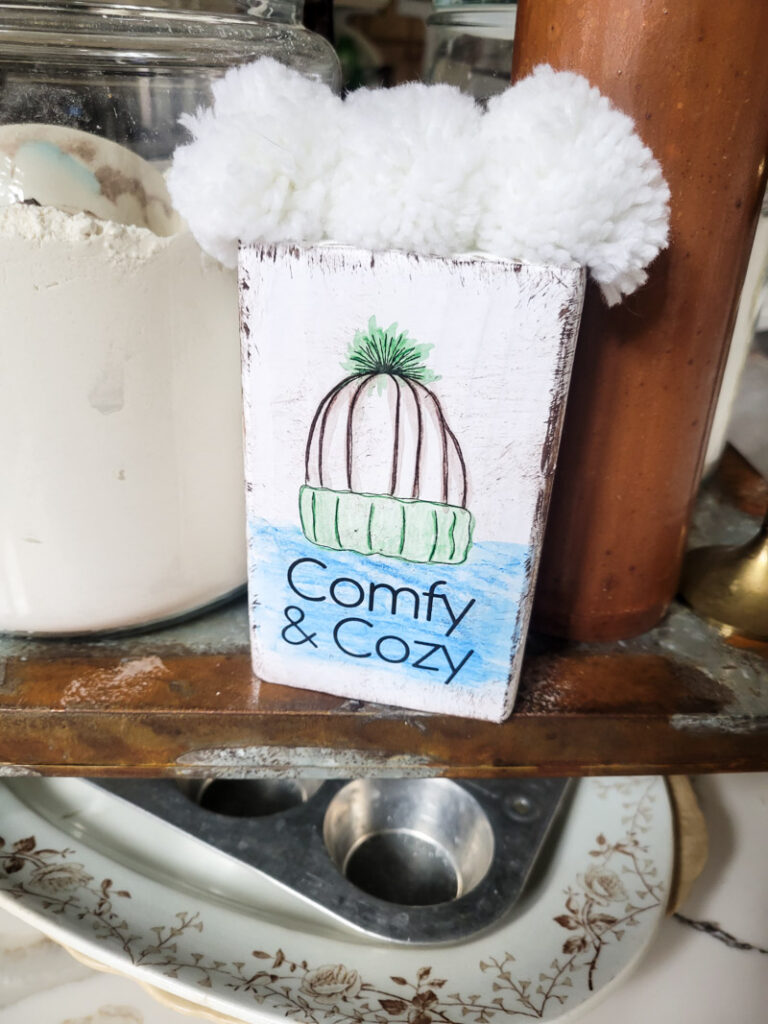
- Decorate and personalize your prints from Salvaged Living Mercantile. I used my watercolor pencils to add some initial color and then water on a paint brush to blend and give it the “watercolor” effect I was going for. You don’t have to use the printables if you don’t want– you can color your own designs on paper or even paint directly on the block if you’d like!
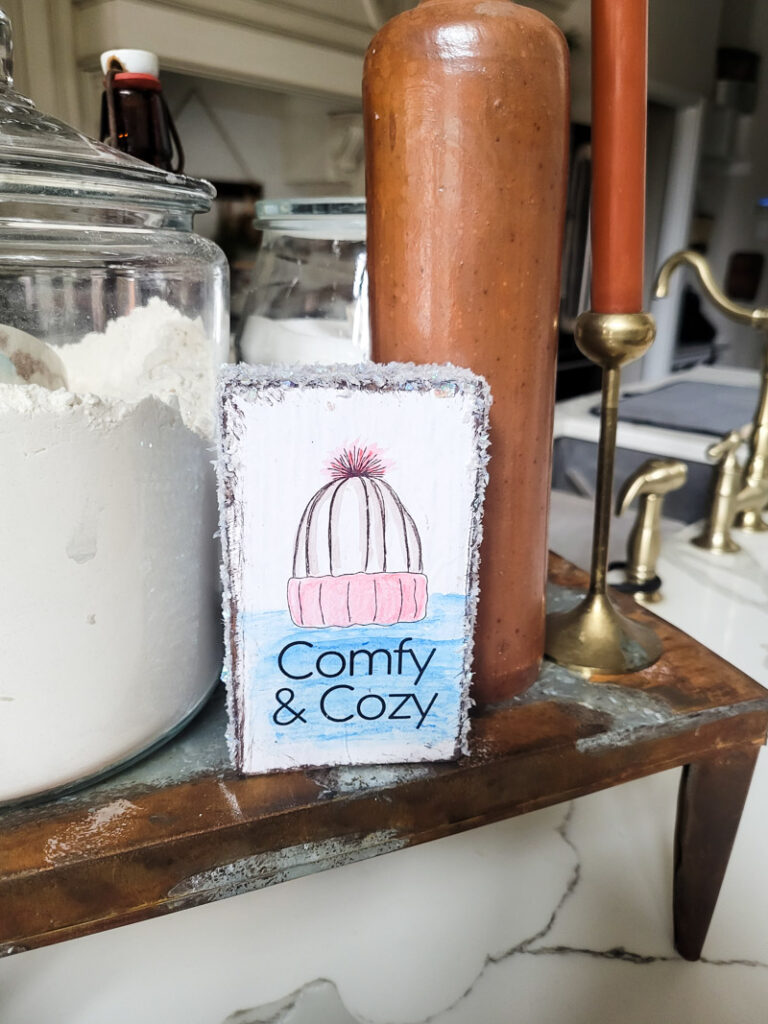
- While that dries, paint the sides of your block. I used brown acrylic craft paint and mixed in some white to lighten it up, but you should choose whatever color goes with your home best!
- Once dried, apply mod podge onto your wooden block using a sponge brush. Make sure all the edges of the paper are adhered well. Do the same thing to both sides.
- Use the sanding block to remove excess paper hanging over the edges.
- I applied some more brown craft paint around the edges to make it look a little more worn and loved on, but it’s totally optional!
- Apply mod podge with a sponge brush, same as before, and pour the fake snow overtop. You can also attach pom poms to the top of the wooden block using hot glue! You can do snow AND pom poms, one or the other… let your mind run wild here!
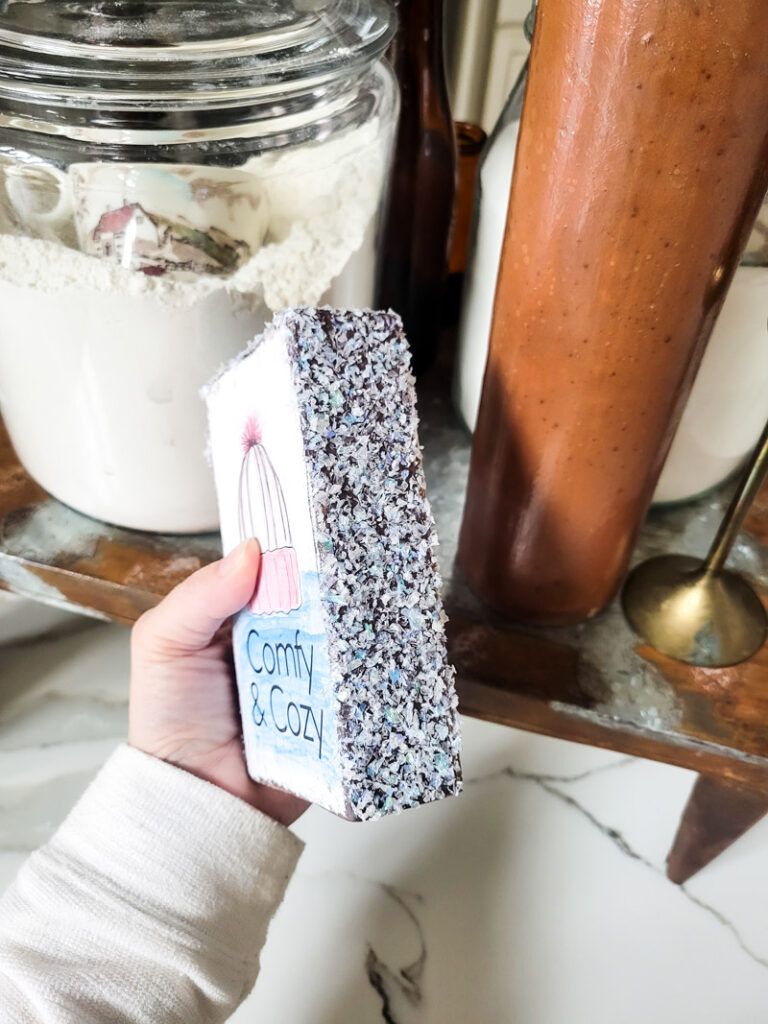
And that’s pretty much it!! This DIY can go so many different ways, all depending on the vision you have!
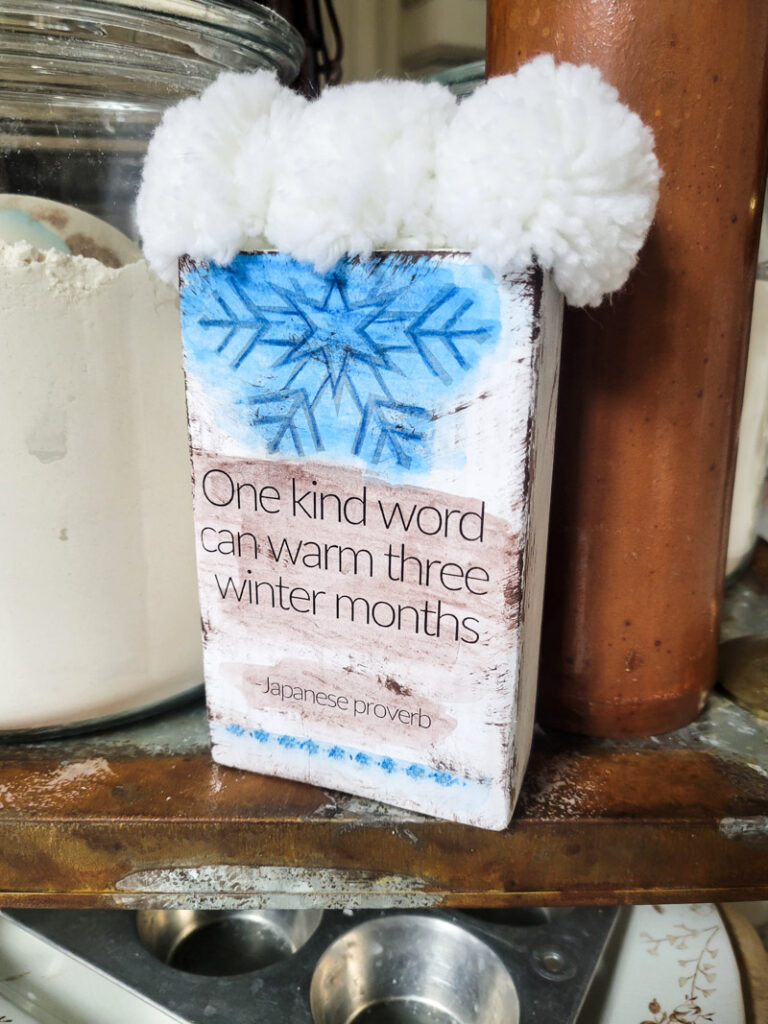
As I said before, there really is no WRONG way to do it… it’s all about having fun! And of course making cute decor!
If you’d like to see more winter DIYs, click HERE!


Kim,
I like your idea of using something so simple for seasonal decor. This is something anyone can do without spending much money. Love the water colors and the slogans. These pieces take up very little space so small homes can be decorated with fun also.