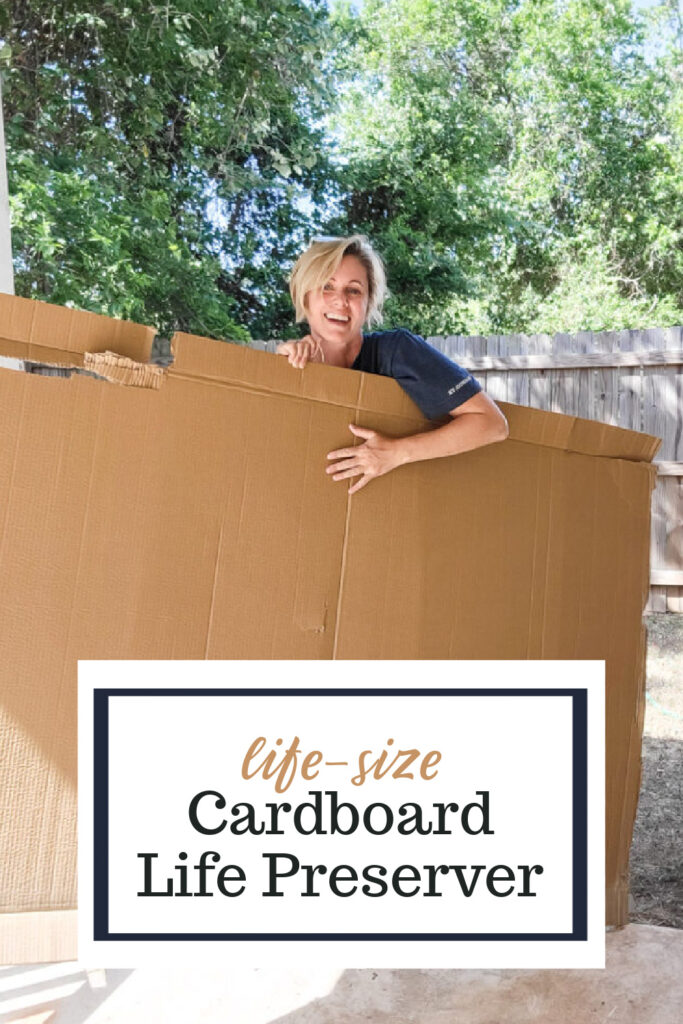
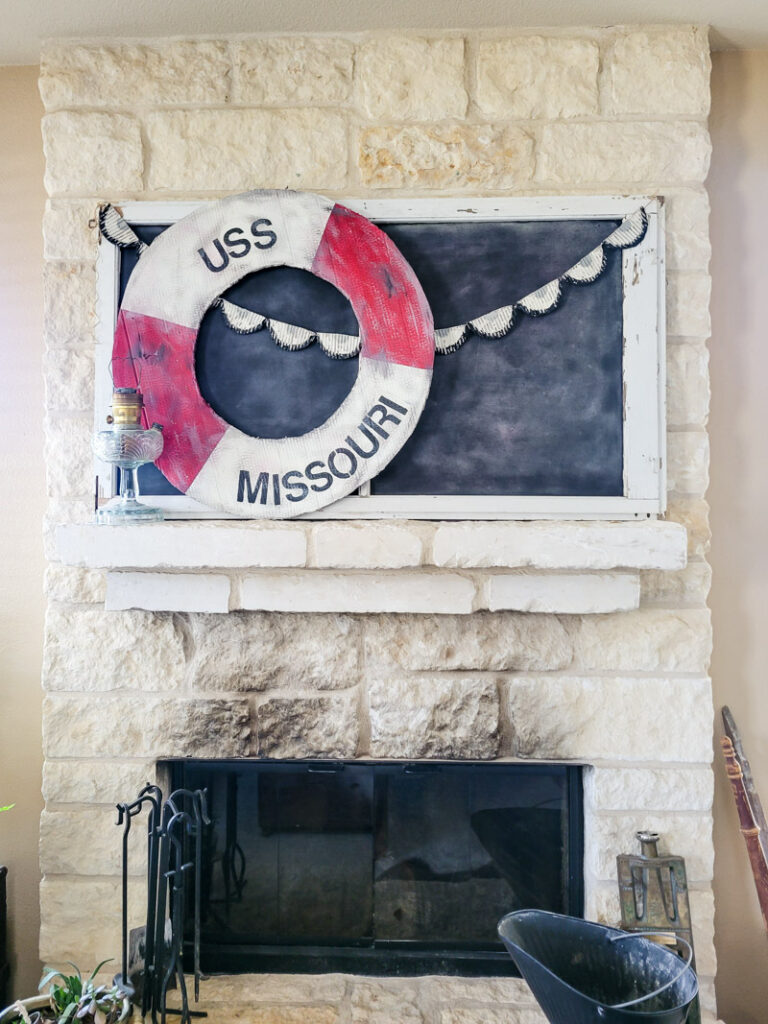
Nothing screams summer like a good old life preserver. It makes me think of hot summer days, water, and fun in the sun. Quite ironic considering the actual life preserver itself would generally represent something a bit darker, as you wouldn’t use or see one unless you’re possibly in some trouble. But nonetheless, today, it means fun in the sun and hot summer days– and cute decorating!! Here’s how to make a DIY Cardboard life preserver, it’s super easy and SO precious!
what you’ll need
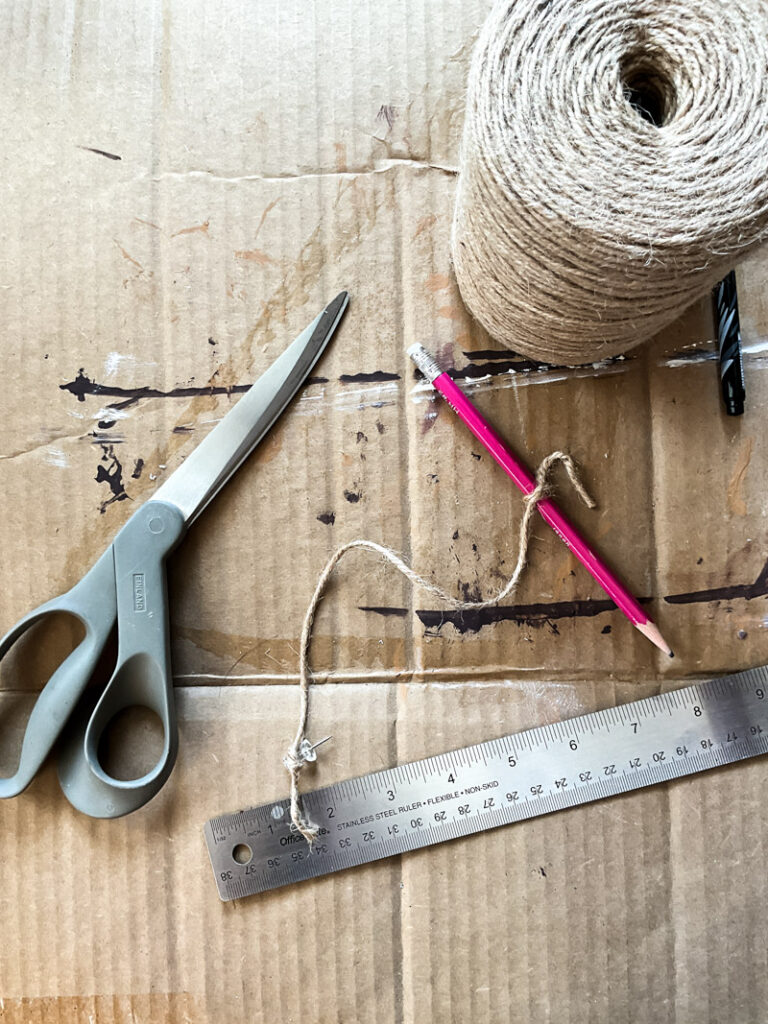
- ruler
- scissors
- jute twine/string
- pencil
- large piece of cardboard (obviously)
- paint (red, off-white, gray, and black)
- letter stencils (or you can freehand it)
how to make the diy cardboard life preserver
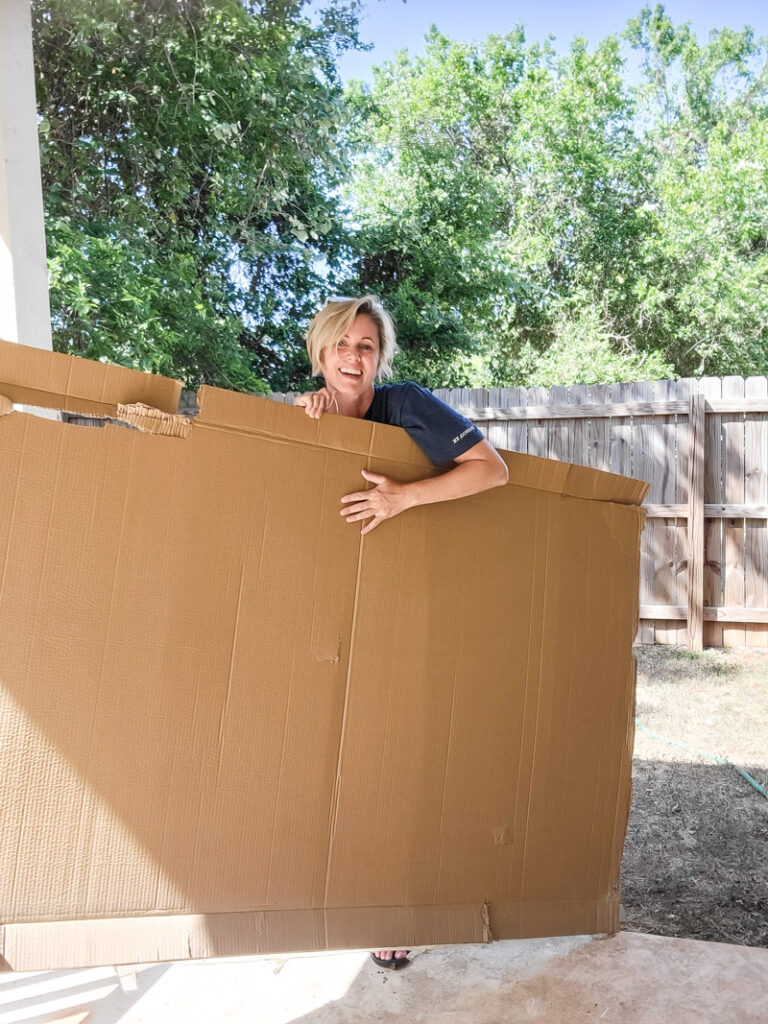
- Start with your large piece of cardboard and lay it out on the ground. You’re definitely going to need some space if you’re making the life preserver life-size like I did! I measured out a piece of jute twine that was about the length of my ruler (so 12 inches). Tie the string to the pencil and secure the other end of the jute to the center of the cardboard. You can do this with a push pin, or even a staple. You’re going to be cutting out the center so it doesn’t matter if that part of the cardboard gets a little messed up!
- Keeping the jute taut, move in a circle marking with your pencil. Now, it’s time to make your inner circle marks. I cut my string down to be a little less than half of what it was before (about 6 inches), re-tied it to my pencil, and then repeated the circle motion.
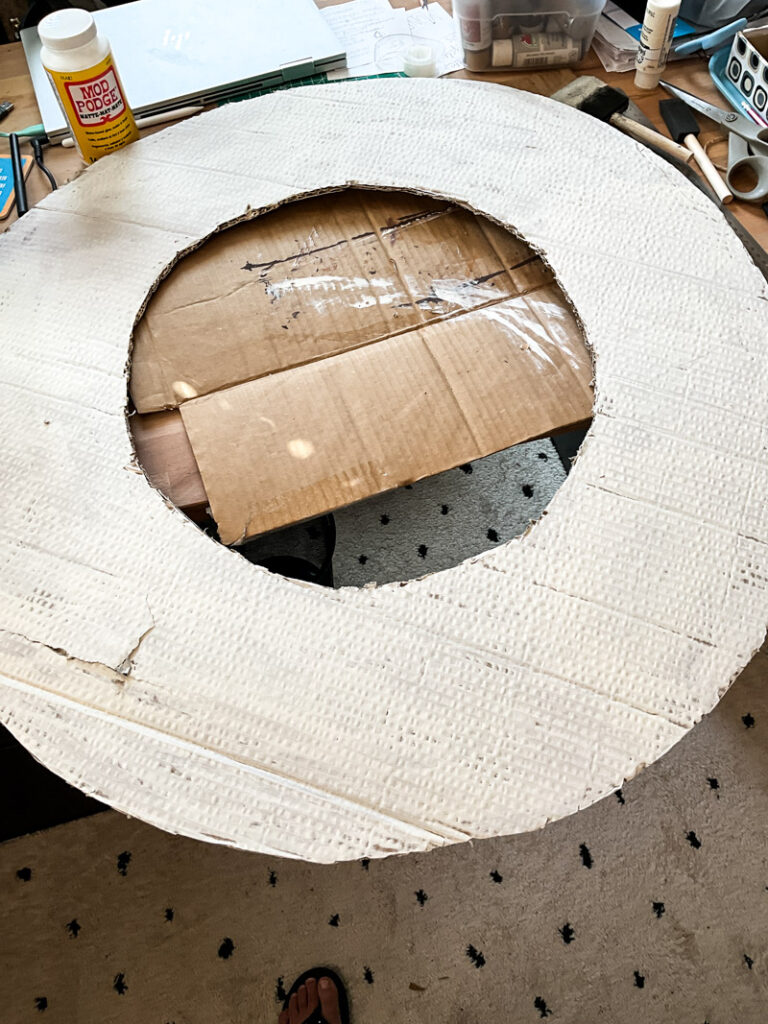
- Cut out your cardboard circles. Of course, for the inner circle, you will need to try and make a starting hole in the center, since you don’t want to cut through the life preserver part itself.
- Now you can move to a comfier spot if you’d like, since this is the fun part! Paint the entire cardboard donut you now have an off-white color. It doesn’t have to perfect, as life preservers are usually a bit worn-in.
- Before marking my letters, I sketched out a line that ran about 1-1.5 inches from the center curve. This was just to help me keep my letters straight as I stenciled them on. Any letter stencils will work, I’ve linked some from Amazon right HERE. If you don’t want to get stencils, you could also freehand the letters with pencil and then fill them in, I just already had the stencils. You can put whatever writing you’d like on yours, but I went with USS on one side and Missouri on the other. Some things to keep in mind:
- Make sure the words are across from each other on the donut. You can eyeball this if you’d like, or measure.
- Make sure the words face the same way. It might feel natural to face both words outward from the circle, but they need to face the same way as that’s what the words would do on a real life preserver.
- Whether you’re using a stencil or freehanding, it’s best to paint your words on from the inside out. That is to ensure you aren’t way off center or anything.
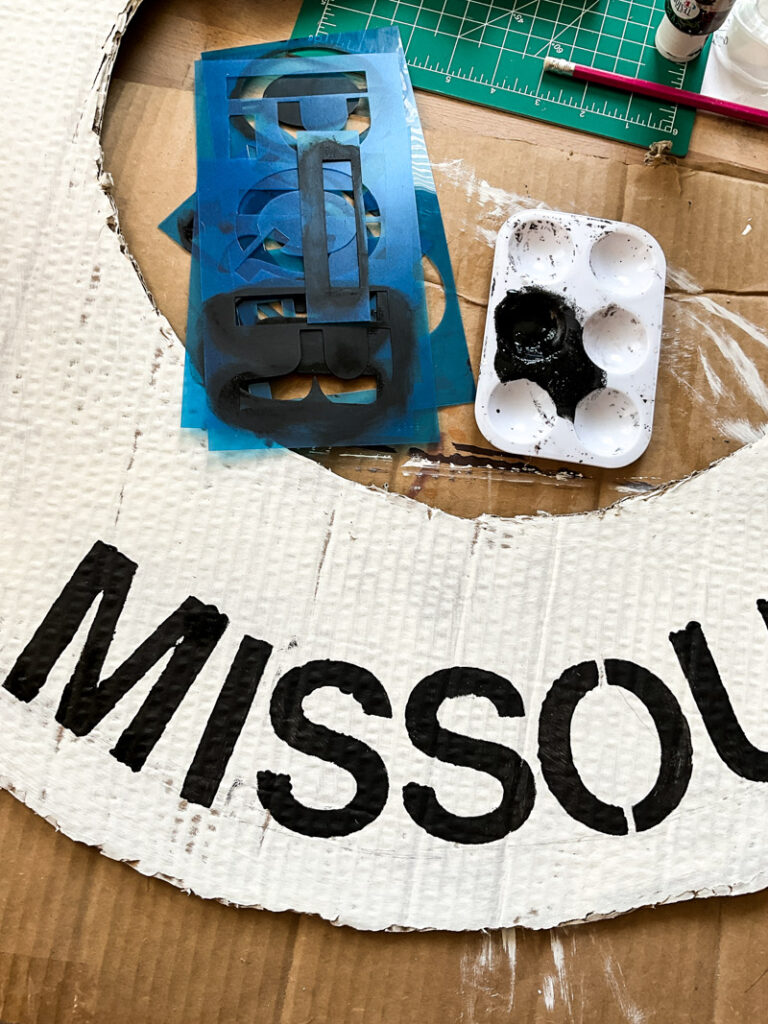
- Once you’ve stenciled on your letters, it’s time to paint in the red sides. I used a ruler to measure about 10 inches across for this section. I just made a dot at the beginning of the ruler, and at the 10 inch mark– then, used the straight edge of the ruler to make lines at those spots. If you mess up when painting, you can make the section slightly bigger to cover it up, just ensure you do the same to the other side.
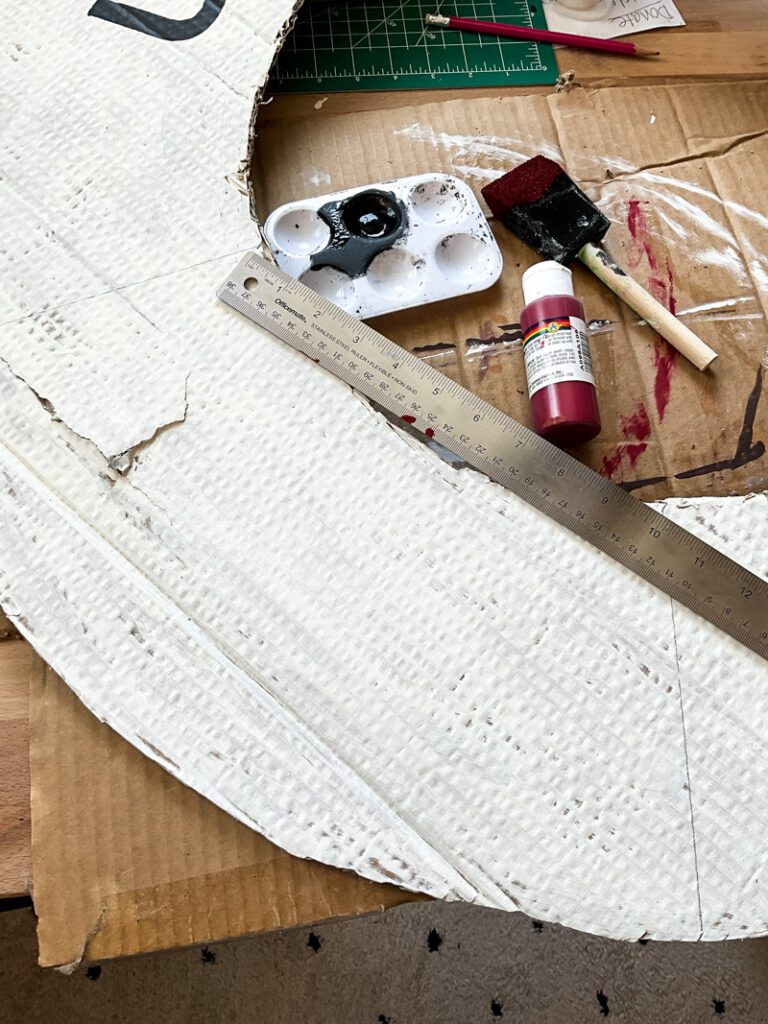
- Once the life preserver appears done, you’re just going to take some black and gray paint (lightly) on a sponge brush and run it over certain spots of the life preserver. This will make it look a bit more vintage, lived-in, and real!
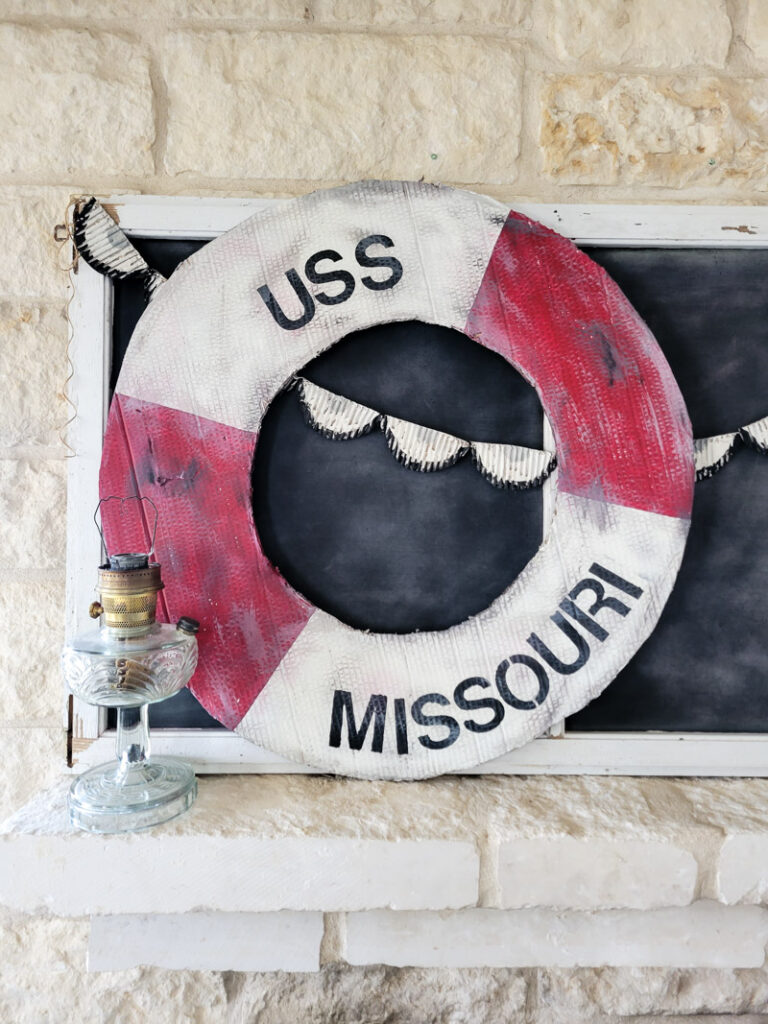
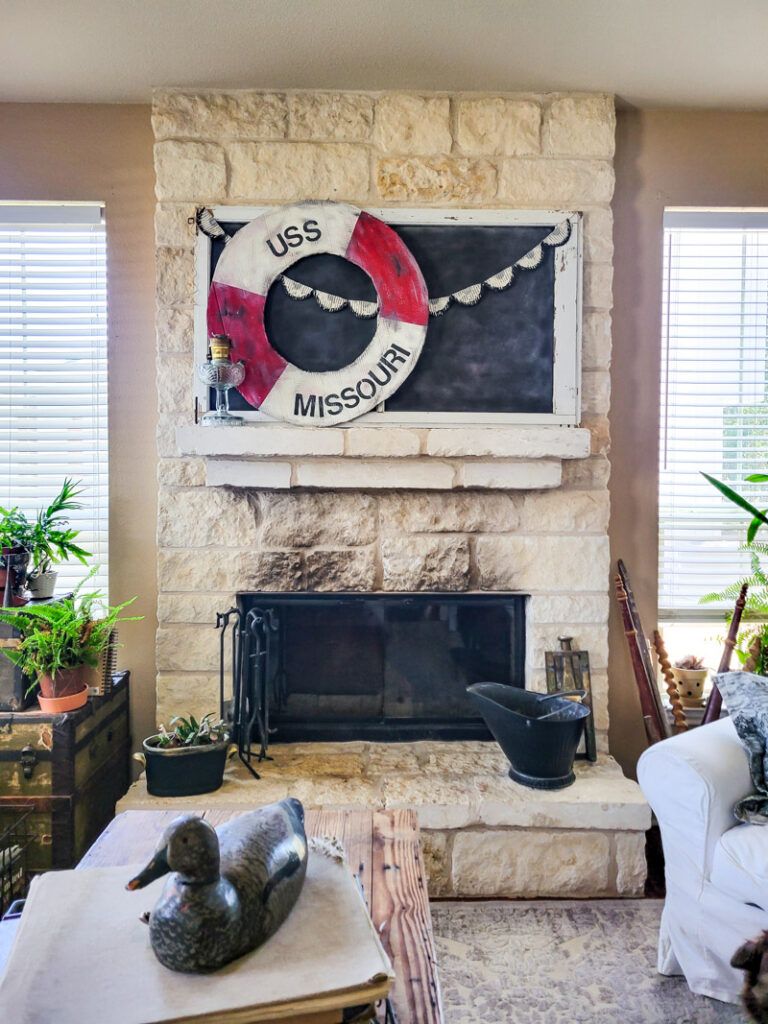
And there you have it, a life size life preserver you can decorate with for years to come– all made from cardboard!! Perfect for decorating a beach house, lake house, or even your typical suburban home. It brings in all the nautical vibes and I’m totally here for it!!
And if you’d like to see other cardboard DIYs, click HERE!


Leave a Reply