It’s that time of year where organizing is on the brain, and I would imagine I’m not alone here. But, if you’re like me, you don’t want to spend hundreds of dollars on new bins and labels, and alllll of the other organizing things one might THINK they need. So, it’s been a big goal of mine to organize “out in the open” using pieces I already have, but maybe in a unique and different way. With that being said, I love to easily access and find things, and I think labels are sort of the best way to keep a system– but the label printers we often default to are not the cutest, to say the least. Hence, budget-friendly DIY here we come– Cardboard labels to make organizing beautiful… AND functional!
Paper & cardboard are 2 of my favorite supplies and they do more than you might think! With just a few supplies, we’ll have beautiful labels in just minutes.
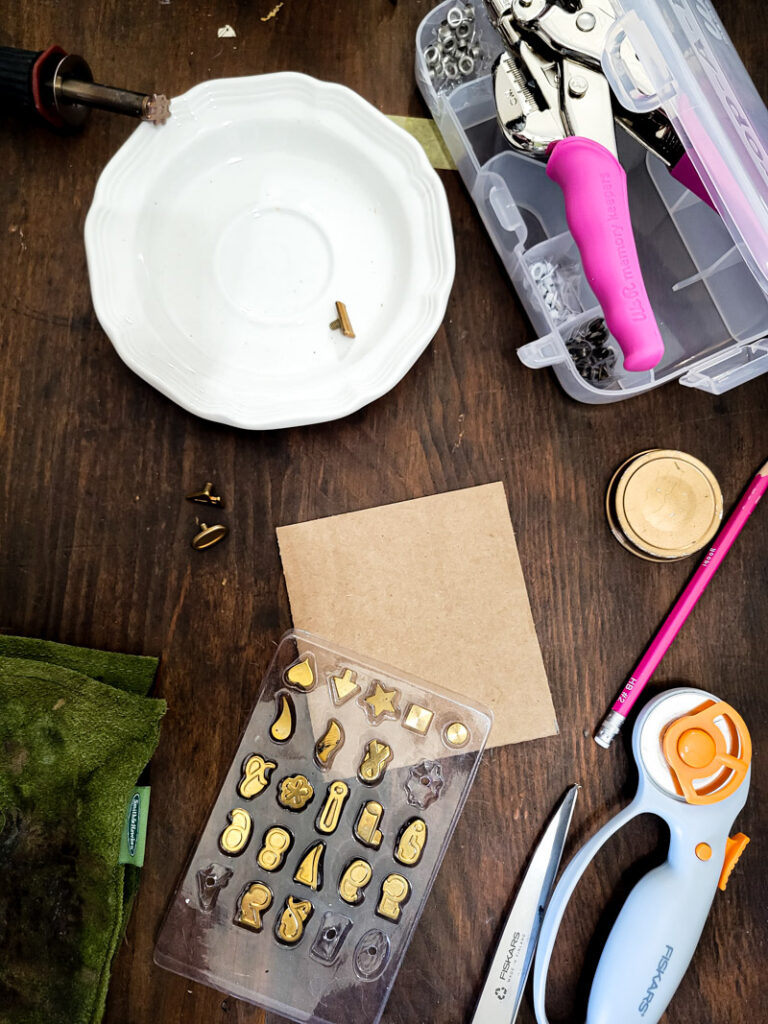
what you need
- Cardboard
- Heat Stamp
- Scissors
- Crop-a-dile Set
- Hemp Twine, Jute, or Ribbon
- Brown Acrylic Craft Paint
- Sanding Block
getting started
- First, cut out your preferred shape for the label.
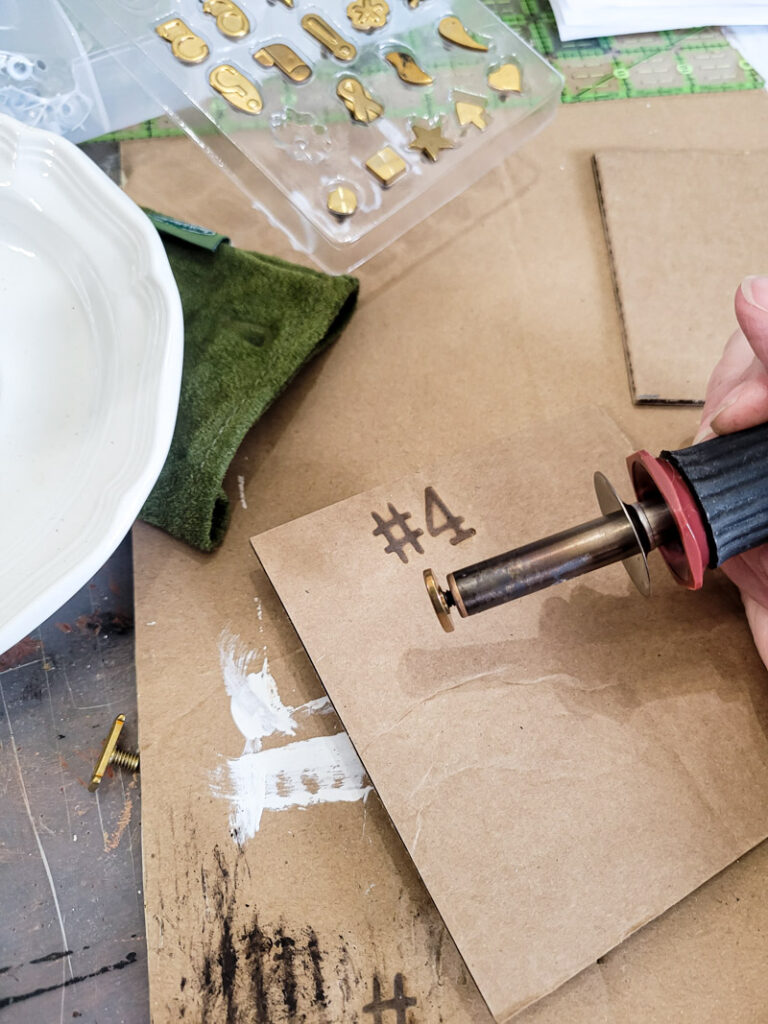
- Heat Stamp your label with whatever message or saying you’d like.
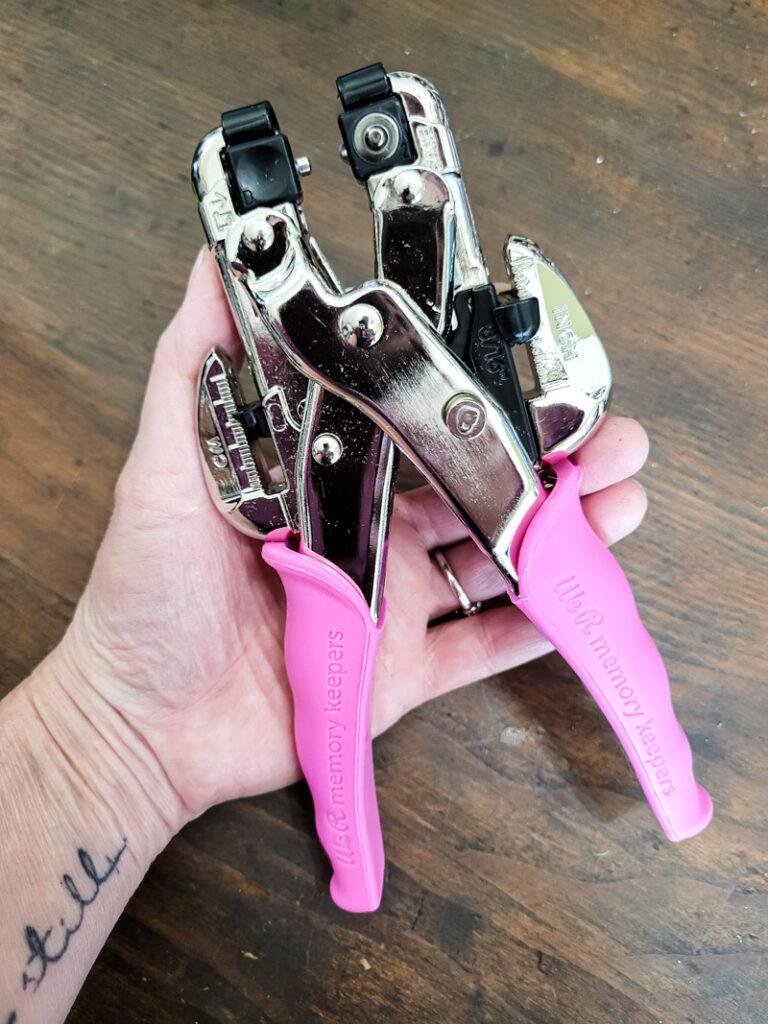
- Then, use the crop-a-dile set to punch grommets into your cardboard. You could simply use a hole punch, but I think the grommets look neater and once again, more curated (less like cardboard). I used the grommets that came with the set, and those are only one-sided, but you can use whatever you like depending on your use case. Since I knew you wouldn’t see the back of these tags, it didn’t matter to me.
- Use a sanding block to smooth the edges.
- Age around the edges using brown acrylic craft paint.
- String twine or jute through the holes in the cardboard (unless you want to hot glue or velcro to something, then use that of course).

And now you’ve got yourself a beautiful tag that didn’t cost you much at all, AND it fits in with your decor.
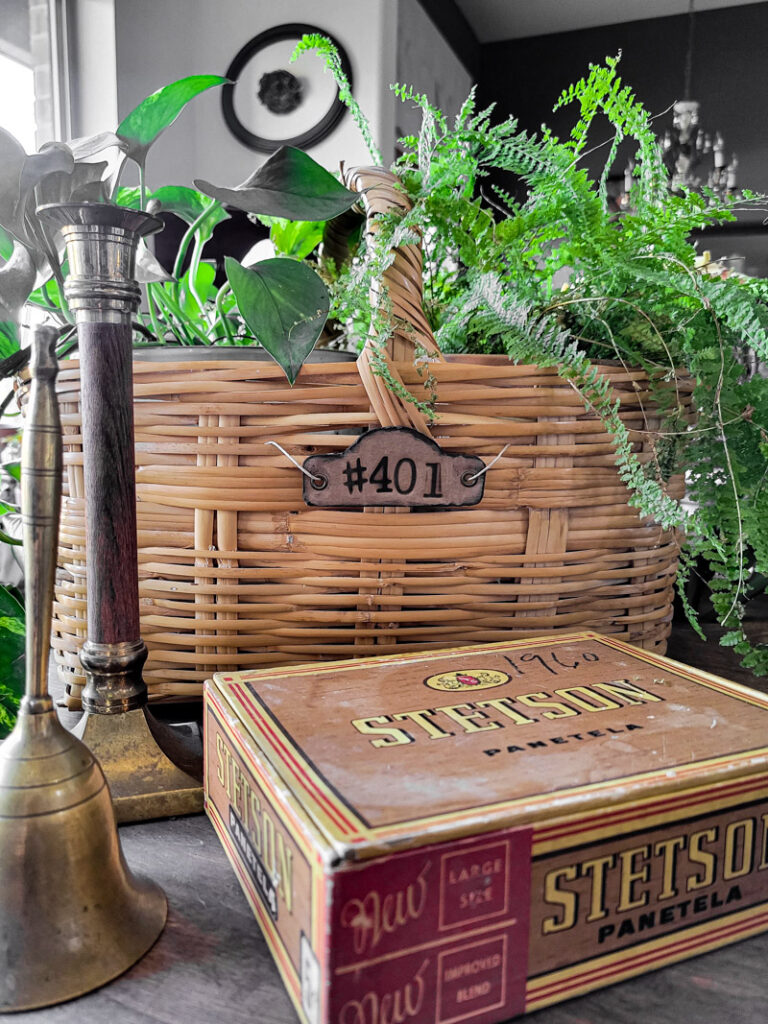
You can also use these simply for decorating or adding sweet little touches around your home, kind of like I did in these photos.
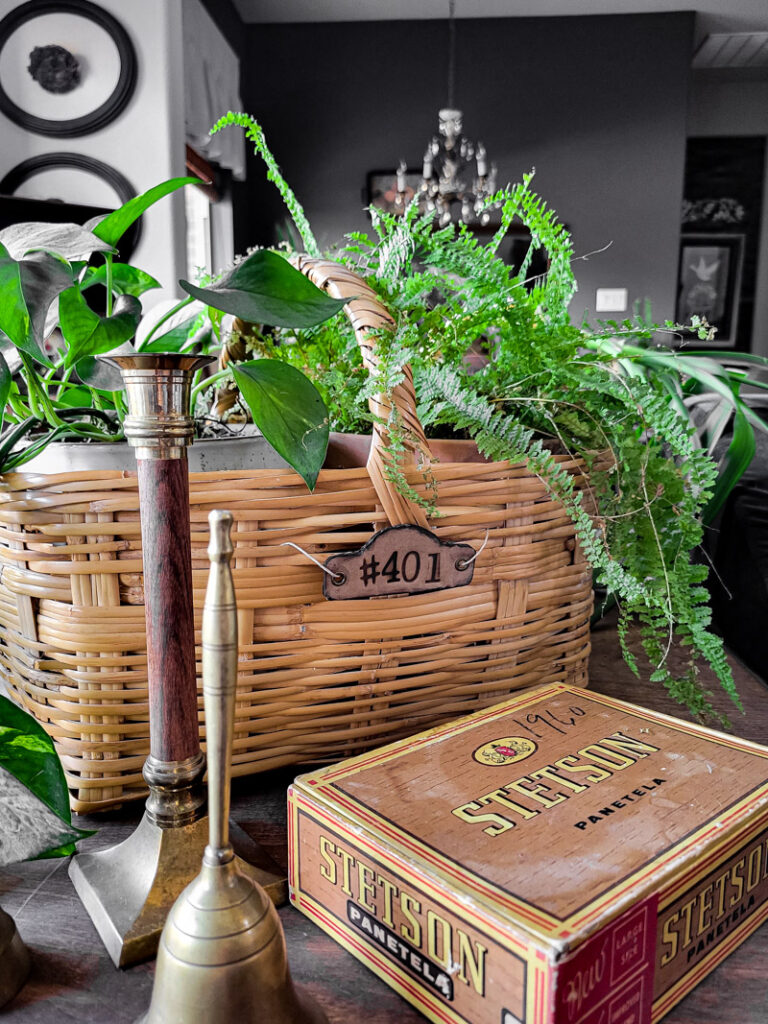
However you choose to use these, you’re going to love them! Can’t beat a budget-friendly, easy DIY like this one!


Leave a Reply