make your own diy built in plate rack with this simple tutorial.
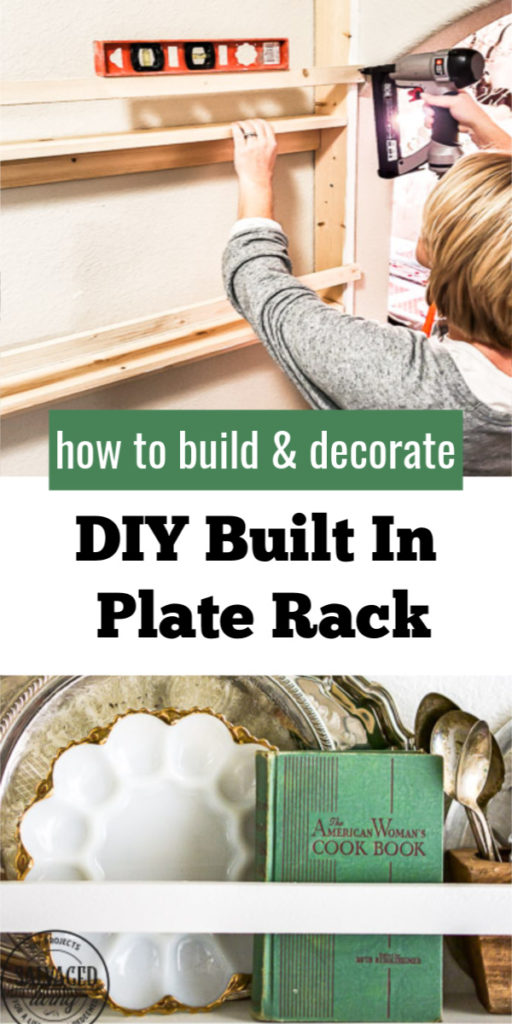
Sometimes decorating dreams do come true. And they aren’t as hard as you thought. They aren’t expensive. And they are awesome. This DIY built in plate rack idea had been on my mind for a while.
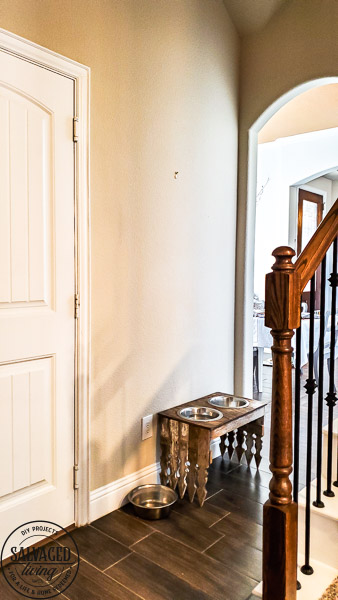
We finally brought it to life and I couldn’t be happier! We have this small space as you walk from our kitchen to the dining room. It’s too little to do much with, but I decided some small space decorating would be perfect.
And I went big. You guys know I am a part time plate hoarder and have a serious addiction to silver. I hate that all my prettys hide in the cabinets, so I wanted to get them out in the open.
Plus this house is limited on storage space, so creating more was needed.
I had so much fun decorating this built in plate rack and making the most of the space I created. Now I can actually see all the treasures I have AND it makes for beautiful decor.
That’s a decorating win-win! Read below on how to build this DIY plate rack and how to decorate a built in plate rack…
How to build a built in plate rack
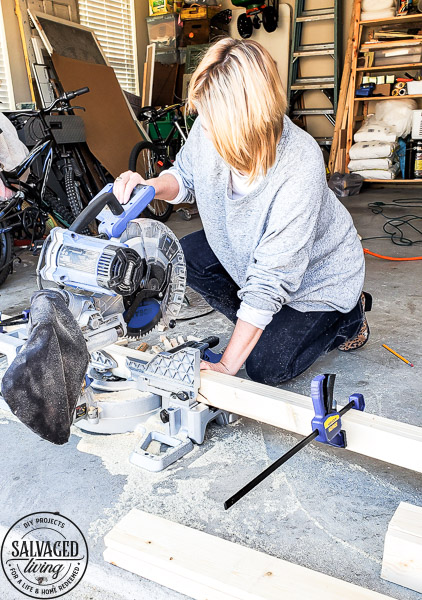
To build this DIY plate rack we started by cutting wood to fit the space in our kitchen. Clamping the wood together ensures a clean even cut for the wood pieces.
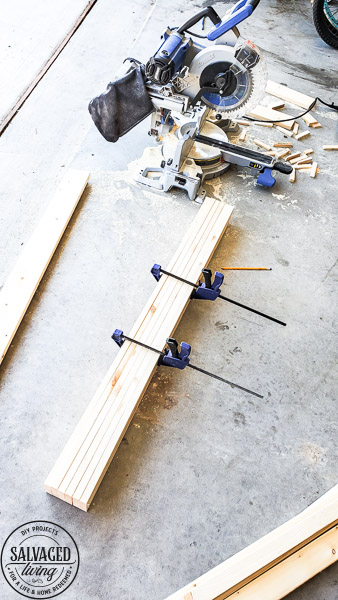
To begin the build, we started by adding a base piece to the top area we were going to frame. This board was a laid flat and attached to the wall with sheetrock anchors.
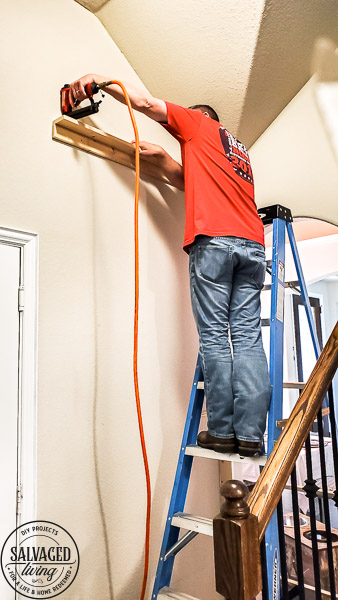
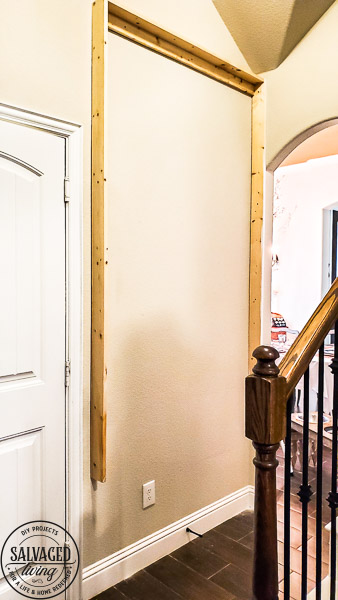
Next we added the top of the frame, using a nail gun (you could use regular nails but this was faster and easier) to attach it to the base piece. Then the side frame pieces were added, again attached with a nail gun.
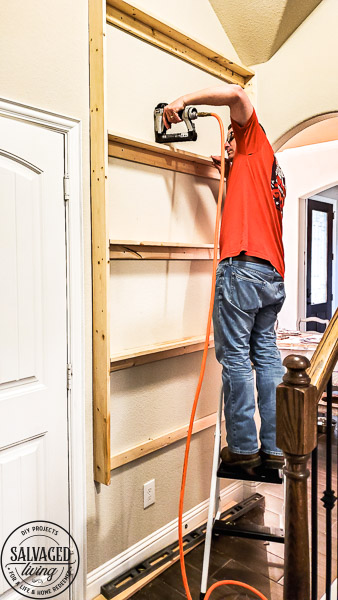
We added in the shelves in the same format as the beginning base piece – a flat support board anchored in the wall with a shelf piece attached on top, then the sides secured to the outside frame.
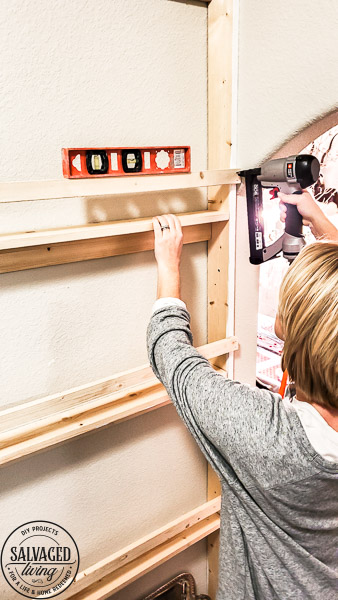
We added a shelf rail across the front. I suggest using wood glue and a nail gun to attach the rail pieces. I need to add a shelf rail – under the one that is there now, closer to the shelf itself, if not touching the shelf so that plates and things don’t slide out the bottom.
I didn’t realize this until after I was done. I’ve made it work for now, but I suggest doing that if you build a plate rack like this!
Once the frame was built I caulked the entire piece to make it seamless with the wall and fill any gaps between the wall and wood. Next I used my Wagner Paint Sprayer (this is the exact one I use and love here) to spray the entire piece, including the backsplash to complete the built in plate rack.
Now for the fun part, decorating your built in plate rack!
How to decorate a built in plate rack
Empty out your cabinets and get all your favorite things in the open. Be sure to gather platters, pitchers, tea pots, shallow bowls, baskets, silver, trays, small vases, candlesticks, plates, cookbooks, stoneware, pottery, cutting boards, bread boards, tea towels, serving pieces and silverware.
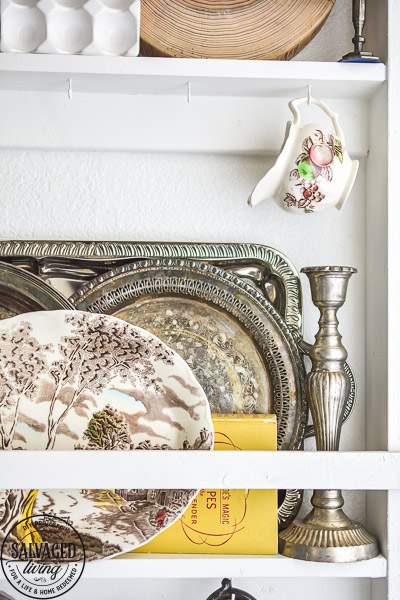
Layer in different elements. Mix up the silver and stone ware, glass and wood. Build the items on top of one another.
Don’t forget to go vertical. Things going up and down, like silverware in a cup, a tall candlestick or vase, vary the height of the elements in your built in so the eye travels over an interesting sight line – up and down not flat.
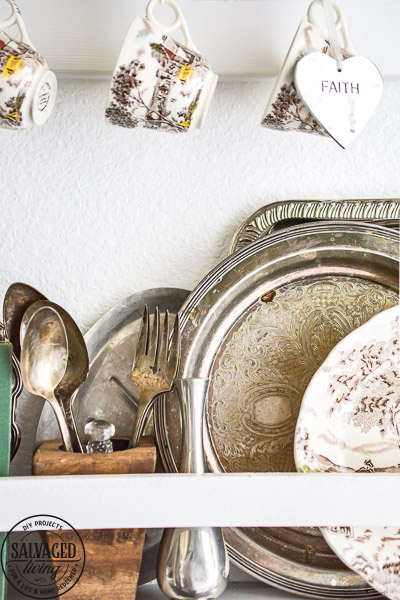
Hang things! I added some cup hooks to hang tea cups and pitchers from, you will want to get a variety of sizes of hooks if you add this touch.
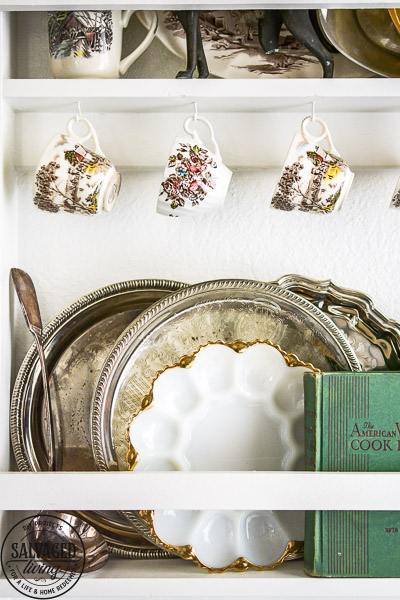
Large pots and pitchers don’t fit on the tiny cup hooks. This is a great way to use your space even more! You can even hang things on the backsplash like cute typography or a beautiful piece of artwork.
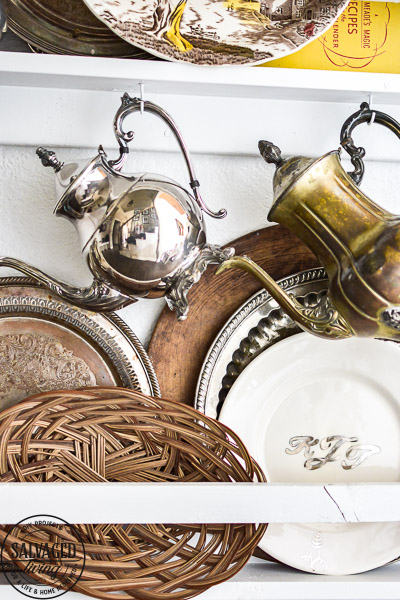
Practice and move things around. This is a large project that you will have to tweak as you go. Rearrange, walk away and come back later until you get it how you like.
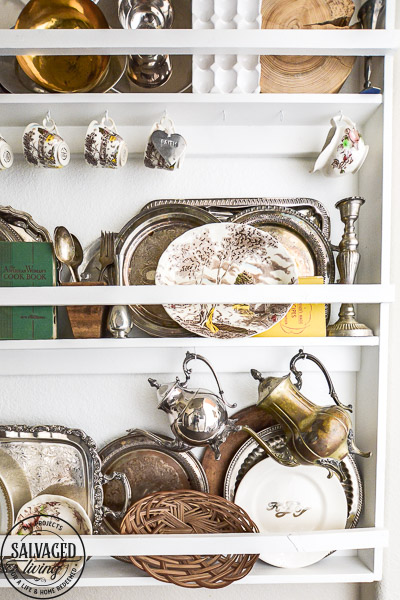
The fun part is you can always add in and take away as your stash grows, you need to use things in the kitchen or change things out for holiday decor. You can get some additional styling ideas from this little spot in my kitchen.
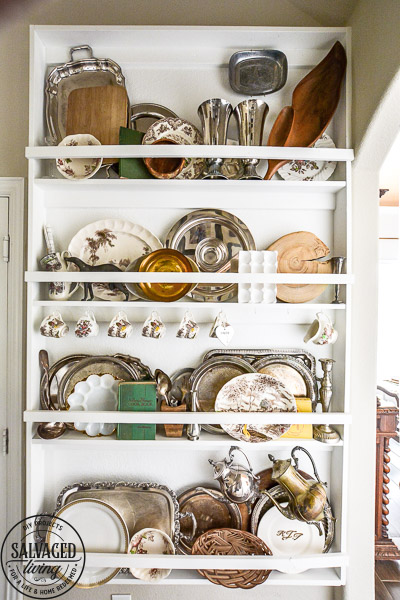
Do you have a place to add one of these in your home? Remember – you can make this large or small, even a one shelf rack if you have limited space! That’s the best thing about DIY – make it work for you!
Here is a quick reminder of the before:
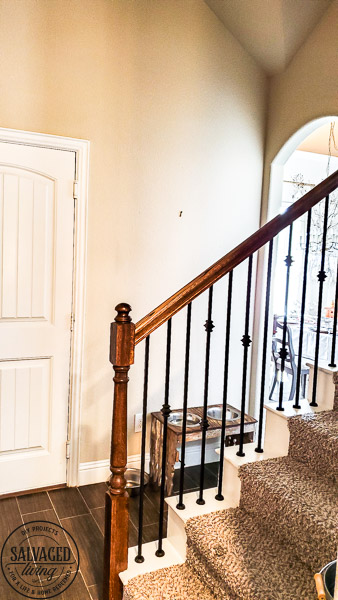
and after:

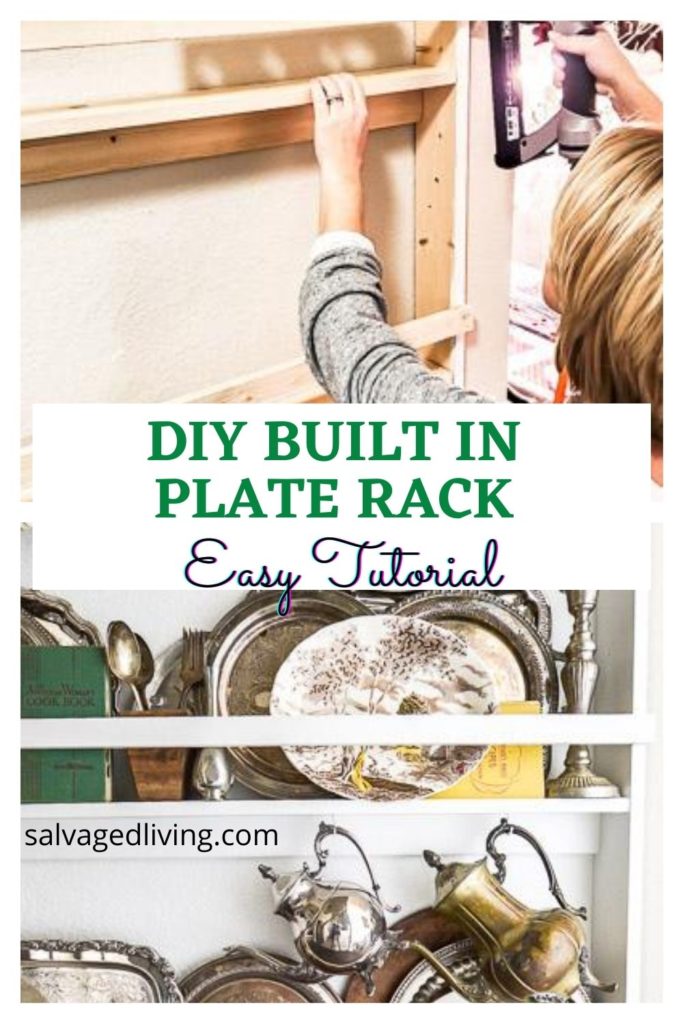
I would appreciate it if you would PIN the below image:



Wow that looks real nice. What a great idea
Great way to display a ton of stuff. I love it.
Thanks, I’m sure it’s not everyone cup of tea but I love it!!!
Lol, just realized I commented on the other link????. Well this, too is a great use of that blank space, and I still think plate racks are brilliant for amping up interest in a room.
Pat
Thanks Pat! It has really changed the space!
The plate rack is just charming! I never imagined you could put so many beautiful things together like that!
I am guilty of over loving stuff lol!
LOOKS AWESOME!!! You’re so smart!!
thank you
Love it!! My husband and I pastor a church and right now we are living with his Mom while working on the parsonage. I’m itching to get in there and decorate and display my things that I’ve collected for the last 30 years! With the world being on lockdown right now, we have more time to wait, but so thankful for the extra time! Really, I’ve found so many wonderful and inexpensive ideas that we can do. God bless you, Kim ????
I am enjoying te down time too, so much to be grateful for!
This is so darling! My space is limited and this would be a great functional way to display my china. I love the idea of having quick access too. When I have to go to my cabinet I don’t always use my stuff like I should. Thanks so much for sharing it is beautiful
I am so glad it inspired you and it is perfect for any size space because you can make it your own size hooray!
Well, Kim. You’ve done it. You have caused me to lose my religion. I am currently coveting your plate rack. I’ll try and get over it by making a request to my hubs to help me make one. Pray for me… wink!
LOL – You totally need one, this down time is the perfect time to take on this project!!! Let me know when yours is done, I want to see it! XOXO
I LOVE WHAT YOU HAVE DONE ( AWESOME ) MY HUSBAND MADE ME TWO, ONE IS A FOR MY LARGE PLATERS, ONE IS A DOUBLE WIDE LIKE MISS MUSTARD SEED HAS I LOVE THEM!!! YOU GET A 5 STAR!!!
☆ Outstanding, practical, & space saving. Obsessed over plate racks and the absolute joy of admiring amazing serving ware that has been lovingly acquired over the years.♡Beautifully curated with your silver collection, adore your bouquet of spoons, your selection of China & ceramic pieces♡. Great tutorial too. God bless you!
I love this! I’m curious if you know anything about the egg dish (with gold edging). I just picked up the same and I love it. Curious where they come from.
hi – I am not sure, I think they are from the 50’s/60’s, mine was my grandmothers! Just love them!!!
Kim, we are in the middle of planning a new kitchen after we had a flood from a toilet filler in our home. I am so glad I came across this on Pinterest and knew it was your blog! We will definitely be incorporating something like this into the new kitchen design! I love your display!
I am so sorry you had that happen Chloe, but I guess the good news is…DECORATING! I love this plate rack and you will love yours too, all the best friend!
We have been doing a complete renovation on an older home. I have a wall in my kitchen that I want to do this. How far apart are your shelves to allow for plates platters to stand? Yours is beautiful. Thank you for the insouration.
Hi Susan – I would say about 18 inches, but I suggest measuring your items and building to suit your needs. That is the beauty of building this yourself, you can make it fit anything you want! Can’t wait to see the finished product, hope you love yours like I do!