Muddy Boots? Make this DIY Boot Rack!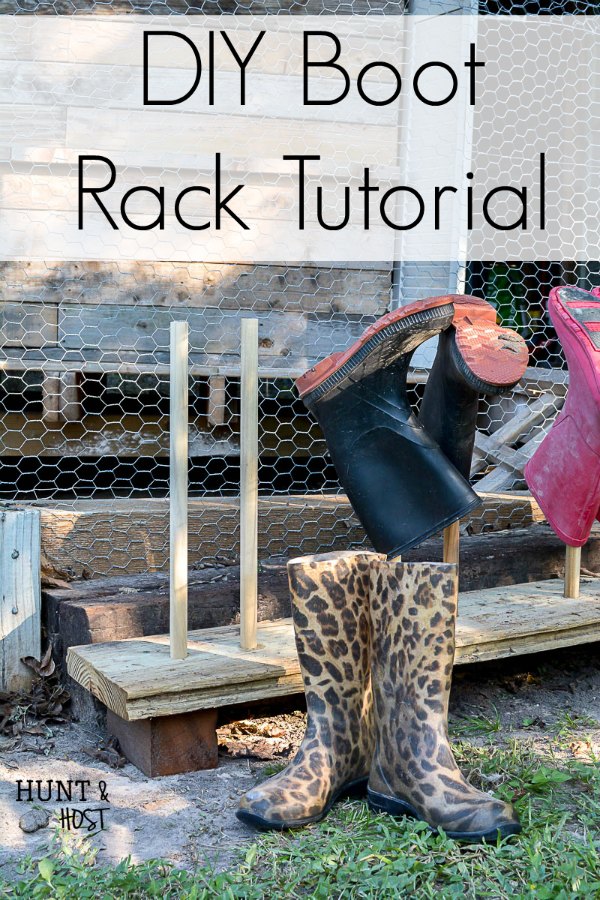 The chicken coop and rabbit run have been great, but the muddy muck boots have not been. I usually step outside my back door to a pile of muddy boots, all over the patio, left out in the rain, filled with water, it’s just a plain old unsightly mess! This super simple boot rack idea roped in the train wreck at my back door and the project literally took minutes!
You need to start of with the right tools and supplies. It will take you longer to gather the items than it will to actually make this boot rack.
I have a ton of old scrap wood laying around from when we dismantled the kid’s play house to make it the chicken coop. I got a sturdy, heavy board out of the pile and made sure it was long enough to hold five pairs of boots, because we are a family of five!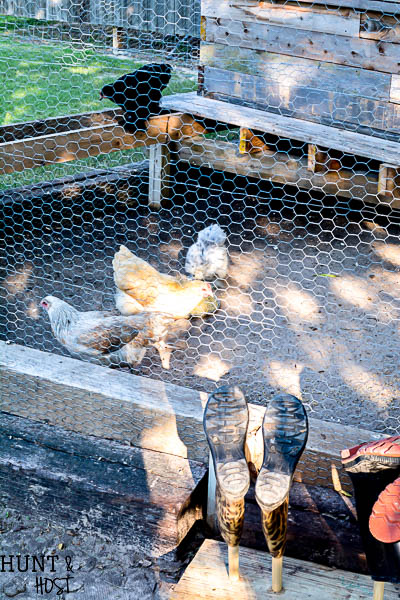
A trip to Walmart helped me with the other supplies, here is a list with online sources if you would like to order anything you don’t have on hand!
Boot Rack Supply List
Large/heavy piece of wood large enough for however many boots you want to hold
Smaller piece of wood for “feet”
Dowel Rods
Paddle Bit
Drill
Chop Saw
Wood Glue
Hammer
Tape Measure and pencil
Cut large piece of wood to fit your desired number of boots. Cut two smaller pieces for feet. Because my rack is outside and on the ground I didn’t want to whole board to sit on the ground.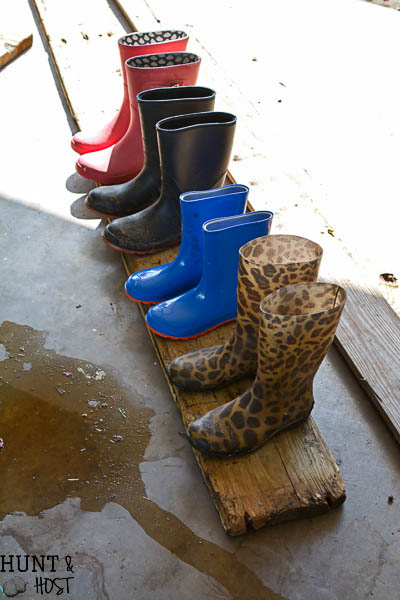
Next lay out your boots to get a feel for how you want them to sit on the rack. Measure off equal distance between each spot you want to hold a boot and mark the spots with a pencil. You can make this as big or small as you need! Be sure to evenly space, measuring exactly to make the boot rack look nice!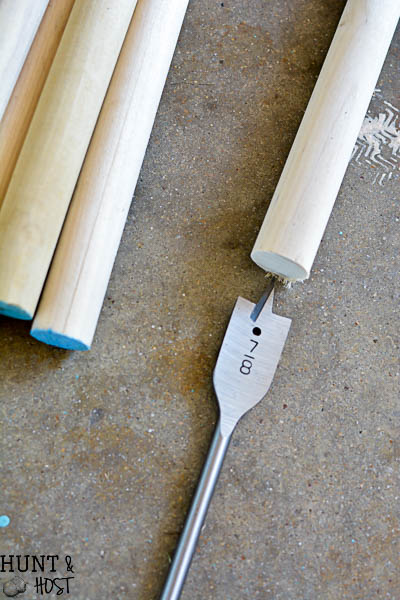
Get a paddle bit to match the size of your wooden dowels. Mine were 7/8 inch, you can match by laying the paddle bit flat on the end of the rod and making sure they are the same size. You want a hefty rod that won’t break easily under the weight of the boots.
Drill a hole on each mark with the paddle bit, make it deep, but don’t go all the way through your wood.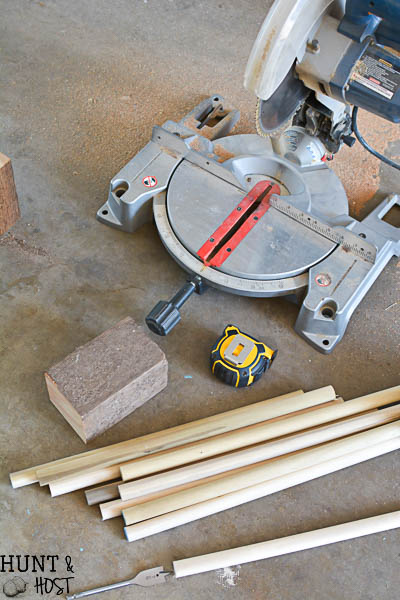
I cut each dowel rod in half with a chop saw because the ones I got were long, so I bought 5 rods to hold 10 boots.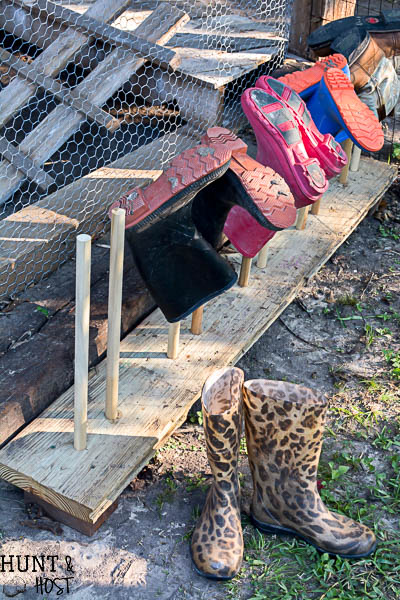 Put wood glue in each hole and around the bottom of each rod then use a hammer to gently wedge the rod into place. Allow glue to dry completely before use. I wanted a more rustic look but you may want to paint or stain your new boot rack depending on where you’d like to use it.
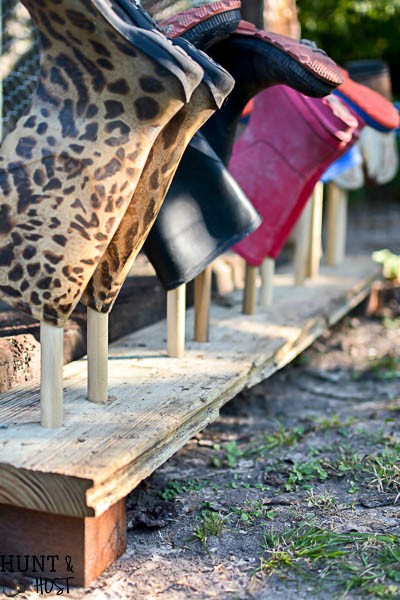 This easy DIY boot rack would work great to wrangle tennis shoes or other footwear your family may or may not leave thrown all over the place, maybe your peeps are neater than mine. In case you don’t need any organizing would you be a dear and share this on Pinterest so other unorganized folks can find it! 😉


Smart mama!
thanks friend!
Love it!!! So simple!!! Whoop????
I knew this would be an easy project, but I was shocked at how fast it was and soooo easy!
I love it Kim! I need to make one of those to keep in my garage. There are a heck of a lot of boots laying around in there! Thanks for the inspiration!