I am all about a cute DIY bookend and I have a great cut file waiting for you to try out! Ever since I got my xTool Laser Machine, I’ve been trying out new projects. This one is precious and you could make your own in just a few minutes, I’ll show you how!
First off, here is the supply list! If you don’t have a xTool Laser Machine, I can’t say enough good things about mine. I’ve loved every project I’ve tried so far and have a long list of beginner laser projects waiting for me to test out. It really is simple to use once you get your feet wet. This bookend project is perfect for you to start with. You may also want to try laser engraving on metal, like a knife or a metal tumbler. Don’t miss some of my beginner tips here.
Supply List
- xTool M1 Laser Engraver and Vinyl Cutter (the machine itself)
- xTool M1 Air Assist (to help with keeping engraving cool while cutting/engraving)
- xTool Smoke Purifier (Air purifier to reduce smoke and odor while working)
- 3mm Basswood (you can get tons of material supplies from xTool directly!)
DIY Book End Tutorial
- Start by downloading the free cut files I made for you to try! CLICK HERE TO DOWNLOAD!
- Open your xTool Creative Space and connect to your machine. I am using the xTool M1 10W laser engraver for this project.
- Import the design. Say yes – scale to fit if it tells you the design is too large to be displayed on the canvas.
- You will need to highlight the design, drag for placement, and size as desired.
- You will turn up the sharpness and select trace image in the Bitmap image menu.
- In the next Trace Image Menu, I push all the parameters up and hit save.
- This will create a second layer in Creative Space, they will be on top of each other so drag one away to see the outline you just created. I delete the solid words (layer 1) once the trace is done. This leaves you with the traced (outlined) image and layer 2 only.
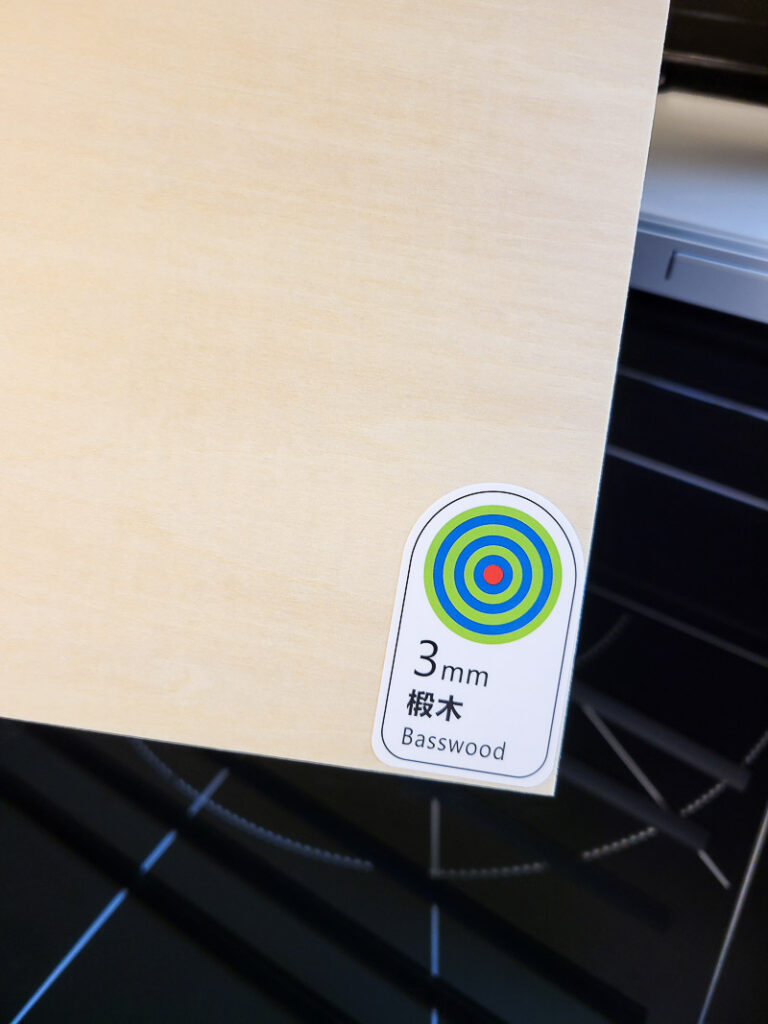
- Place the 3mm Basswood into the floor of your machine.
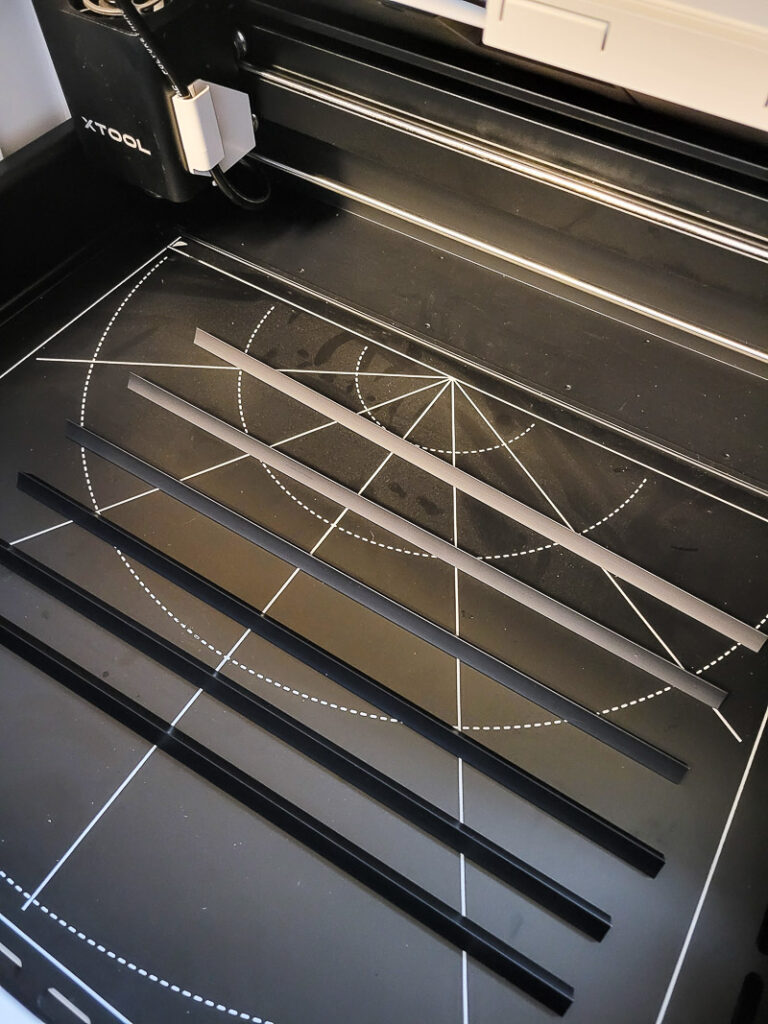
- I used the prisms provided for an elevated base. This helps reduce smoke and staining while cutting.
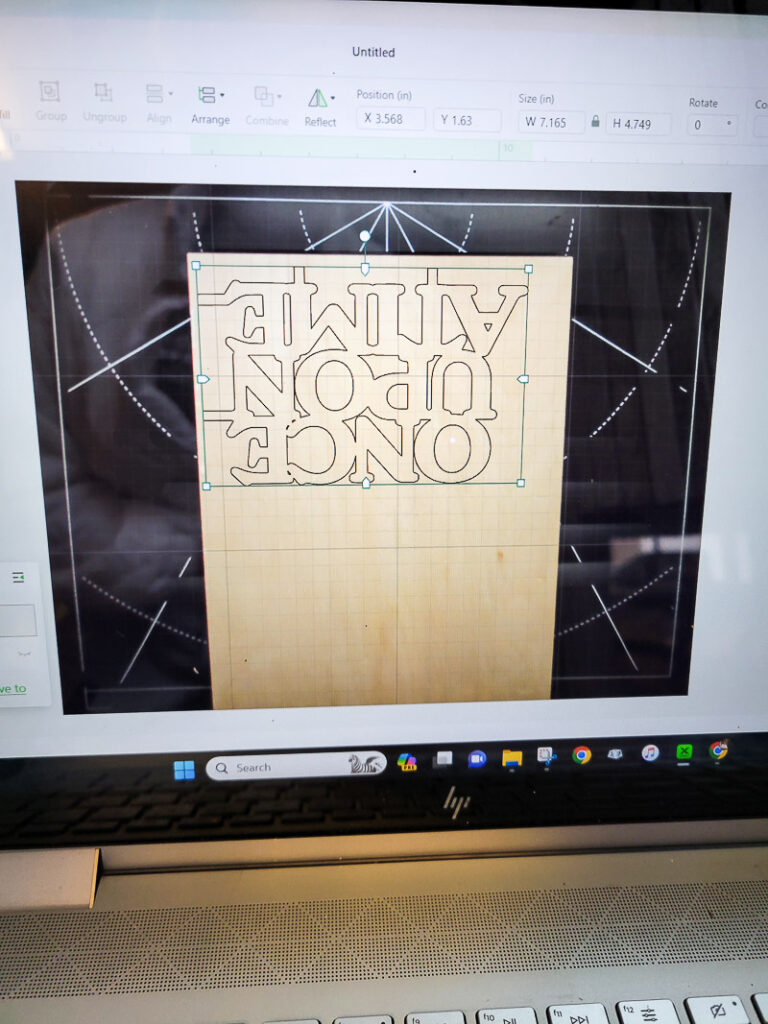
- Hit refresh in Creative Space to see the wood in the machine.
- Select Laser Flat on the right menu, set the thickness (if using xTool Basswood it is in the drop-down menu options), Height Raised: Triangular Prism (if you use them), Processing Path: Auto Planning.
- Line up your design as desired, make it the size you want as well.
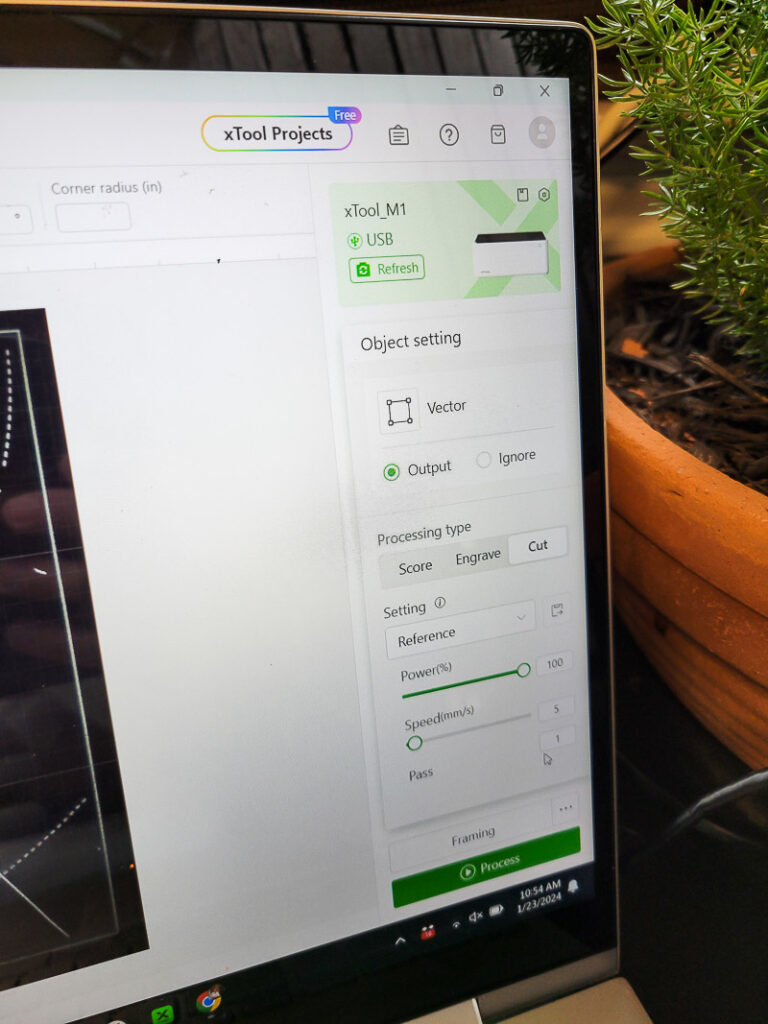
- While design is highlighted choose the correct settings.
- Settings: Processing Type: Cut, Power: 100, Speed: 5, Pass: 1
- Frame your design so you can be sure it is going to cut where desired. Once all is good go to process!
- Hit the process and press the button on the xTool Laser Machine.

- I use the xTool M1 Air Assist on low in conjunction with this project to reduce wood burn and dust on the laser.
- I also turn on my xTool Smoke Purifier to help with the smoke.
- Once your pieces are cut, add them to wood for precious DIY bookends, the next steps show you how! Start by cutting blocks to fit your finished design size.

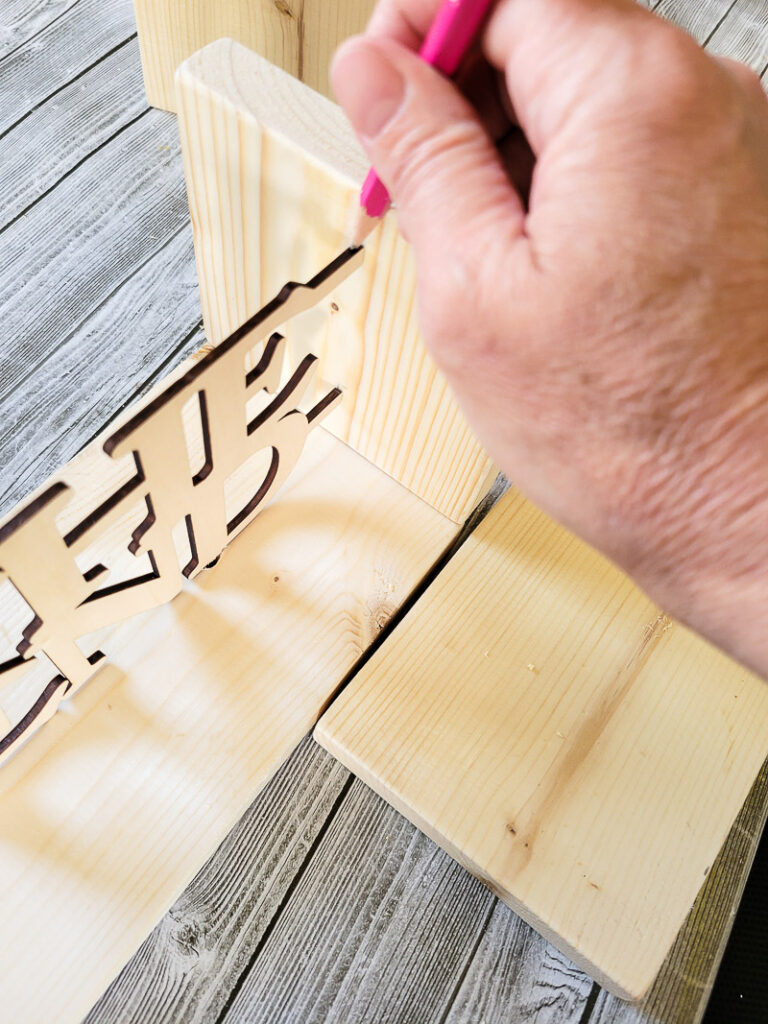
- Trace holes on your wood for where the words need to insert, starting with the bottom, measure out room to have the end piece as well. Drill the bottom peg holes.
- Next line up the side piece and mark the peg spot there. Drill out those holes.
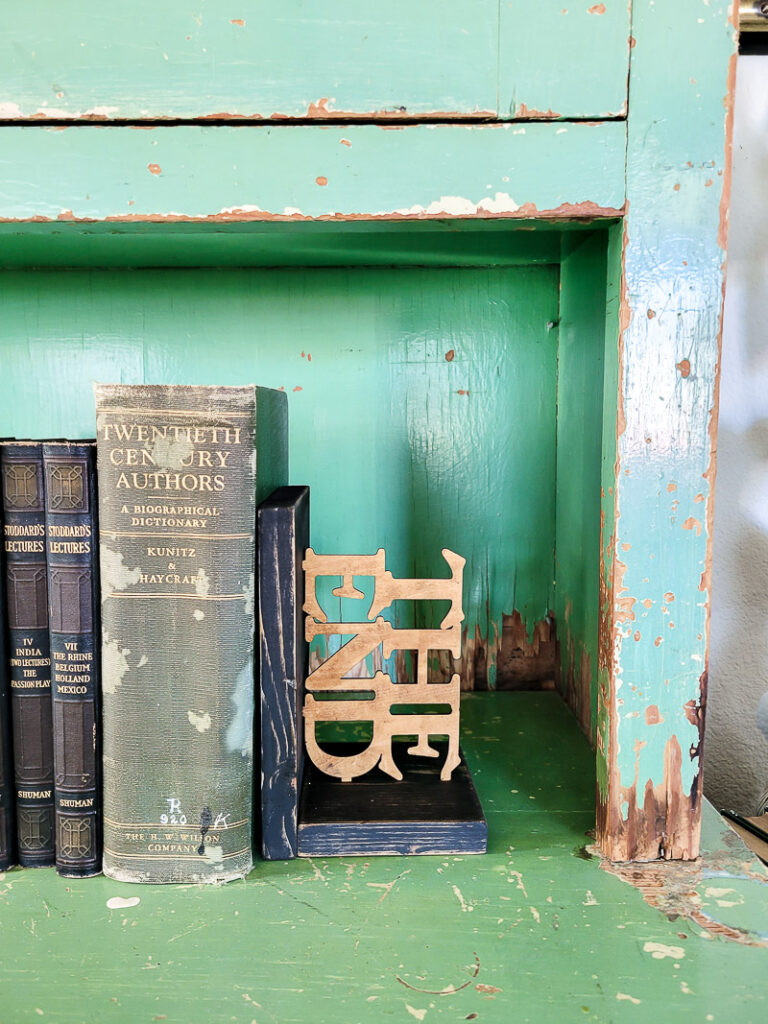
- Paint or stain them. I painted mine black with acrylic craft paint and sanded it to distress the wood.
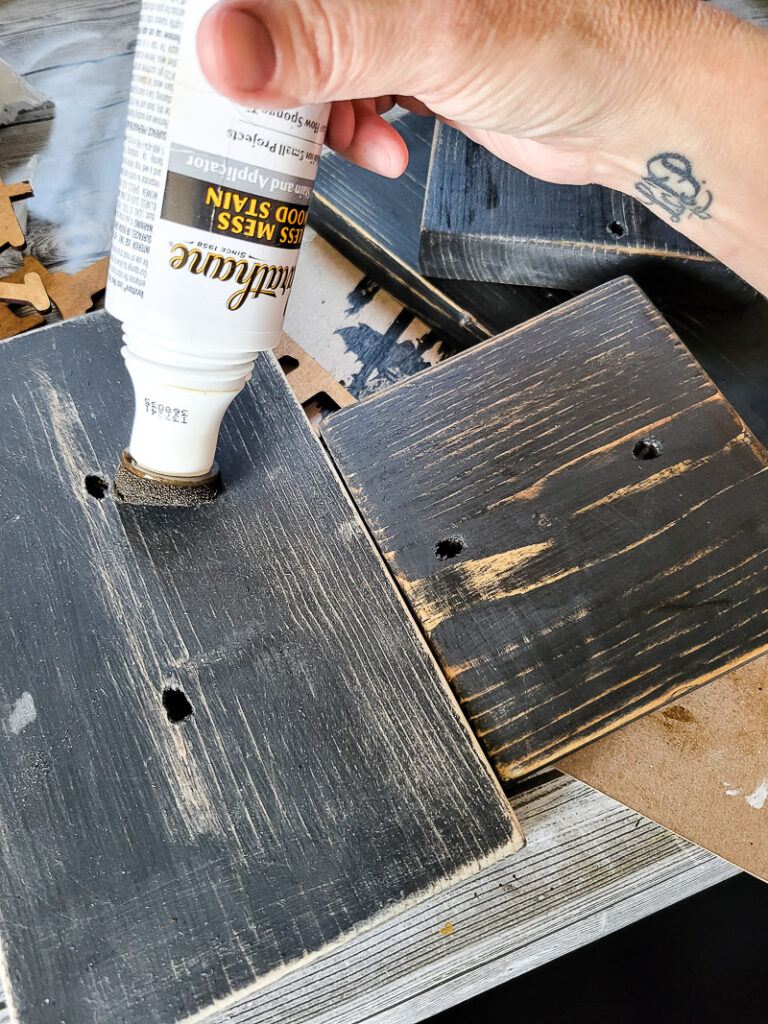
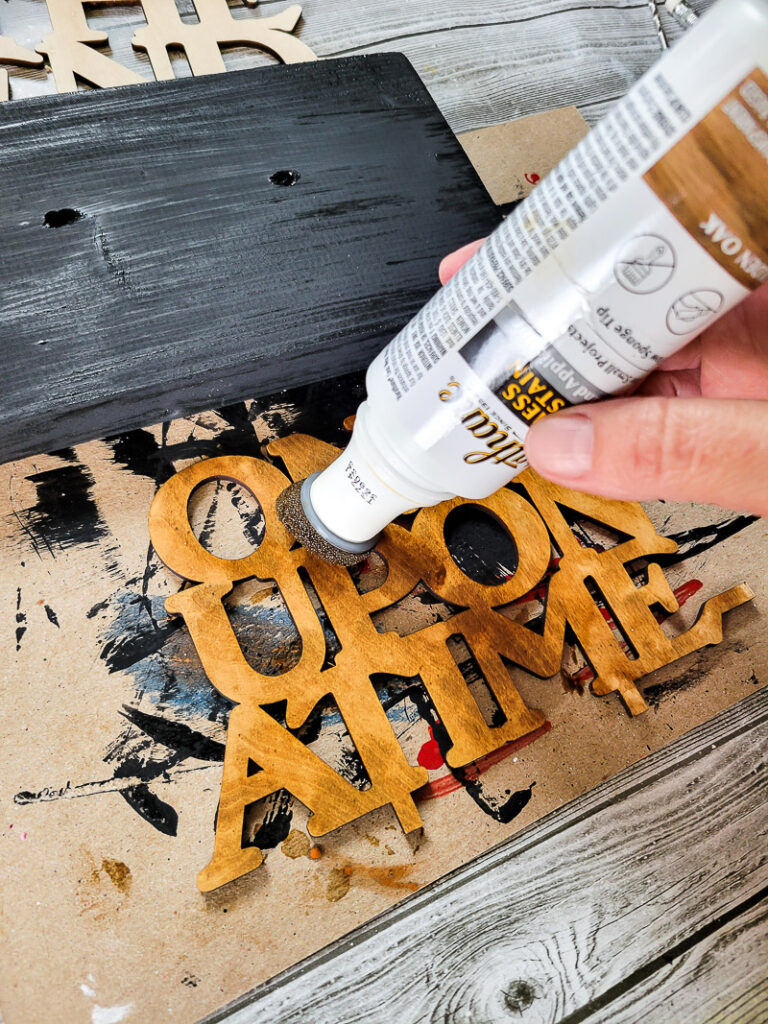
- Next I stained the words and stained over the distressed areas to add age.
- Place the words into your drilled holes on the side piece and attach to the base with wood glue or screws.
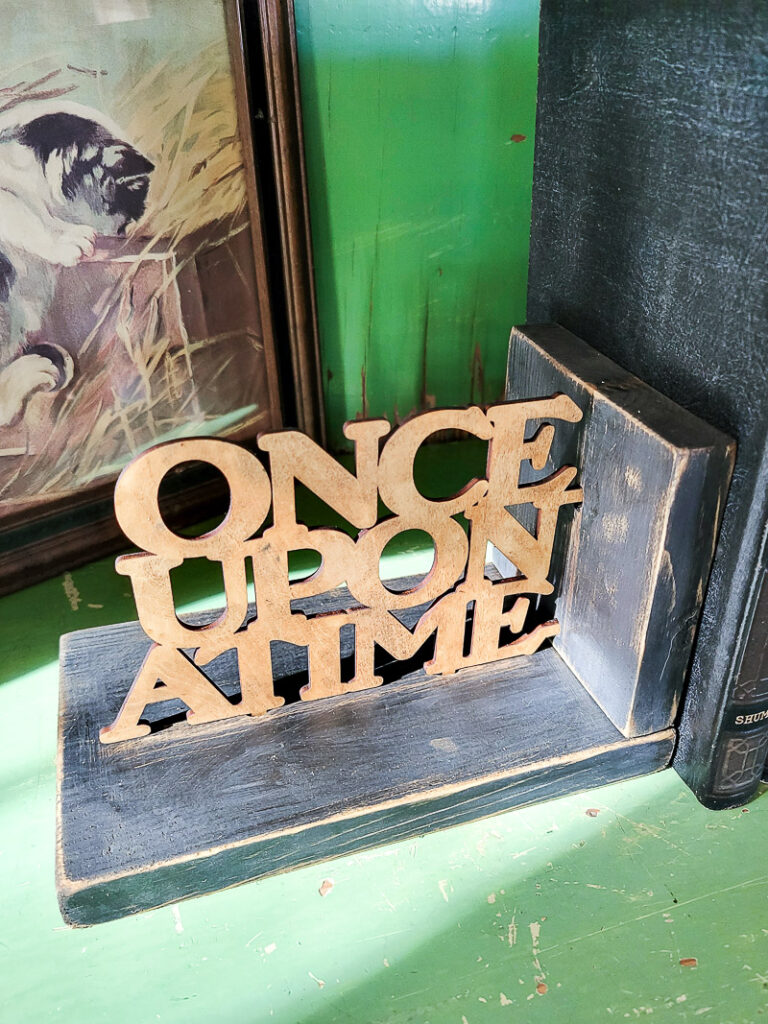
- You could also use the cut design without pegs and attach the cutout words to a variety of objects to use as a bookend! Let your creativity go crazy.
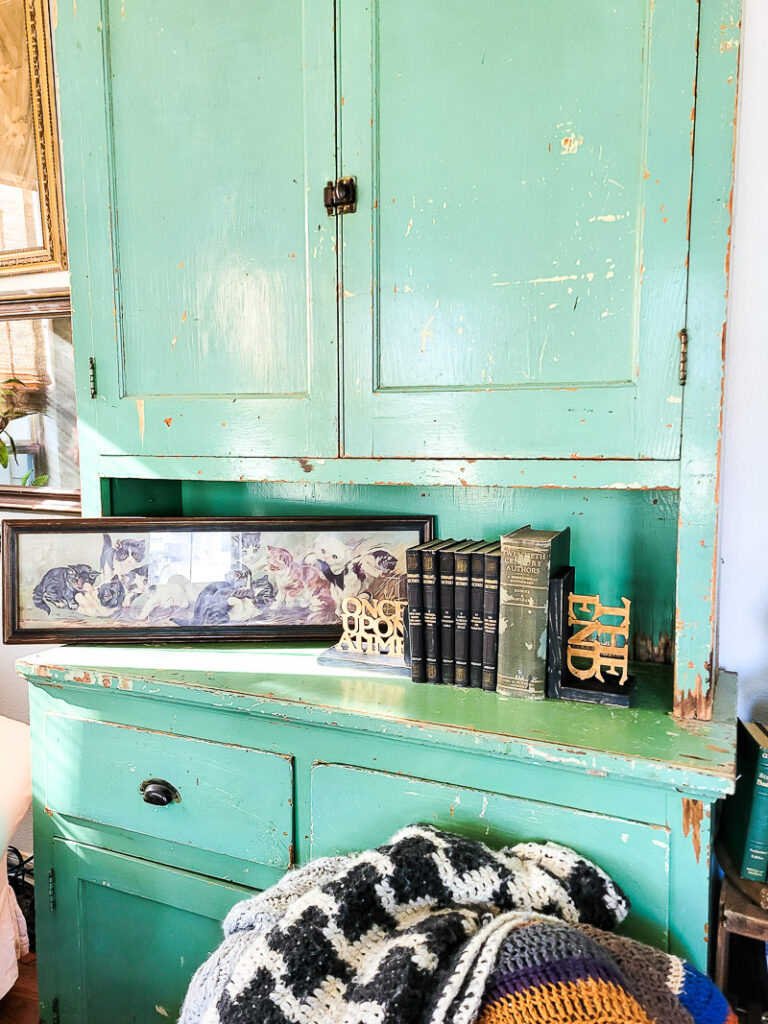
Just look how cute these DIY bookends look in my living room hutch! I love that they are new but mix perfectly well with my cozy vintage style. You can paint these any color or style you like to match your decor.
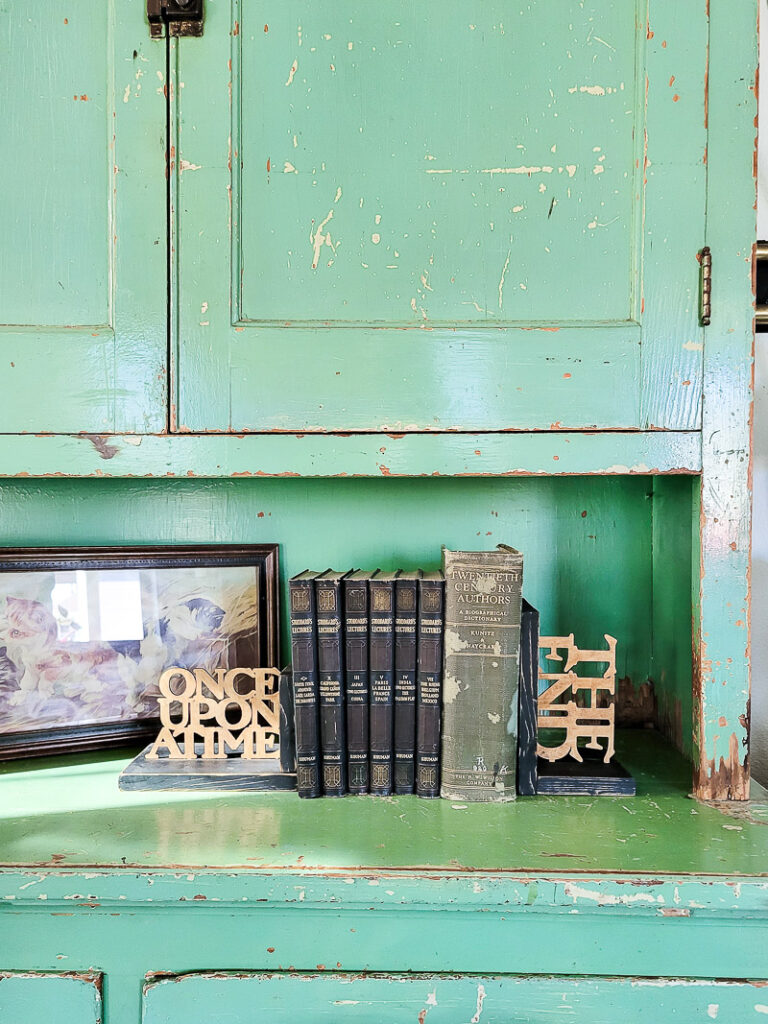
They’d be perfect for a kid’s room, bedroom or library!


Leave a Reply