Make a Simple 4th of July Pillow for your Summer Holiday Decor!
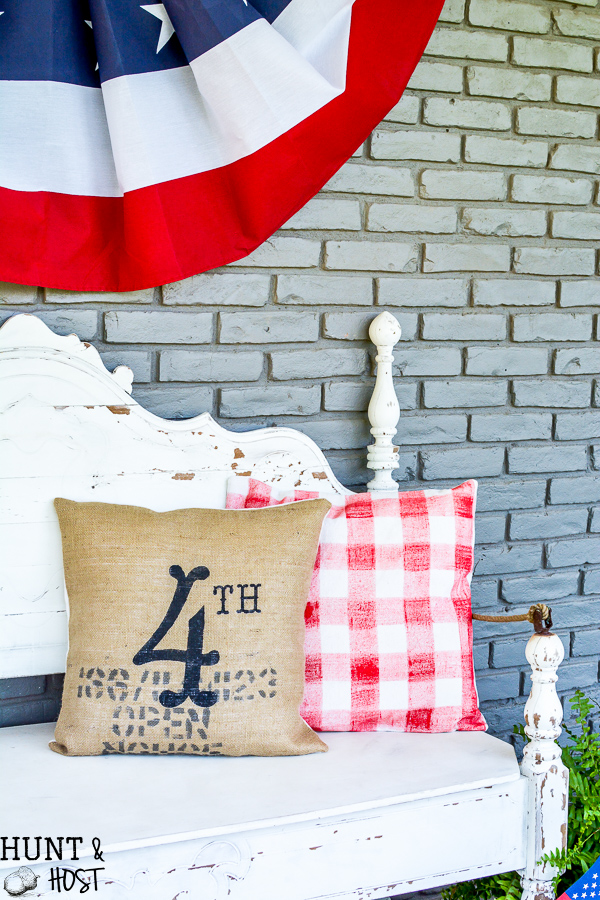
I love decorating for the 4th of July. I feel so blessed to call the USA home and celebrating it reminds me how truly fortunate we are to live under the protected freedom of our country. I made this 4th of July pillow a few years ago but I never did a tutorial on it, so now I am sharing so you can add it to your summer home decor. 
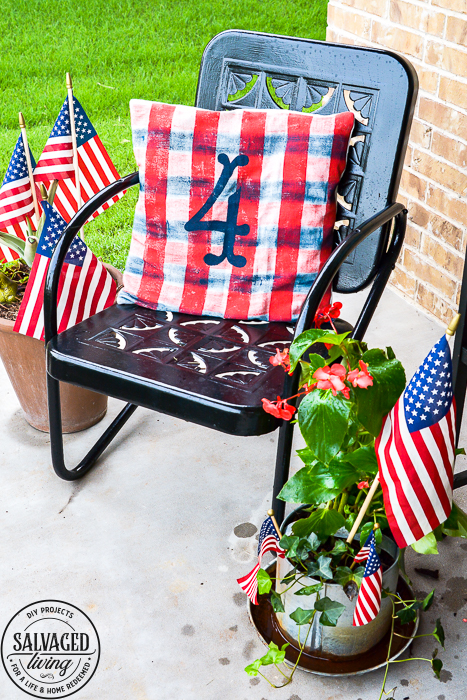
I love to call out the holiday “days” – 4th for 4th of July, 25 for Christmas, 14 for Valentine’s. You know the dates that are the same every year. I think numbers can be an easy and fun variable to incorporate into your holiday decor mix. I’m giving you the free download so you can re-create this pillow in your own style and I would absolutely LOVE it if you show me yours once you make it!
There are a few ways you can create this easy pillow and I hope this simple idea will get you excited about using the same concept for other holidays or special dates in your home.
How to Make A 4th of July Pillow
- You will want to follow my pocket pillow tutorial if you are creating your pillow case covering from scratch. I have used coffee bean sacks, drop cloth and various fabric for pocket pillows. You can also buy a blank pillow cover and use it if you aren’t up for a sewing project. Although, I promise a DIY pocket pillow is pretty easy to make.
- Download this 4th number template and try one of the two following methods to create your pillow. You can also use free online products like Picmonkey and Canva to create other templates or use the online project that comes with your Cricut machine.

- I have made a quick video on how to upload the file to your Cricut software if you are a beginner Cricut user! Hope it helps. 🙂
- Print and cut – The first method you can use, especially for a simple print like this is to print the template on your home printer and trace it onto contact paper or even thick cardboard to create your own stencil. You might want to use an Exacto knife to cut the stencil easily.

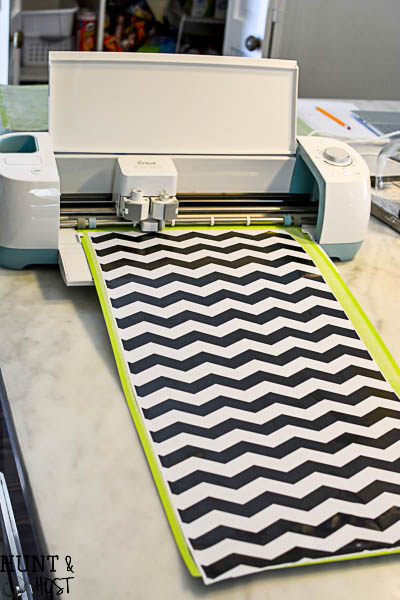
- Cricut Machine Method – I’ve had a Cricut machine for years and love to make fun projects using it, especially my own stencils. I have included a JPG file for download and you can follow your Cricut instructions to upload the file for cutting. When creating a stencil that I will only use once I like to use contact paper. You know the sticky stuff you line drawers and cabinets with!? It is not as adhesive or expensive as vinyl so it is a budget friendly alternative. If I want a stencil I will use over and over I use stencil plastic I buy online. Cut your stencil like you would a vinyl decal or use thicker material settings if cutting the plastic. Weed the insides out so you are left with a stencil, not the number. (although you can use the inside cut out to make a sign like I did in this mantel! Use both parts for extra budget stretch! )
- Make sure you use a piece of cardboard inside your pillow so the paint doesn’t bleed through to the back. BTW: You can see the Facebook LIVE video I did of this project here for even more details!
- Lay your pillow cover flat and adhere the stencil cut out to the pillow. (BTW, you can use the inside of part of the stencil that is cut away for this 4th of July art!)
- A sponge roller brush really works well for this method, but if not try a regular sponge brush and apply paint to your pillow over the stencil. Use caution not to press the paint into the stencil edges but work from the outside in to avoid pushing paint under the edges. You want a crisp line! Roll until you get the coverage you want. Fabric might soak up some paint so roll the paint on in layers until satisfied. You don’t need the paint to dry between coats.
- Remove your stencil and let paint dry completely.

- Some people like to heat set their paint. I have tried various paints and find most to be permanent on fabric but it is good to test it before you wash your pillow cover, if needed. If you want to heat set, once paint is dry, iron the back side of the painted area.
- If you want to see how to paint a DIY Buffalo Check background on your pillow, get the tutorial here.
- Stuff with a good quality pillow for the best look. I love the down pillow inserts from IKEA or you can order these. I think down sit the best and fill a pillow cover nicely, you can try down alternatives as well, but foam filled pillows don’t usually sit as casual and comfy.[mv_create title=”DIY 4th of July Pillow” key=”5″ type=”diy”]
Style this festive pillow on your porch or couch for a cute and easy DIY that you can change out seasonally! Happy Fourth of July Y’all!


Hi Kim!
Letting you know I got your email. Thanks for the pillow idea. It’s cute.
It’s extremely hot here in west Texas – 104 yesterday. It’s such a dry heat that it
feels like walking in front of a furnace fan when we go outside. The 30 mph winds
(gusting even higher) today will definitely contribute to the heat misery. I’m afraid
it’s going to be a brutal summer weather wise. Have a great day.
God bless you & your family.
Marcie