Did you know that plant stands are having a moment? Yep. And this creative DIY marble plant stand makeover is one for the books. Y’all, wait till I show you how EASY it is to do a little marbling makeover. You are gonna love this. I want to thank Rust- Oleum for sponsoring this project, all ideas and opinions are my own. You can read more about their products HERE.
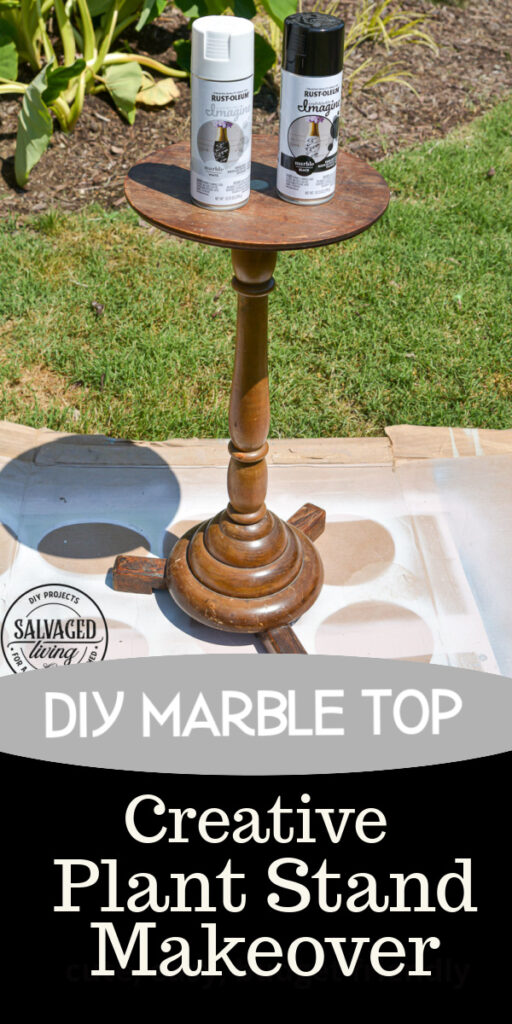
I found this sweet little plant stand at a thrift store for a song. You guys know I go out on the hunt all the time and sometimes it works out and what you are looking for jumps right out at you. I will say this is rare. Thrifting is a hit or miss game – that’s what makes it so fun. Even if you aren’t in the market for a plant stand this DIY marble paint job can work on all kinds of makeovers. It’s a game changer! Let me give you the run down on how to pull off a faux marble makeover.
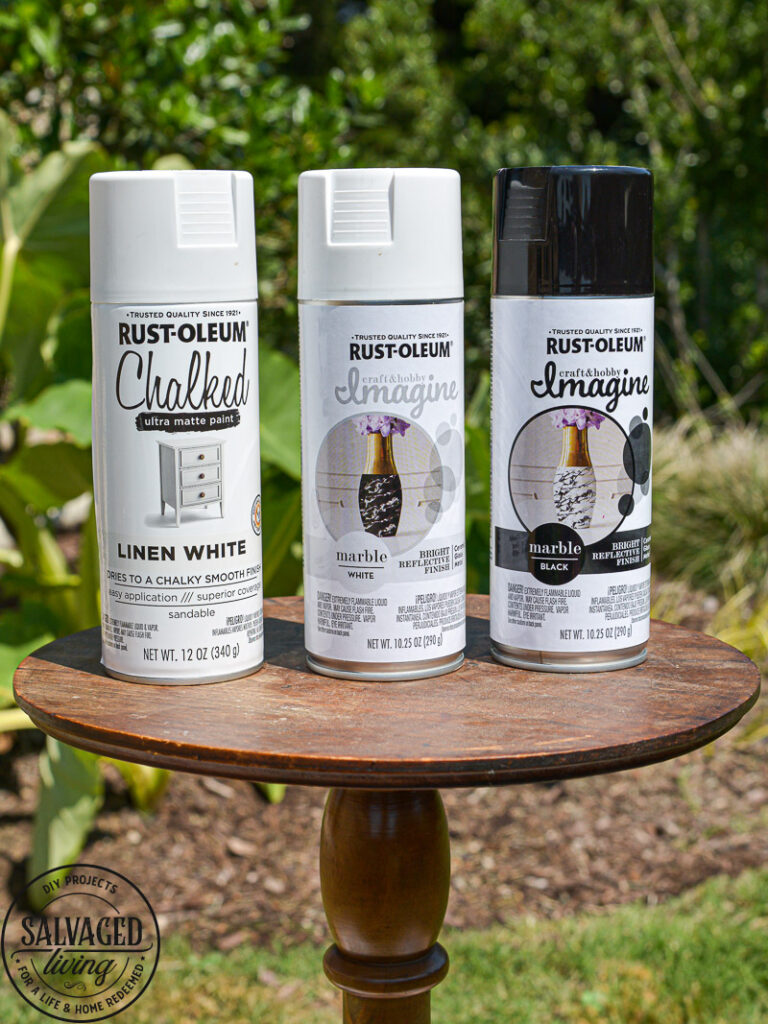
DIY Marble Tutorial & Supply List
Rust-Oleum Marbling Spray Paint (You can buy it here!)
Rust-Oleum Chalked Ultra Matte Paint
Rust-Oleum Imagine Triple Thick Glaze
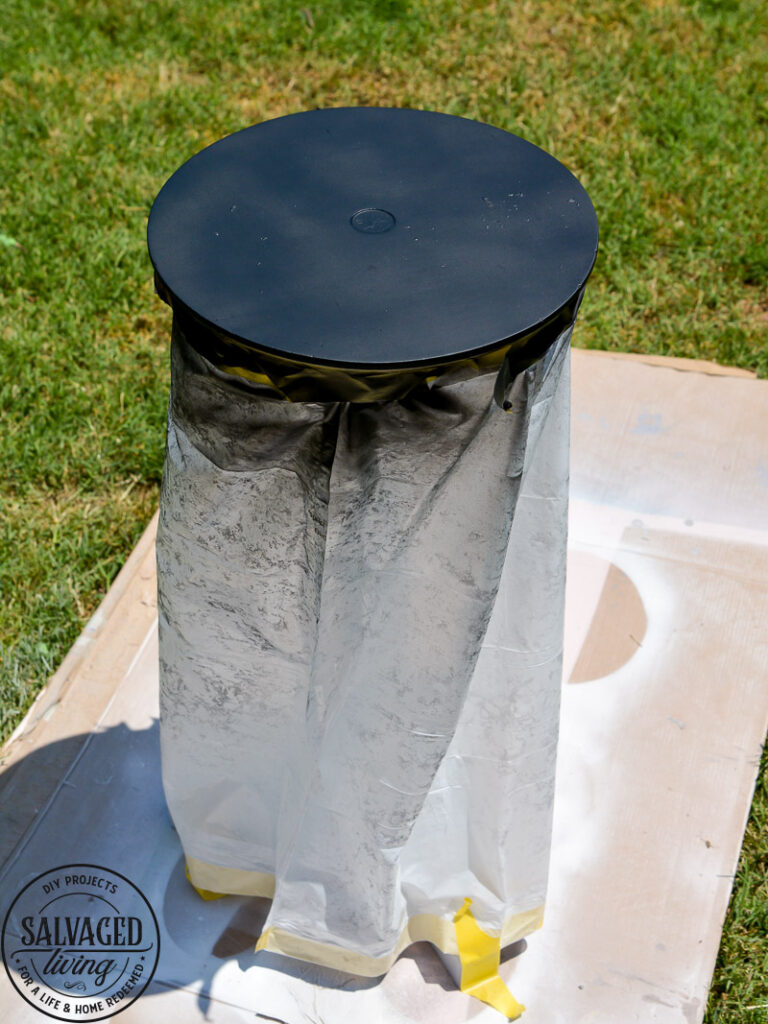
This might have been the simplest makeover I’ve done in a long while. Make sure you prep your piece by wiping it down with a good cleaner or degreaser. There is really no other prep neccessary unless you want to sand out any rough spots or scratches that may be on your piece.
Spray paint your piece, you can use a variety of finishes, I really like the Chalked Ultra Matte Finish Spray Paint. (I used it on this piece too.) I used Rust-Oleum Chalked Ultra Matte Paint in Linen White over the entire piece and then went back with Rust-Oleum Chalked Ultra Matte Paint Charcoal over just the top. A trash bag and some painters tape comes a long way in helping with this process!
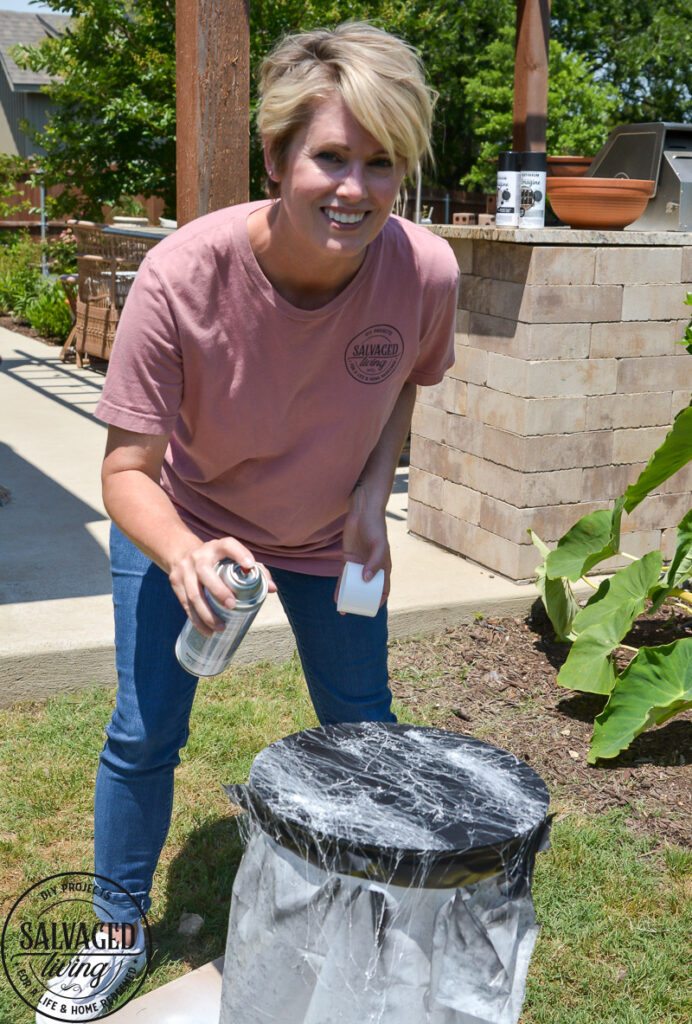
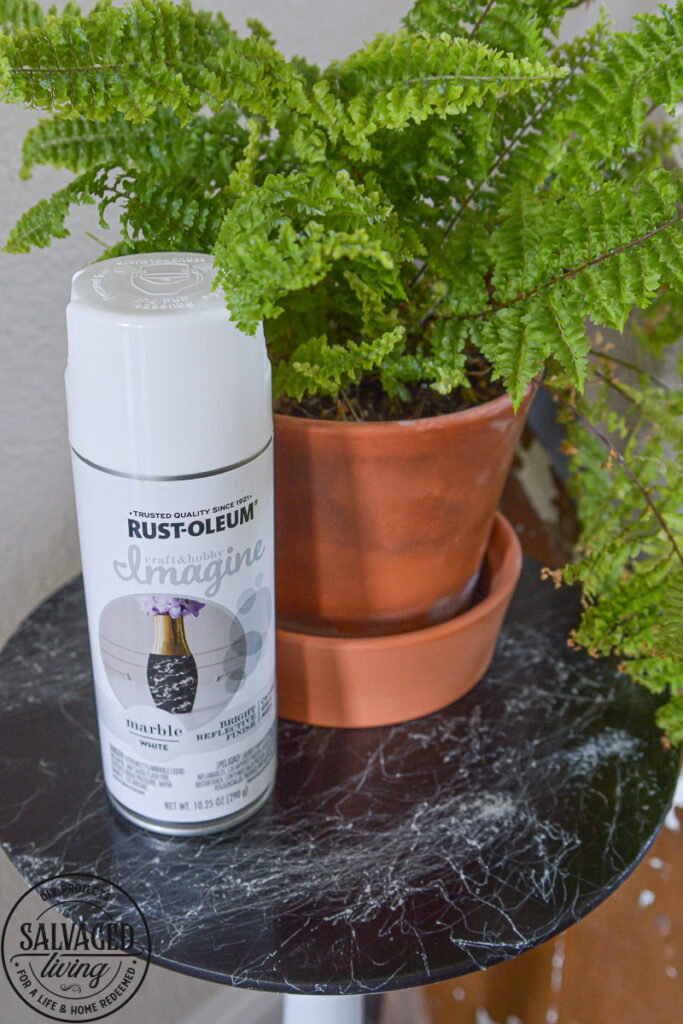
To easily create a marble finish choose either the Rust-Oleum White Marble Spray or the Rust-Oleum Black Marble Spray. Paint your base coat the opposite color of the veining color you pick. I went with a charcoal black base for a dramatic effect.
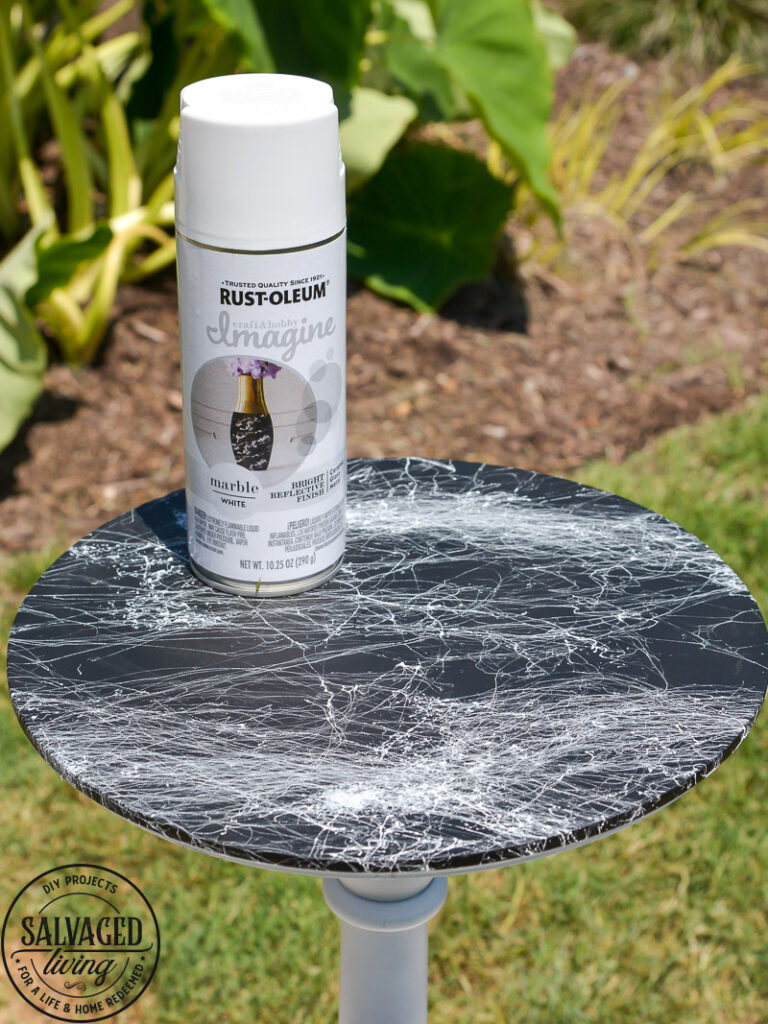
I suggest practicing with the Marble Spray on some cardboard or other surface so you can get a feel for how it sprays, it is so easy to use, but try it out first. Decide how heavy you want the marbling pattern to be and then go for it.
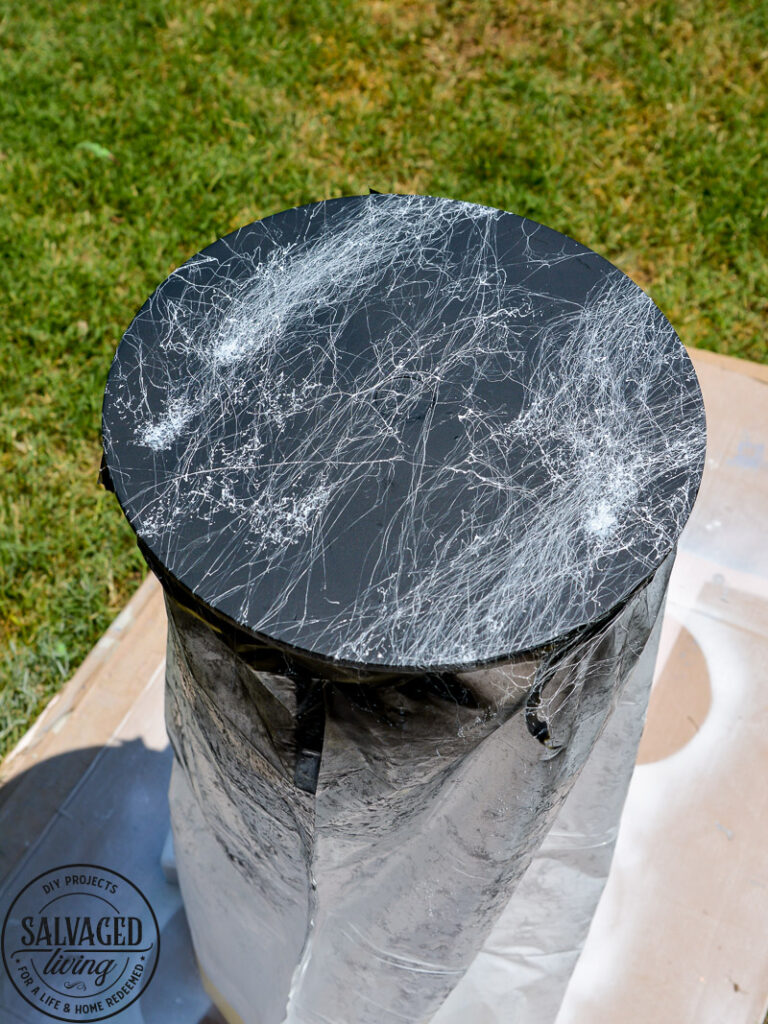
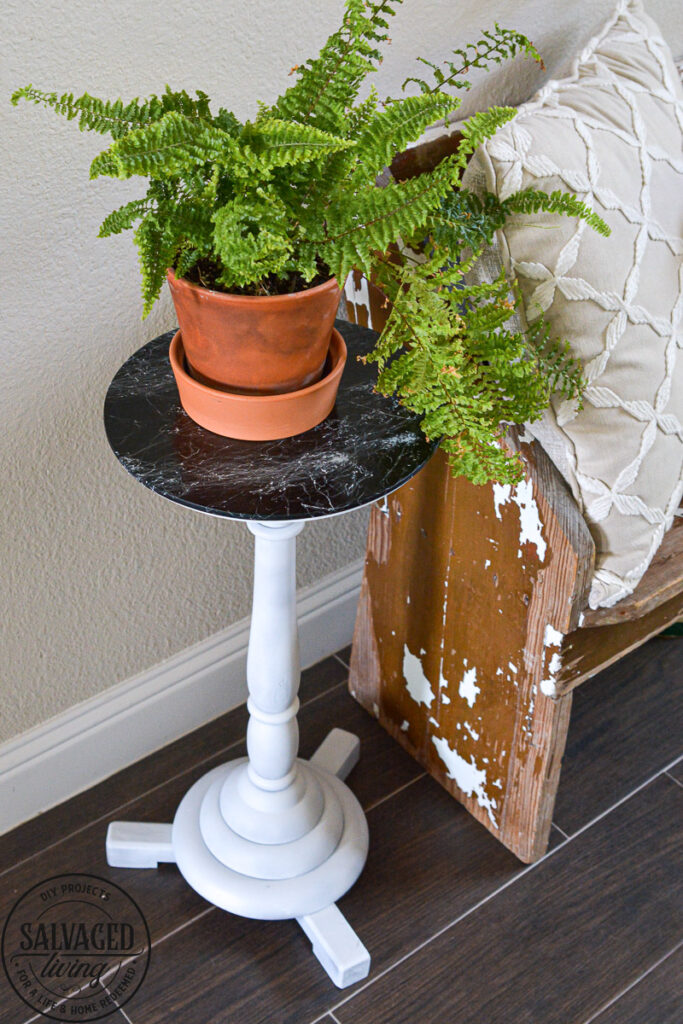
Remember paint is not 100% permanent. If you don’t like the way your marbling turns out then sand it down and try again! To finish the project off with an authentic marble effect, I used the Rust-Oleum Triple Thick Glaze. This shiny glaze really seals the deal on authentic looking marble.
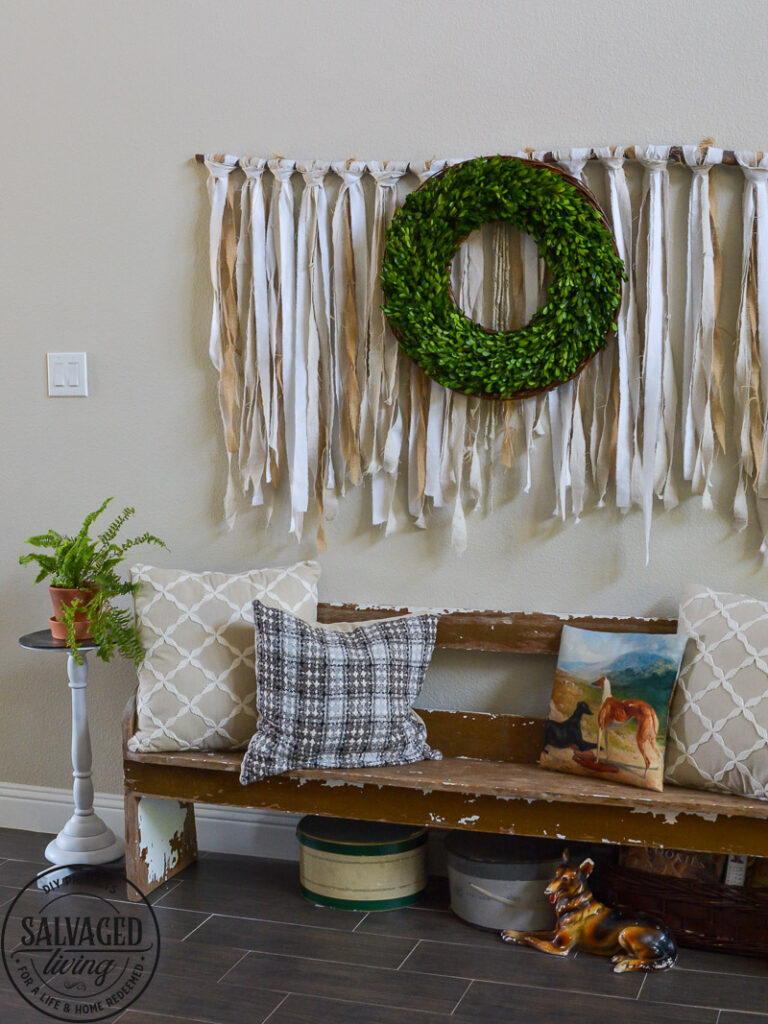
I can see so many project possibilities with this awesome product, just think how cute you can makeover a tray, candlestick, picture frame, cutting board or any other thing roaming around that needs a facelift! Minutes to new I tell ya!


Great idea. Didn’t know about these paints!
I’m so happy to introduce you!!! They are extremely easy to use!
SO cool! Thanks for sharing xo
You should try it Anne! You’ll love it!