I can’t wait to show you how easy it is to create bunny decor for Easter from paper!! I personally LOVE decorating with bunnies, they’re precious AND I actually raised rabbits when I was younger. Fun fact about me you probably didn’t know!! And honestly, I think we can collectively, as a world, agree that bunnies around Easter time is so precious and sweet. It’s a MUST!! If you feel the same and want to spread some sweet bunnies around your home on a budget, stick with me!
supplies needed to create your bunny decor
- bunny head template (I used a cookie cutter)
- scissors
- pencil
- old paper (I used hymnal pages)
- hot glue gun
- watercolor pencils or paint of your choice
- jute twine
- stand for your bunny head– I made my own (you can see a tutorial here), but you can potentially buy them or choose to display these entirely different than I did! You COULD just attach a dowel rod and stick it in a plant, that would be precious!!
easter decor, here we come
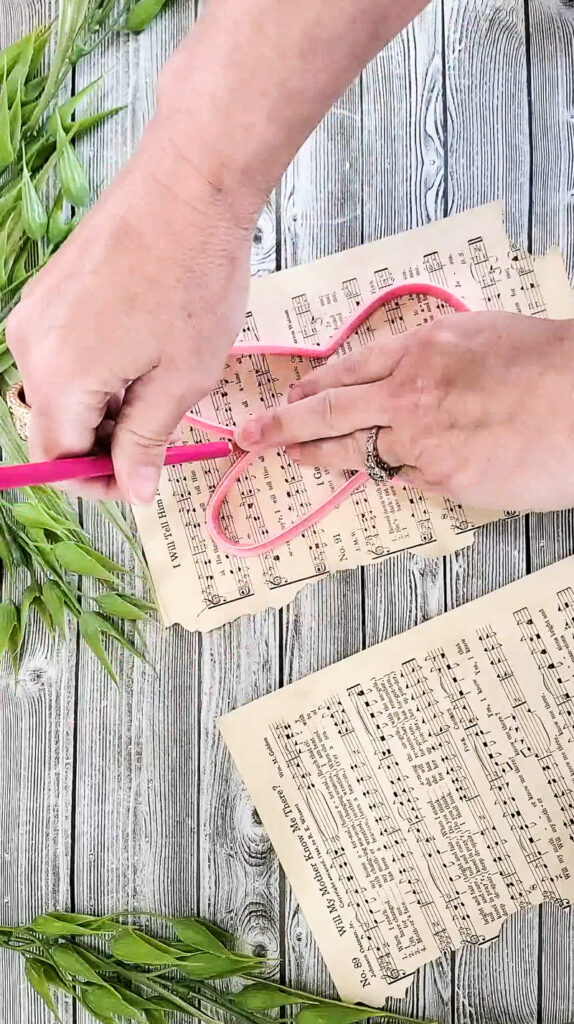
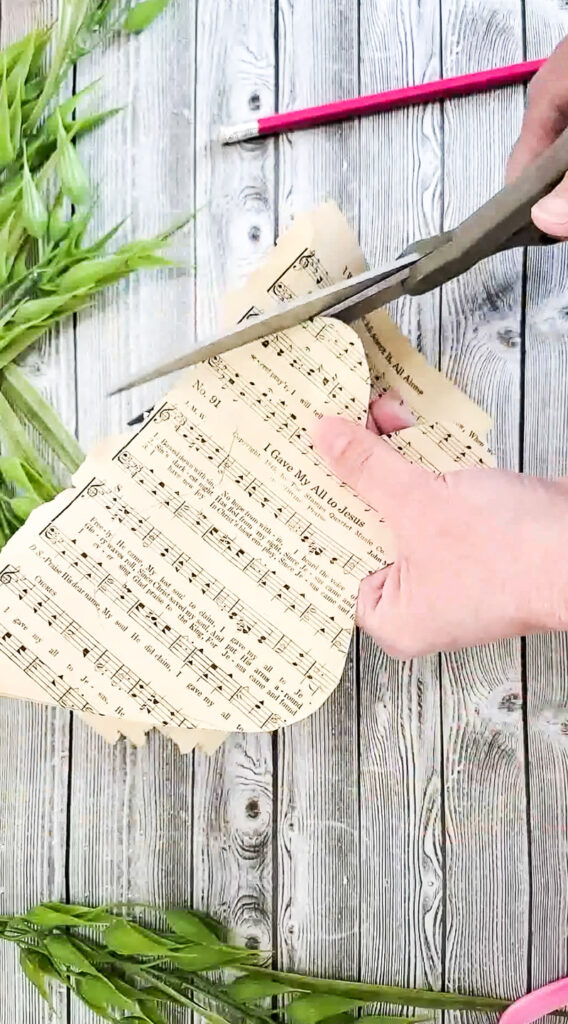
- Trace and cut out your bunny head. Keep in mind that 2 traces will only equal one bunny in the end!
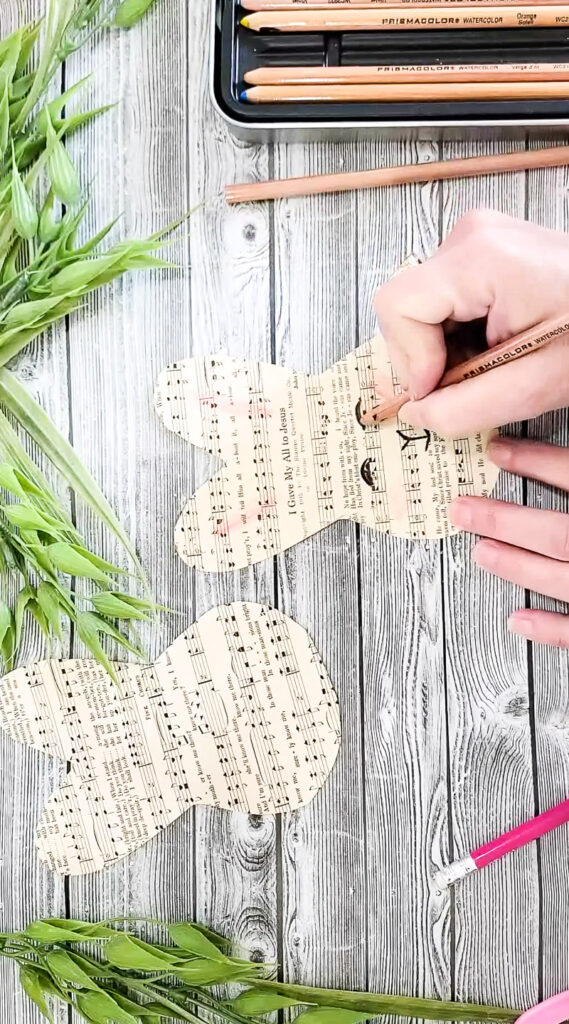
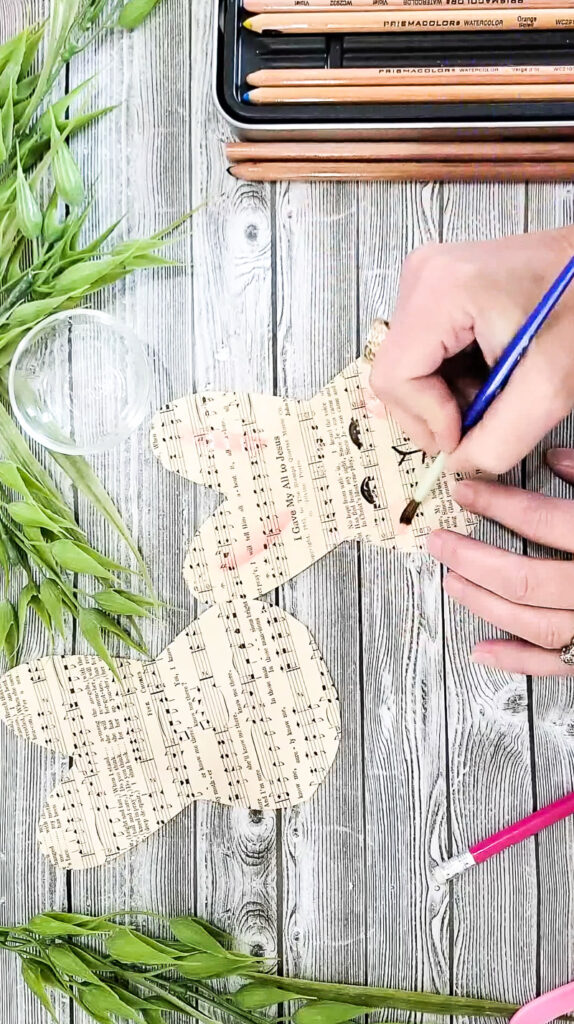
- Decorate your bunny! I used my go-to watercolor pencils to liven mine up, but you can truly use whatever you have or prefer! Of course, since I used watercolor pencils, I went in after I was done drawing and added some water, to give it the full effect!
- Cut small strips of jute twine (maybe about an inch to two inches) and hot glue them onto the bunnies cheeks!
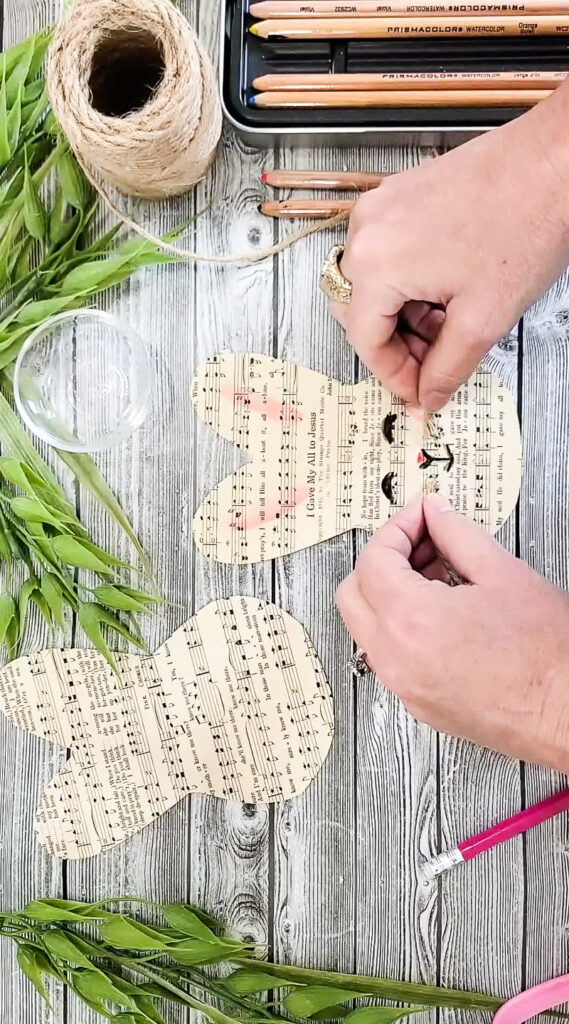
- Once they’re attached and the glue has dried, tear the twine apart some to give it a “whisker” effect.
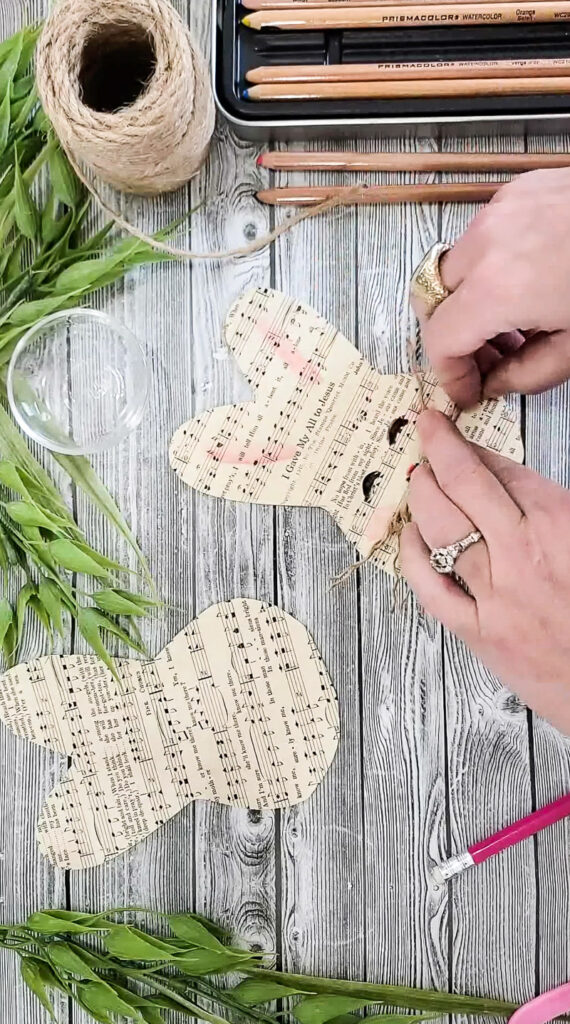
- Add hot glue to the edges of the plain bunny and attach your cutie bunny on top. Make sure to leave about an inch or two open at the bottom for the next step.
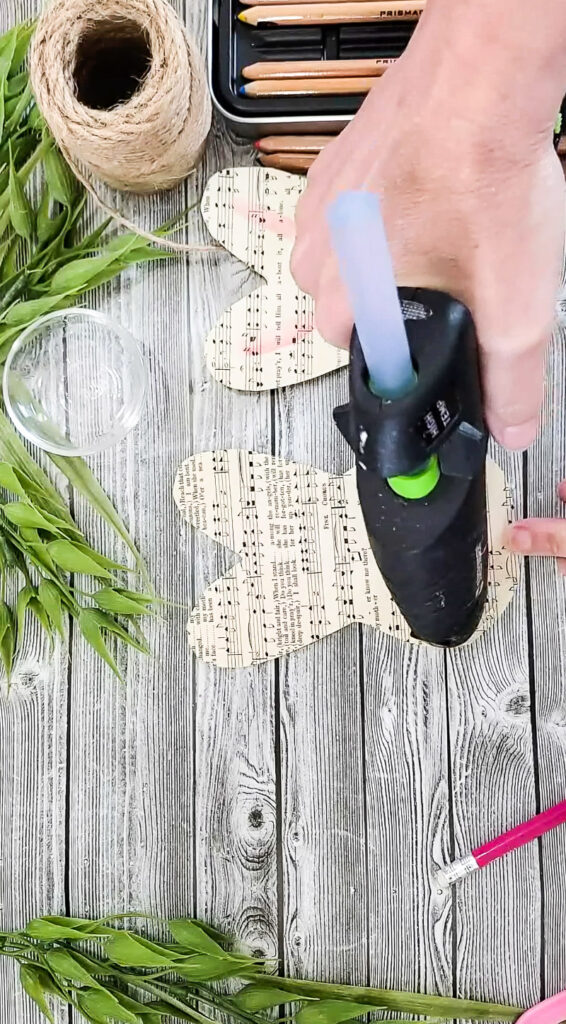
- Time to stuff the bunny. I used paper towels but you can use whatever you have on hand, of course! And to get some stuffing in the ears and throughout, I used a pencil to shove it up there a bit!
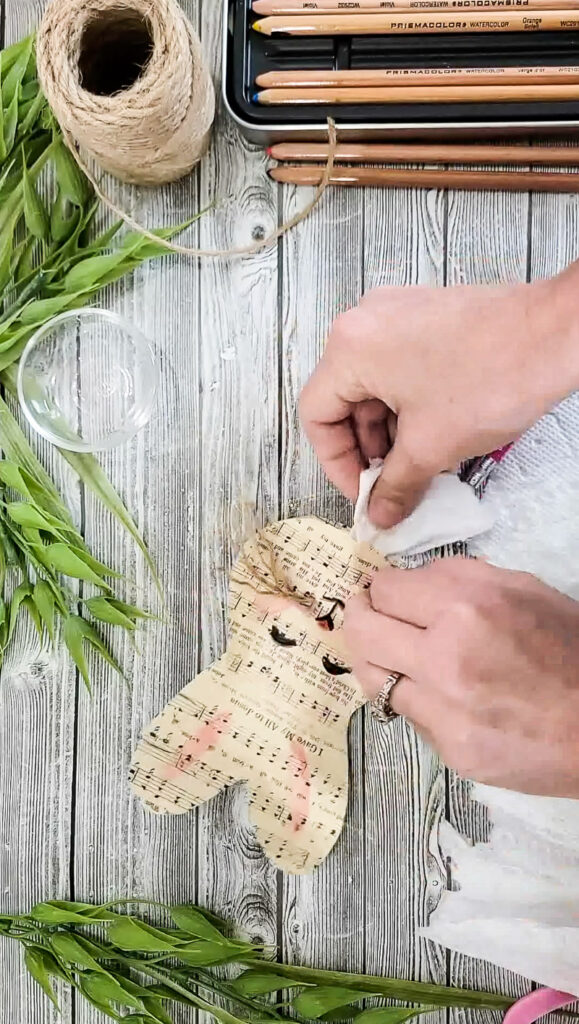
- Use more hot glue to mostly close up the hole at the bottom and hold in your stuffing. Leave a small hole for your stand or dowel rod.
- Once you’ve inserted your stand of choice, glue up the hole and you are DONE, my friend!
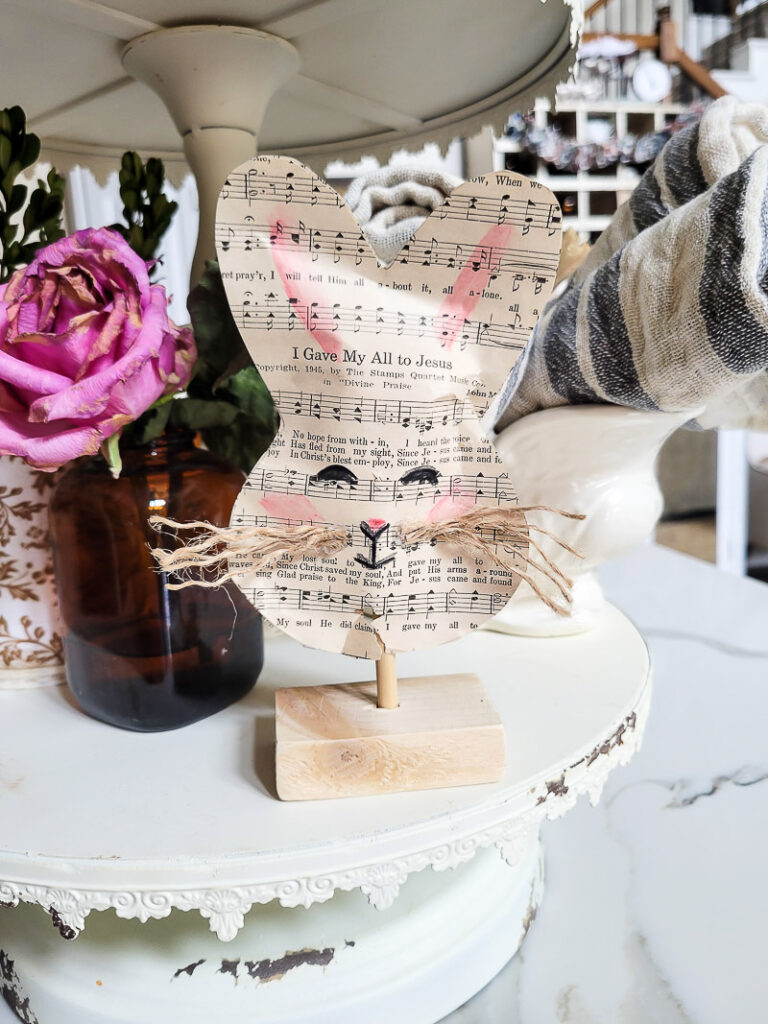
Now you’ve got some sweet decor that took only minutes… and didn’t cost a dollar over budget!
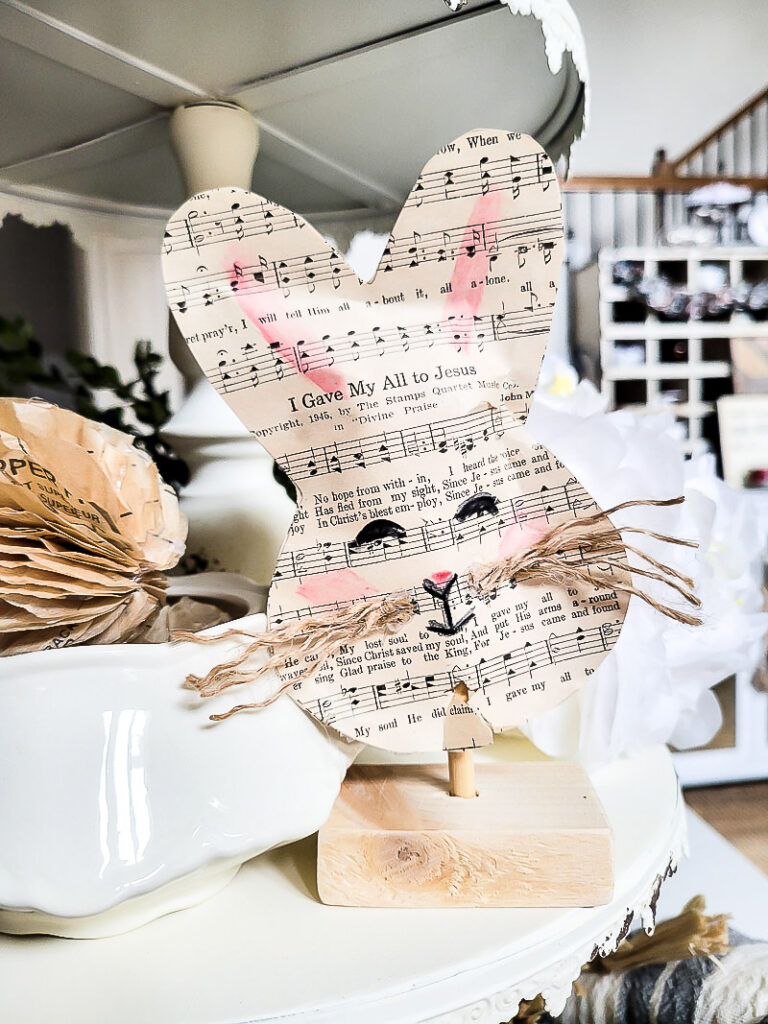
If you’d like to see more paper crafts on the blog, click HERE!
And if you LOVE to see paper & cardboard crafts, and want to learn how to make your own, you may want to check out my exclusive paper & a prayer community! We craft, we journal, and we pray… if that sounds up your alley, you can see more info and join the waitlist HERE!


Leave a Reply