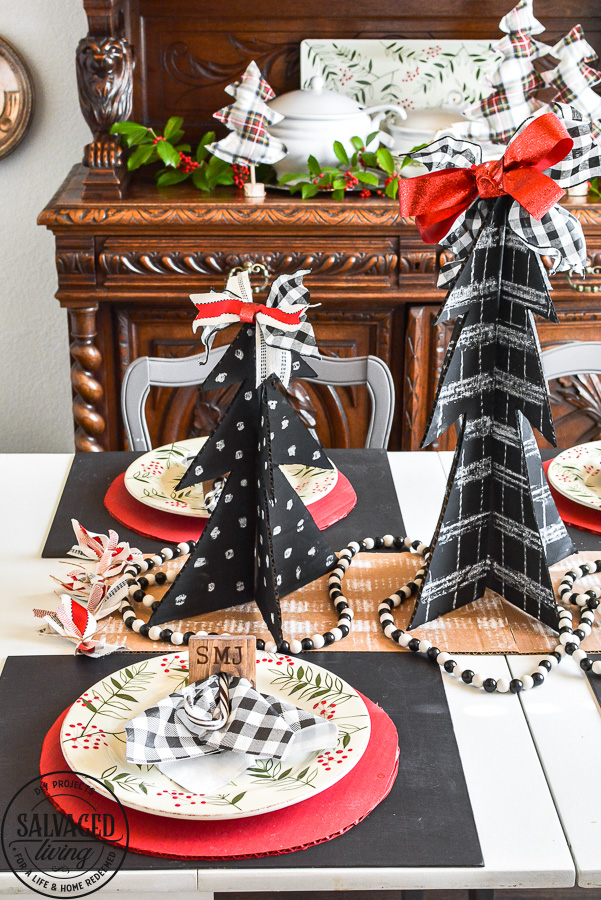
Is it just me or are you ready for some holiday cheer? These chalkboard Christmas Trees made from cardboard are bound to get your holiday spirit in gear! Our Christmas tablescape is filled with fun ideas for you and your loved ones to enjoy this holiday season so pull up a chair and join me for some fun DIY tablescaping! This post is sponsored by Rust-Oleum, all ideas and opinions are my own.
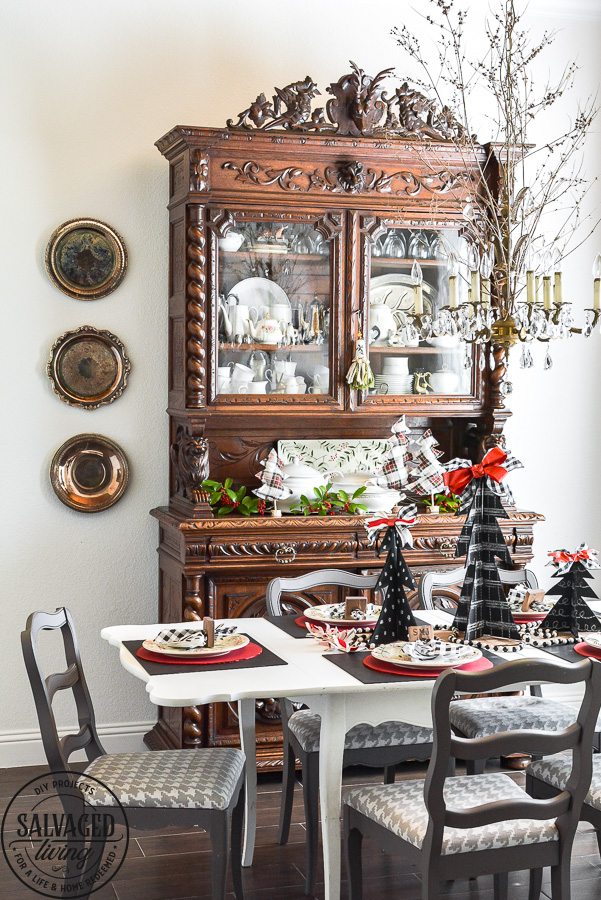
This past year has been less than stellar on so many levels and I think that has us all craving some together time with our loved ones. I’ve been in such a joyful Christmas spirit because I think we all need an extra dose of JOY right now. I want our home to feel like a safe space for my family and everyone that enters to feel welcome and special.
A spectacular table setting always does the trick if you ask me! PLUS – the Christmas decorations on this table were almost all created from CARDBOARD 
I’m still in love with chalkboard and Buffalo Check this year, maybe because black and white is a go to color combo for me. You could use these ideas for any Christmas color palette though.
Stick with me for a few quick tutorials and a supply list below! I love layers on a table and plate chargers are a must for me. They allow me to leave the table looking set even when we aren’t using it.
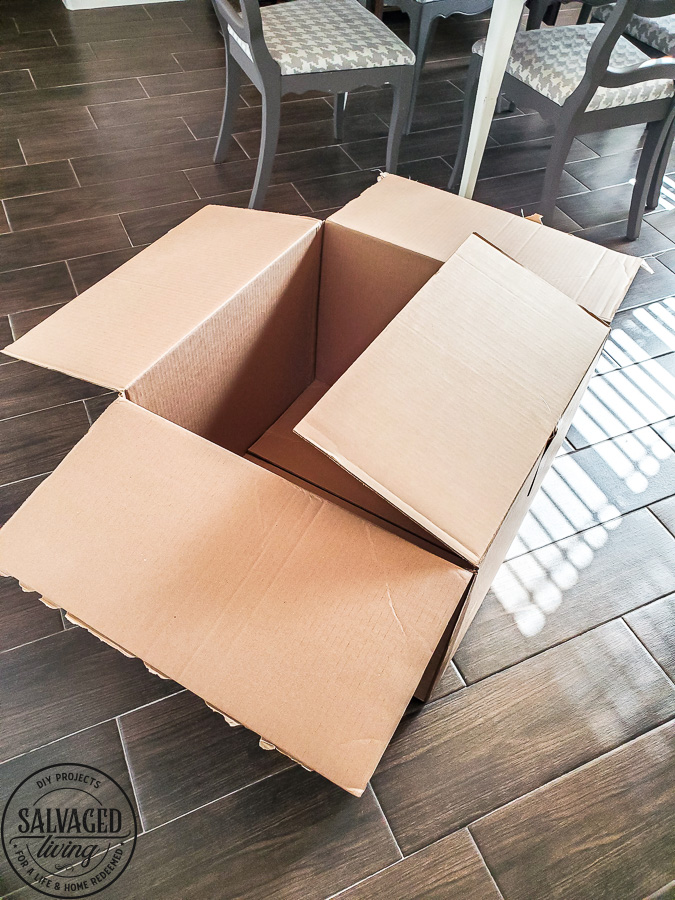
I always search for fun chargers at a great price, but they aren’t always easy to find so I did what any good crafty girl would do and made my own!
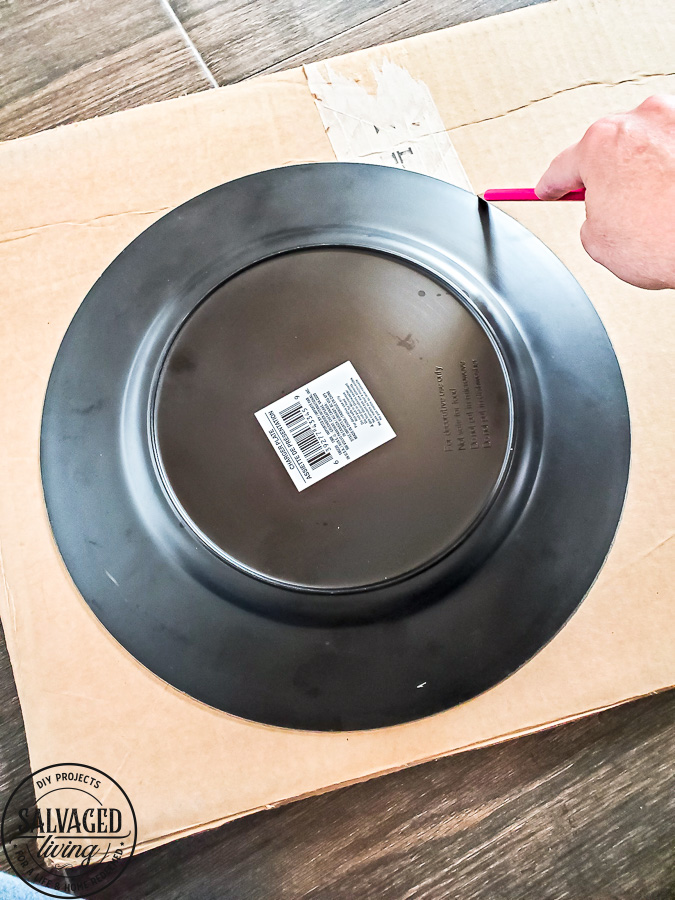
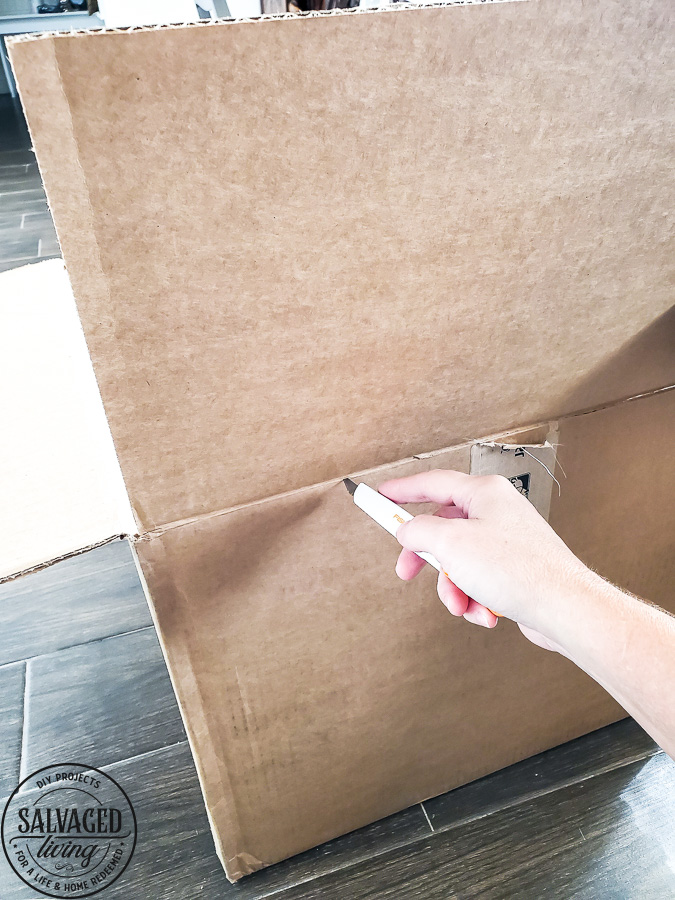
Of course I used a cardboard box 
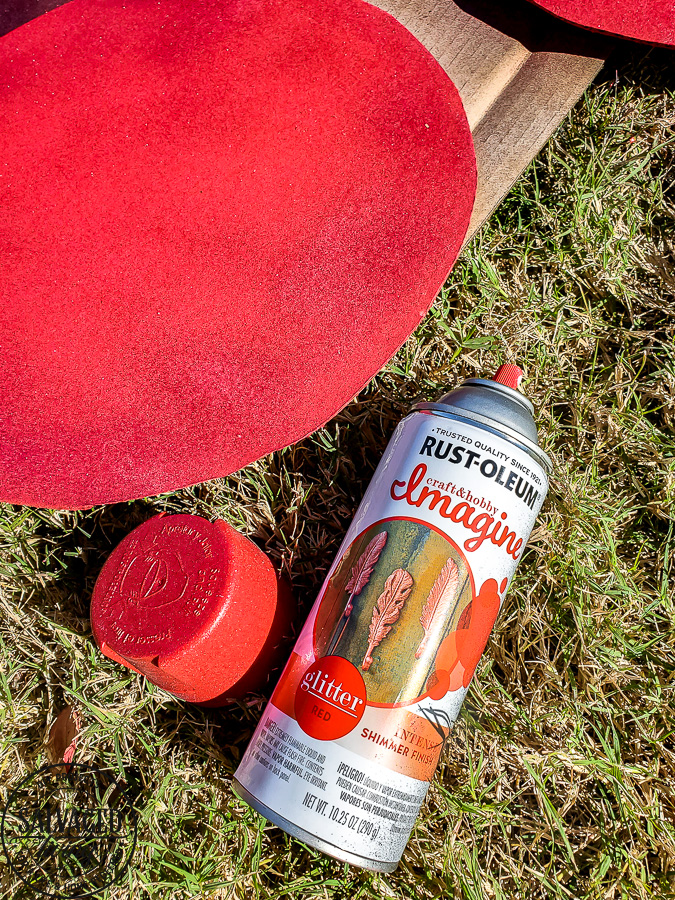
Next I laid my new chargers outside and spray painted them red. I finished off the chargers with Rust-Oleum Imagine Red Glitter Spray Paint. It’s deliciously sparkly and my pictures do not do this extra special effect justice!
You don’t have to use a base coat color, but I wanted a very solid red and it helped the glitter paint go further. Shake well, spray lightly and spray multiple coats for the best glitter results!
Next I made some cardboard Christmas trees. These were so fun to make and super simple. Once again, get some of that stored up cardboard
Sketch a tree shape and cut it out. Trace it and cut the exact shape out again, so you have 2 exact pieces for each tree you want to make.
I made three sizes for height variation. Remember you can make these as big or little as you want! They’d be precious as small place card holders too.
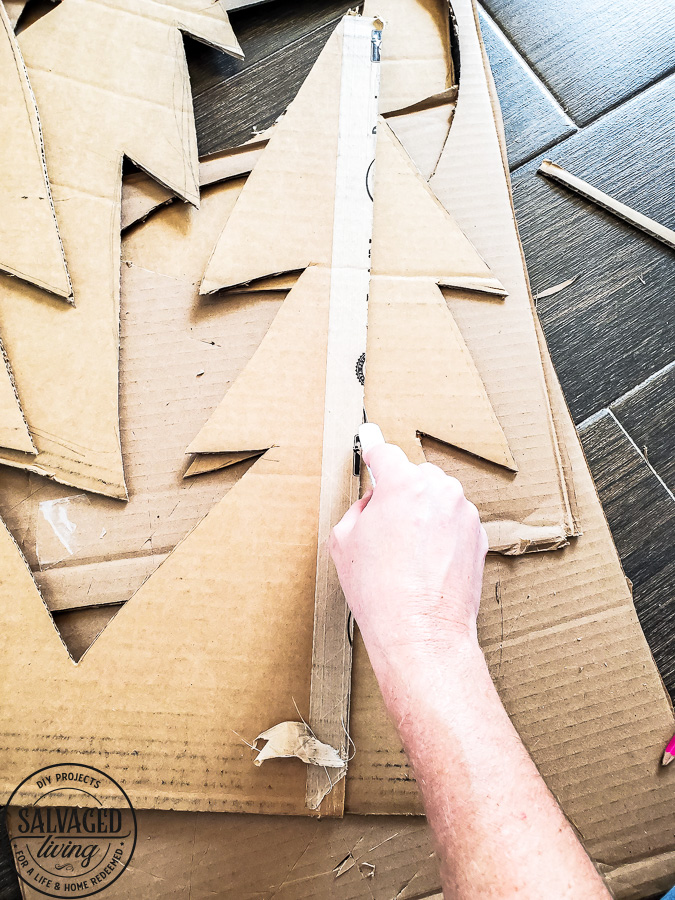
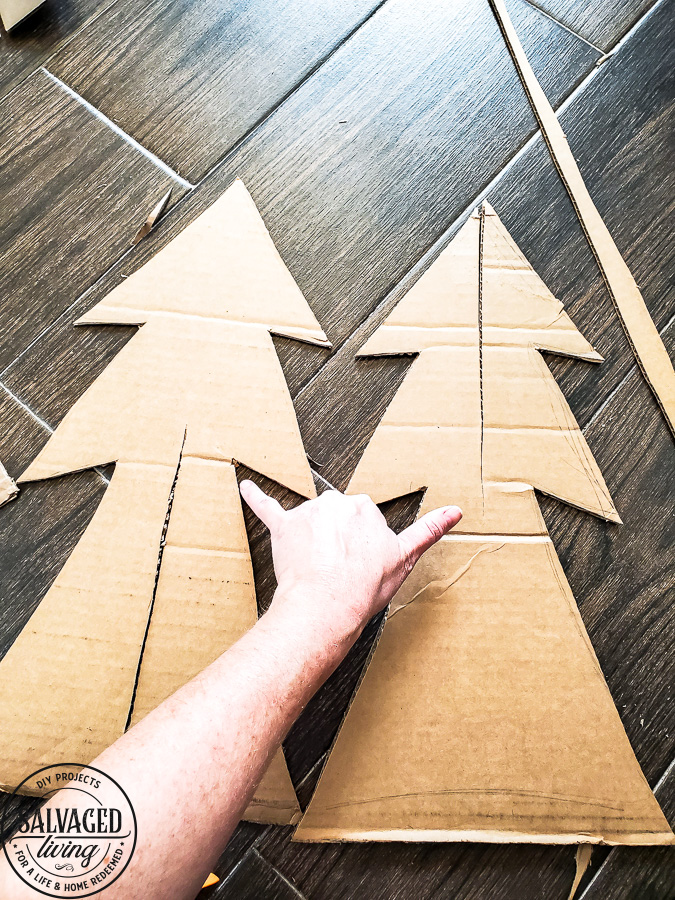
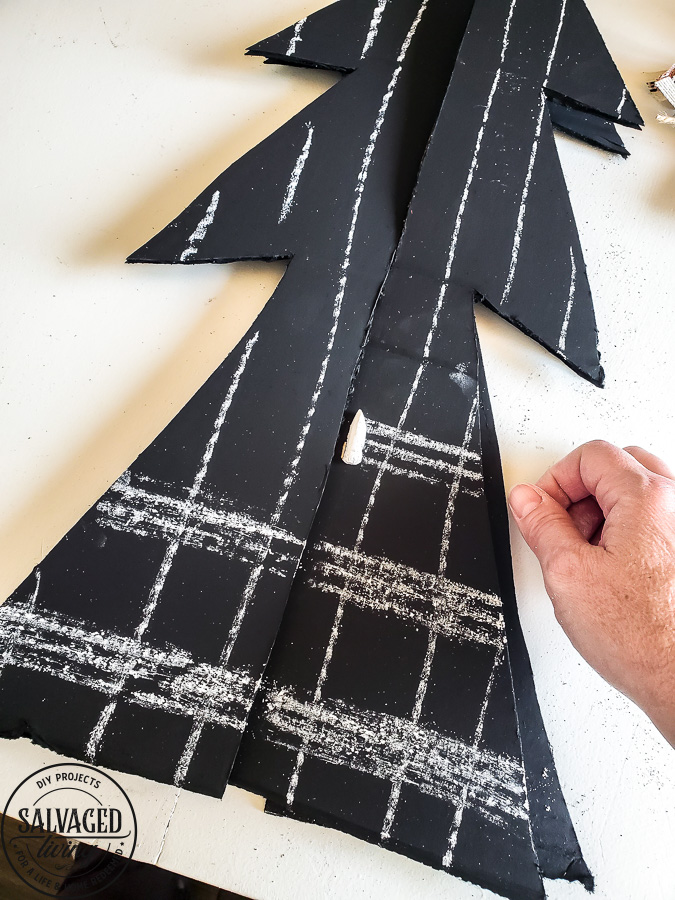
Once you cut the trees out you will need to slice them in the middle – one from the top down, one from the bottom up, both slits a little past halfway.
This is how you will slide the two pieces together to make one tree, if you have a hard time getting them flush make sure your cut is long enough.
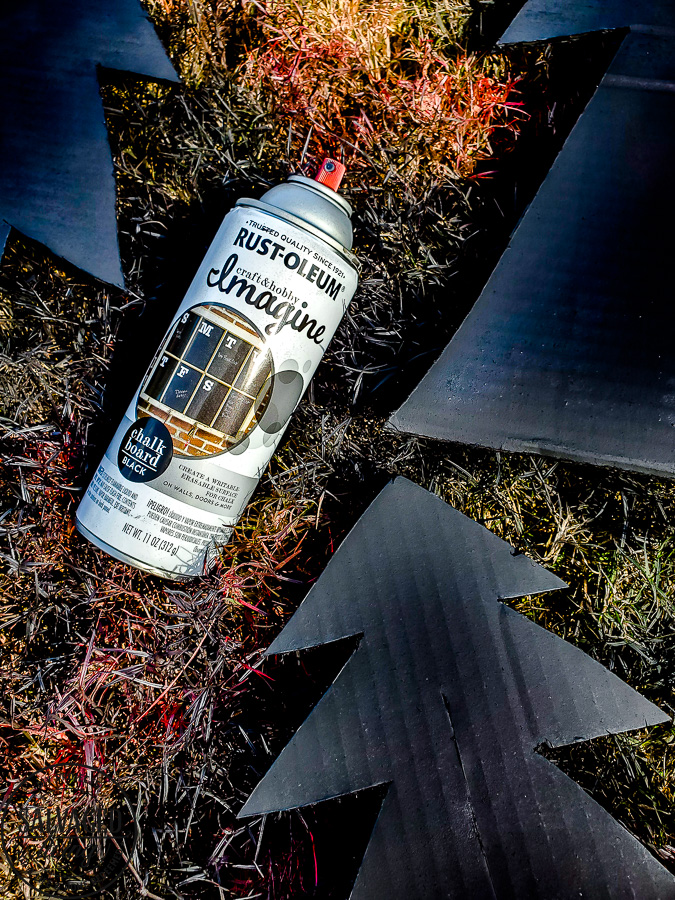
Next I used Rust-Oleum chalkboard spray paint. It was excellent for coverage. I used a few coats to be safe and was super pleased with how the chalkboard finish turned out.
Slide the two pieces together and lay them flat to decorate with chalk. You will lightly open them up when you are ready to stand them up!
Use a fun pattern or words to decorate your chalkboard Christmas trees, and of course a simple bow on top is the best.
The table runner is made – once again – from CARDBOARD! 
Add a fun Buffalo Check pattern with chalk or you could paint it with the chalkboard paint as well.
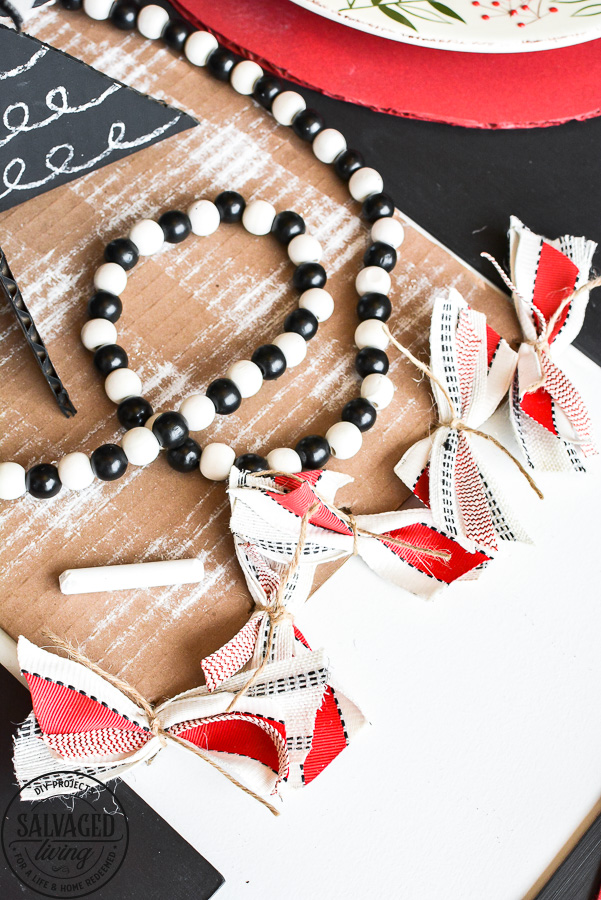
There are so many ways to make your holiday table special and it doesn’t have to cost a fortune!
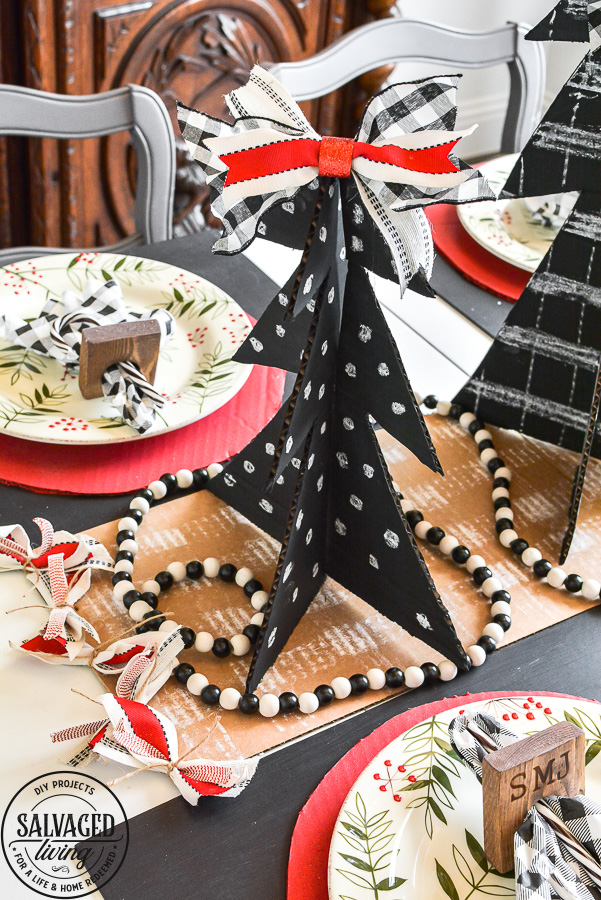
Add your favorite Christmas plates, napkin rings and PAPER napkins (because no one has time for the extra laundry cloth ones bring 
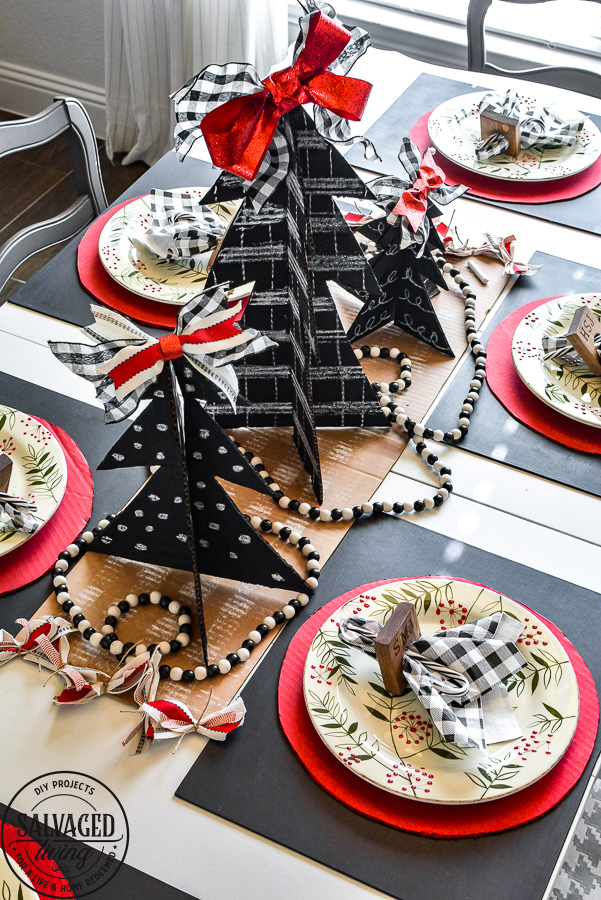
No matter how you decide to decorate this year, I hope you are able to enjoy the company of your closest people and look back on 2020 and realize there is so much to be thankful for.
There is always something to be thankful for, even if you have to think hard and squint your eyes to see it. I for one, am thankful for YOU! xoxo
Chalkboard Christmas Table Source Guide
Cute Christmas Plates (these aren’t mine but I LOVE them!)


Such a cute idea!! Can you get the spray chalkboard paint in green?
You have an absolutely gorgeous china cabinet! Hope you don’t paint it.
Shari
I have ZERO plans of ever painting this piece, it is one of my very favorites, just as it is!
OMGosh, SUPER CUTE! I love it!
Thank you and yayyyyy
What a great idea!!! You have such an imagination and I’m so glad I receive your posts!! I love, love, LOVE these trees and so easy to make….thank you for sharing! Happy Thanksgiving!!
I am thrilled you like them and that is the sweetest thing to say, thank you so much. Xo
What a great idea! These could be customized to anyone’s colors– yours look so perfect! Marvelous job.
WOW! I so Love this project!! I’m going to make these for my Christmas table. I love your ideas Kim! You’re awesome to share with all of us!
Blessings! Carol
PS. Your son is so cute!
Have a blast Carol, these were a fun project for sure!