Having recently moved into my Husband’s fishing cabin house, I’ve had quite the to-do list of home projects. The master bathroom has been eating away at me since the first moment I stepped foot into it, I do have to look at it every day after all. It was outdated, had almost no storage, and overall just kind of dark and drab. But I didn’t have the time or the money to do an all-out renovation- I needed a budget bathroom makeover! I want to thank Rust-Oleum for sponsoring this project! Let’s look at where we started…
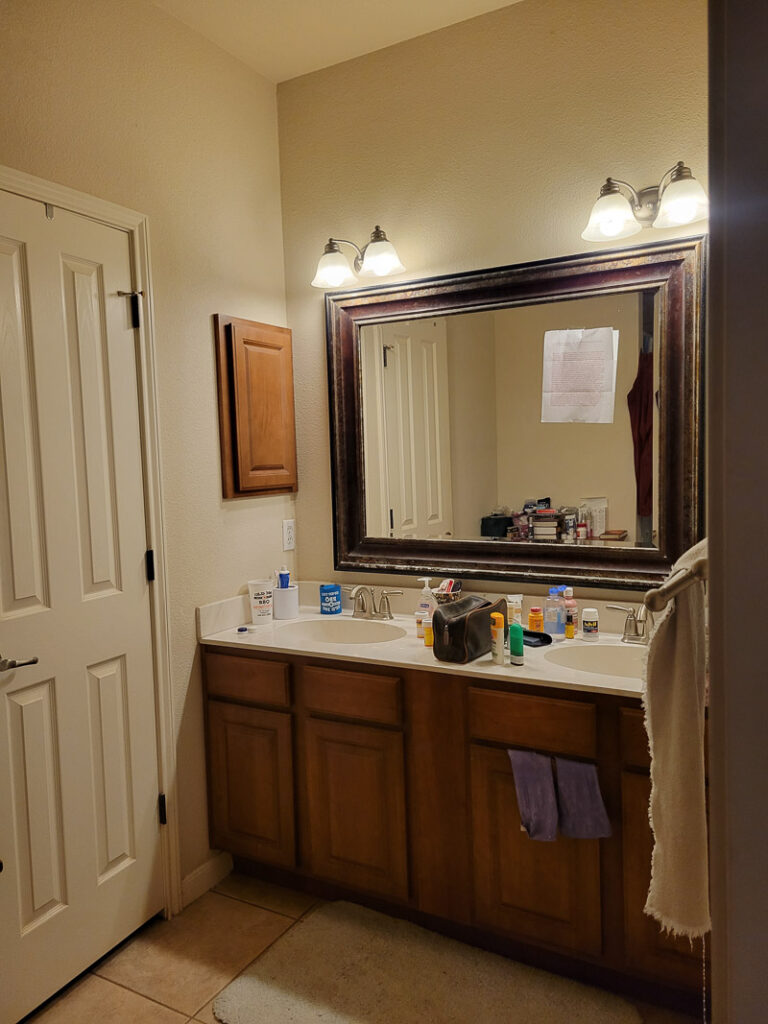
This is what I moved into…
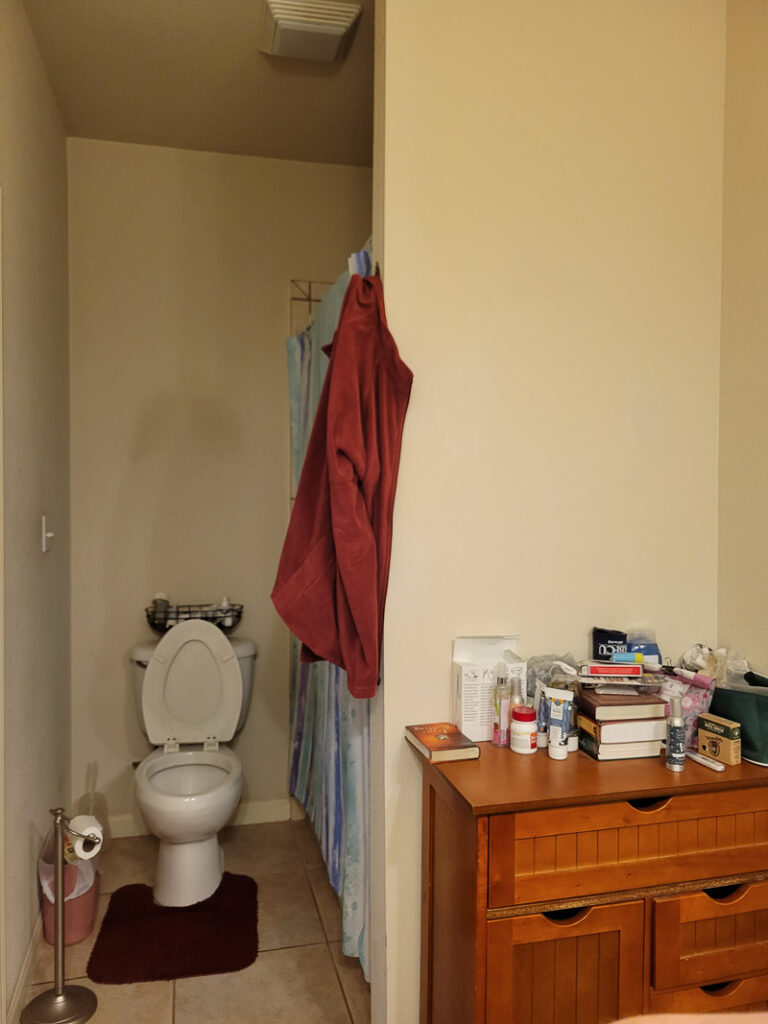
You can see, that this little bathroom needed some TLC! I have tips, products, and a source guide to help you plan and implement a budget bathroom makeover! Stick with me…we got a little bright and tidier along the way, but that mirror, unpainted dresser, and blank walls were killing me slowly…
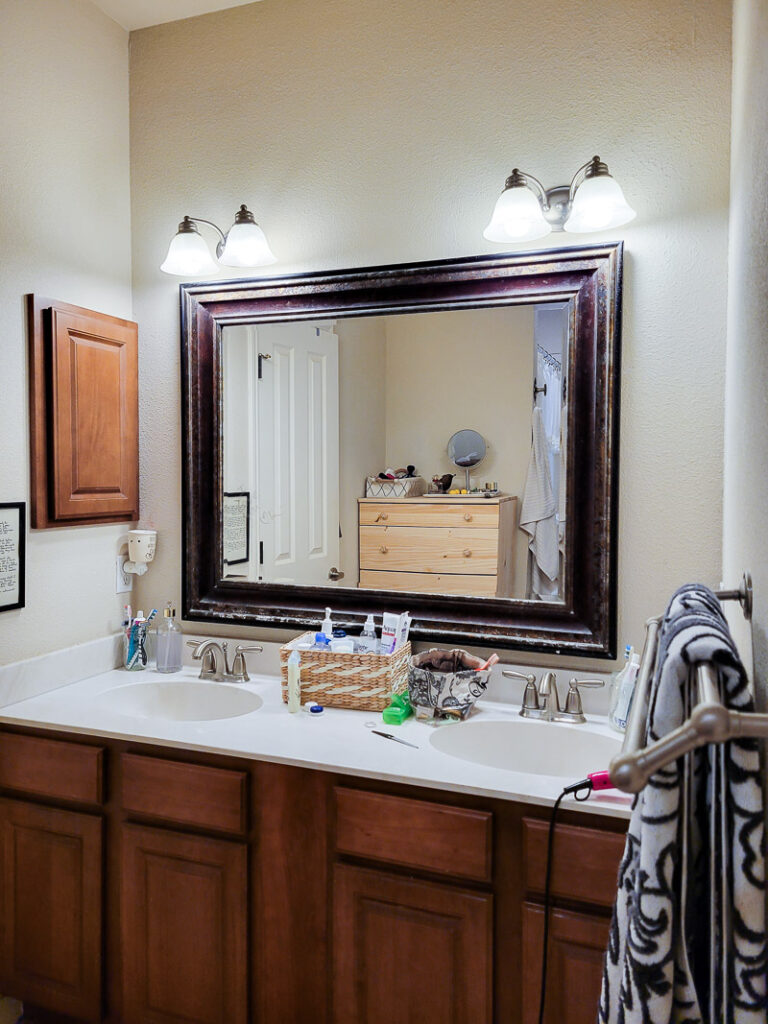
I know many of you out there can relate. We all have spaces in our homes that are dated and need a refresh, but many of us ALSO don’t have tens of thousands of dollars to drop on that all-out renovation. The good news though- you don’t NEED an all-out renovation. A few small updates here and there will give you exactly the budget bathroom makeover you’re looking for!
Let me tell you what I did and you can decide for yourself! The best news, you can knock this budget bathroom makeover in a day if you set your mind to it!
budget bathroom makeover
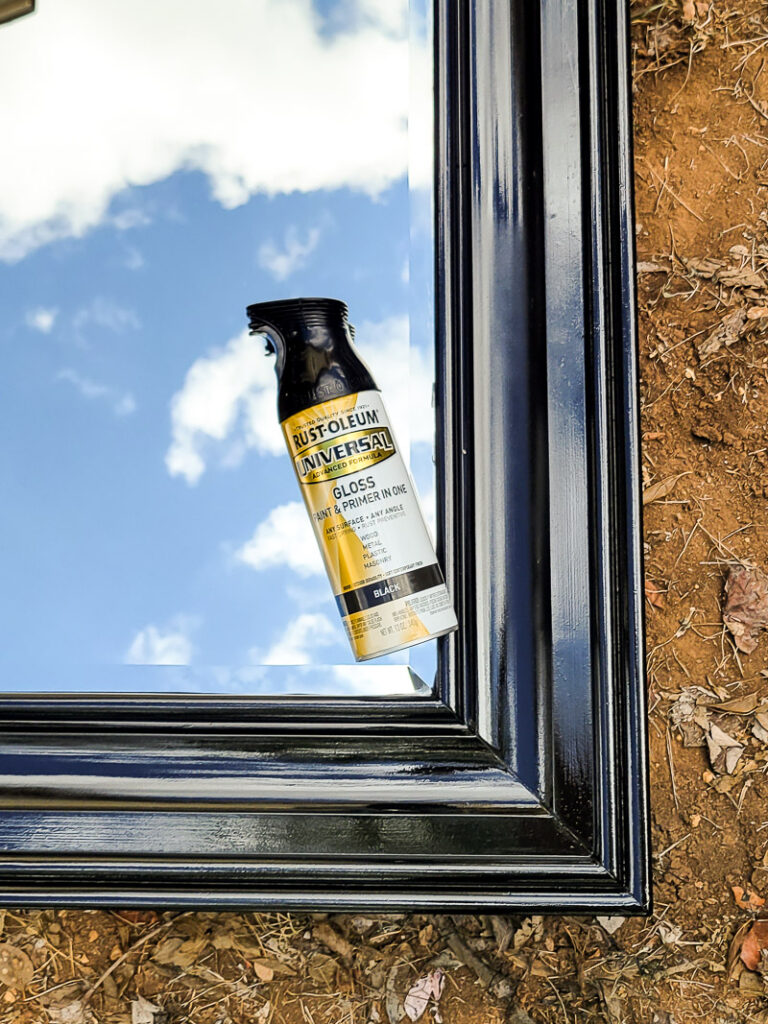
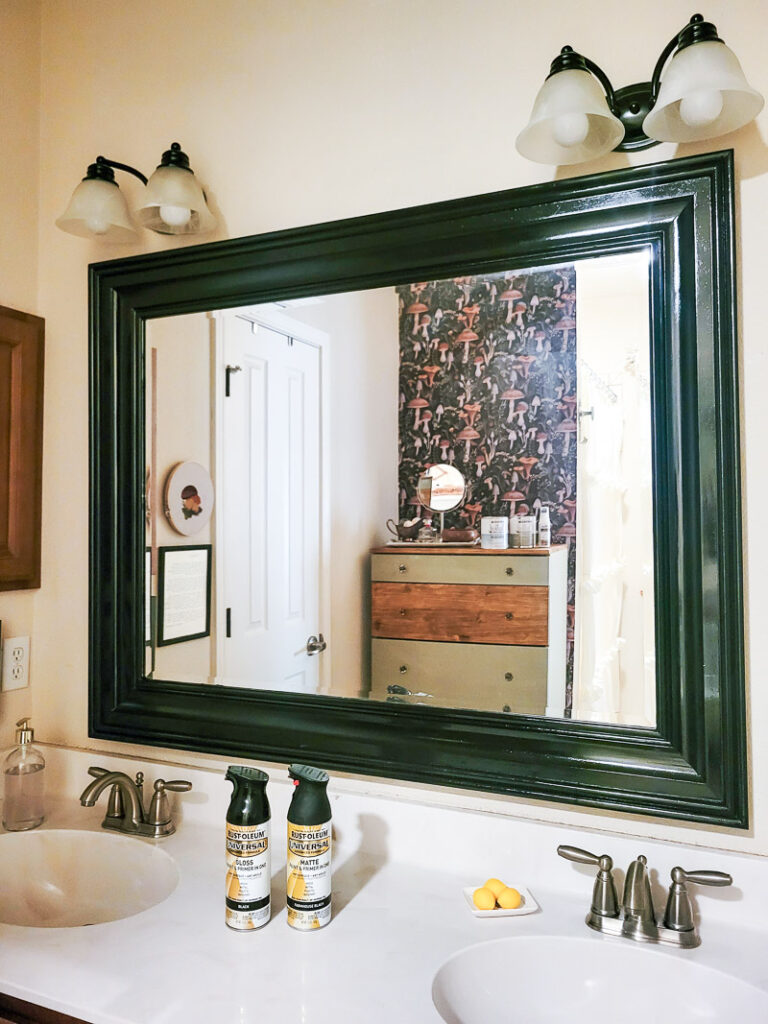
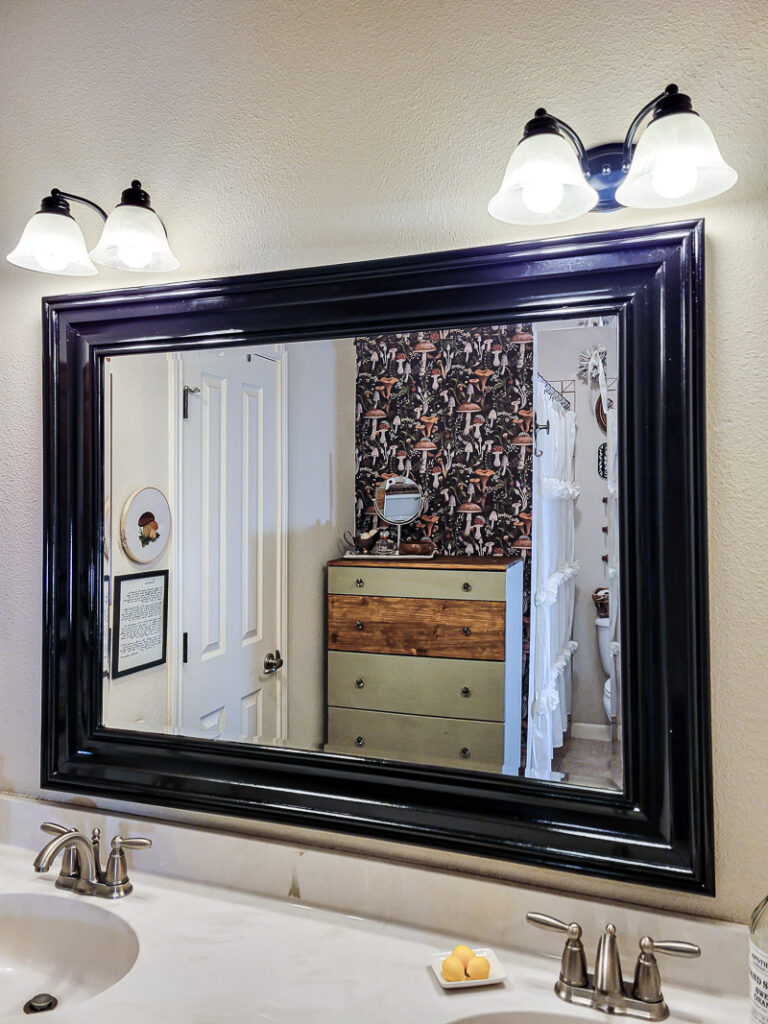
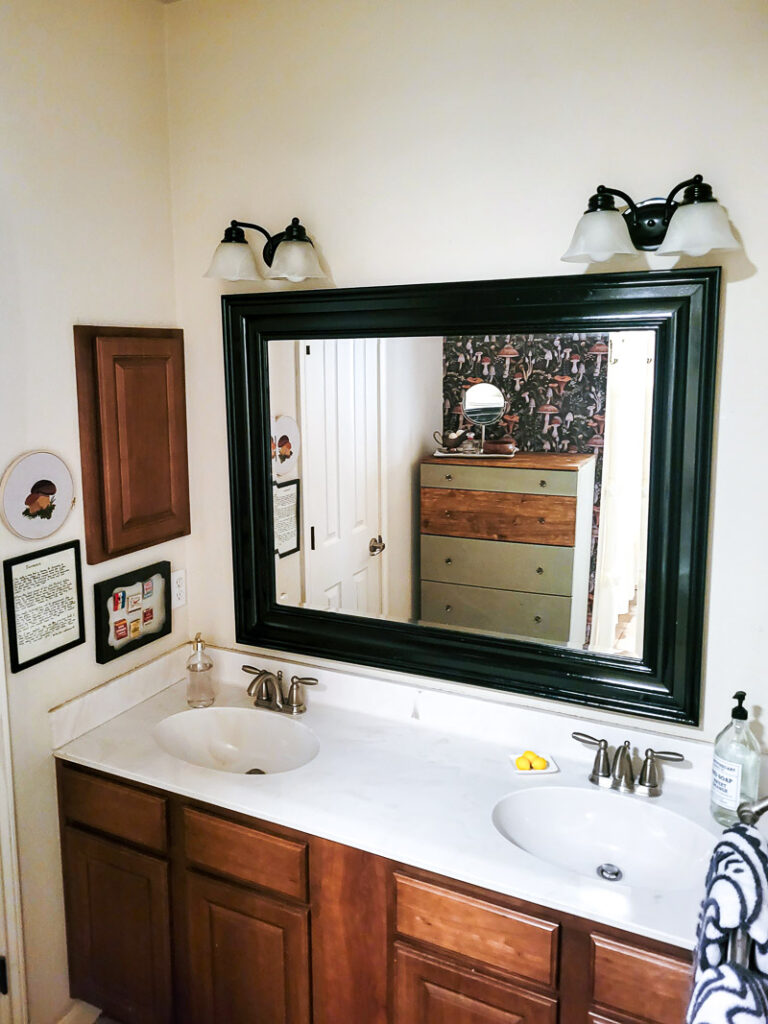
First things first, a little spray paint is the ULTIMATE way to update pieces on a budget. I decided to spray paint my outdated mirror using Rust-Oleum’s Black Universal Spray Paint in a glossy finish!
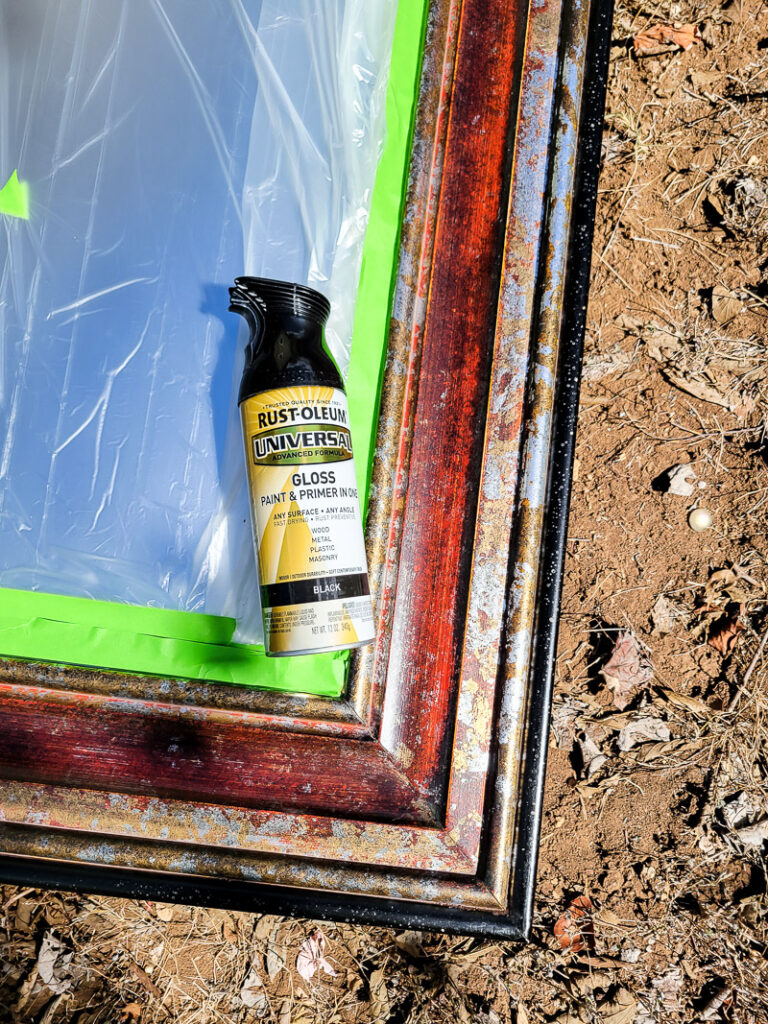
I went with glossy for the mirror, only because I think it might be easier to clean and keep clean than a matte finish. And the mirror is right by the sink, you know- we have to think of these things LOL! WOW – SO MUCH BETTER! Fresh, clean, and updated feeling in literally MINUTES!
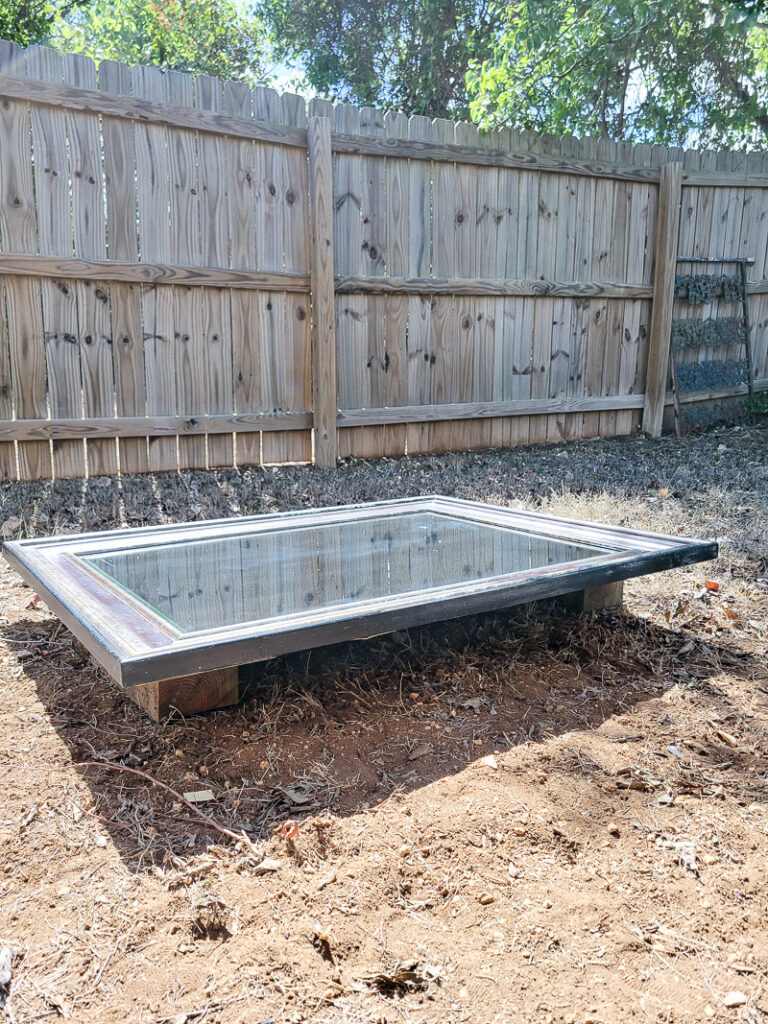
I took my mirror outside and propped it up off the ground on blocks for an easy paint job. You can absolutely spray-paint your mirror in place if it is too big or too heavy to move. Don’t let that discourage you! Use a plastic drop cloth or two and tape them under and out from the sides of your mirror. Tape off the inside as well. Make sure you cover surrounding surfaces, but Rust-Oleum spray paint is awesome and you won’t have a bunch of overspray if you slowly paint your projects! Remember with spray paint to keep the bottle moving, don’t get too close and light layers of coverage are best. Just keep going over the layers until you get full coverage. This is best to avoid drips and puddles! Rust-Oleum paints are my favorite because they have an easy spray bottle that doesn’t hurt your fingertips!!!
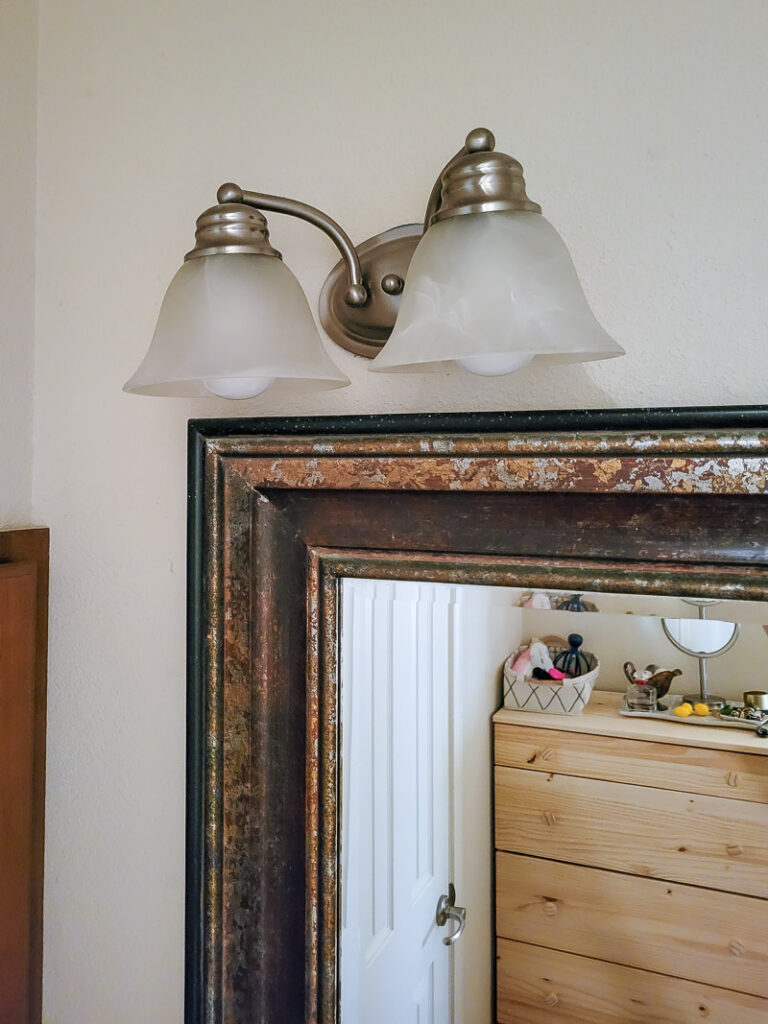
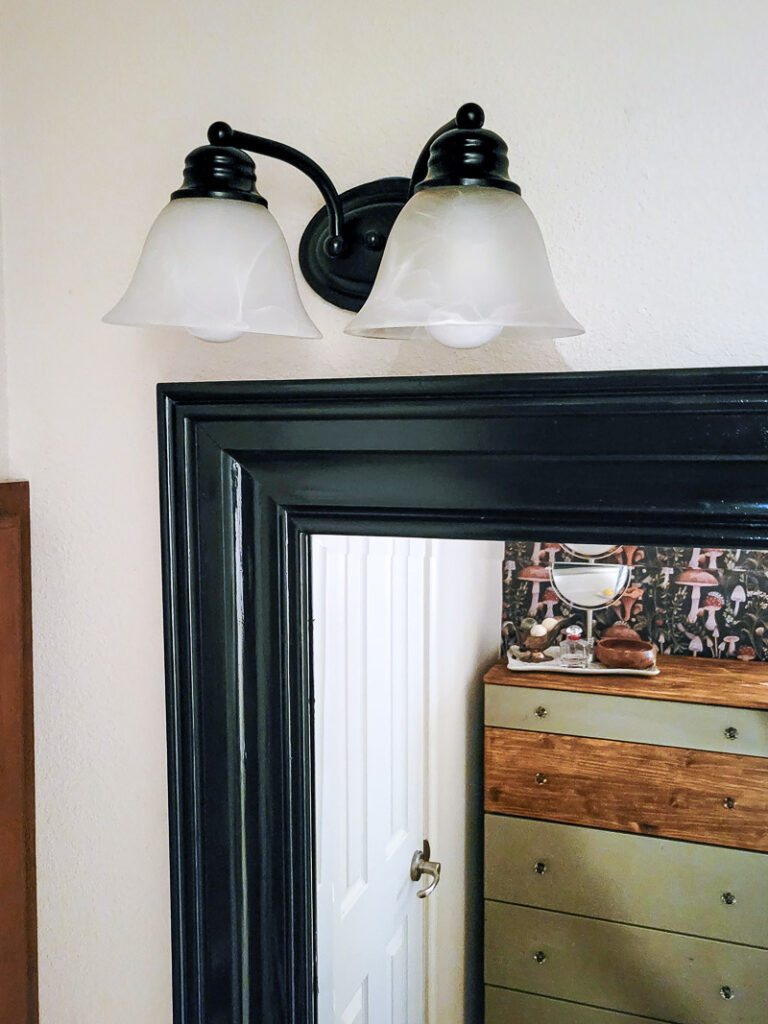
Instead of replacing my old light fixtures, I spray painted those too– with Rust-Oleum’s Farmhouse Black Universal Spray Paint in a matte finish. This budget-friendly DIY made the light look good as new but for a fraction of the price!! Spray painting light fixtures is easier than you might think and a MASSIVE budget saver.
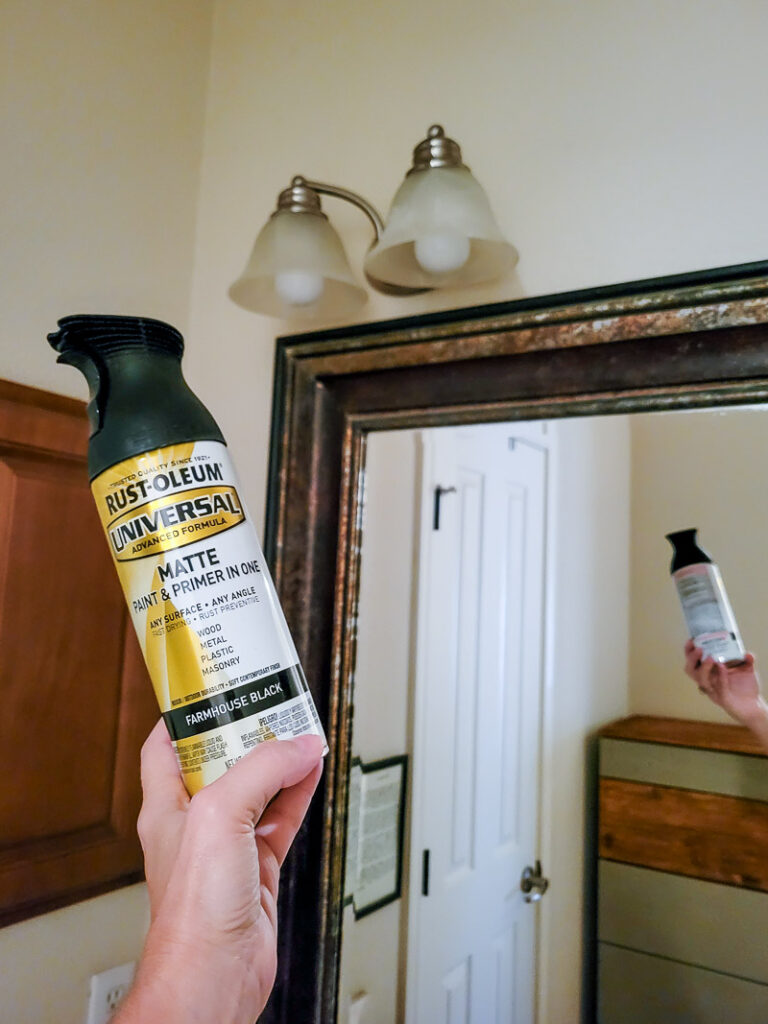
I took my light fixtures down to paint them, but you DO NOT have to if you aren’t comfortable with the electrical part of taking down and putting up a fixture. It’s pretty simple, but you do what’s best for you.
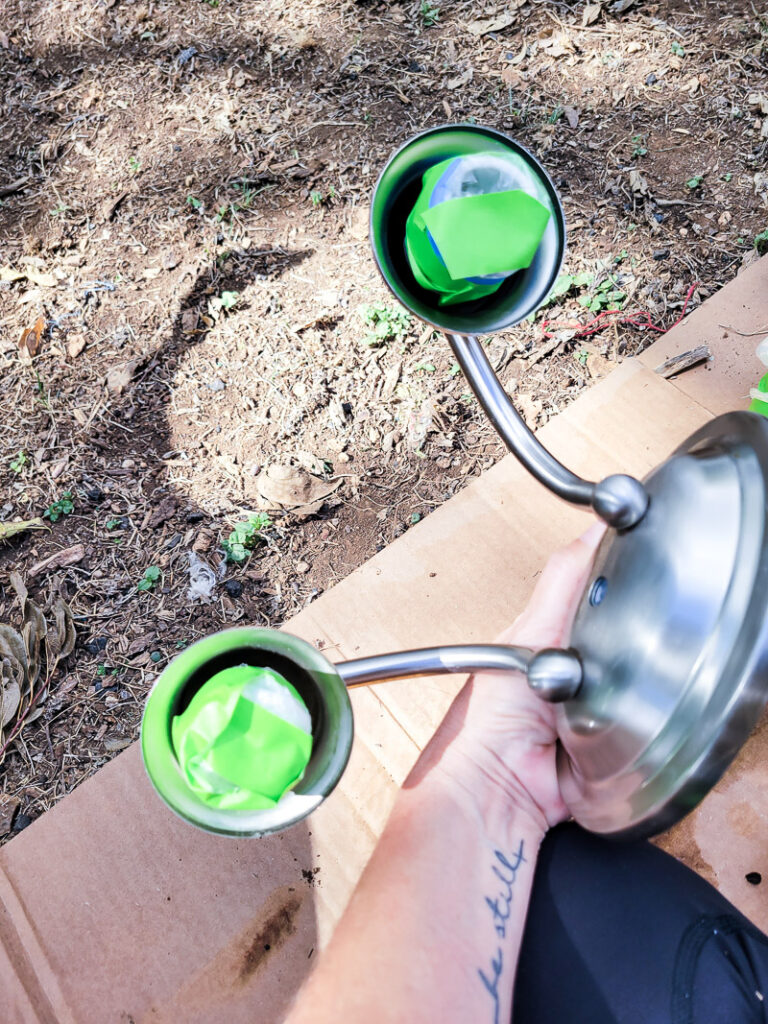
If you leave the fixture hanging simply loosen it a bit and tuck a plastic drop cloth behind and all around your fixture, then go for it. You will still need to take the bulbs out and cover the electrical sockets as I did in these pictures.
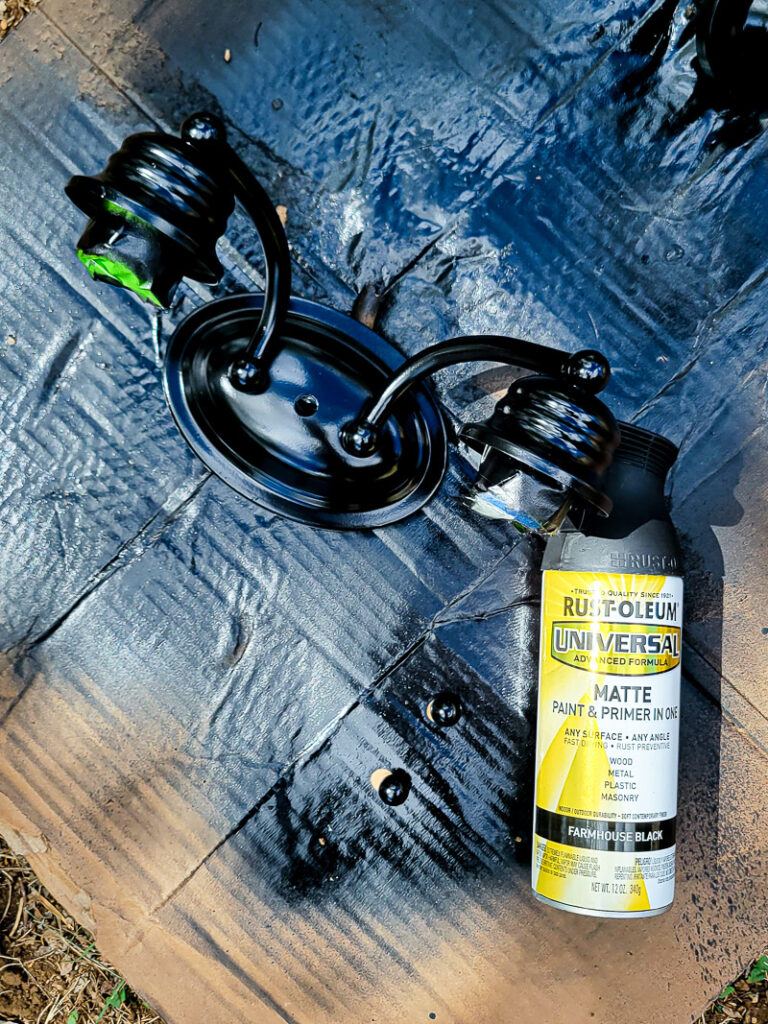
Spray painting your light fixtures is one of the easiest updates and definitely the most cost-saving update you can do.
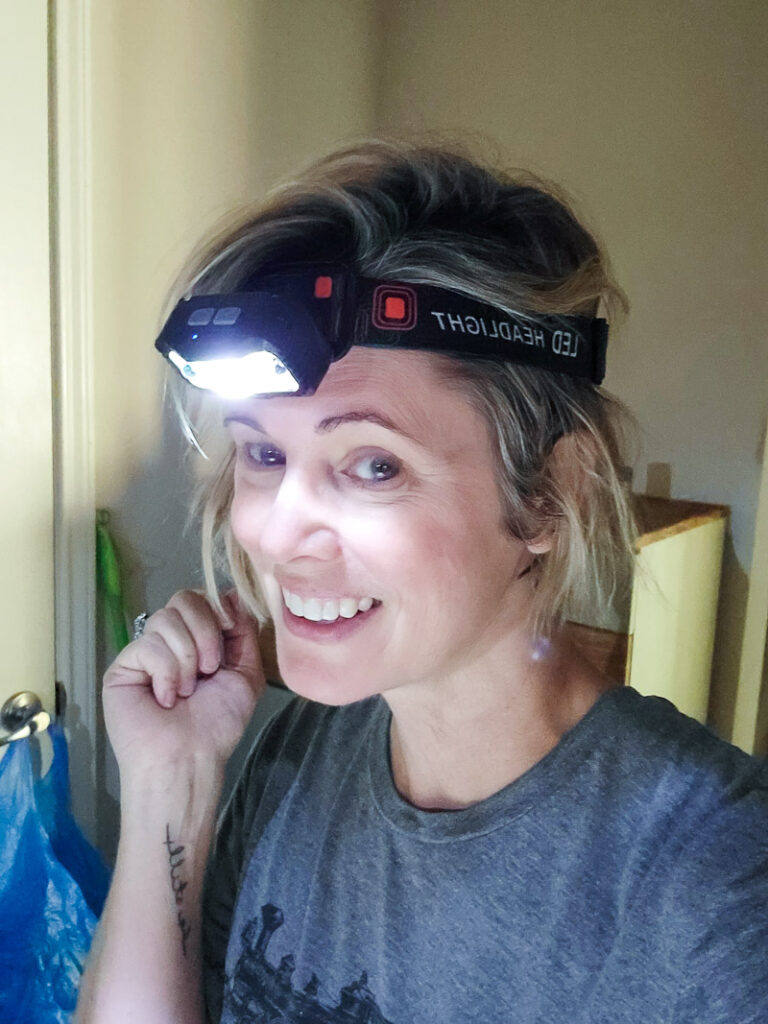
Fun tip, if you need extra light while you paint or hang light fixtures a head lamp is SUPER handy! You can grab mine here.
To add some flare, and make it feel more like “me”, I added this really fun wallpaper that I’ve been eyeing for a while! I didn’t quite know where I was going to put it, so when the opportunity struck, I jumped on it!! I always enjoy adding a bit of whimsy when I can– and if this cottagecore wallpaper doesn’t do the trick, I don’t know what will!!
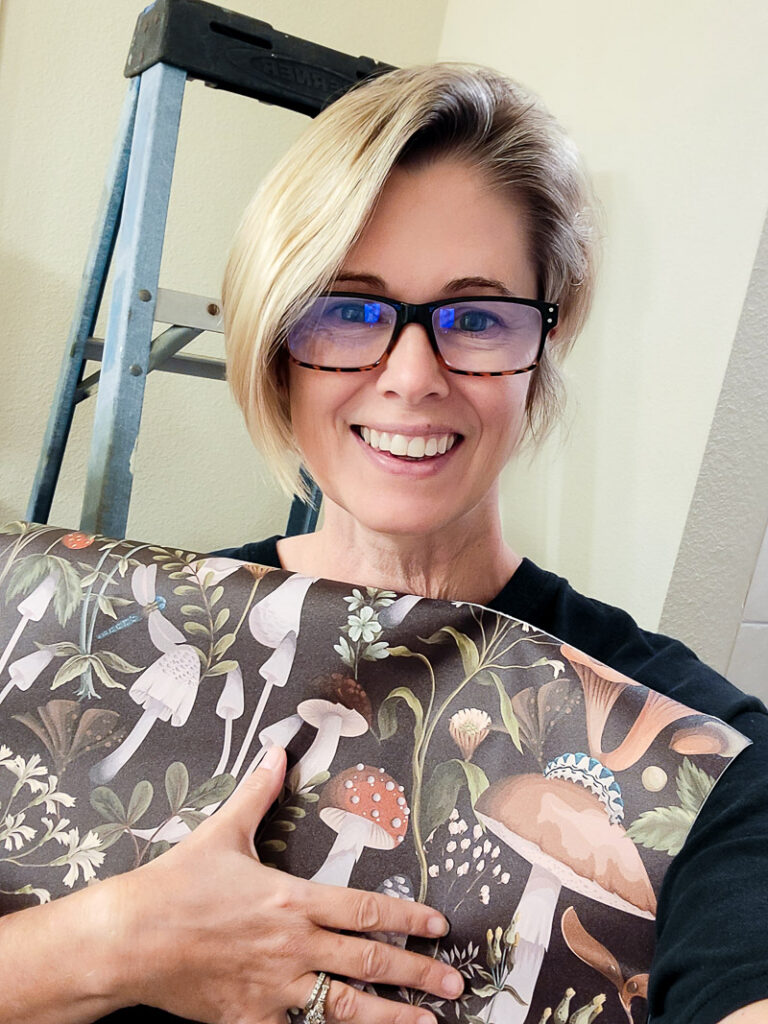
I will note that while I adore this wallpaper, the pattern is slightly mismatched and can be a bother if you’re a bit more of a perfectionist than myself! I have a dresser and likely some sort of wall art going in front of mine, so I’m not too worried about it. Done is better than perfect- that’s the motto I live by! But please be warned! Other than the pattern not matching well, the wallpaper covered a textured wall great, was easy to hang, and sticks well, the quality feels nice. It’s just the pattern mishap. 🙁
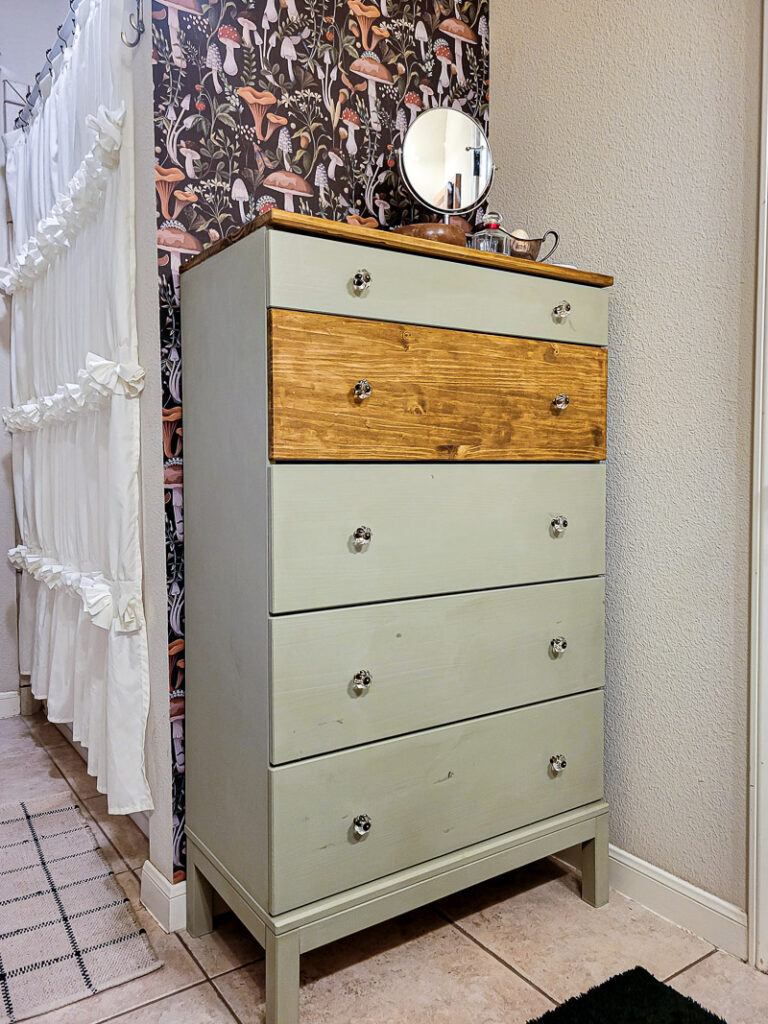
Lastly, I had an Ikea Tarva dresser in here that I bought when we moved, simply for storage! You can probably see just by the photos that we were lacking in storage space in this bathroom!! This piece was perfect since it served as a blank canvas and let my imagination run wild, with little prep or hassle!! You can read more about that makeover right HERE!
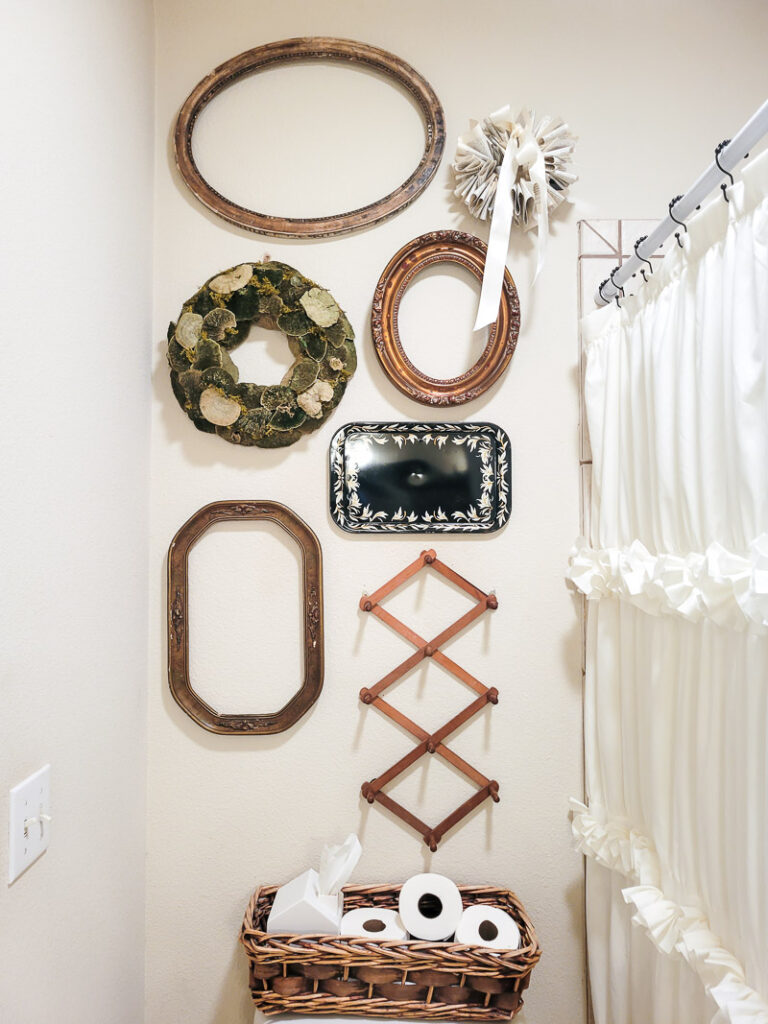
To round out the room I hung a variety of empty frames and whimsical pieces I’ve thrifted over time. Make your bathroom yours, don’t feel boxed in to decorate it like a bathroom “should” or “shouldn’t” be decorated. Use what you have and what you like and it will be a cozy, special spot in no time. That’s a BIG money-saving tip – use what you have! Rifle the closets, shop other rooms, move things around, and see what you can spray paint. You will get a fresh feel without the buyers remorse!
A little upgrade here, a little upgrade there, and we have ourselves a budget bathroom makeover if I’ve ever seen one! This space feels refreshed, brighter, fun, and DEFINITELY more in line with my own personal style. And it was all extremely budget-friendly and cost-effective!! A small budget does NOT equal small changes, the proof is in the pictures!! Here is how to find ALL the products and items I used in my bathroom makeover, click the links for easy shopping from your couch!
Budget Bathroom Makeover Source Guide
Rust-Oleum Farmhouse Black Spray Paint Gloss
Rust-Oleum Farmhouse Black Spray Paint Matte
Rust-Oleum Chalked Paint Tate Green Ultra Matte Paint
Rust-Oleum Matte Clear Protective Topcoat
Moss Wreath – Mine is from Ikea, but they don’t make it anymore, here is a similar one!
I do plan on painting a few of the walls a darker version of sage green to pull it all together. Paint is truly the key to a budget-friendly makeover, it is an absolute room changer! Tell me what easy updates you can take away from this project to make your home your happy place?


Love everything wow!