How to Get a Branded Look with a Stencil
Stencils are such a fun and easy way to decorate or update an old item. I’ve had this brand new serving tray for a year now, it’s just been waiting to be put together. For such an easy project, I can’t believe I drug my feet this long! Lately I’ve been wanting to try different techniques and add more layers and depth to my painting projects. A small tray is a great place to start and get some practice, it was perfect for my “branding” idea.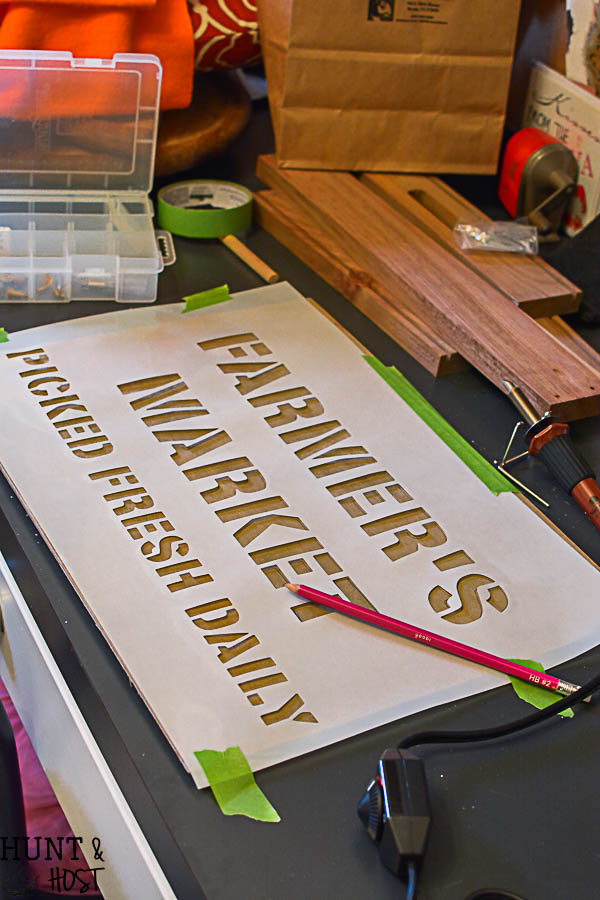
This tray is made from brand new wood and I am not the biggest fan of new. If you’ve been around the blog for more than 5 minutes you probably know that. I am going to use a few different products on this makeover and I will have a supply list at the end in case you want to know more about any of them. To age the wood, instead of just staining it, I used Amy Howard’s Vintage Wood Better With Age. You simply brush the liquid on the wood with a chip brush and it does the work. By oxidizing the wood it speeds up the ageing process and you get nice, weather worn looking wood in no time. You can apply multiple coats and different woods will age and react differently, so test a spot first. The sides of this pieces were obviously made from different wood than the tray part, and aged differently, but no worries, I love the mix.
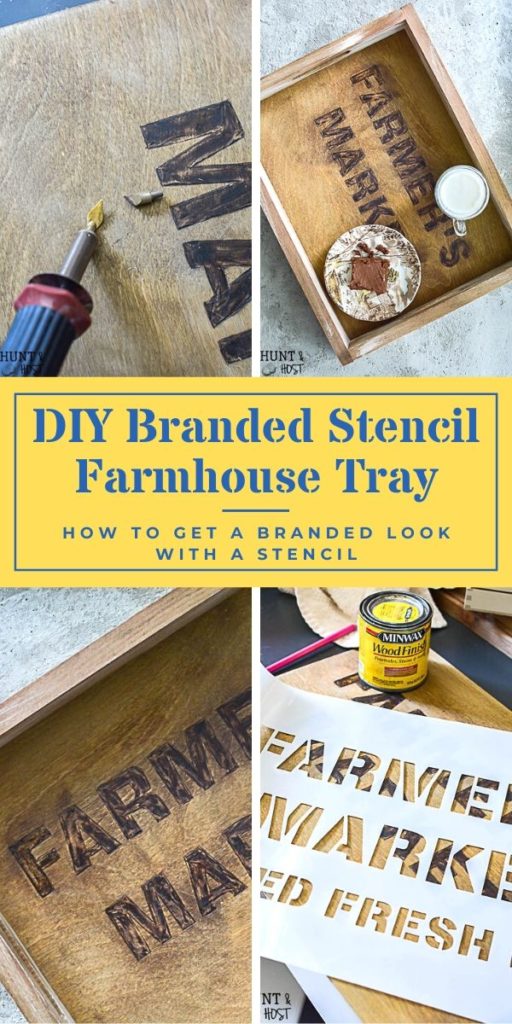
After the wood was completely dry I used this precious stencil from Knick of Time’s Vintage Sign Stencils. I traced the letters on the wood with a pencil. One thing to remember when using stencils is you can easily combine multiple stencils, omit parts of one and any other mix and match you can think of to get extra mileage out of your stencils. Remove the plastic stencil fro the work surface.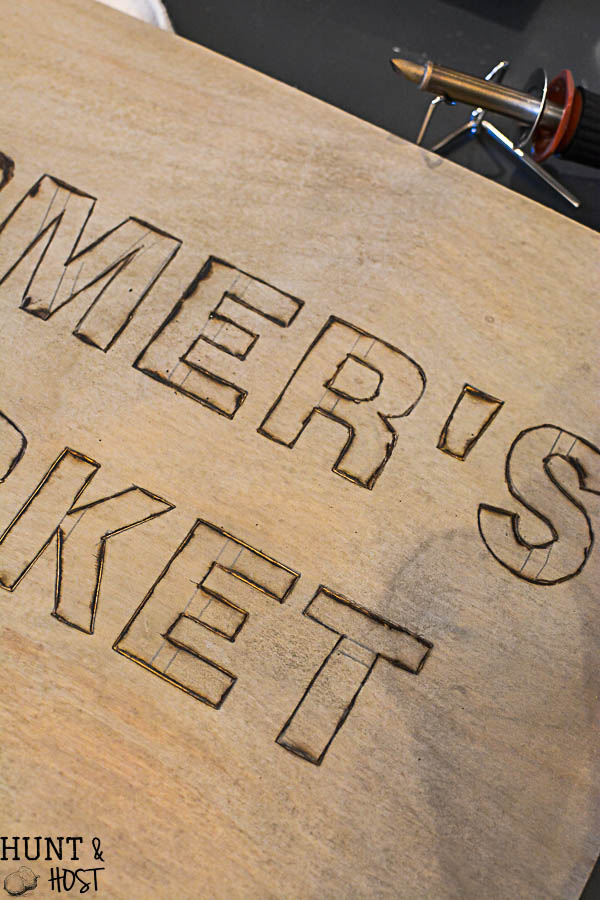
While I was tracing I let my wood burner heat up. It’s important to let it get completely heated before beginning, I had mine on the hottest setting. Be extremely careful, you can get a nasty burn if not! Using the Calligraphy pen looking tip I traced the outline of each letter, connecting all the lines, so there were no gaps left and the letters look solid, not stenciled. Getting comfortable with the wood burner takes a little time, but you will get it the more you try. You don’t have to press very hard, just move slowly and use small touches on the curved parts.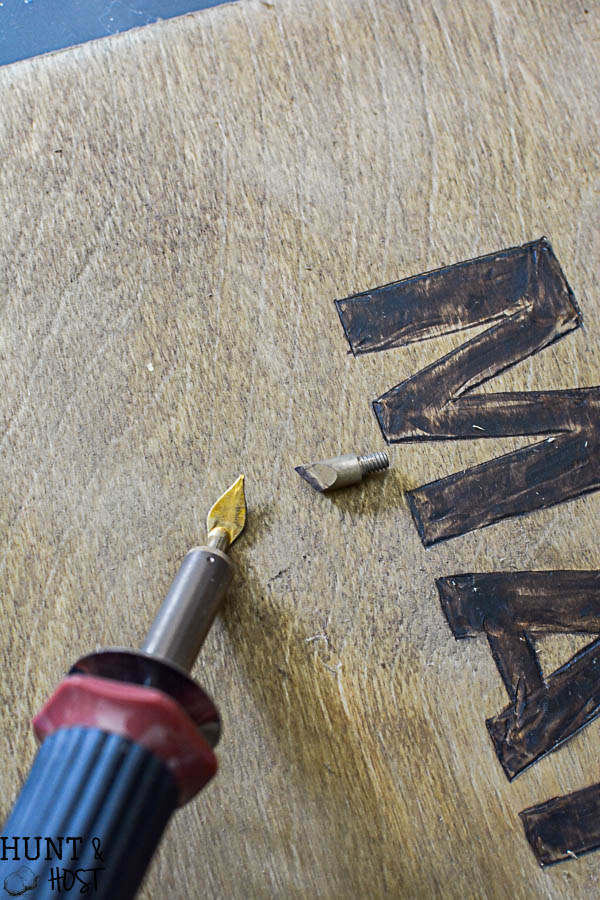
I switched tips on the wood burner and moved to the putty knife looking tip. Again – make sure it is heated all the way, then slowly drag tip across the inside of your letters,practice makes perfect. Because this was not on raw wood, some of the vintage wood solution gunked up my wood burning tip. I had a damp rag close by and frequently rubbed the tip clean and let it heat up then kept going. The process moves slowly, but overall this part only took me about 20 minutes.
Once the letters were burned in like a brand I wanted the tray part a little darker so I went over it with Minwax Wood Stain in Golden Oak and lightly sanded the tray area.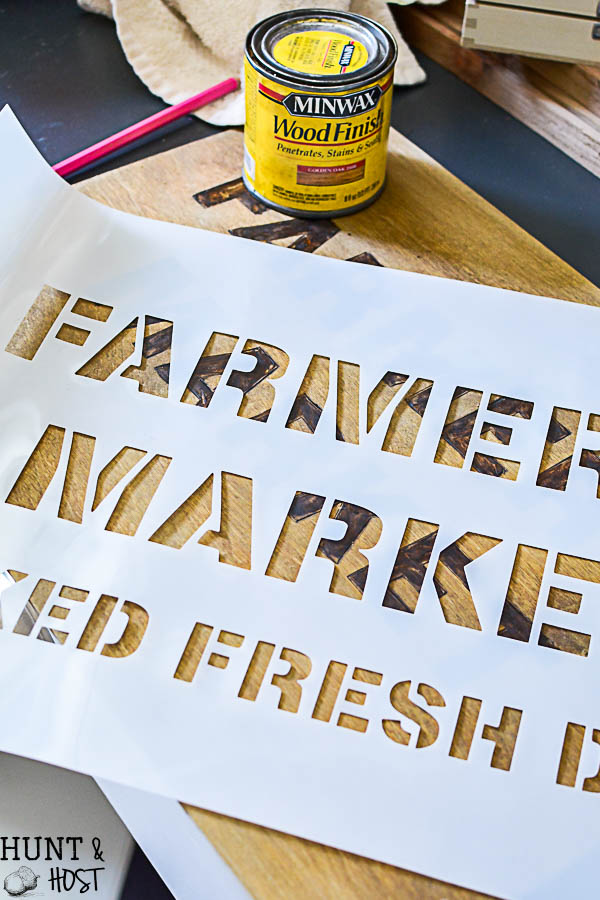
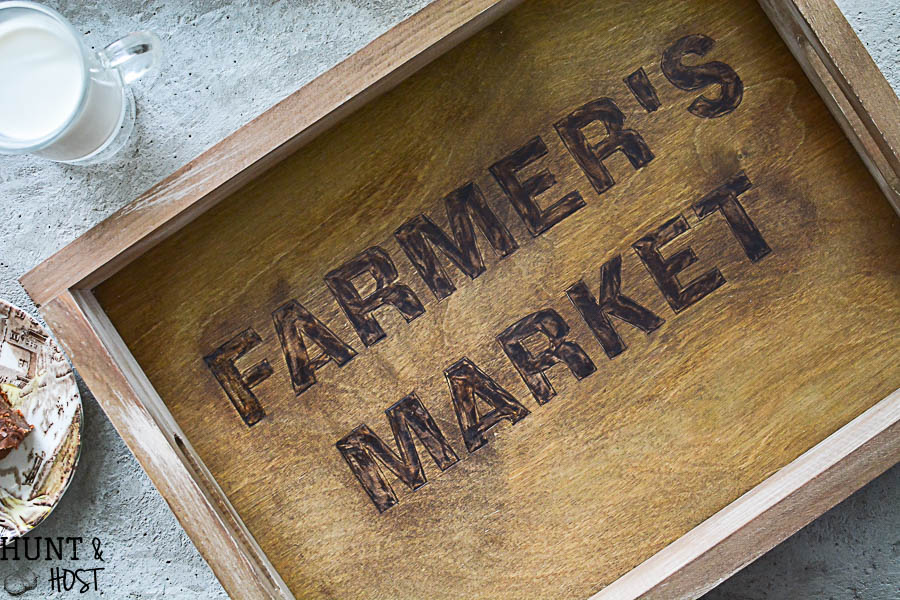
Once the tray was assembled I lightly dry brushed some white paint in a few areas for an even more worn feel. To complete the look I used a dark wax on all the edges, the tray center and handle area. Always be sure to age your pieces where natural aging would occur. It took a few products and layers, but I love how this tray turned out. It will be great for serving or would be cute propped up in a display area. You can never have to many trays!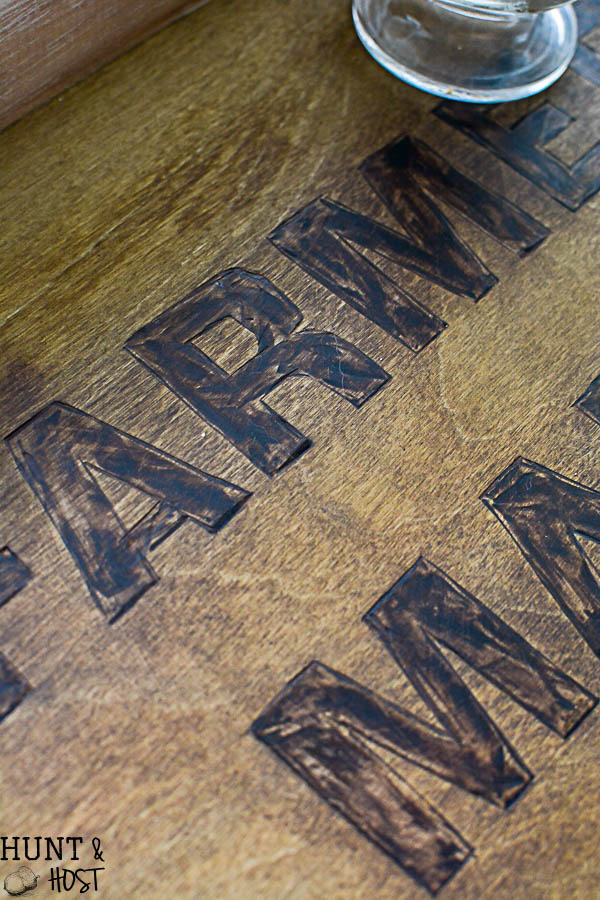 I hope this little twist on stenciling helps you finish some fun projects that had you stumped before, the branded look is not your ordinary ever day stencil idea! See the supply list below for sources and please share if you like this branded stencil DIY!
Branded Stencil DIY Supply List
This list contains affiliate links, that means should you make a purchase I may receive compensation, your price stays the same, thank you!
Amy Howard Vintage Wood – Better With Age
Chip Brush
Sandpaper
Clean rags



Looks nice,and i like the tray. Thanks for these instructions.
so glad you like it!
What a brilliant idea to trace the stencil and wood burn it! I absolutely love how it turned out.
I have an old crate that looks like it is branded and I love it, wanted to recreate that, next time I would brand first then stain, just and FYI! Want to try it again though for sure!