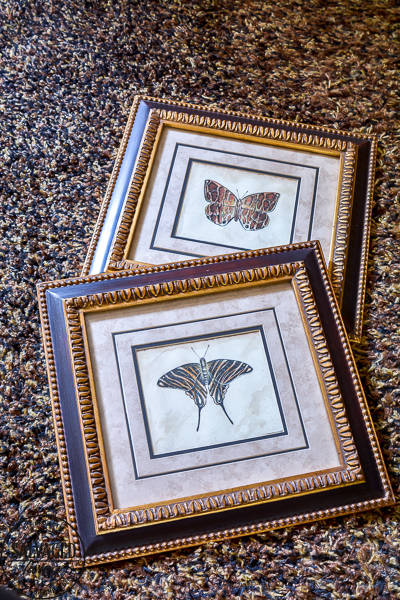
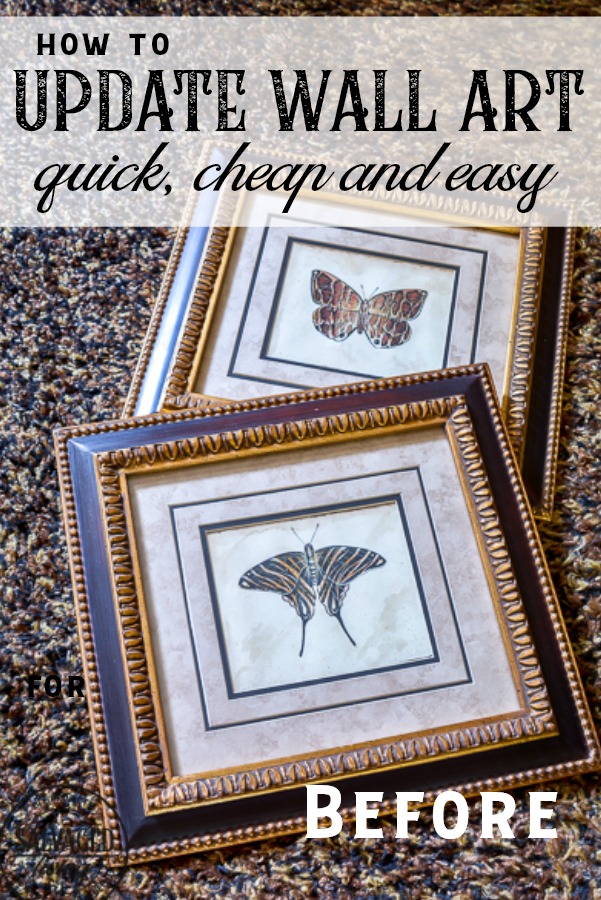
This is a simple trick I’ve used a few times to update old artwork. If you have some framed art on your walls that you real like but the color palette needs a little love then this trick is for you! It will only take a few minutes and cost a couple dollars. WIN WIN! My mom had these pretty butterfly art pieces in her bathroom when we were recently updating her very brown bathroom.
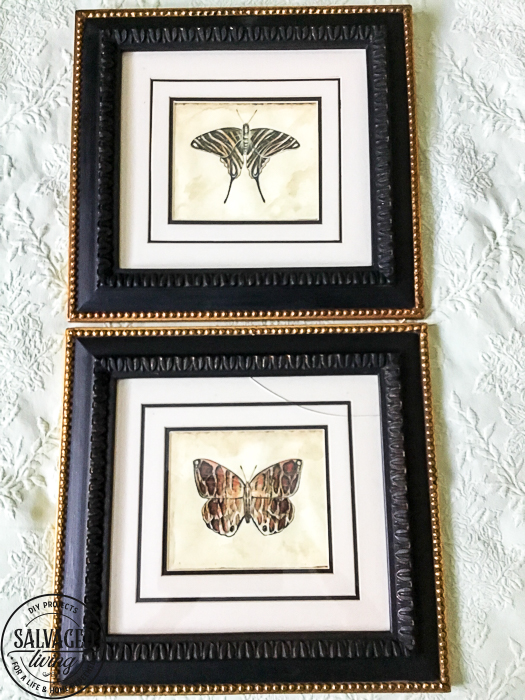
In order to bring them a softer, more neutral feeling with the creamy whites and more farmhouse kind of feel we were incorporating in to the room we simple got some paint out. I took the pictures out of the frame and painted most of the gold frame black, leaving just a touch of gold – but you can paint the whole thing for your makeover! For the frame I used Decoart Chalky Finish paint in Carbon (link to order on Amazon if you need it!). I use this paint all the time for small projects like this, it is one of my favorite craft paints. And you can use just about any color. Someone asked about using spray paint and you could on the frame, but if you are leaving a remnant of the old frame like I did spray paint might be difficult. I don’t recommend spray paint for the mat portion because spray paint tends to be sticky, even when it dries and may stick to the glass. Next, I painted the mat. The mat was out of date with the brownish gold color feeling that she used to have in her home. A creamy solid white does wonders! Just stick with the core colors in the picture, but bring them up with fresh colors. For the mat I used acrylic craft paint but the Decoart Chalky Finish paint would work great too and they have a lot of beautiful colors available, like this one. Use a fresh sponge brush and add a light layer of paint, let it dry. DO NOT over saturate the mat with paint, it is a paper product so you run the risk of tearing or bubbling. Mats are pretty resilient though! It will take two coats, maybe three for full coverage, so be patient.
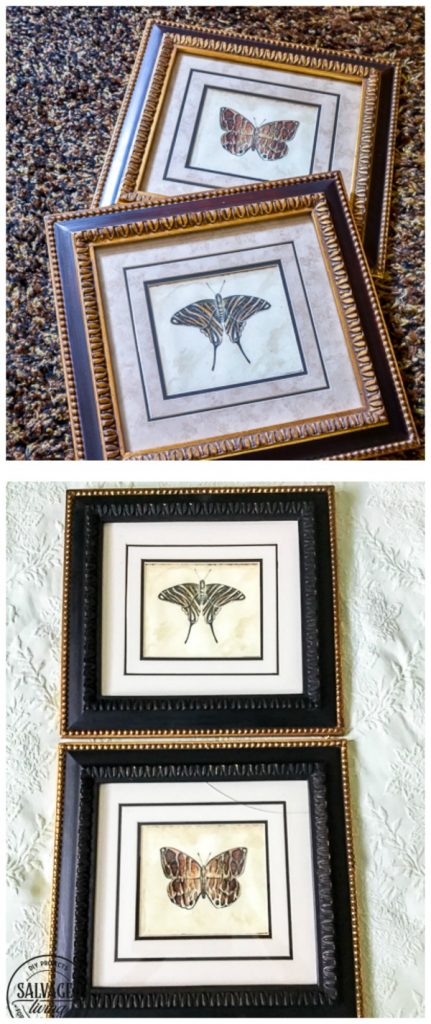
  For these pictures the mats came apart when is dis-assembled the pictures. I had just carefully painted along the edge to leave the black under mat it’s original color. If you use painter’s tape I suggest Frogtape delicate (again, link if needed), you don’t want to tear the mat paper upon removal. Let your mat dry and reassemble the pics! Ta-da…new artwork in no time, on dime. Look at the before and after together… (Also if you need to make your artwork BIGGER to fill wall space you can use this idea we did in my mom’s bathroom as well!).


Dear Kim,
Thank you very much for this post as I did not know that we can paint mats and I have a couple of pieces with this problem. Painting them was something I had dismissed because I thought the mat would bubble. There I went again, assuming, lol. I am going on the net to find out what kind of paint we can use on mats in the hope that I have it!
have a lovely day,
Linda
I am going to update the post because I totally forgot to tell you about the paint and everyone has such great questions! I used acrylic craft paint on the mat and just do a light coat first, don’t over saturate the mat! It might take two of three light coats for complete coverage, but so worth it!
Perfect timing to read your post, as I have been considering doing the same thing! Just wondering what kind of paint you used on both the frame and the mat? (A spray paint for mat?) Thanks so much for your inspiration!!
I used a chalk paint for the frame and acrylic craft paint for the mat! If you use spray paint for the mat I would go with a matte finish, but you could use it. I would let it dry a few days before you reassemble though bc spray paint tends to be sticky in my opinion! have fun
Now I am re-thinking my old pictures and frames. How did the mats take the paint without getting too wet and falling apart?
Thanks Kim! Love the ideas ..keep them coming:0)
ai used acrylic craft paint and a sponge brush, just DON”T over saturate the mats with paint. go light on the first coat for a barrier coat of protection and then do a second coat for better coverage! You can always add more paint but it is harder to remove it!
Love this idea! Did you use tape to keep the black lines straight on the mat? And what kind of paint? Thanks!
the mat was a double layer mat so the bottom mat was black and the top was that muddled ivory/gold. I free hand painted the edge being careful not to get paint on the bottom mat. If you use painters tape I would recommend Frogtape delicate, it is yellow, other wise you risk ripping the mat paper when removing the tape. I used cheap acrylic craft paint, sorry I forgot to specify that!!
Love the new look for the butterfly pictures! Your re-do really “classed” them up – from just ho-hum to elegant and expensive looking. Nice inspiration for garage sale and flea market finds as well as old discolored mats. I have painted over mat board for use in dollhouse projects, made everything from brick walls to furniture with it, and found that spraying several LIGHT coats of Krylon brand matte acrylic spray seals it from waterbased paints, As you said, use almost a dry brush technique, and do several light coats. The small foam brushes definitely work best when you want to keep a straight edge. Looking forward to more new inspirations.
Awesome , thank you for the tips!! I definitely think that mat board could be used for lots of applications ????
I wanted to change mats in some pictures my mother gave me. They are prints of Charleston paintings and the mats are burgundy. Good to now we can paint them! The only thing is the backs of the frames are the brown paper used for framing.Have you ever worked with cutting that out and replacing it? I guess it doesn’t have to be exactly perfect since it is on the back, but just wondering.
Hi! Yes…these had the brown paper on them. I just ripped it off and did my business. You can always replace it if you feel the need but I’m with you…it’s the back, you’re the only one who will even know!
The brown paper on the back is used to keep out dust (and to a degree humidity) from the artwork. To remove the original paper you can slightly dampen the area that is glued down and scrape the paper from the wood frame. To replace the paper seal, cut a piece of brown craft paper just slightly smaller than the back of the frame, lightly dampen the exterior side of the paper with a very well squeezed sponge and glue to frame with Elmer’s glue and let dry – the paper will dry drum tight. You do not want to wet the paper, just dampen it. Another picture hint – if you have an oil or acrylic that has a “saggy” canvas – you can lightly wet the canvas with a mist of water from a spray bottle and as it drys it will tighten back up. This can be done on a piece you are currently working as well as existing pieces. Just prop it up canvas side out as it dries for air circulation.
Amazing tips…thank you so much for sharing!!!
Thank you so much, Kim! I’m going to do this.
It is such an easy fix to update for cheap!
I can’t believe how much that transformed the frames! You have inspired me!
Happy fall!
karianne
This little trick can really make a big difference!!
Hi Kim,
I have a large grouping of family pictures in gold frames (different sizes and some with mats). I want to paint them black (and, I guess if gold comes back, I can do that).
For painting of the frames, did you use a sponge brush? I like a variation so I think I will leave part of some of them with a gold accent. They are all gold but different tones.
I love your site and will definitely be looking at it for more ideas!