Holiday decor can be a quick way to kill your budget, but it doesn’t have to be!! I love finding easy DIYs, crafts, and dollar store makeovers that will make your home a winter wonderland without breaking the bank. And what I have for you today is JUST THAT! Two ways to make cardboard Christmas trees that are easy, budget-friendly, and just as cute as the expensive, “on-trend” Christmas decor you see all over social media. Just trust me on this, I’ve got your back!
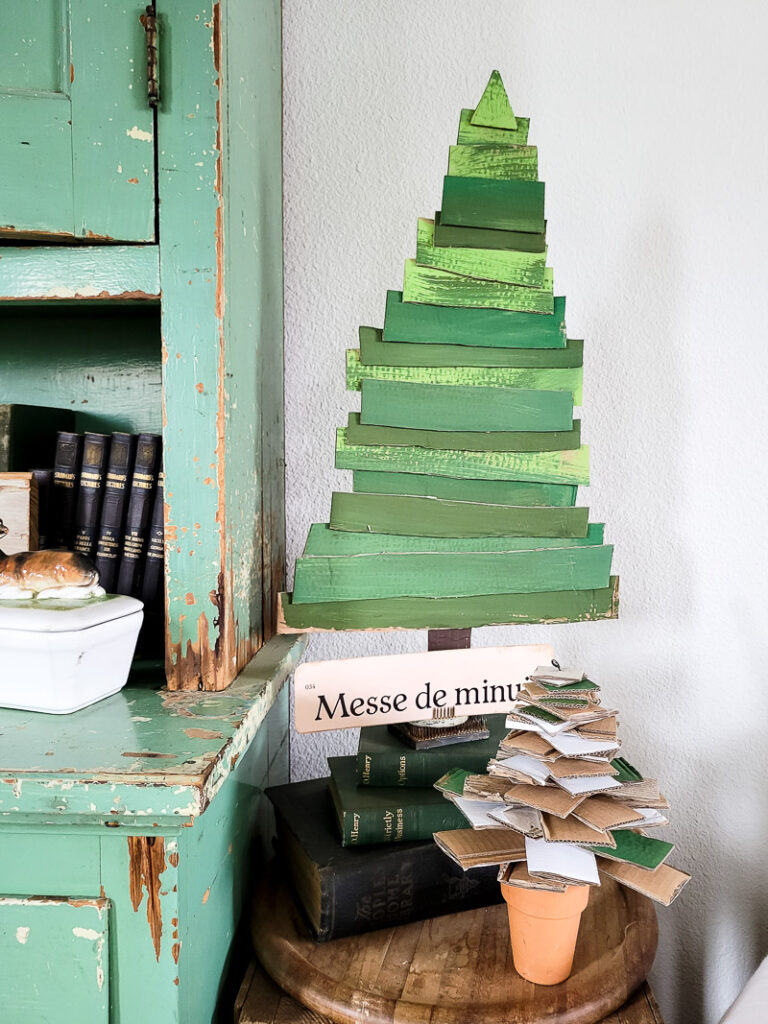
colorful christmas tree- option 1
what you need
- cardboard
- varying shades of green paint
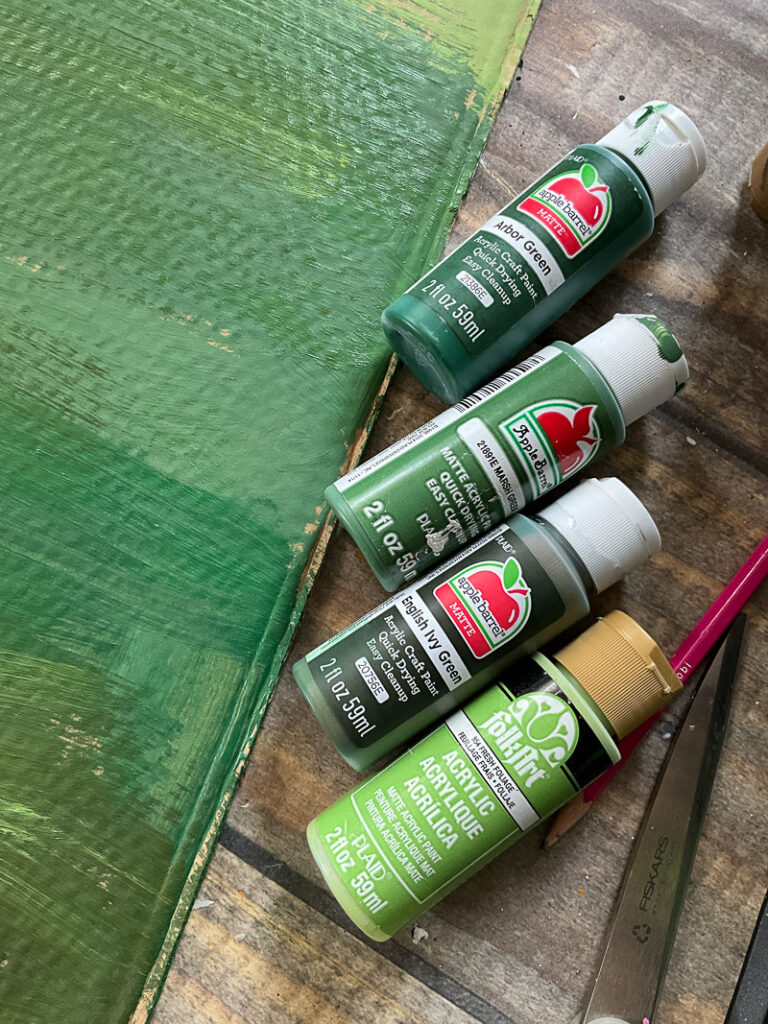
- scissors/rotary cutter
- hot glue
- brown paint
- paint brush
how to make it
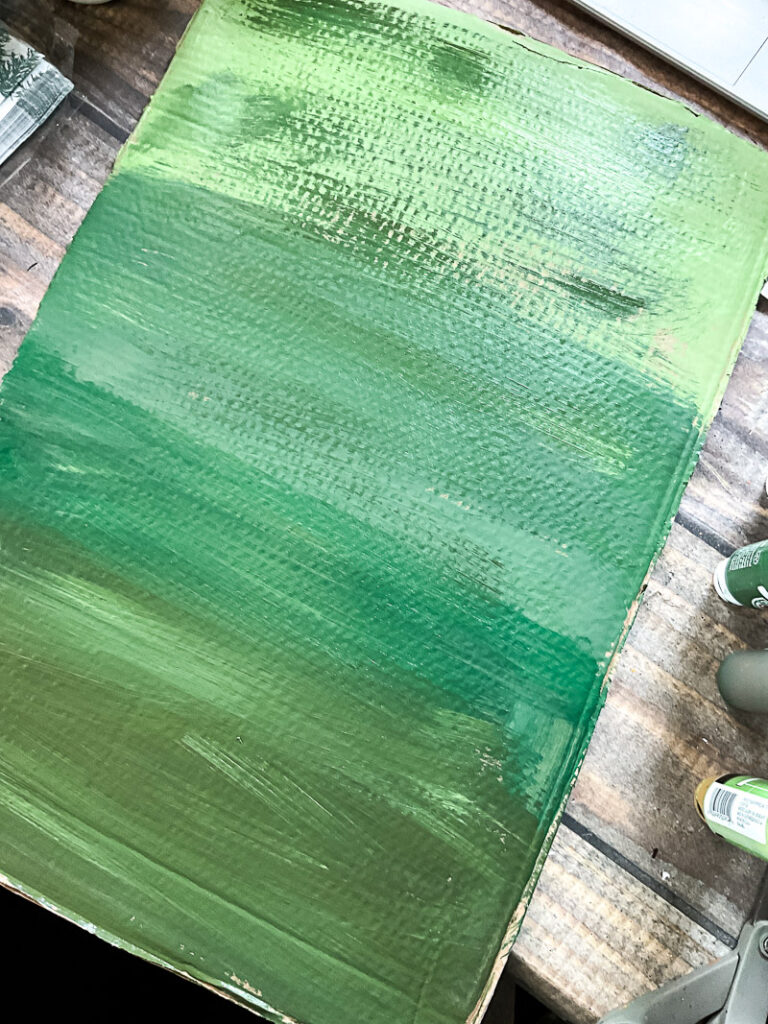
- Start with a large piece or sheet of cardboard. Paint it varying shades of green (I did mine from light to dark), sort of blending along the way- it doesn’t need to be perfect.
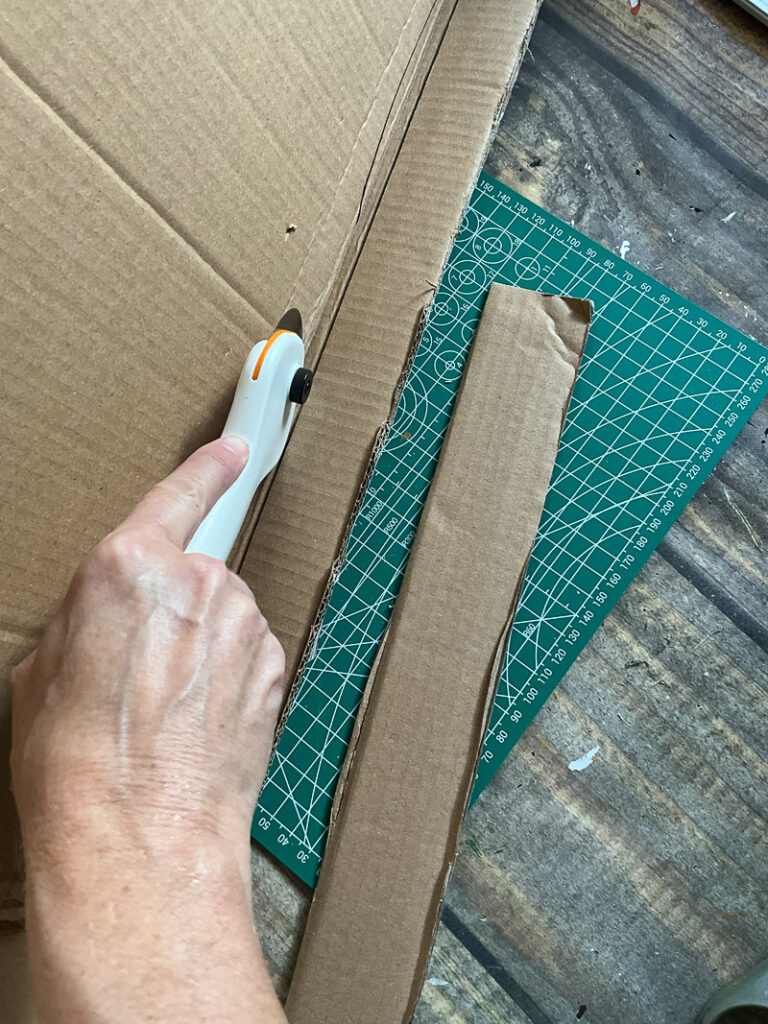
- Cut the painted cardboard into 1-inch wide strips using scissors or rotary cutter (rotary cutter is WAY easier and will generally give a straighter cut)!
- Here’s where you can get sort of random and fun with it. You’re about to be stacking your cardboard, but you don’t necessarily want to do it in any order. You want to have some light here, some dark there, and everything in between. I recommend mixing up your 1-inch strips in a pile if you haven’t already. It helps with analysis paralysis if you can just let the world decide for you as you grab them.
- I would hot glue one piece on the top of the cardboard, and then one underneath, not necessarily alternating every single time, but just when it felt right. Basically, you don’t want to just keep gluing on the backside or else your tree won’t stand up straight, it would lean backwards or forwards.
- You want to cut the pieces along the way so that there is a gradual taper, like a normal Christmas tree. Save the scraps though, because you can reuse them closer to the top of the tree, or even for our next project (you’ll see in a second)!
- For the very top piece, cut it into a triangle so it does come to a point!! You can definitely get fancy if you want and add a star or whatever you’d like!
- Lastly, take a long strip that you have left, and paint the bottom 3-4 inches brown- this is the trunk. Hot glue along the top (not on the brown) and then stick it to the back of the tree!
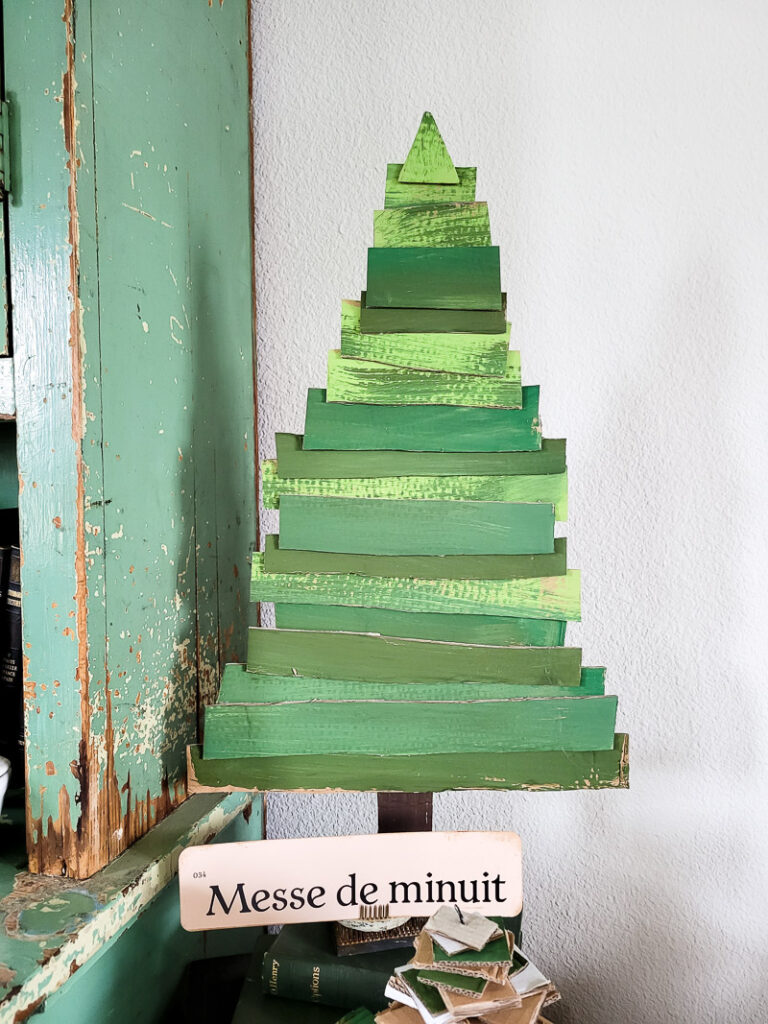
That is all there is to this colorful cardboard Christmas tree!!! So easy, right!?
And you know how they say “there’s more than one way to skin a cat?” We’ll ignore the fact that that saying is weird, because there ARE 2 ways to make cardboard Christmas trees! Let’s get into the next one…
stacked cardboard christmas tree- option 2
what you need
- cardboard (and if you made the one above, save any scraps from that)
- scissors/ rotary cutter
- wire hanger
- needle nose pliers
- mini terracotta pot
- piece of foam
how to make it
- Depending on the look you’re going for, you may need to paint some strips of cardboard in your preferred color. I had scraps from the tree project above that I used in addition to natural cardboard and a white-coated cardboard box I already had!
- After your prep, start stacking your cardboard loosely and cutting to the right length. You want to do this beforehand so you know you have enough and you can stack it in the right order- from biggest to smallest like a tree!!
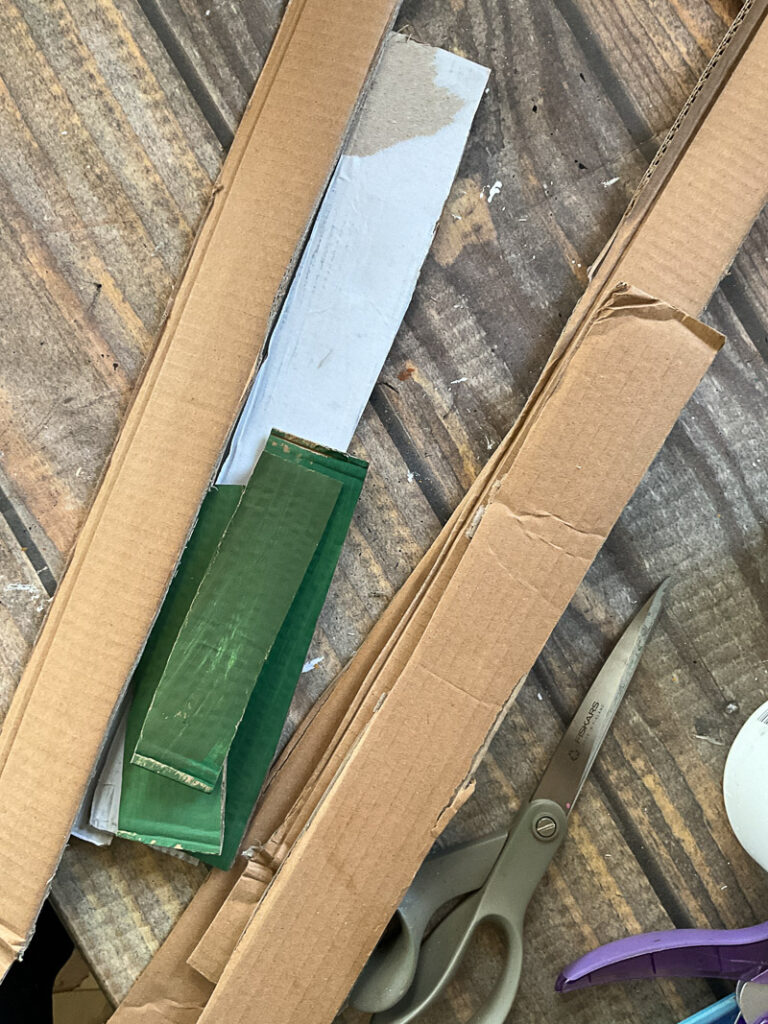
- Cut your wire hanger (or use regular wire) so that you just have the straight piece across the bottom.
- Poke a hole through each cardboard piece using the wire and start stacking!! I did from smallest to biggest because that was how it was stacked on my table and was just easier for me, but it doesn’t matter! Use needle nose pliers to create a loop at the top of your tree to hold your cardboard pieces on as you stack. It also serves as a little “topper!”
- Keep adding until you feel satisfied with the size and shape of your tree!
- Insert a small foam piece to your pot and then stick the remaining wire into the foam to hold it up!
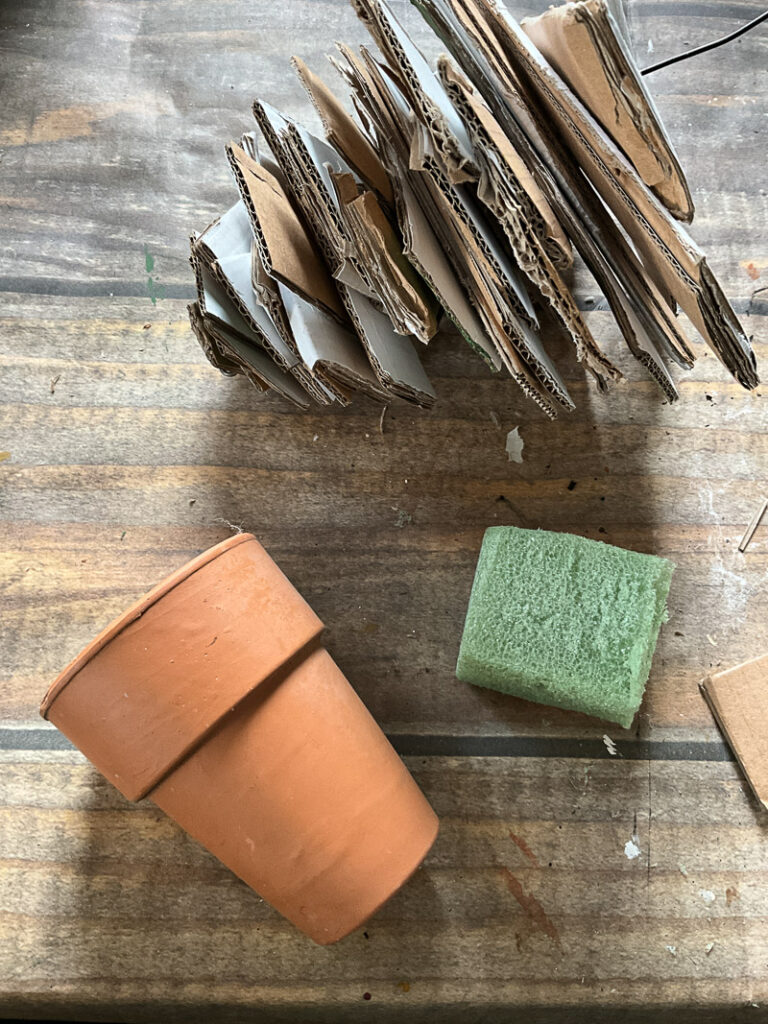
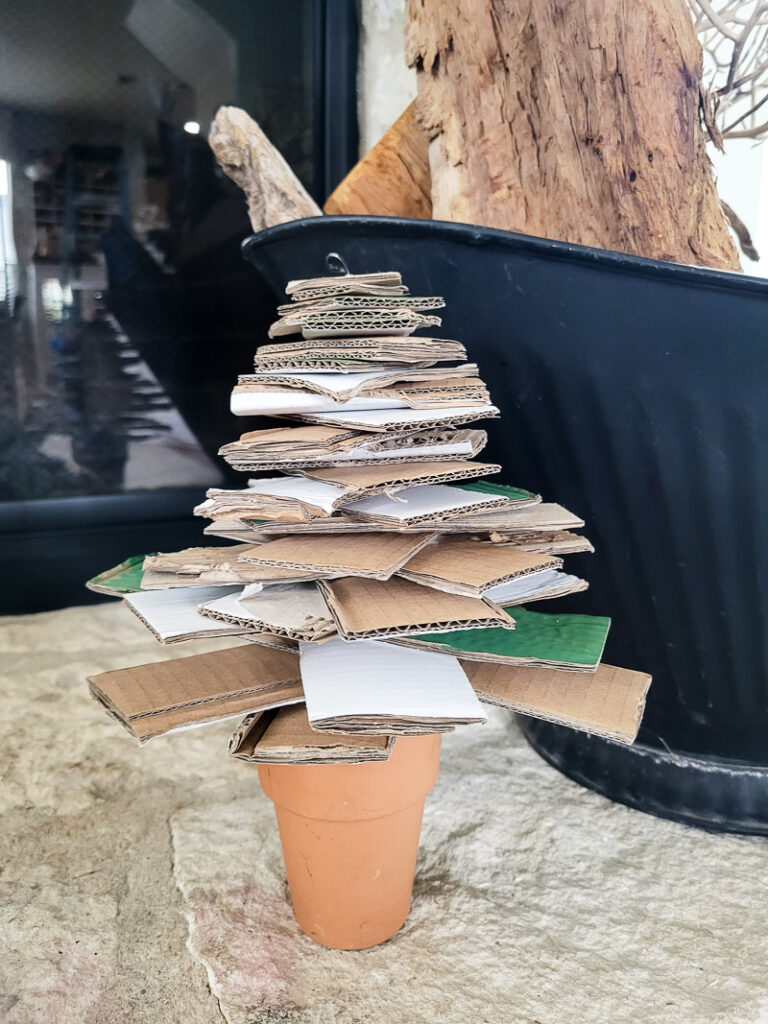
Just like that, you have a super easy stacked Christmas tree! And again, you can make this as big or small as you want depending on the pot size you got! It’s customizable to YOU!
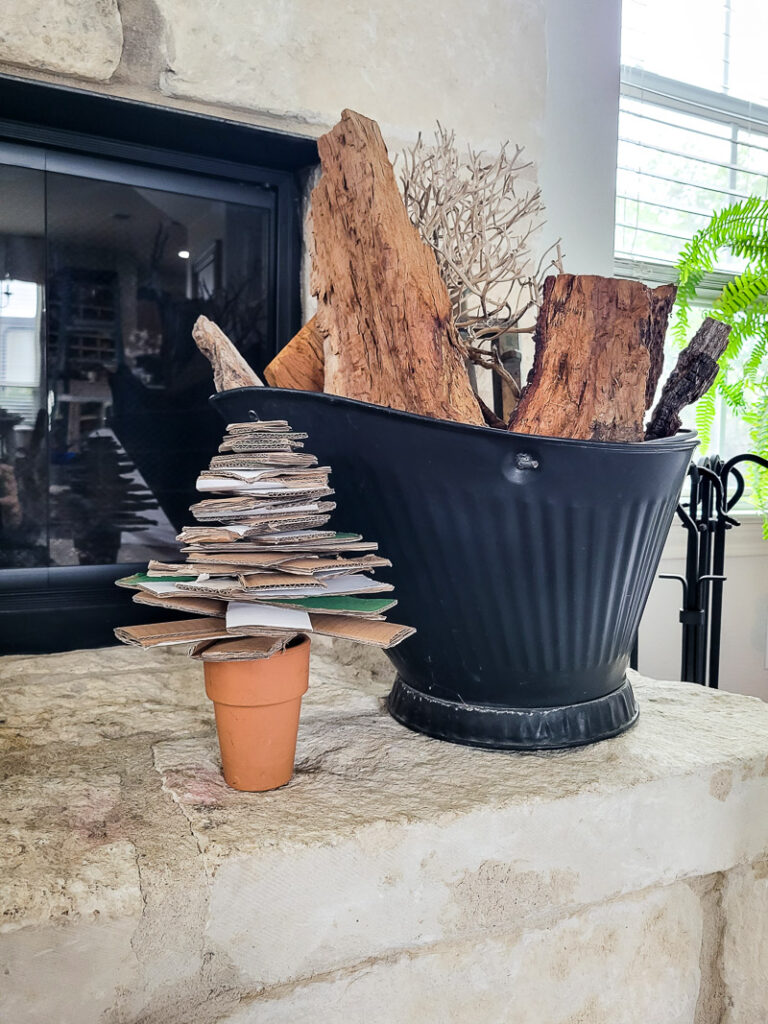
That really is the benefit of DIY decor… you can tailor it to your needs and your needs alone! Plus, it saves you money and gives you something fun to do while you watch Christmas movies!! A win all around if you ask me!!
And there you have it.. 2 ways to make cardboard Christmas trees!! If you want to see more Christmas DIYs and how-to’s, click HERE!


Leave a Reply